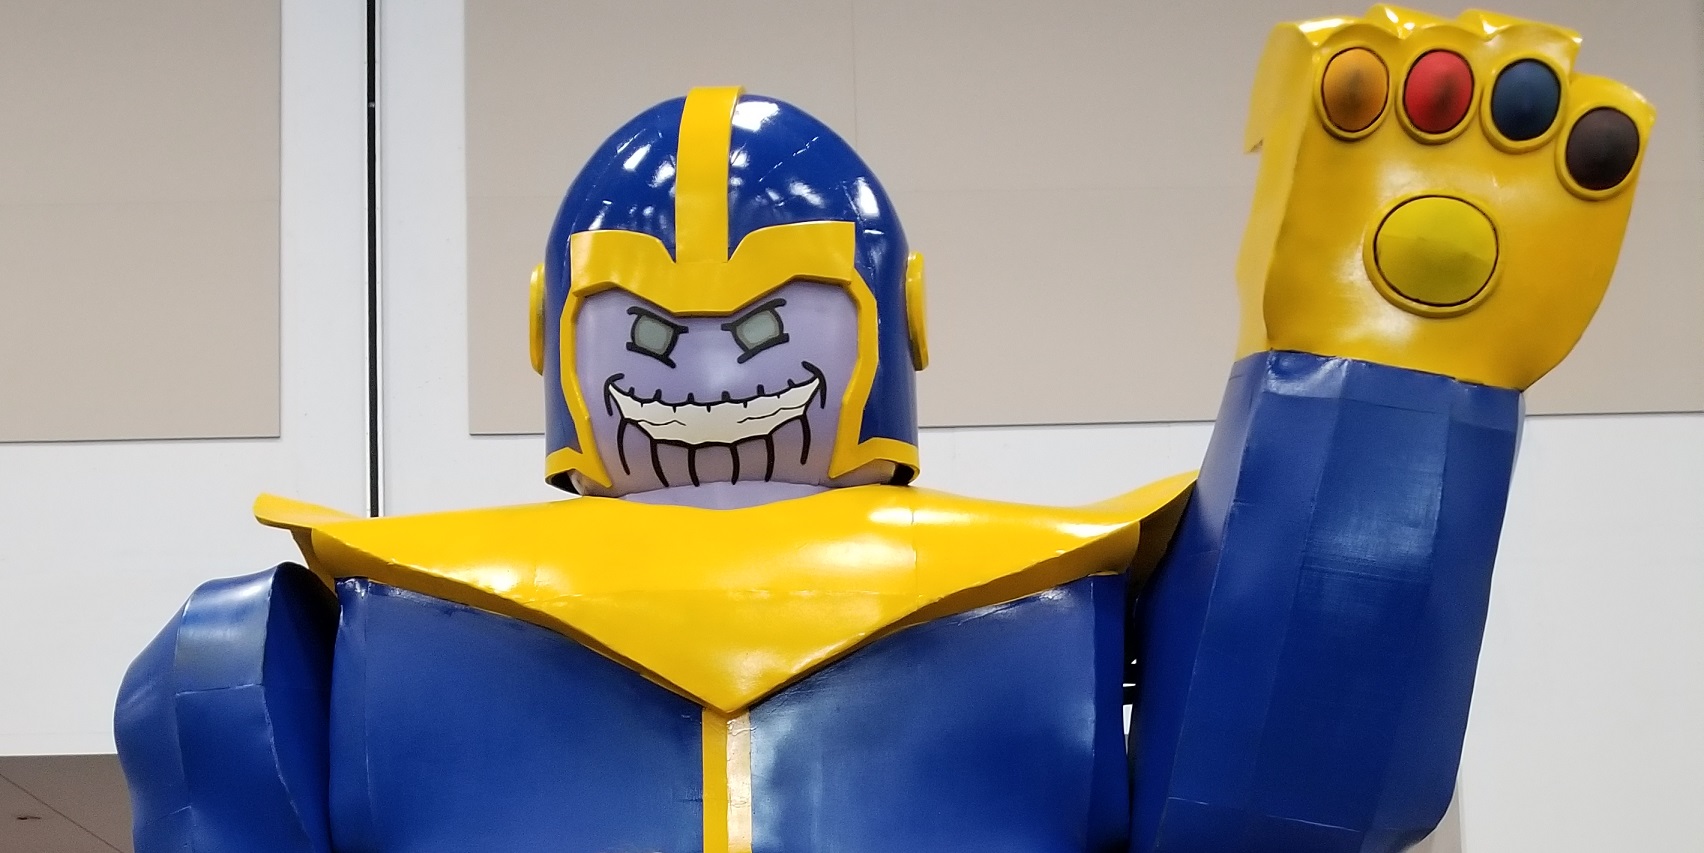
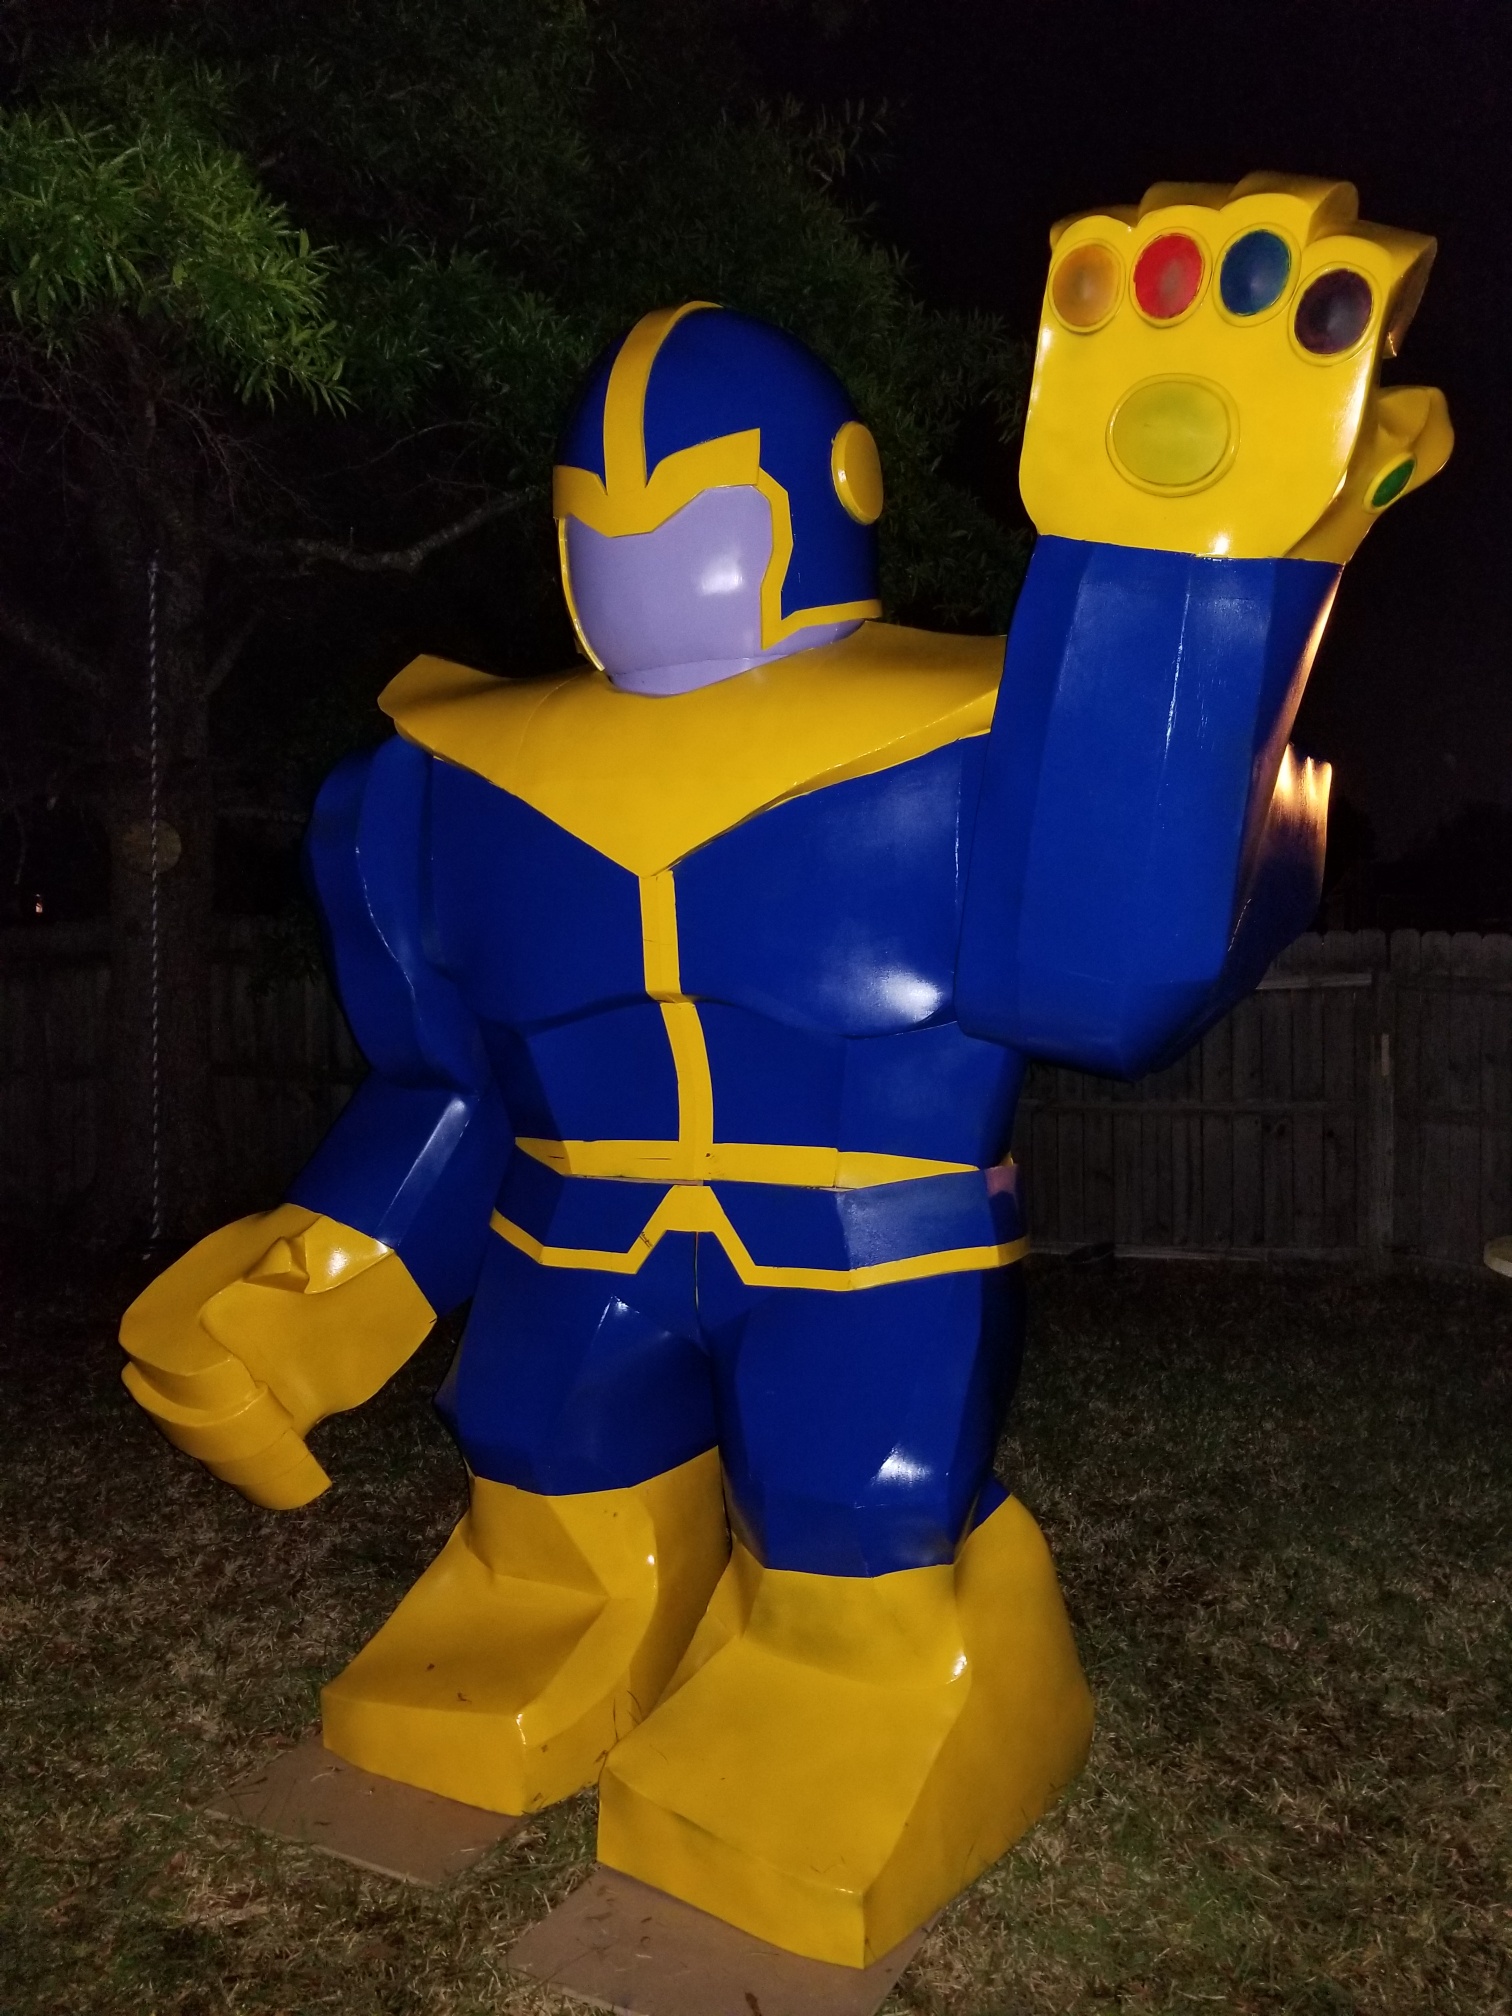
| With Avengers: Infinity War being released just a few weeks before the 2018 Tidewater Comicon, it was an obvious choice to pick Thanos as my next statue project. While LEGO does make a Thanos minifig, I did not own one to use as reference. Since it’s based on the same model as the Hulk, I used my son’s LEGO Hulk for reference. |
 |
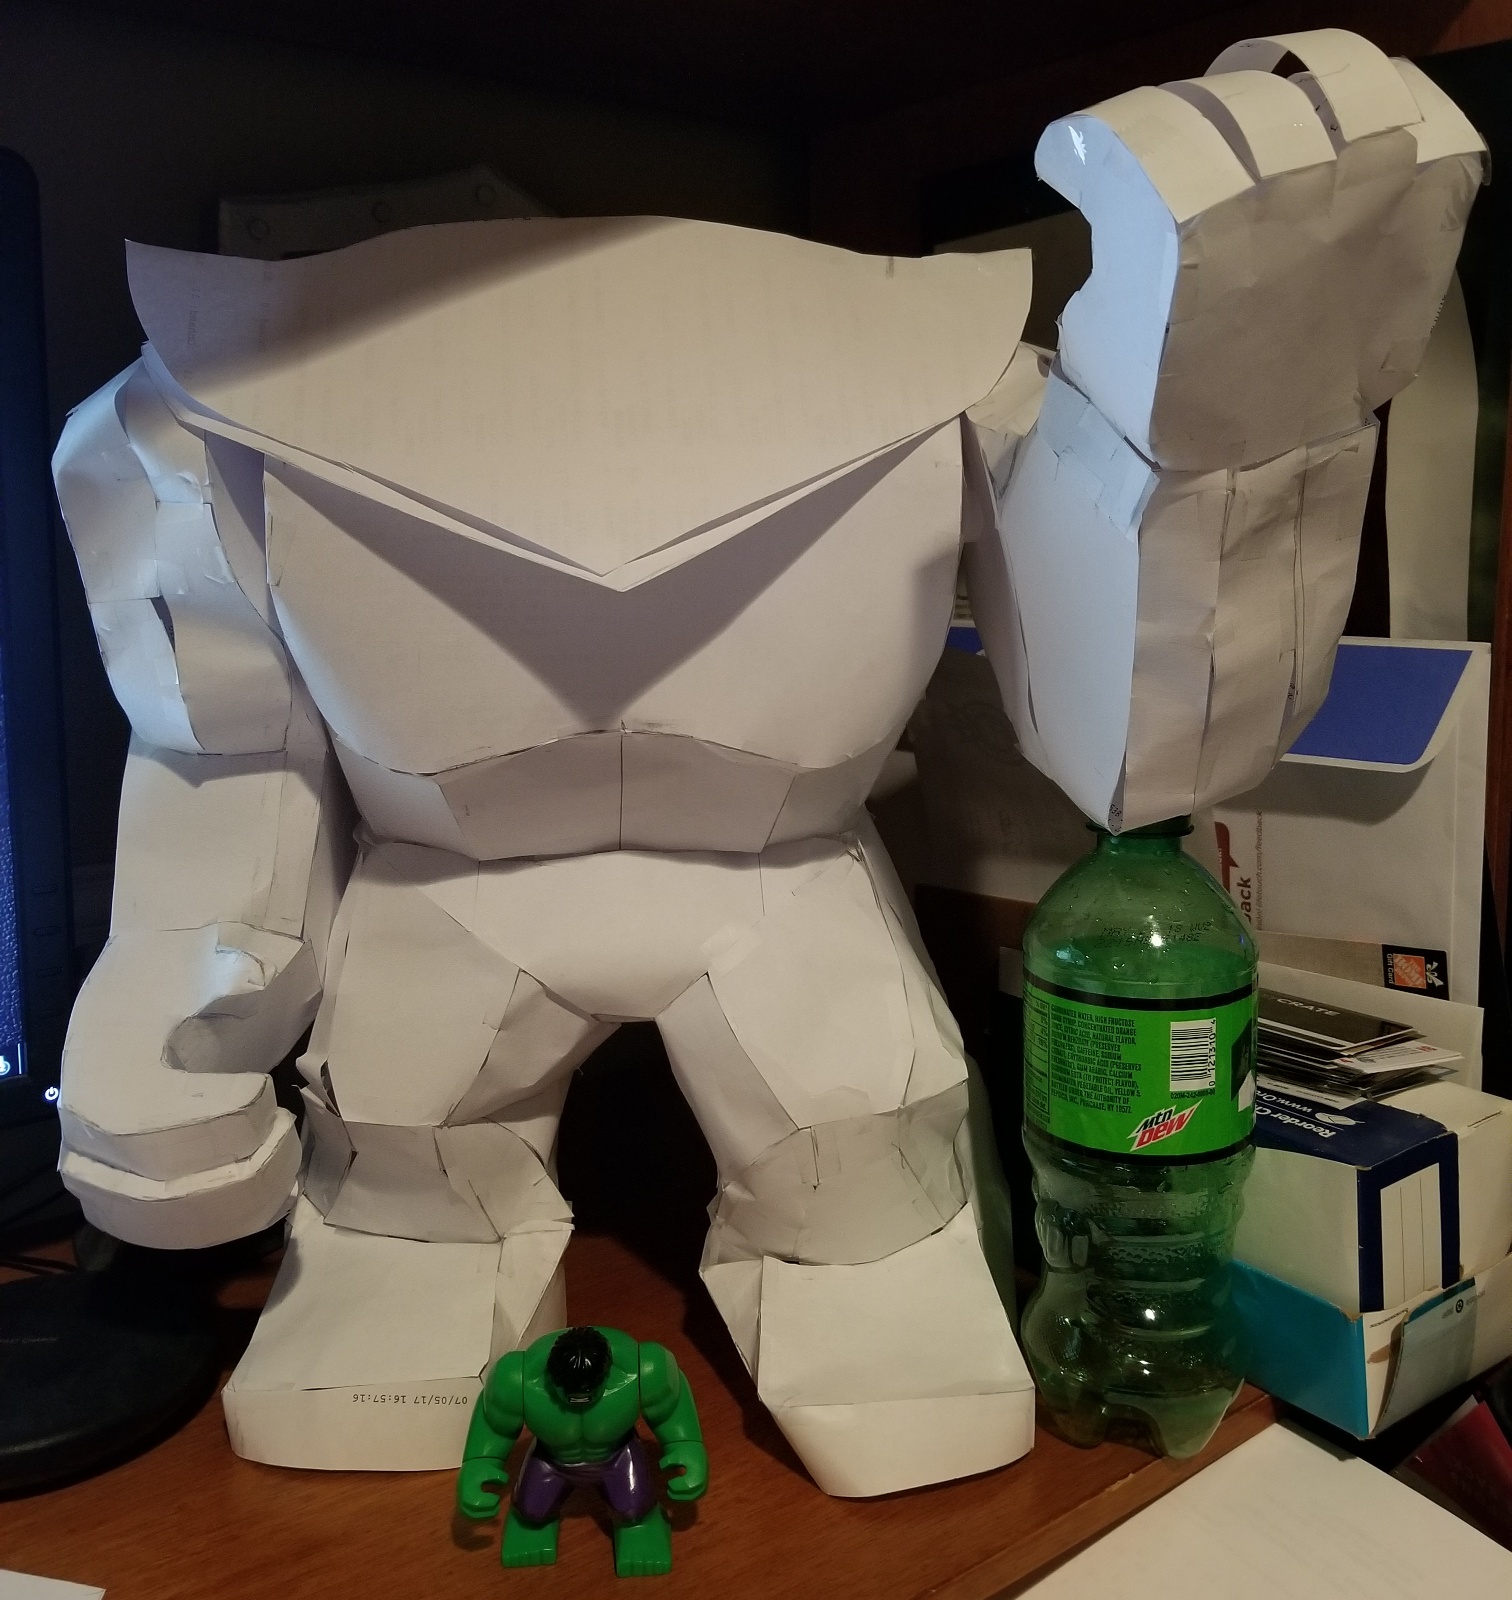 |
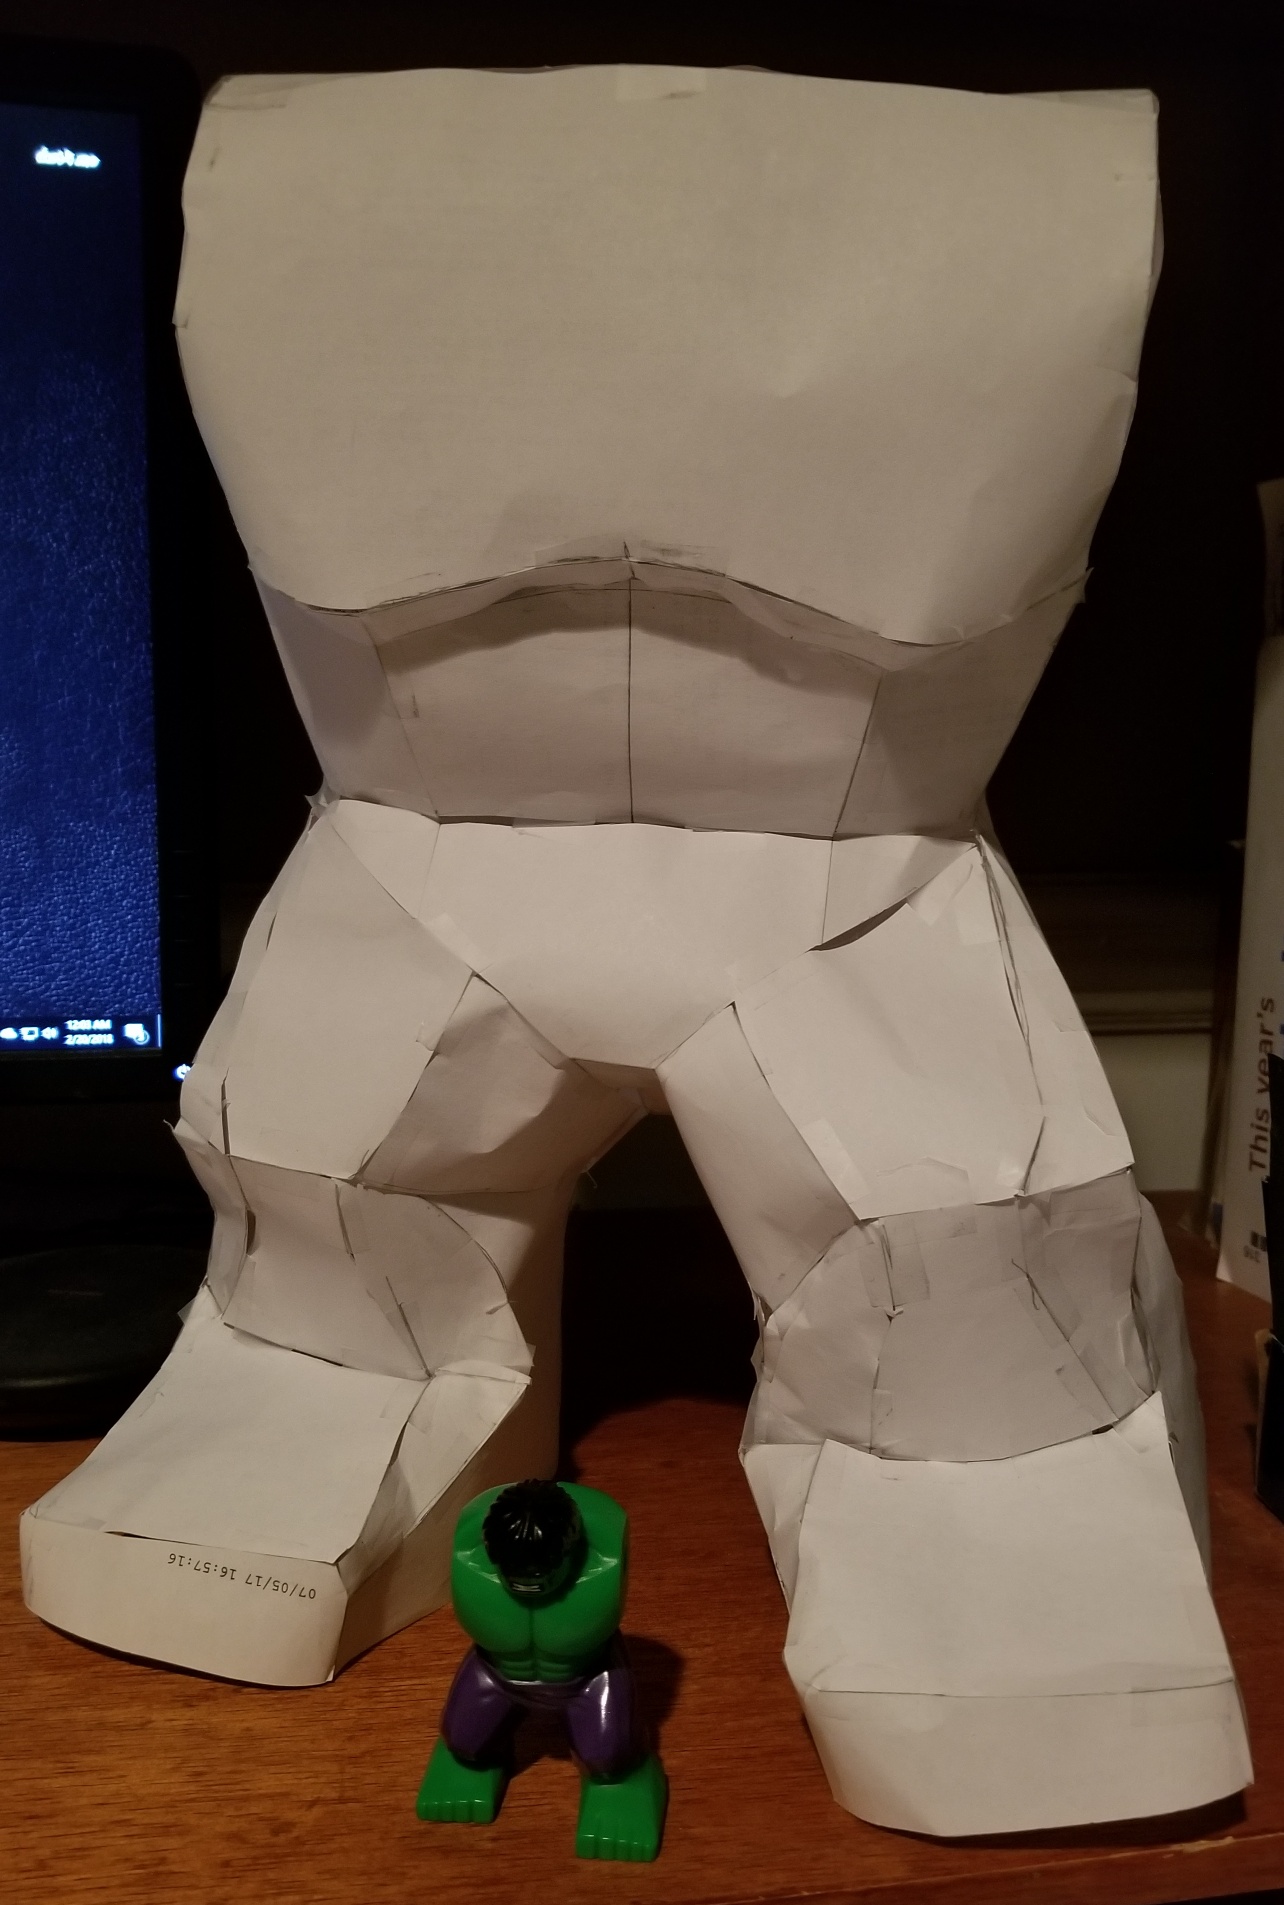
| The first step of this project was to create a paper template from the Hulk minifig. My goal was a nearly 9 foot tall statue. The Hulk minifig is only 3 inches tall. Since my paper template was an intermediate step between the minifig and the final statue, I decided to make the template a 6:1 scale of the minifig. The final statue is a 6:1 scale of the template which makes it 36:1 of the minifig. To make the template, I mentally broke up each “polygon” of the minifig and created a paper version 6 times larger. Each piece was taped together to form the general shape. This process took about 3 nights but definitely sped up the whole project. |
 |
 |
 |
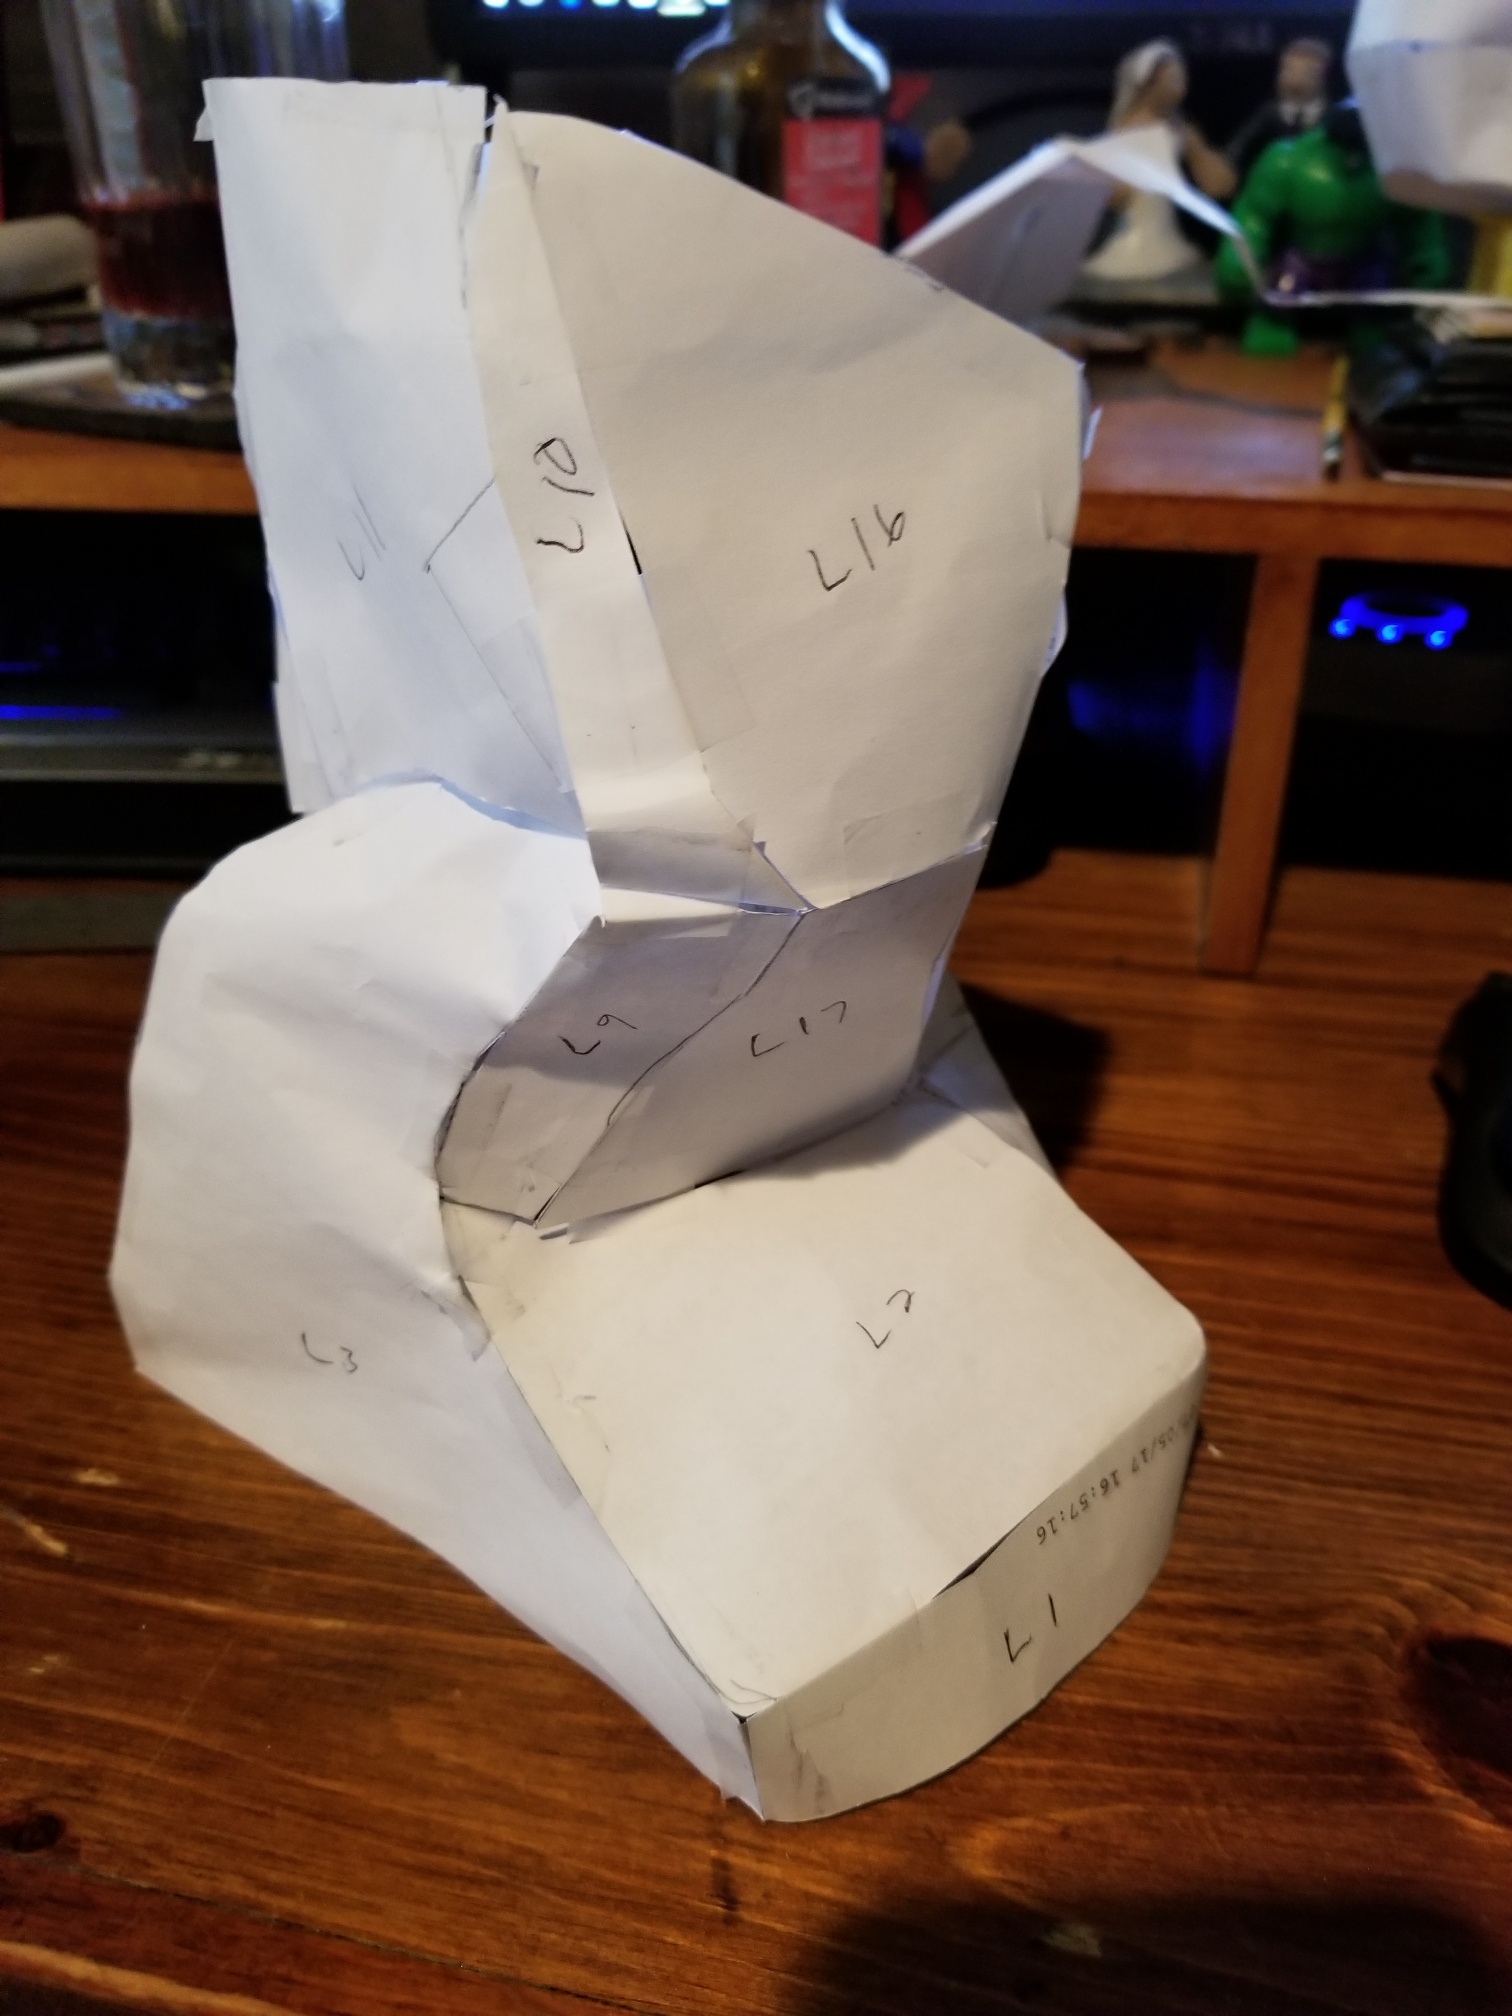
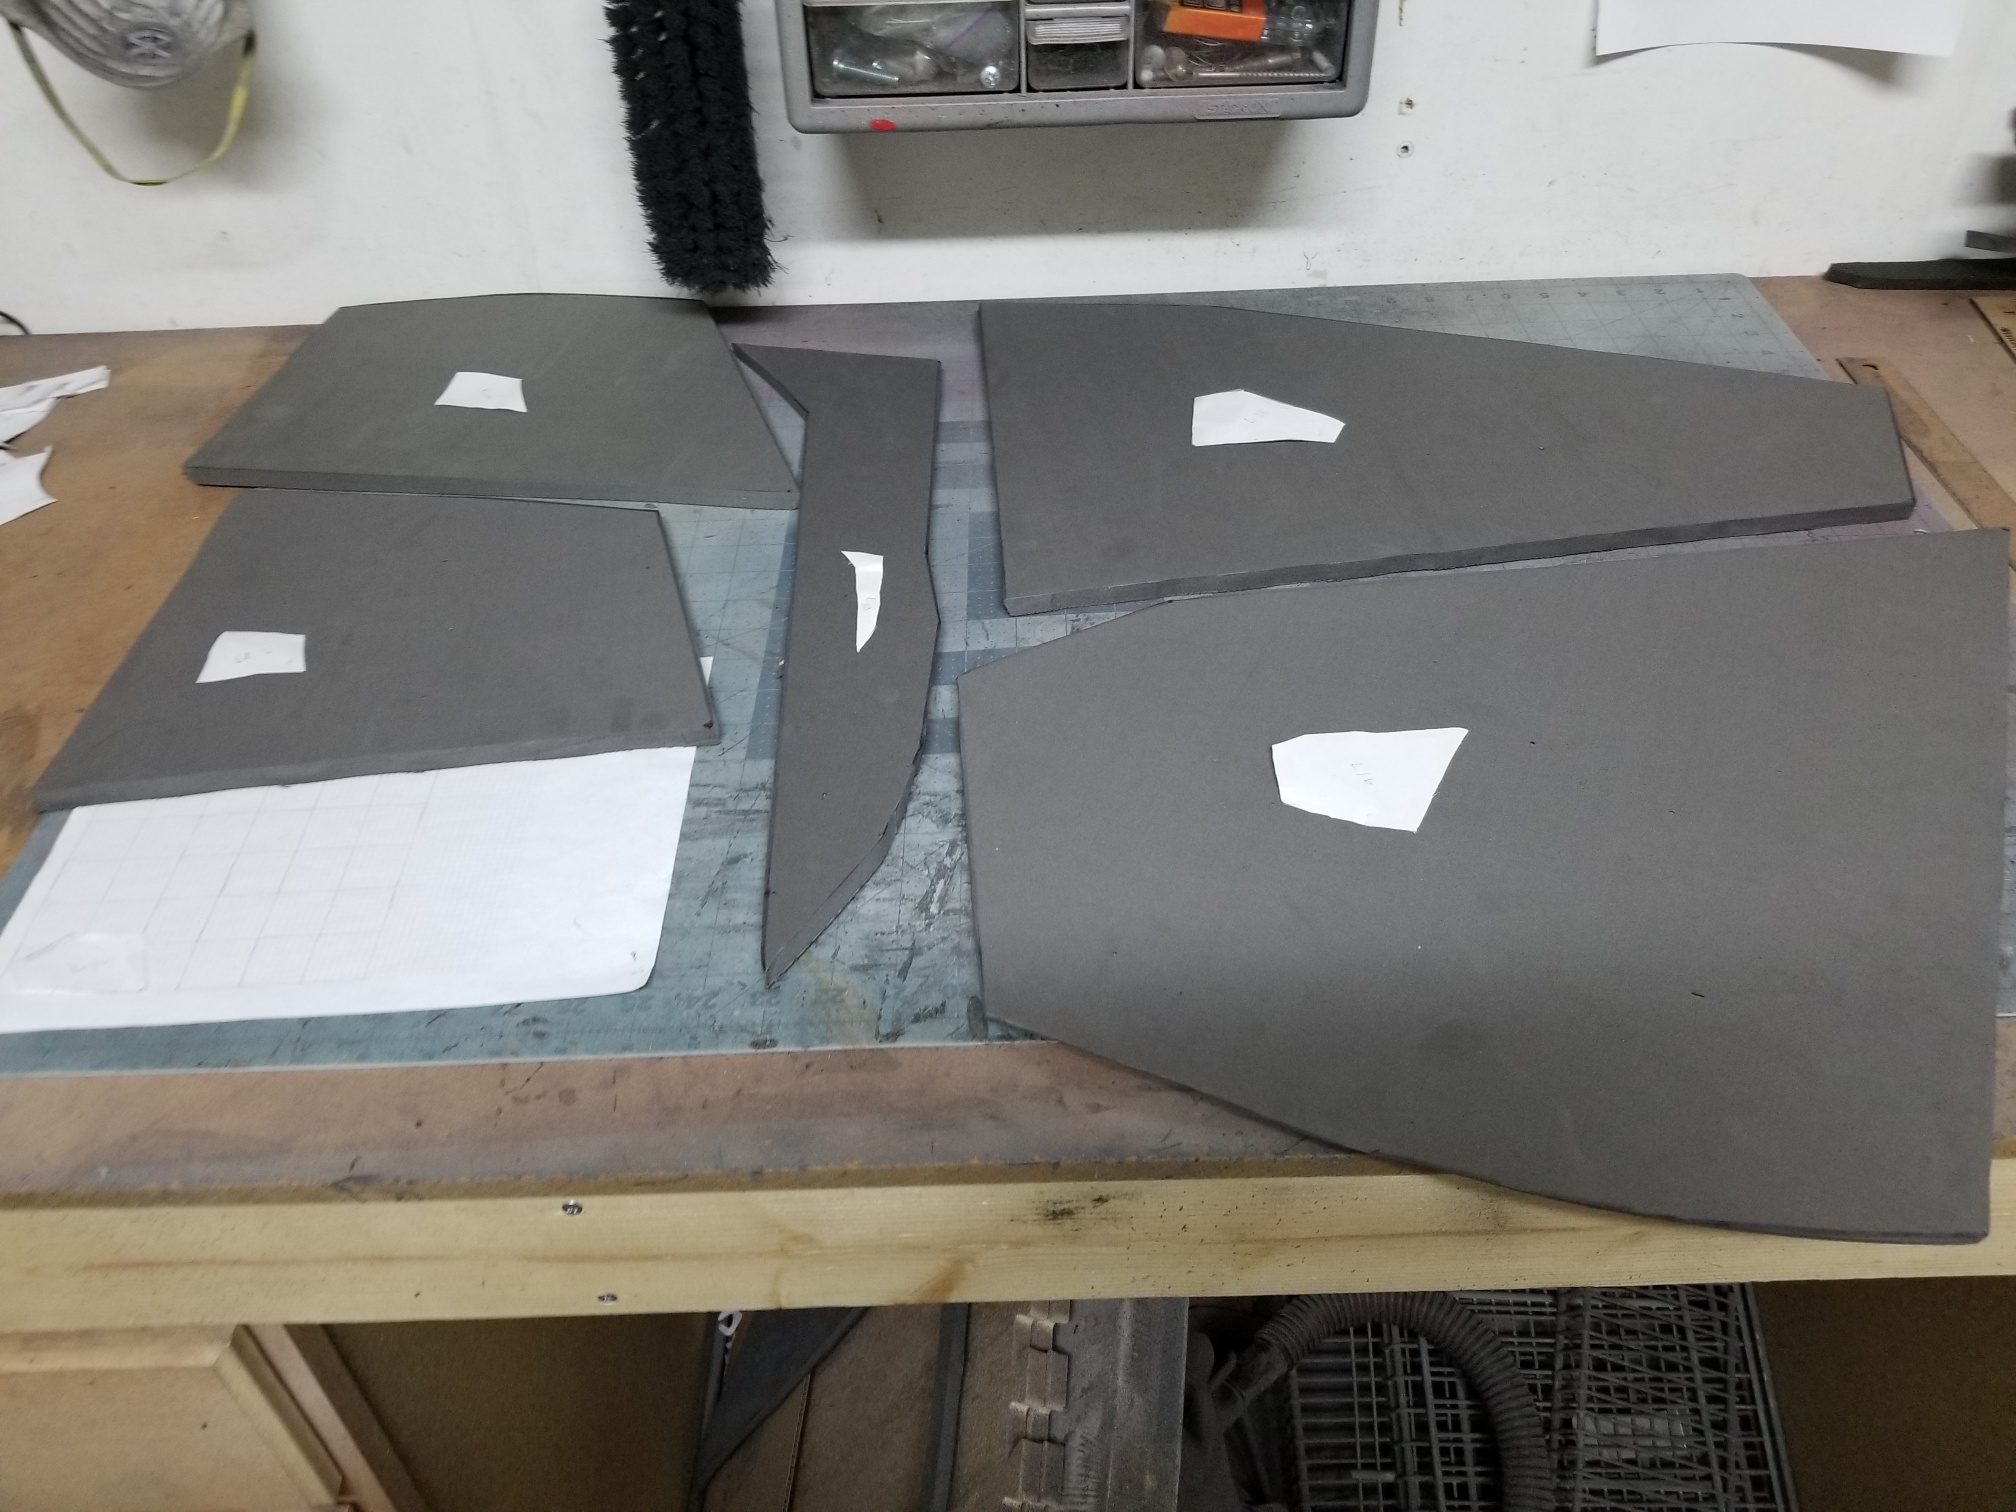
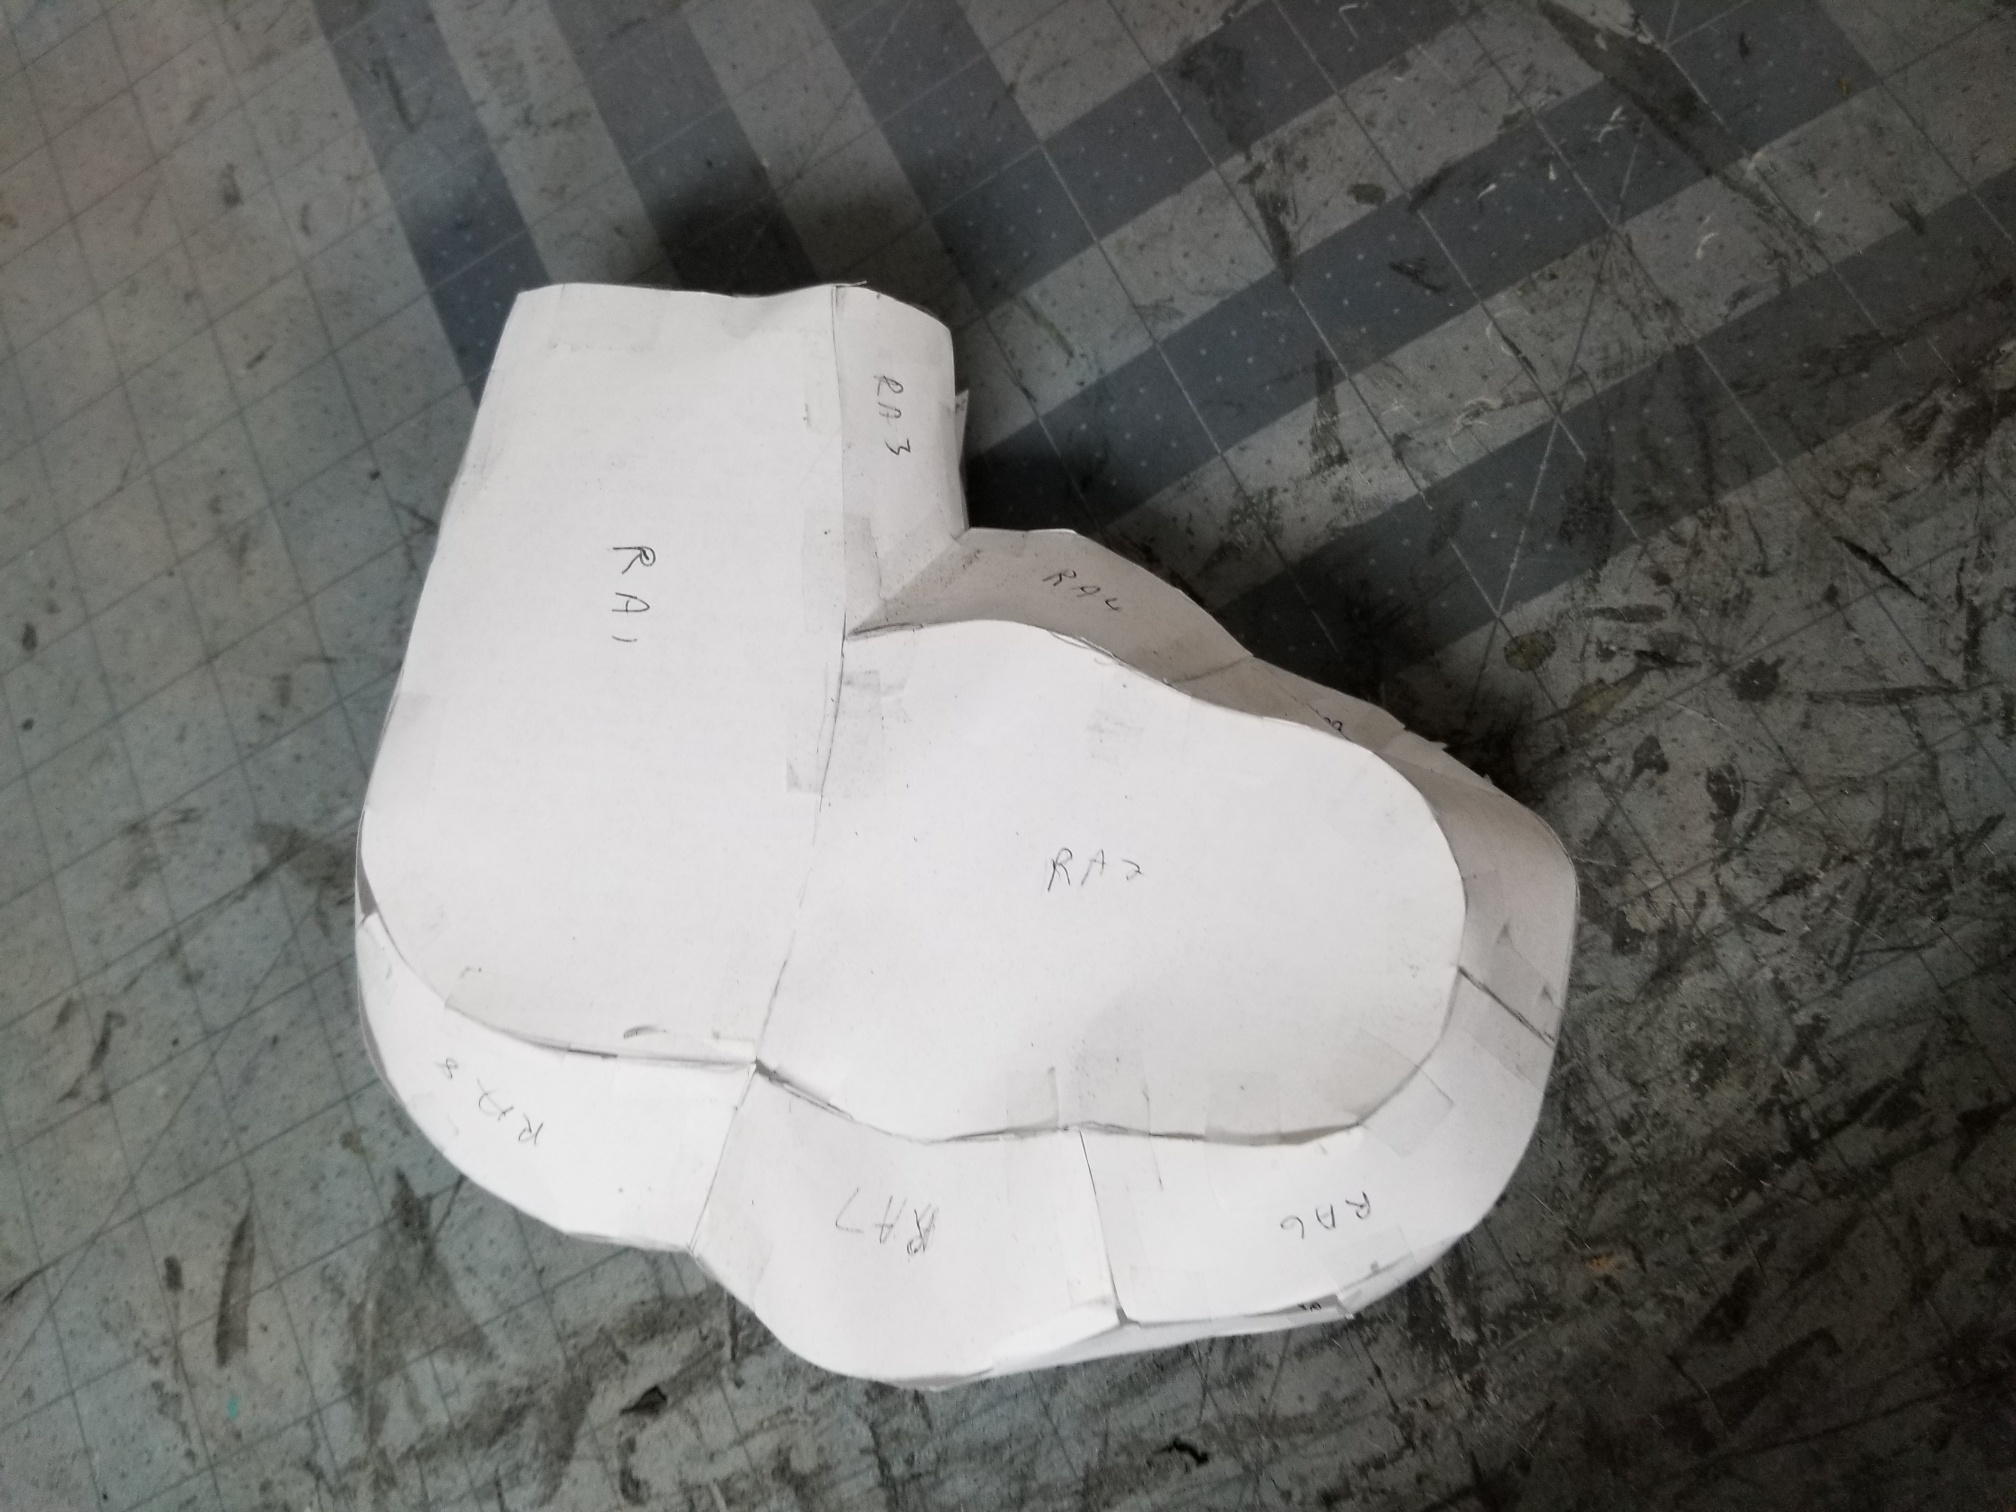
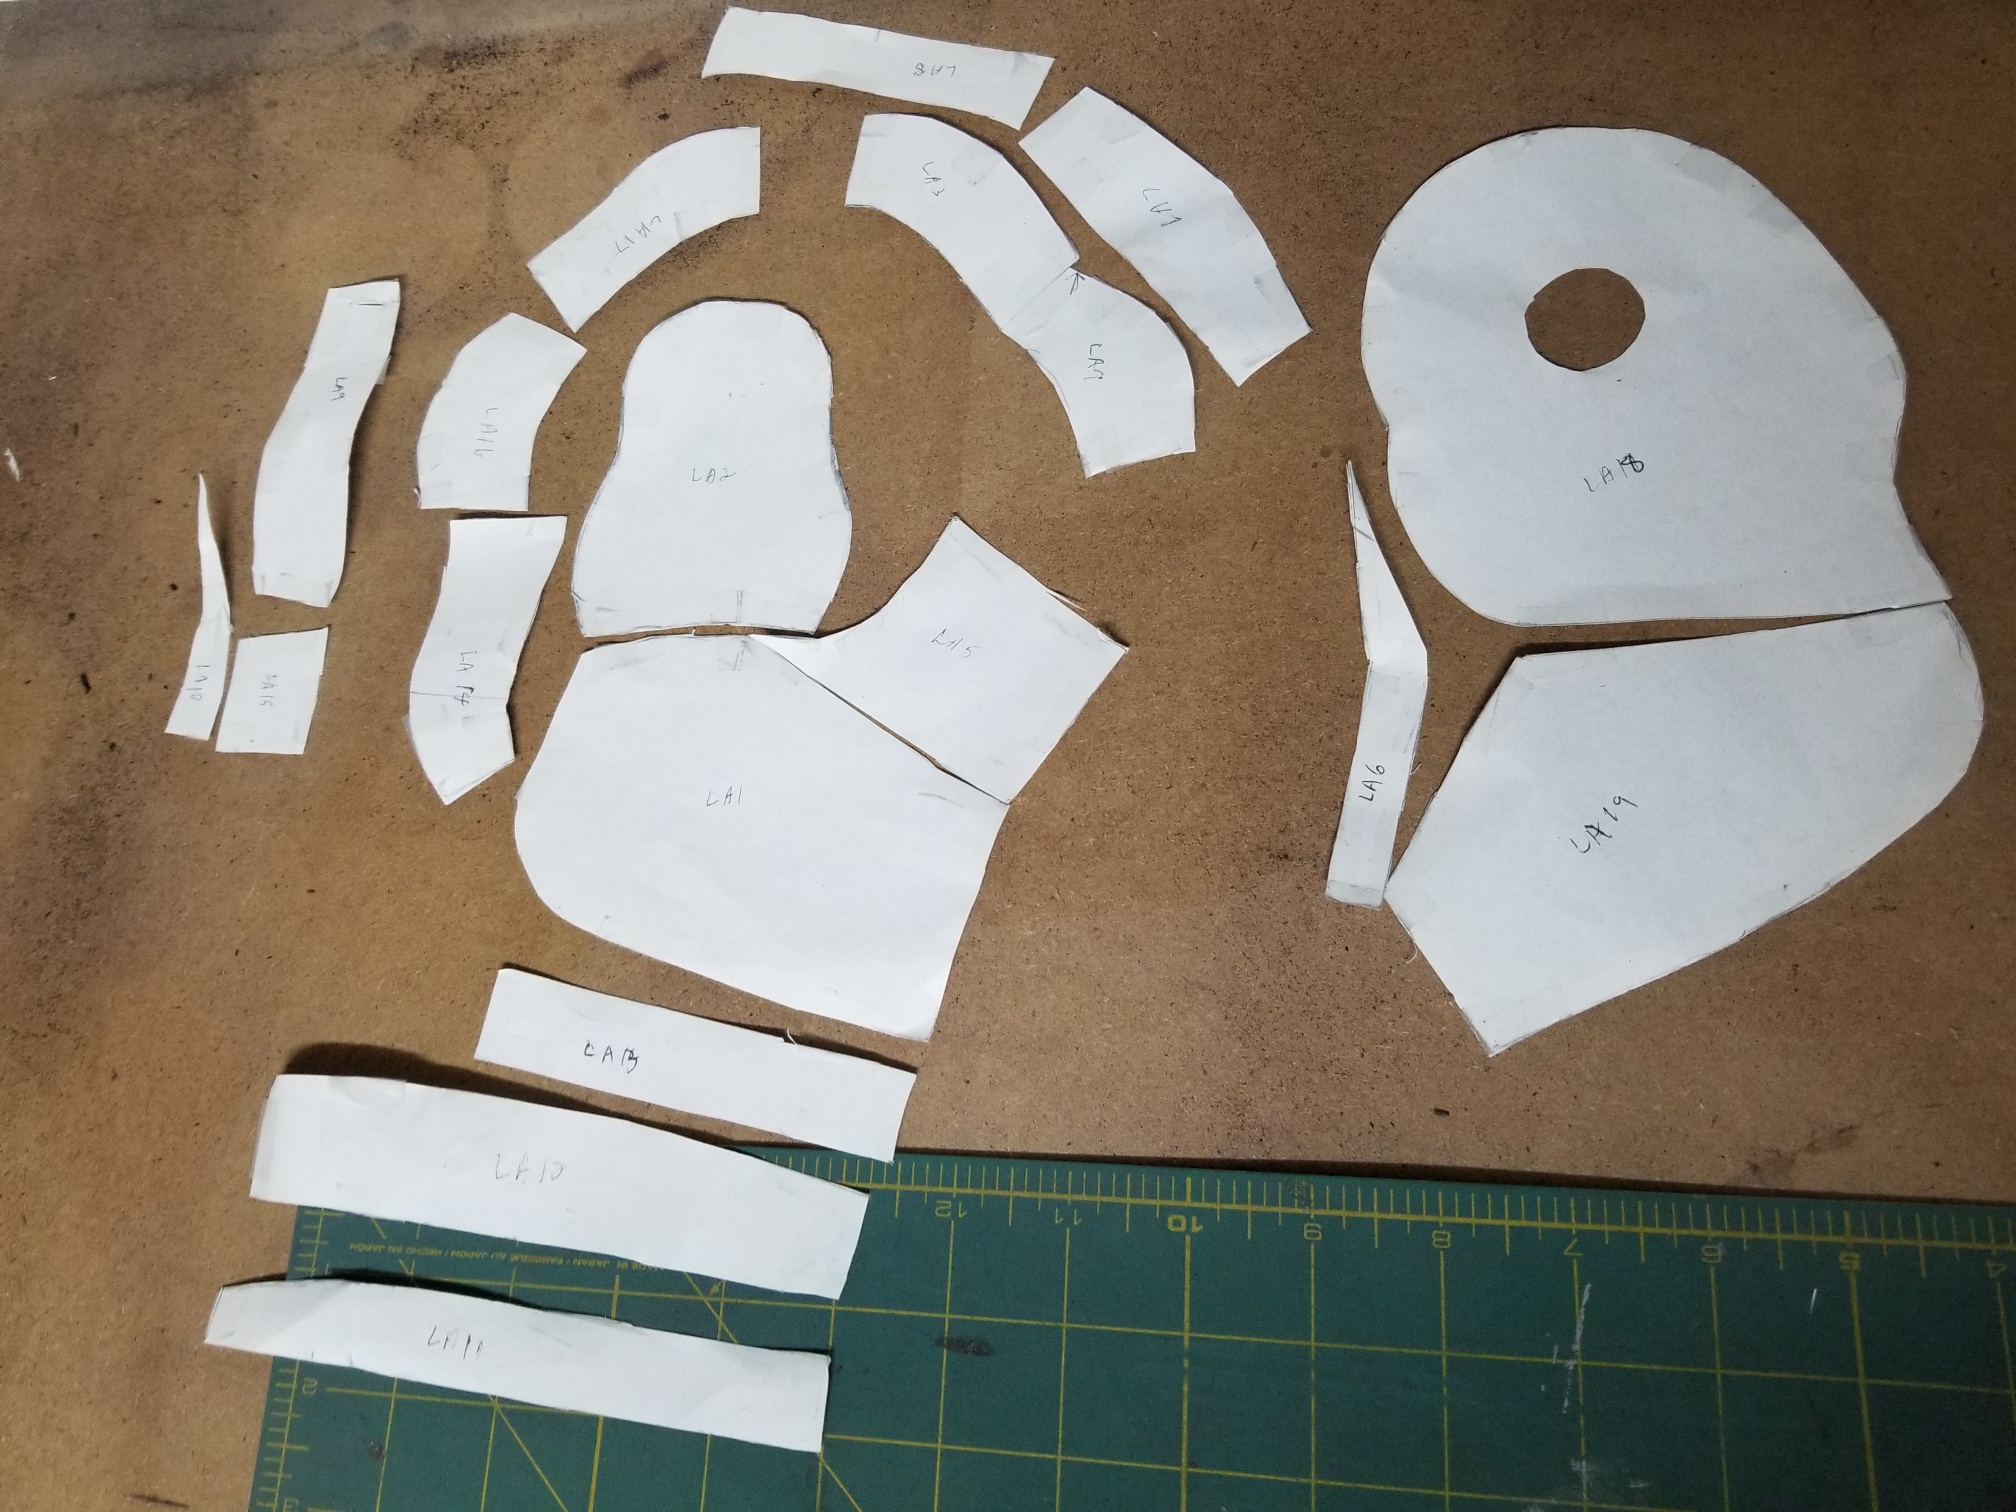
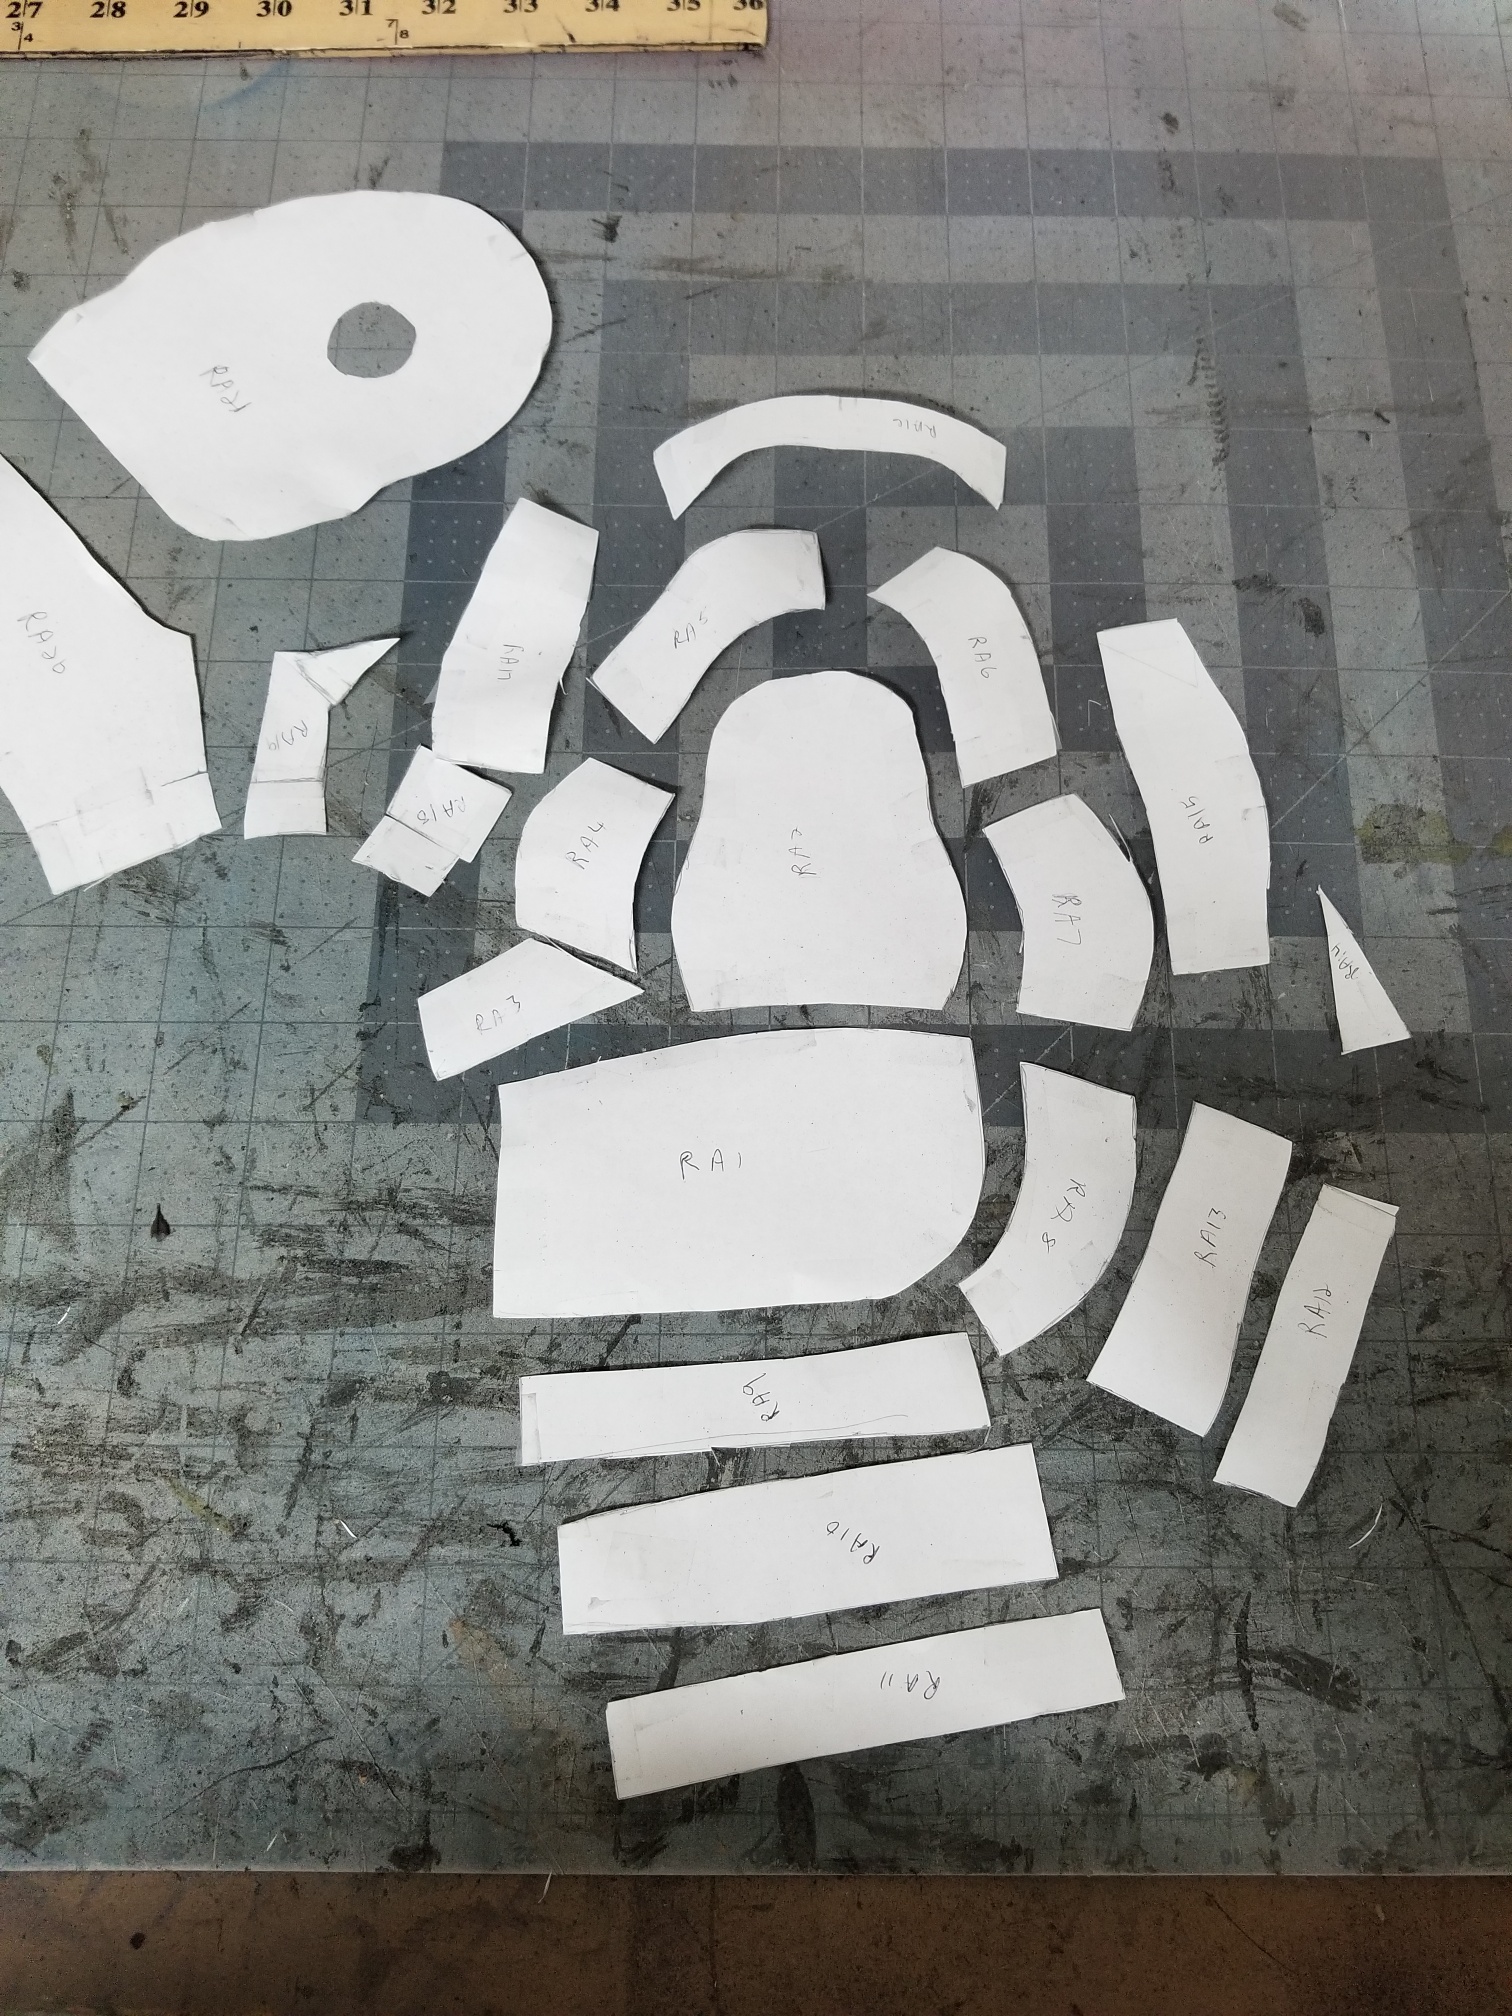
| With the template created, I focused on one body part at a time. I made the right leg first. I took photos of the template with numbers identifying each polygon panel so I knew how to reconnect the panels. After cutting the pieces apart, I laid them out and took another reference photo to show how they would connect. |
 |
 |
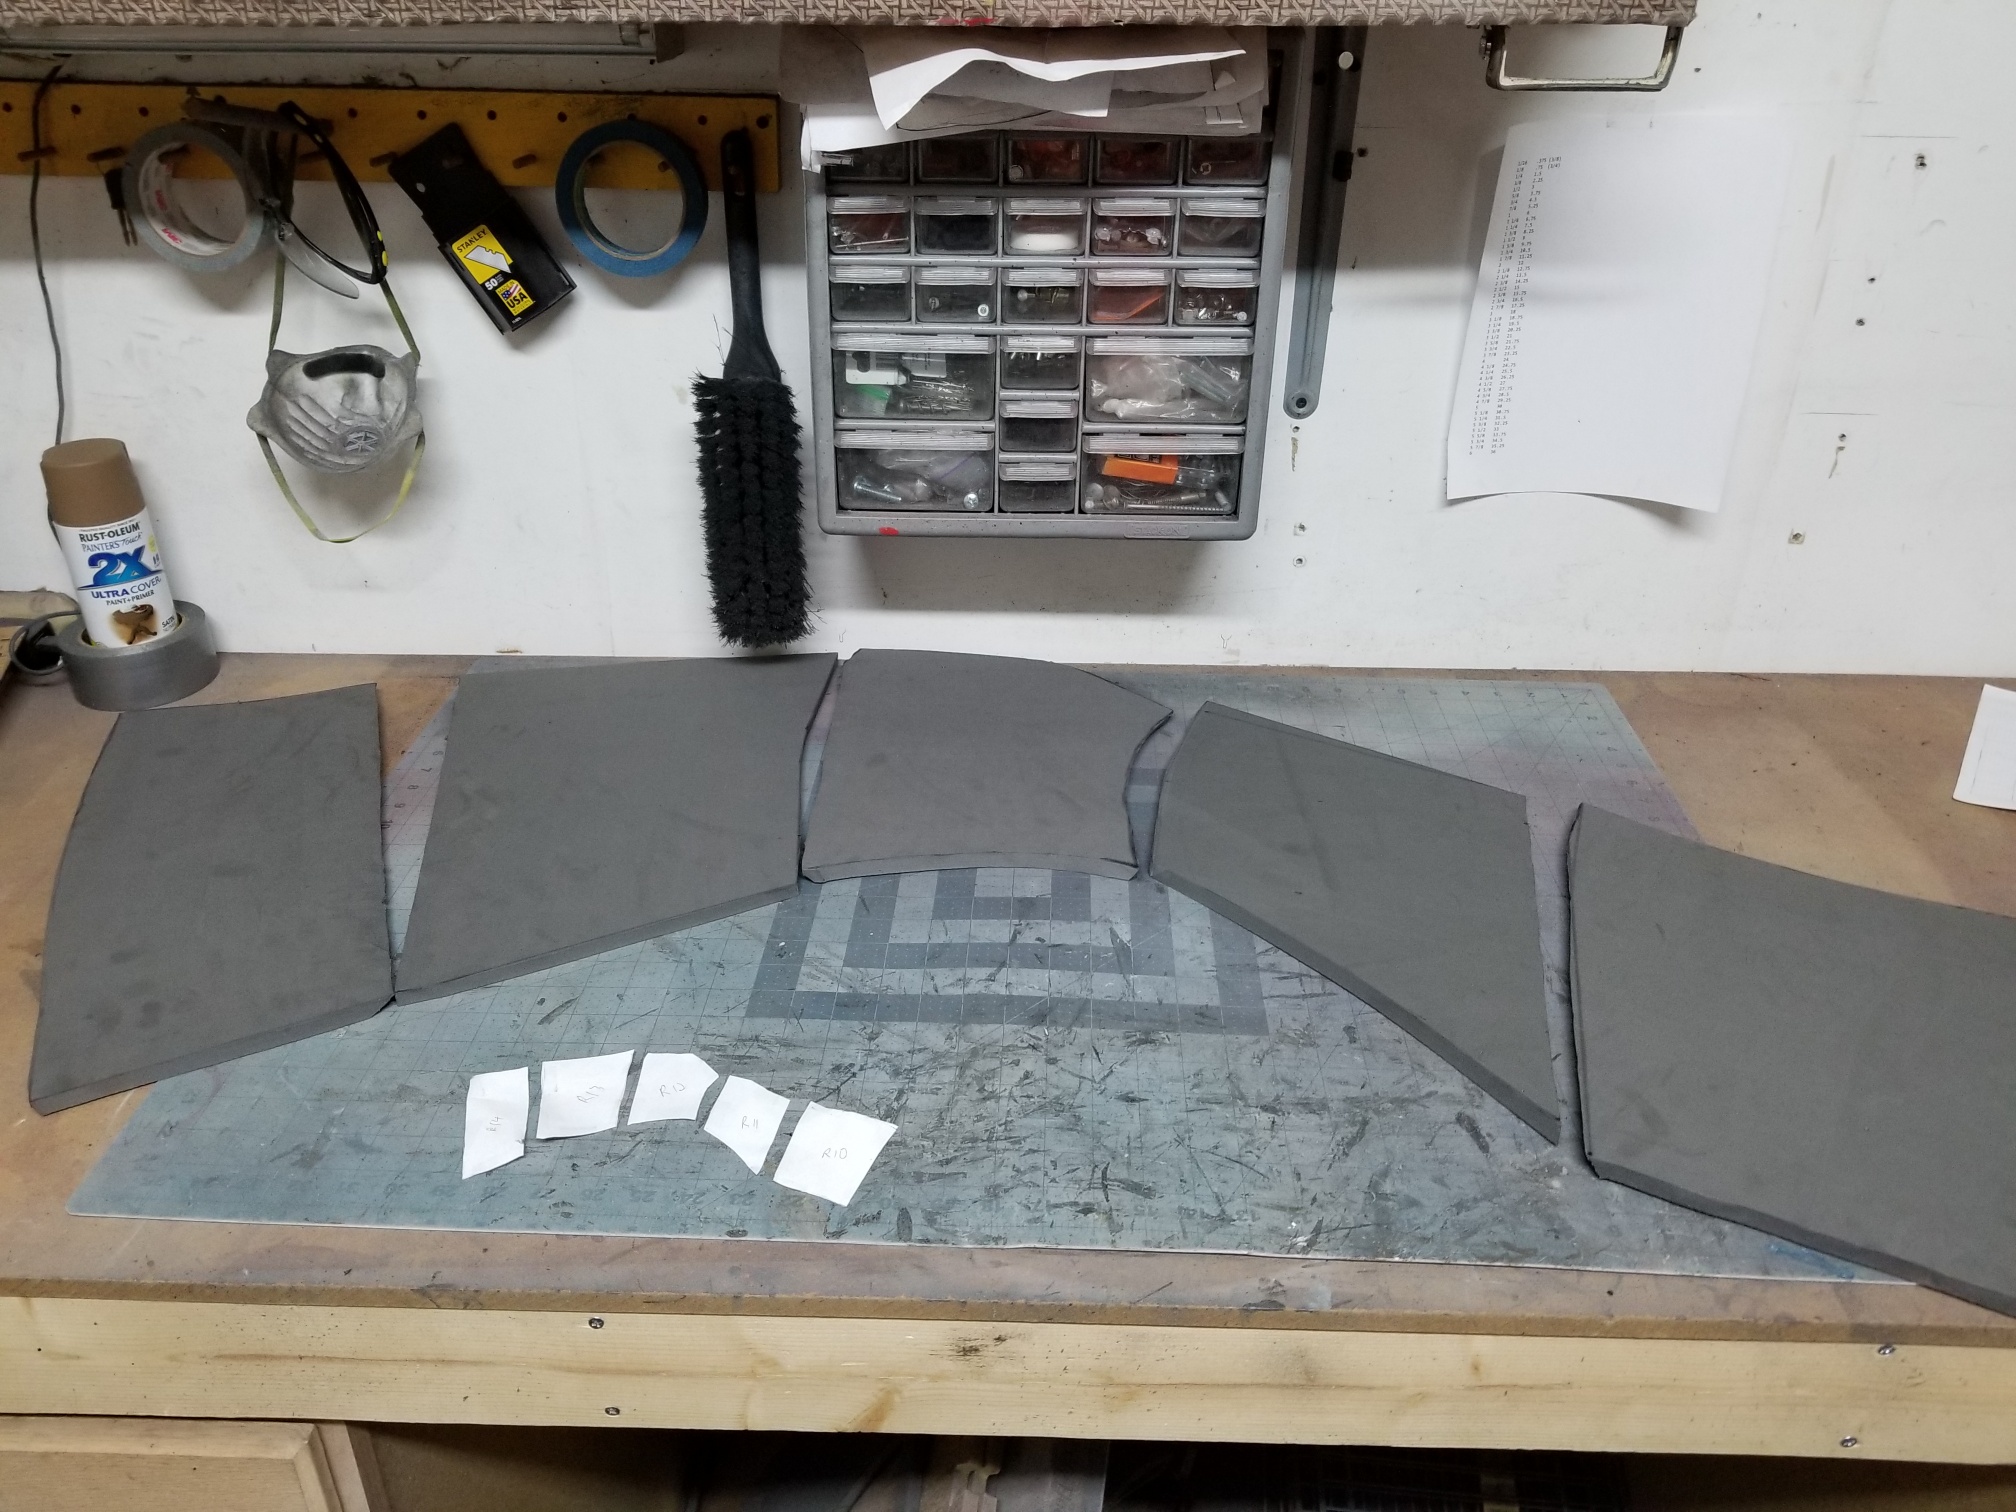 |
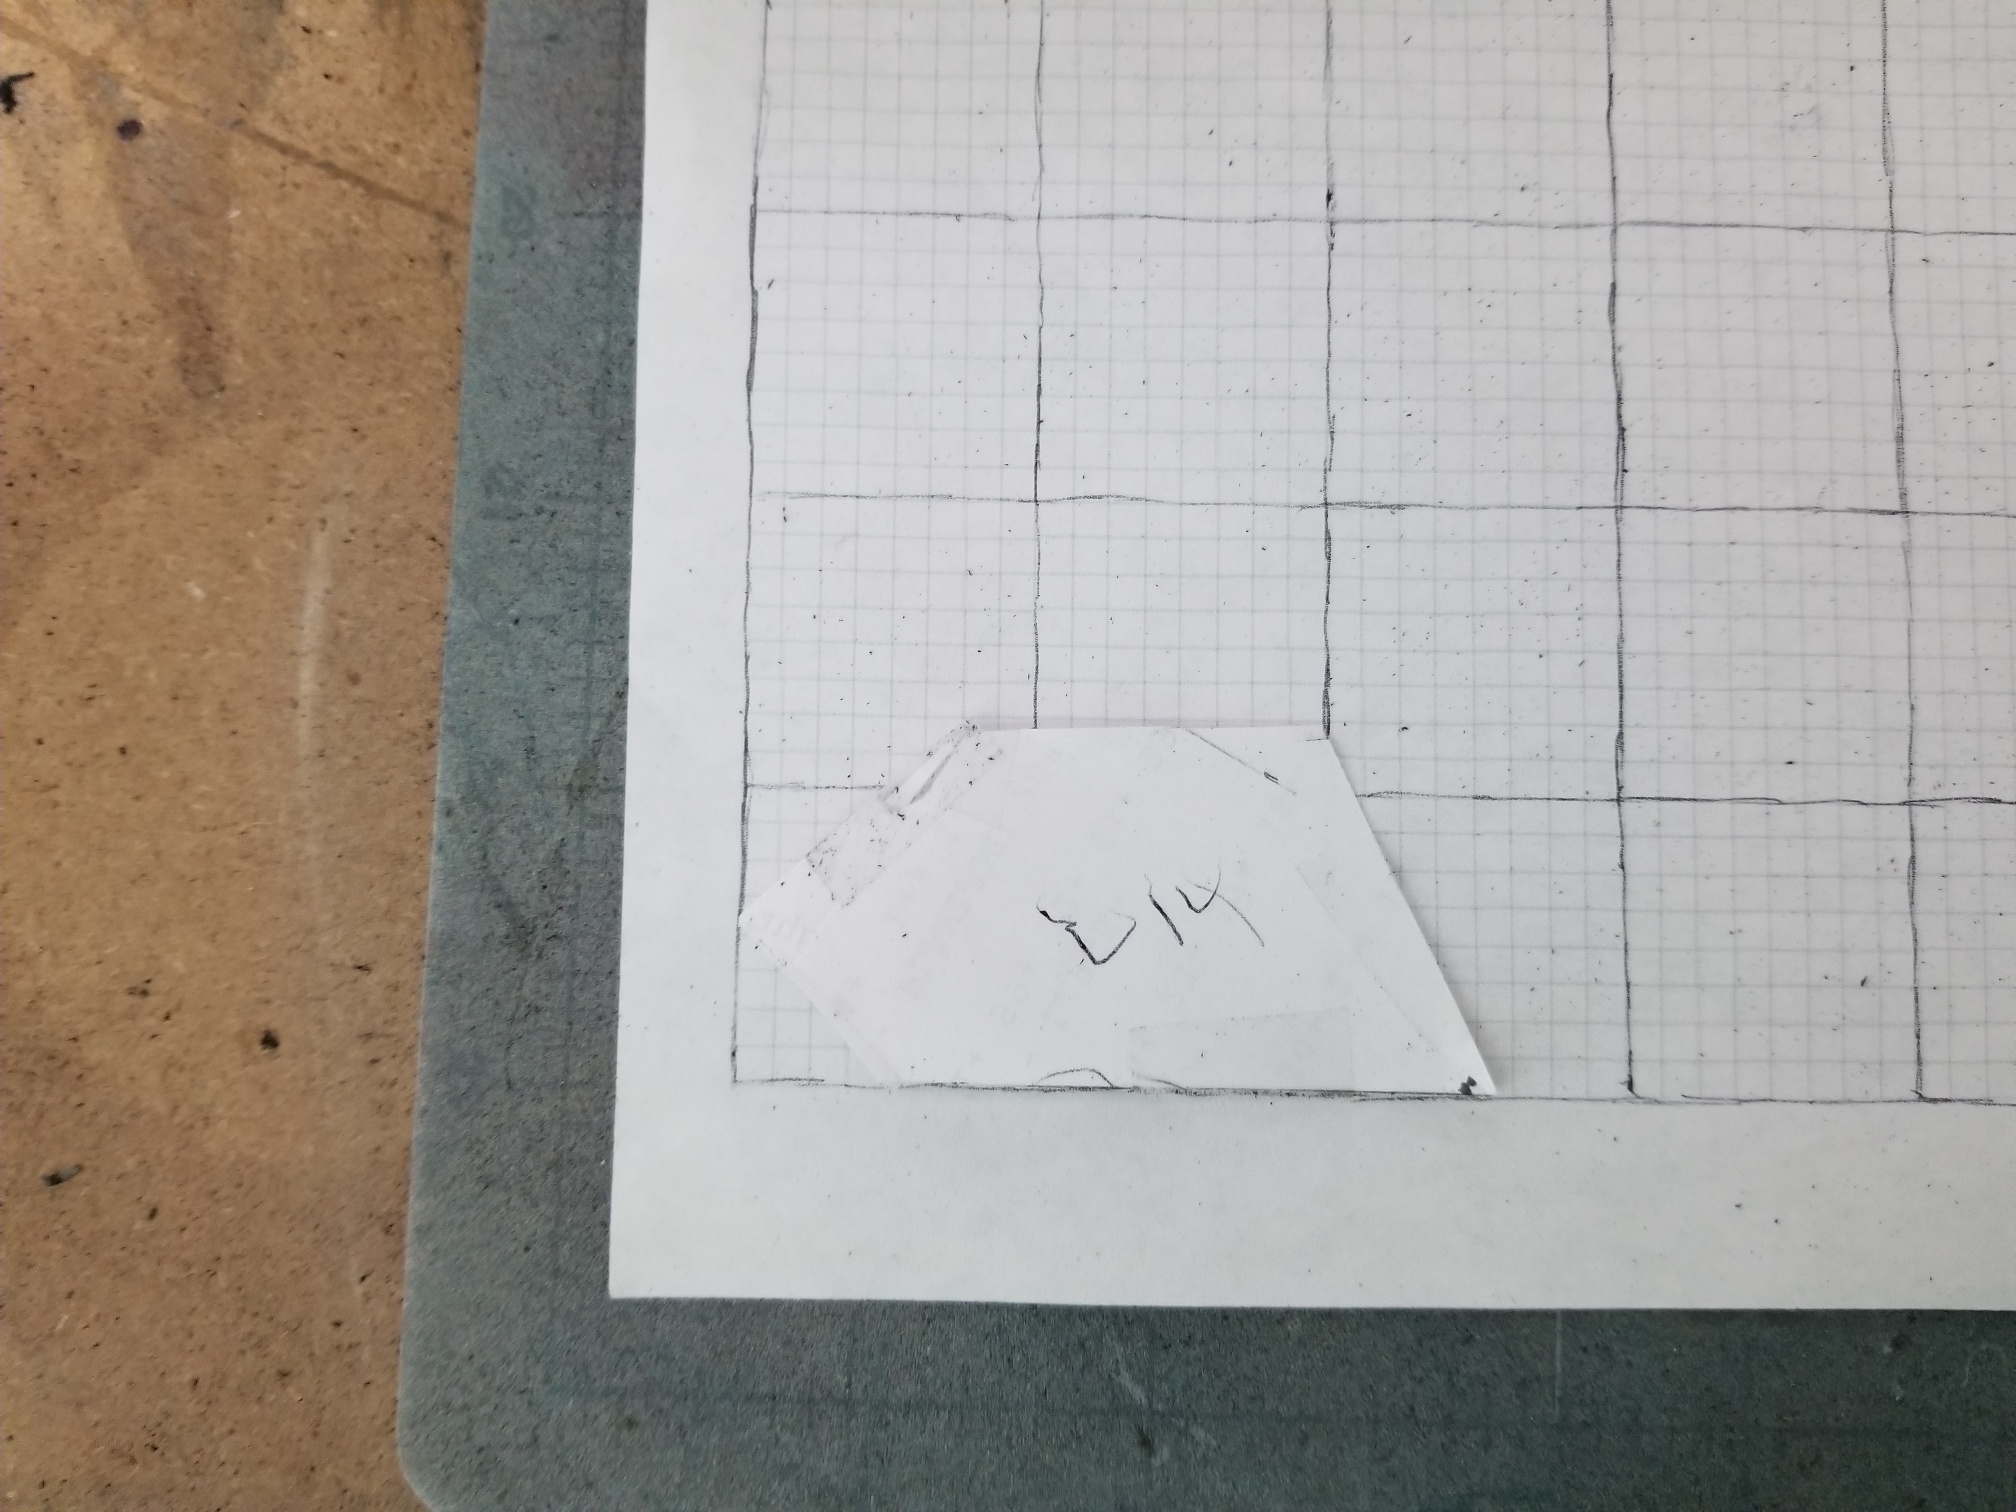
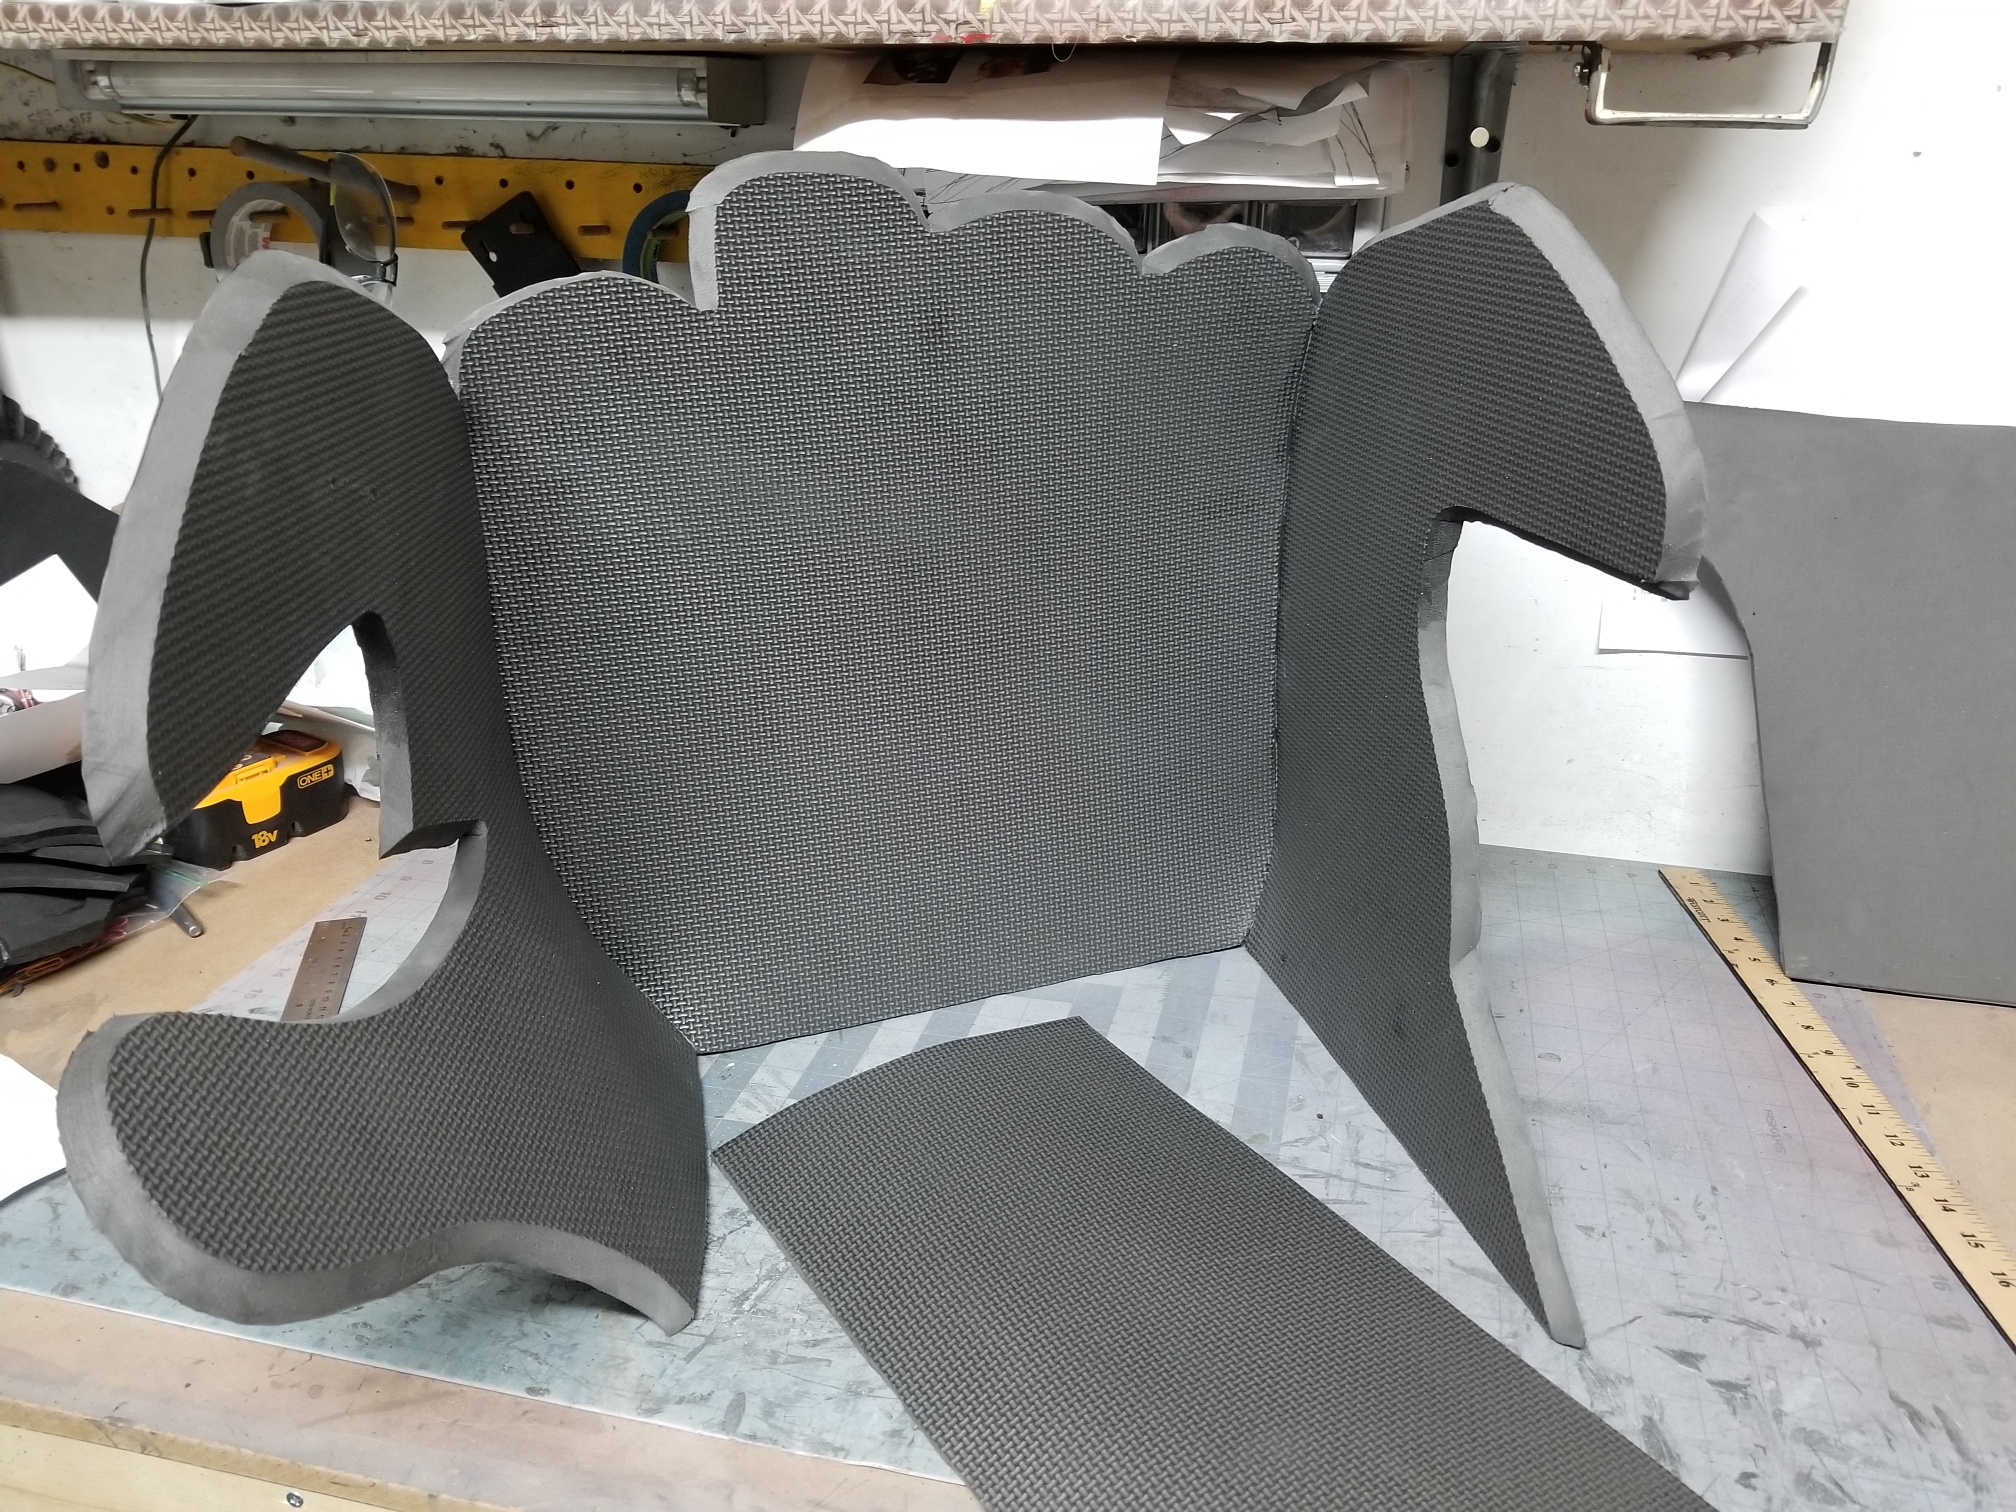
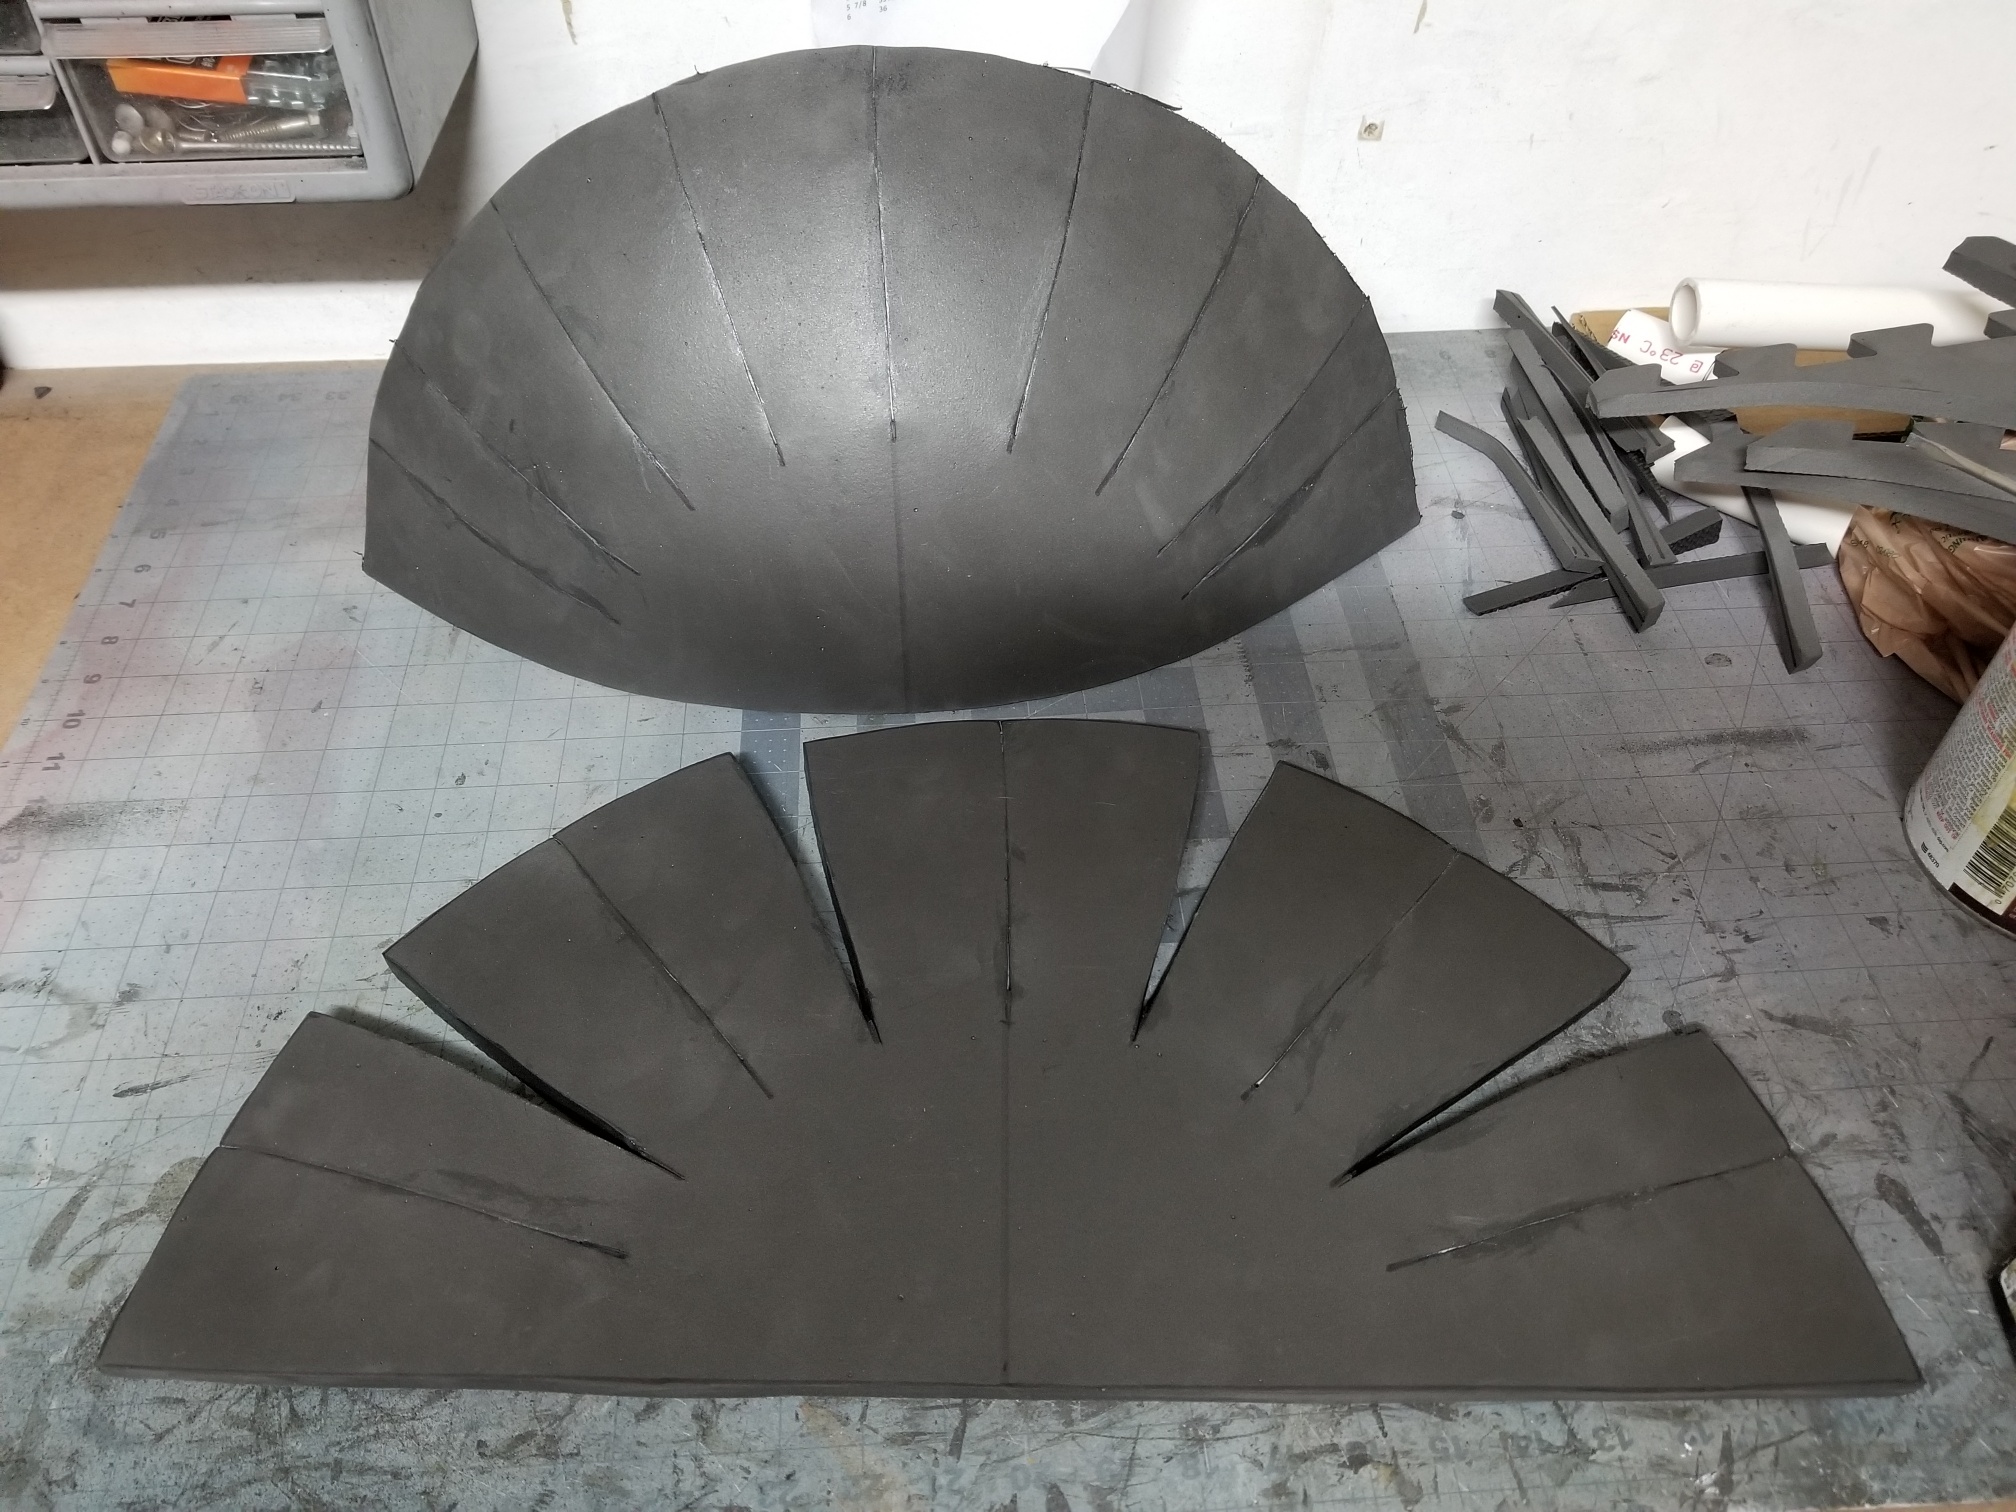
| Each piece was placed on a grid. Each block on the grid was 1/8″ of an inch in size. 8 blocks (1″) represents 6″ on the final project. So if a piece is 1.5″ wide on the grid, I know to draw the piece 9″ wide on the foam. I plotted key points and vertices of each shape on the foam. |
 |
 |
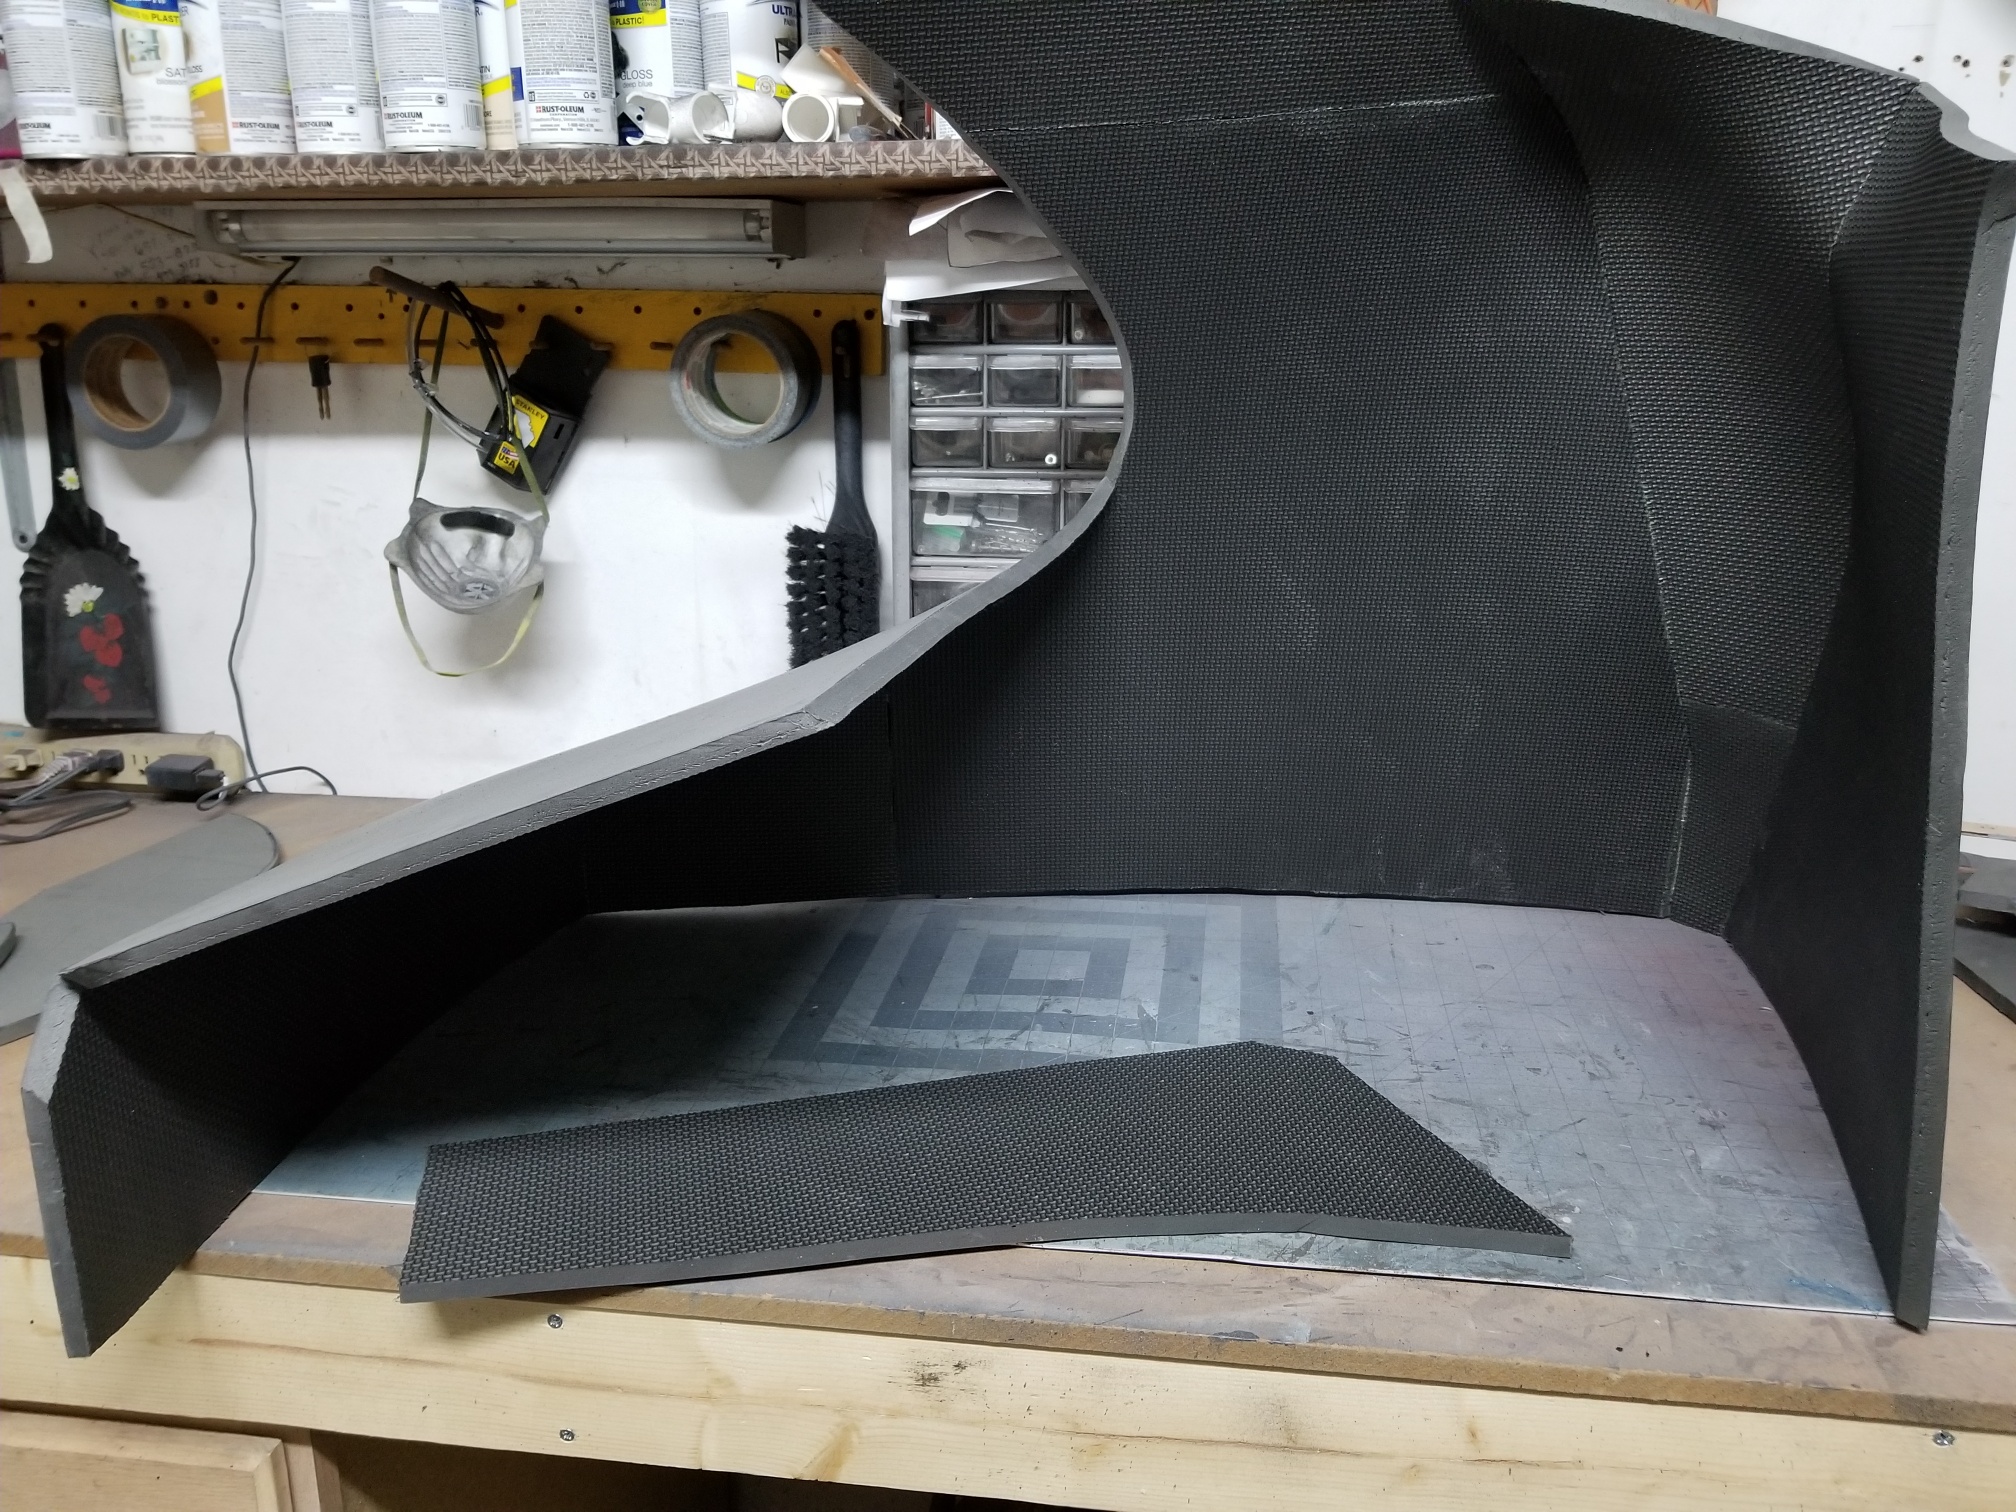
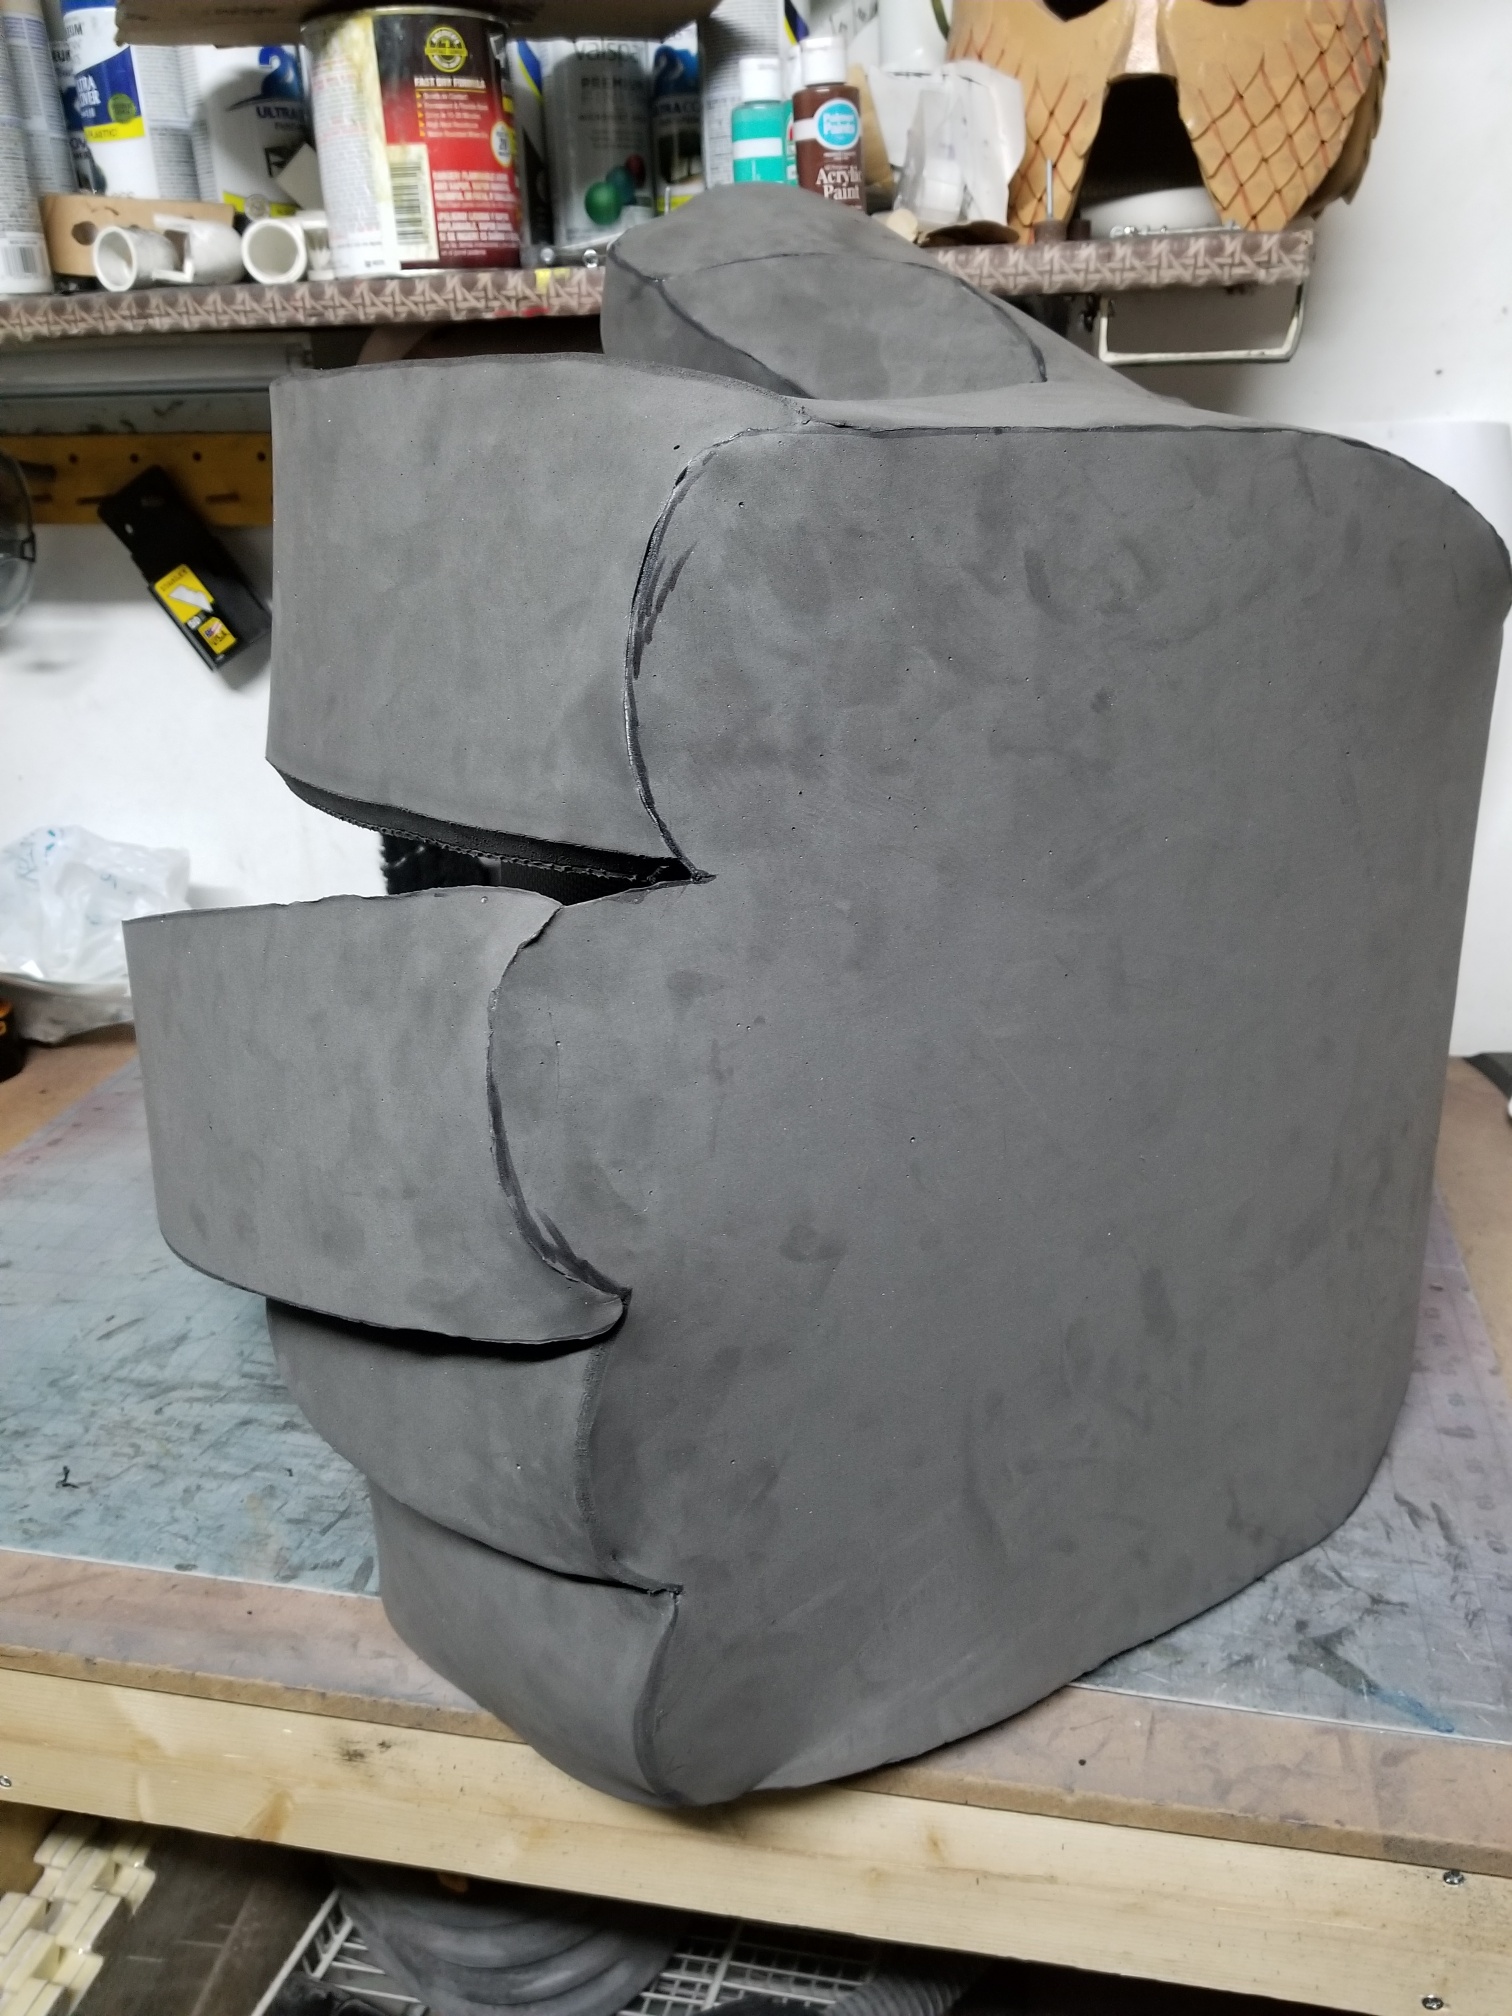
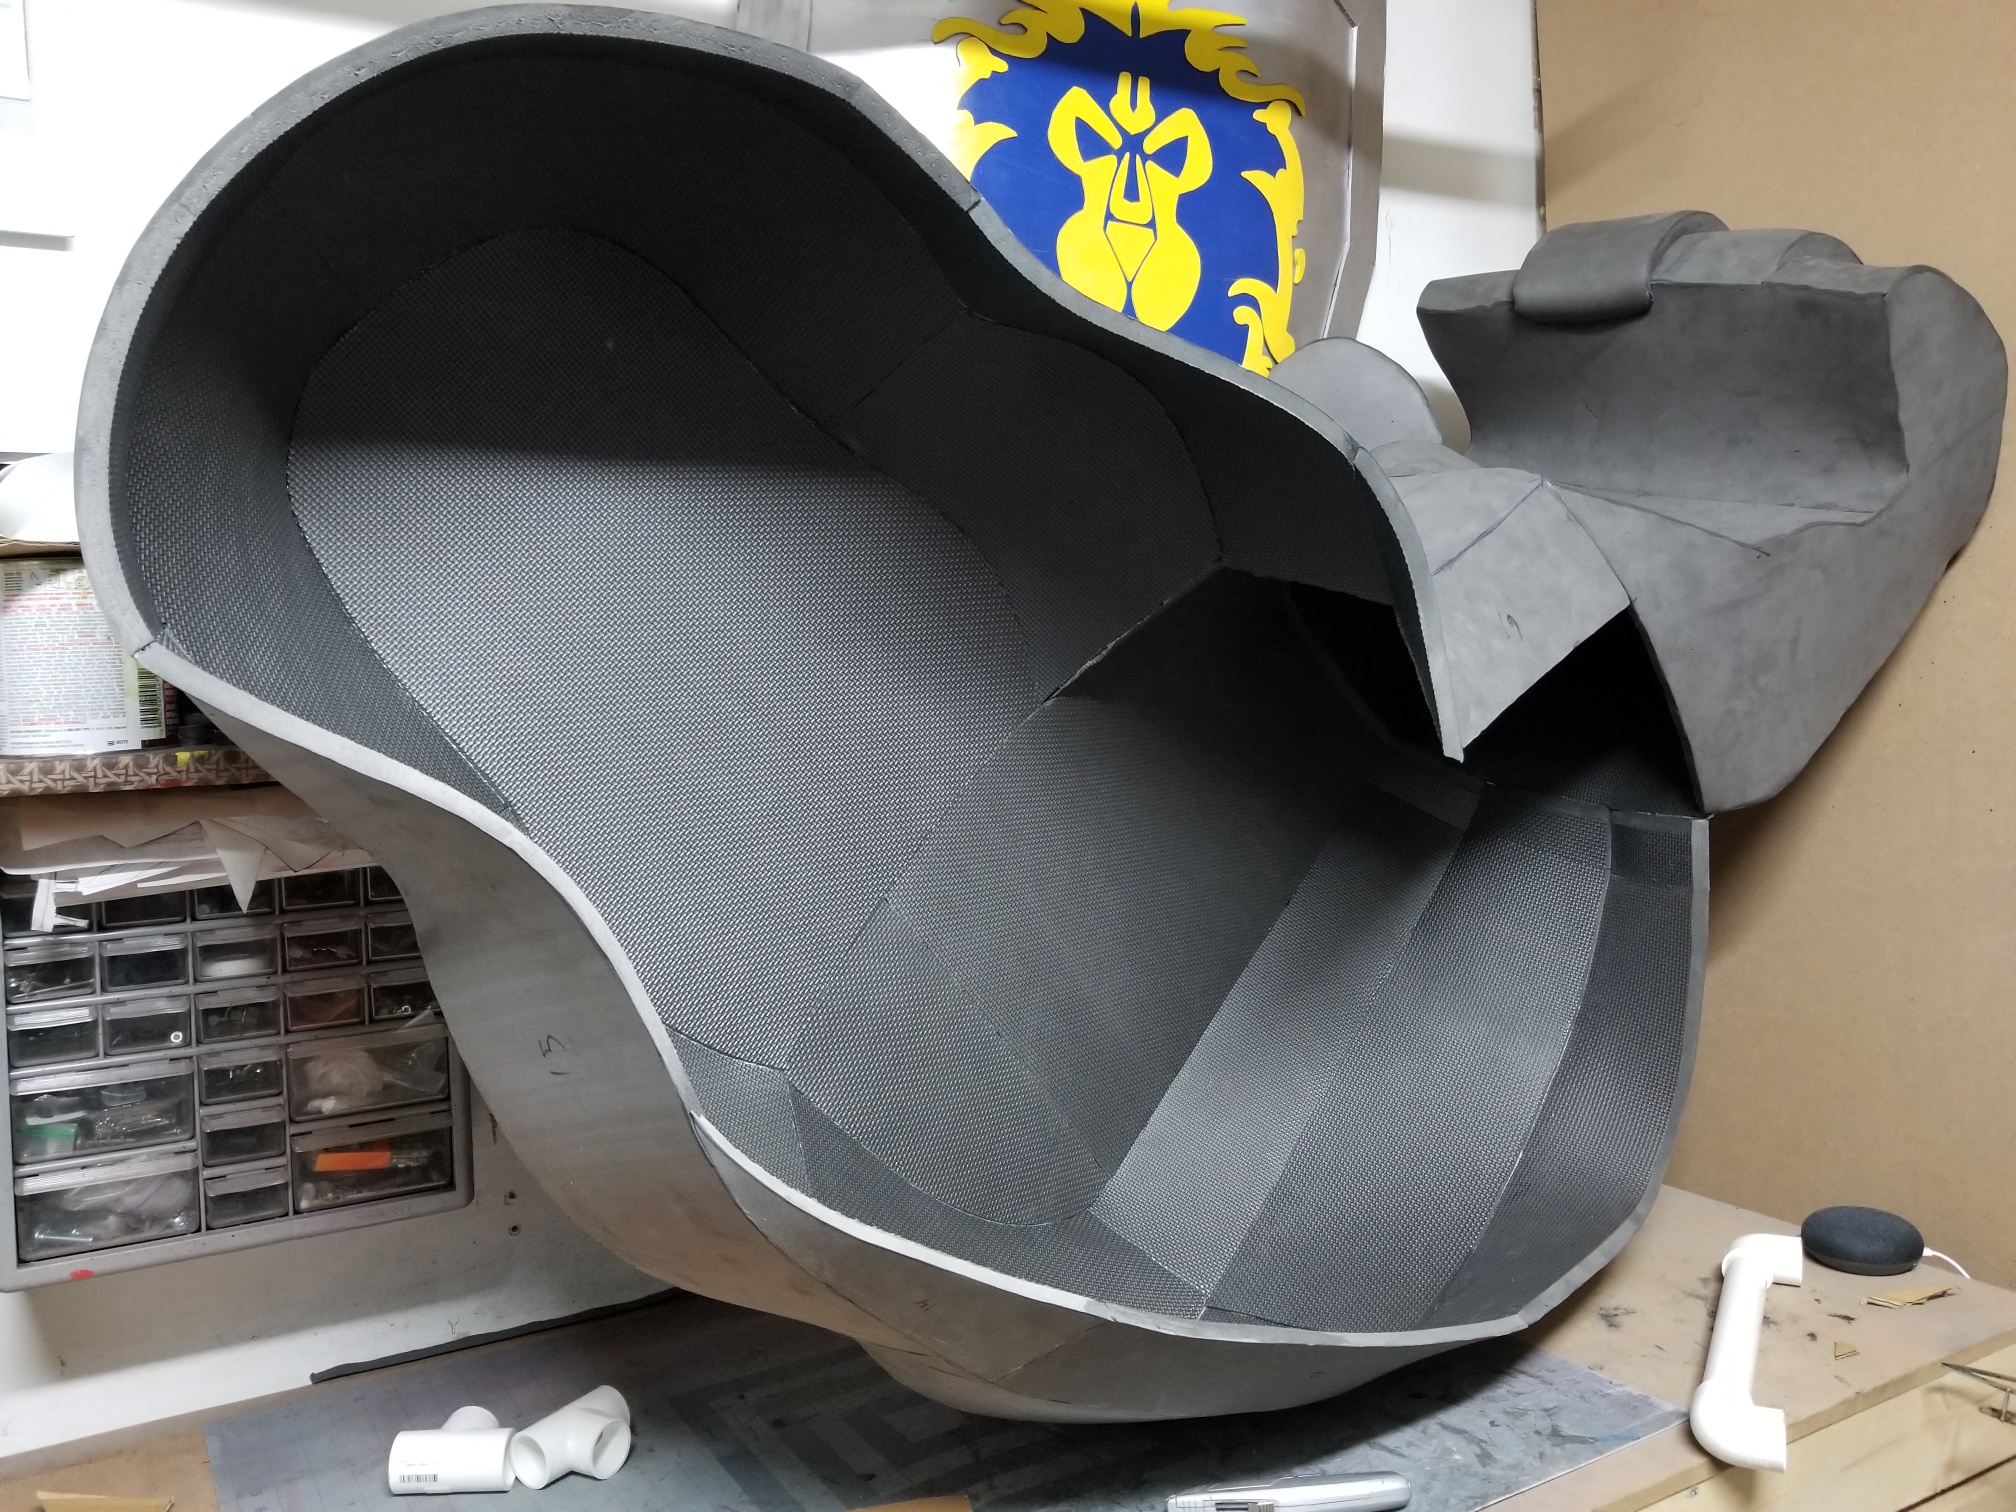
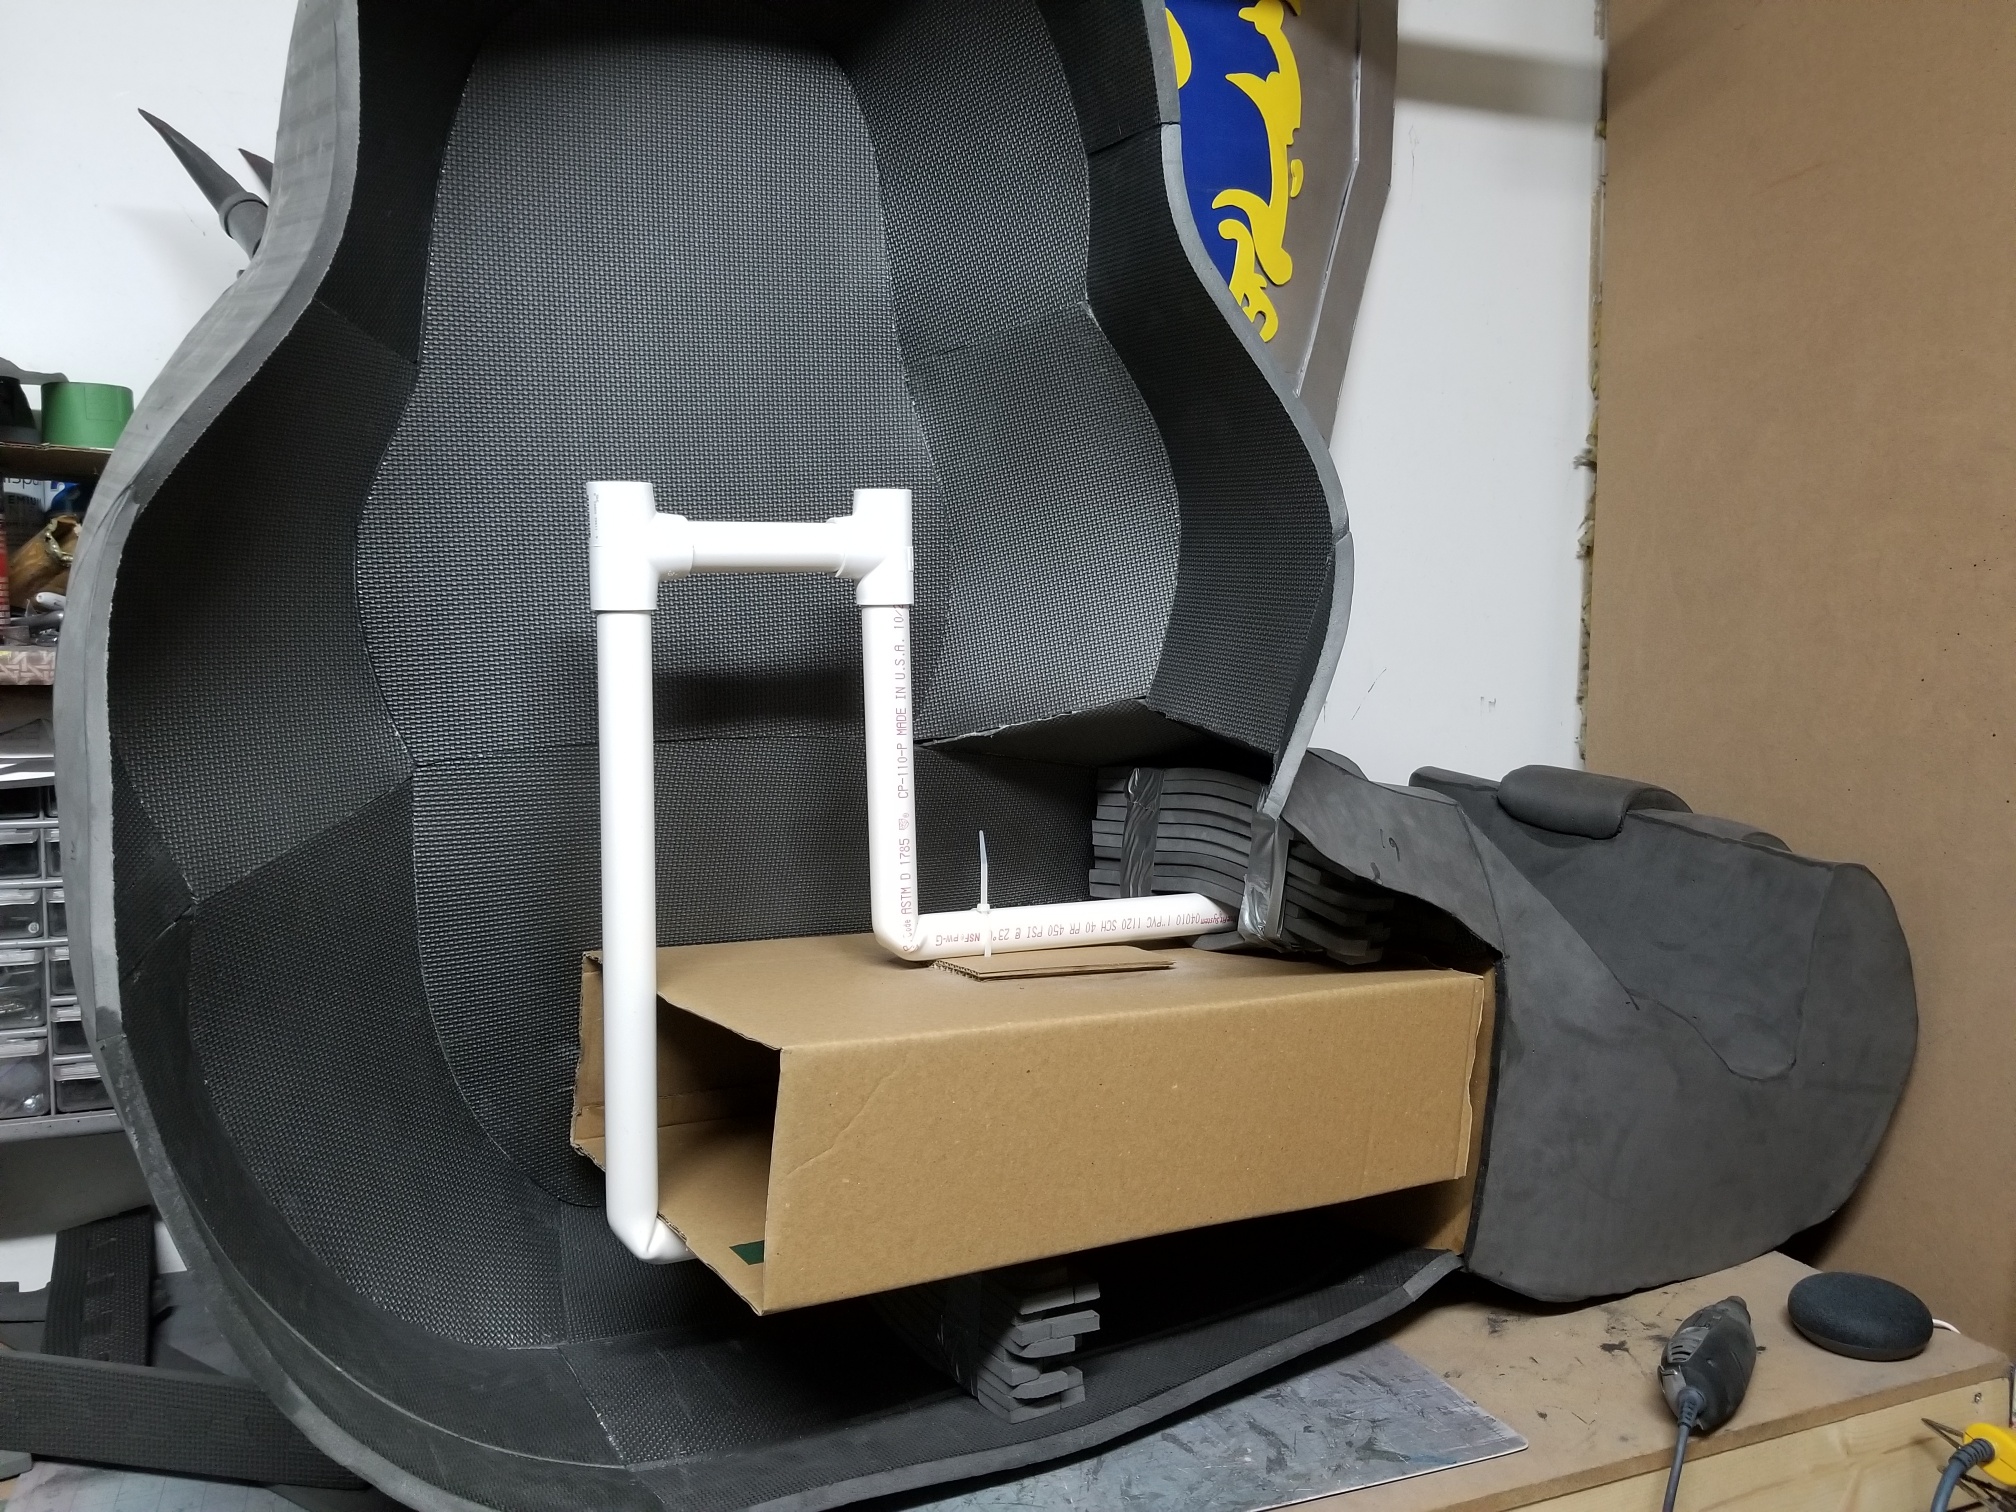
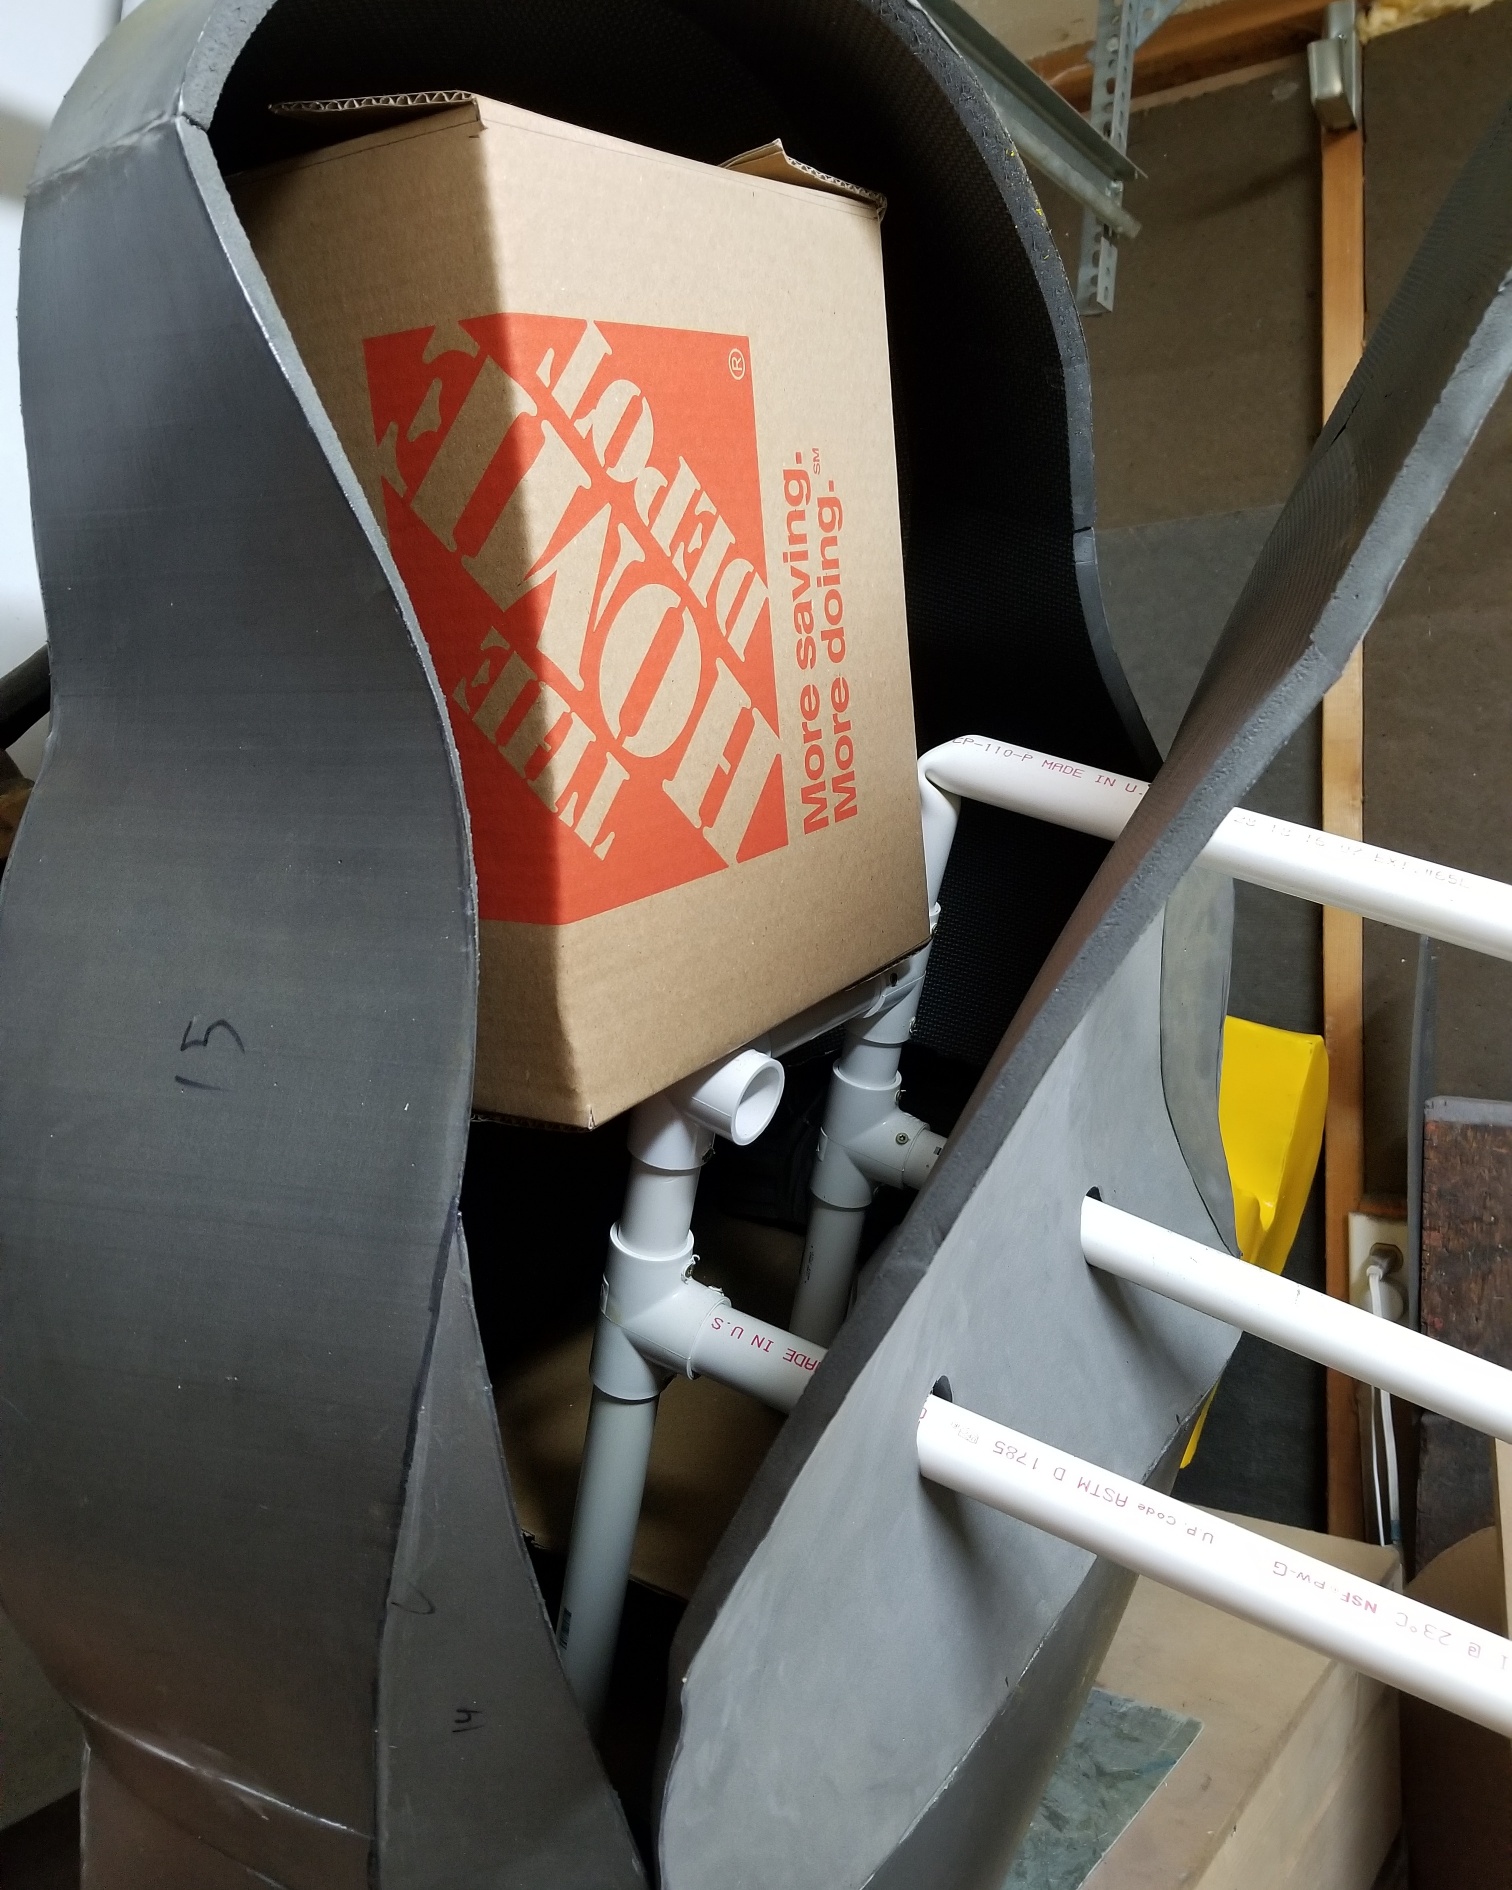
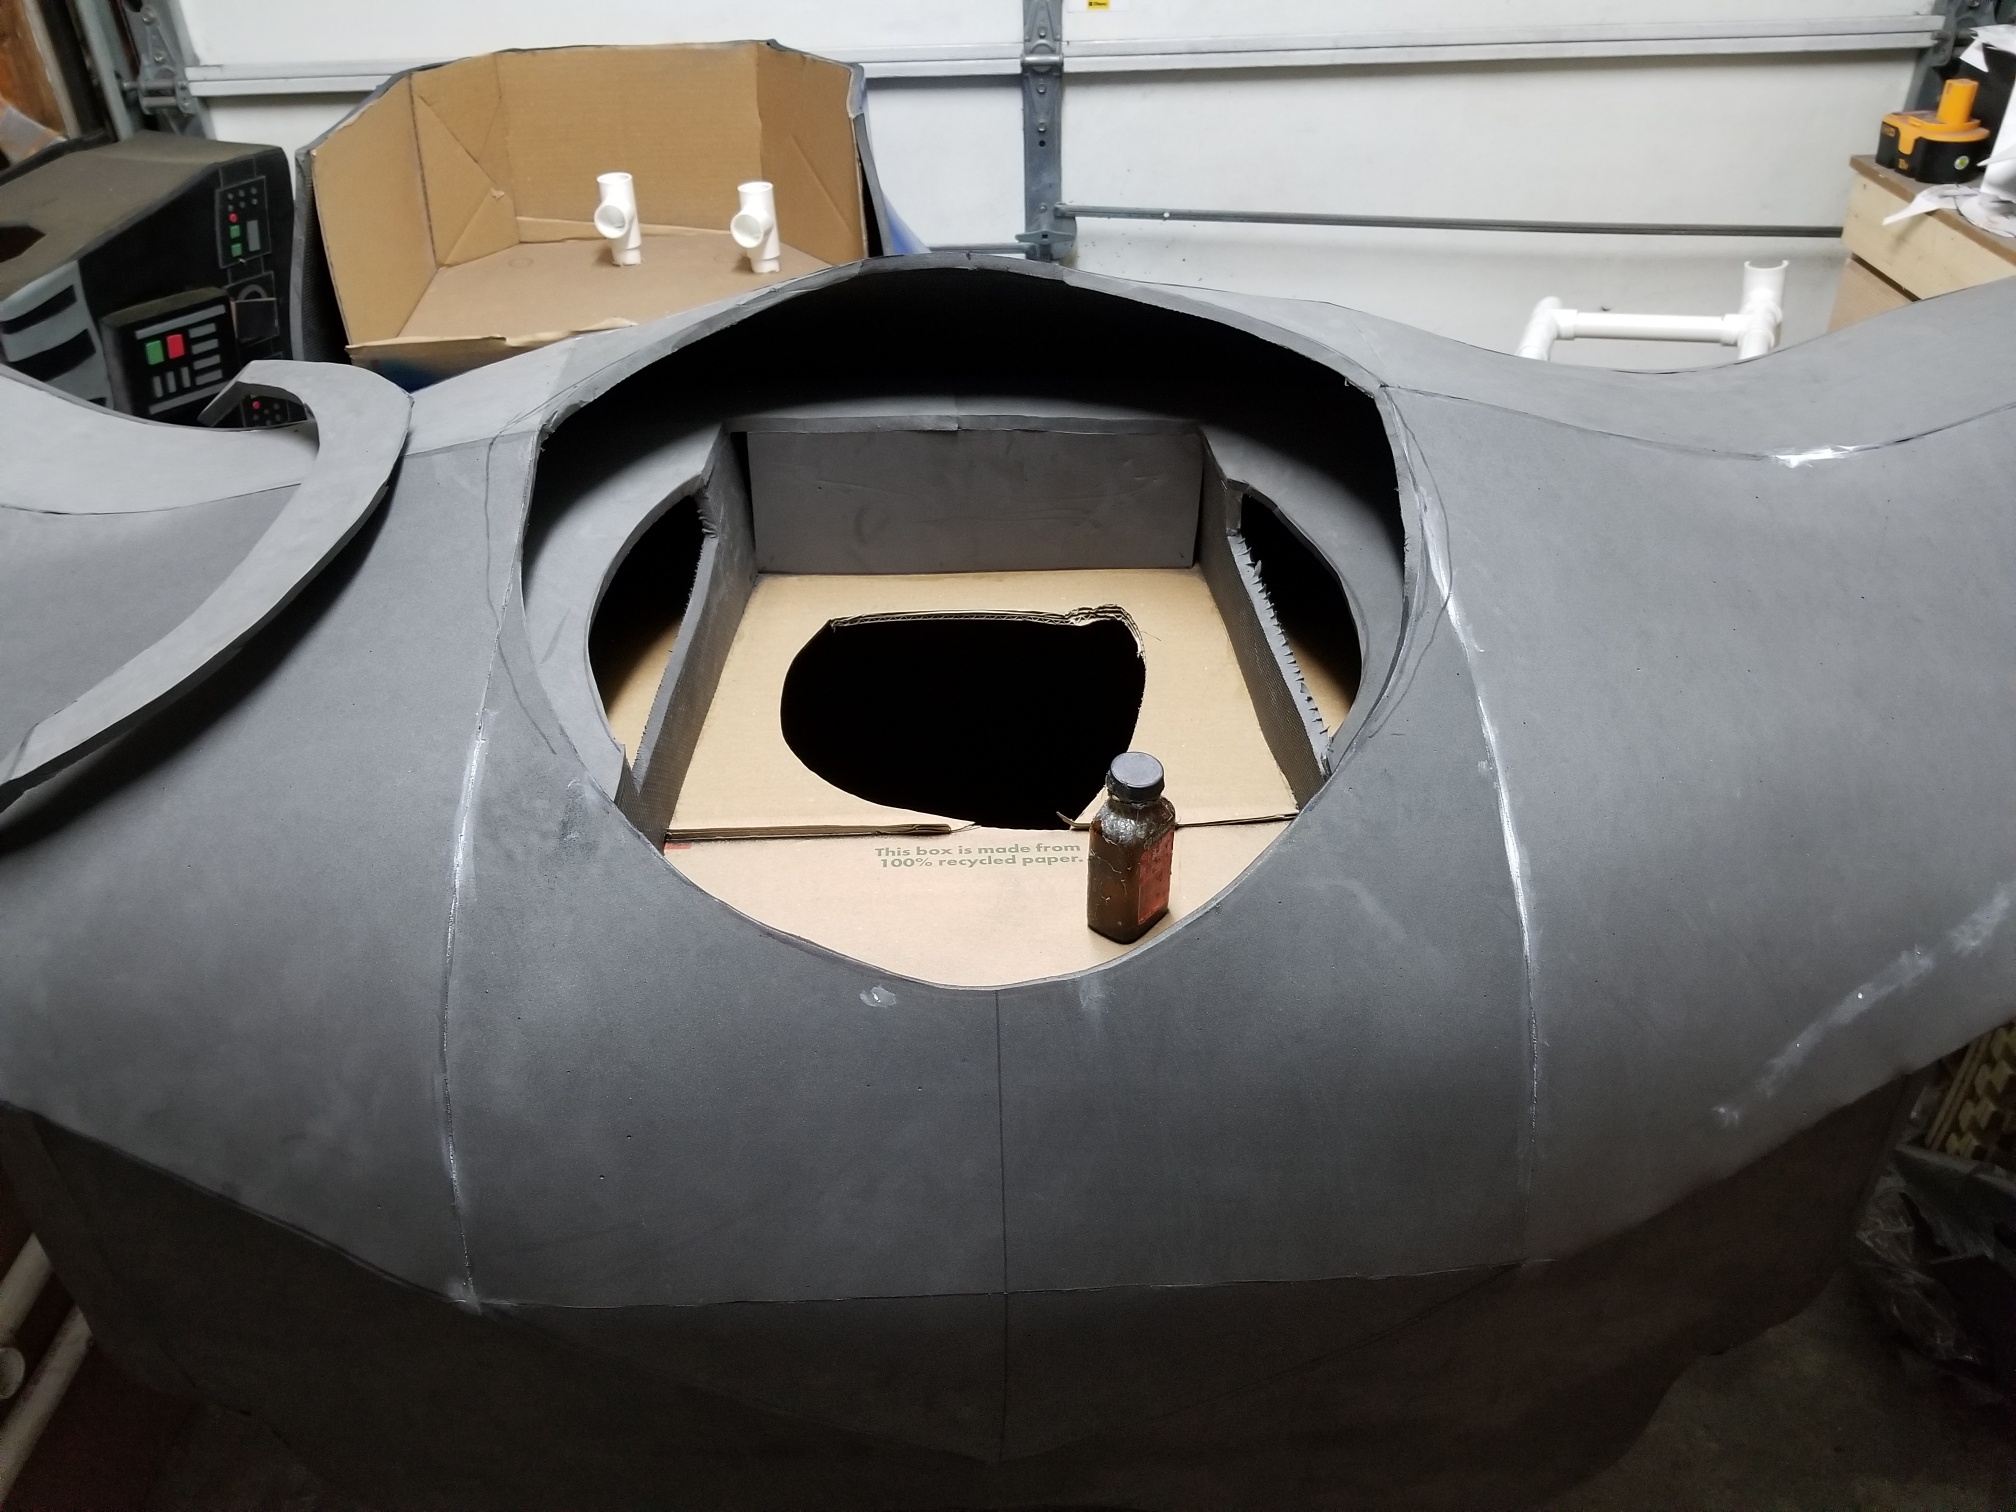
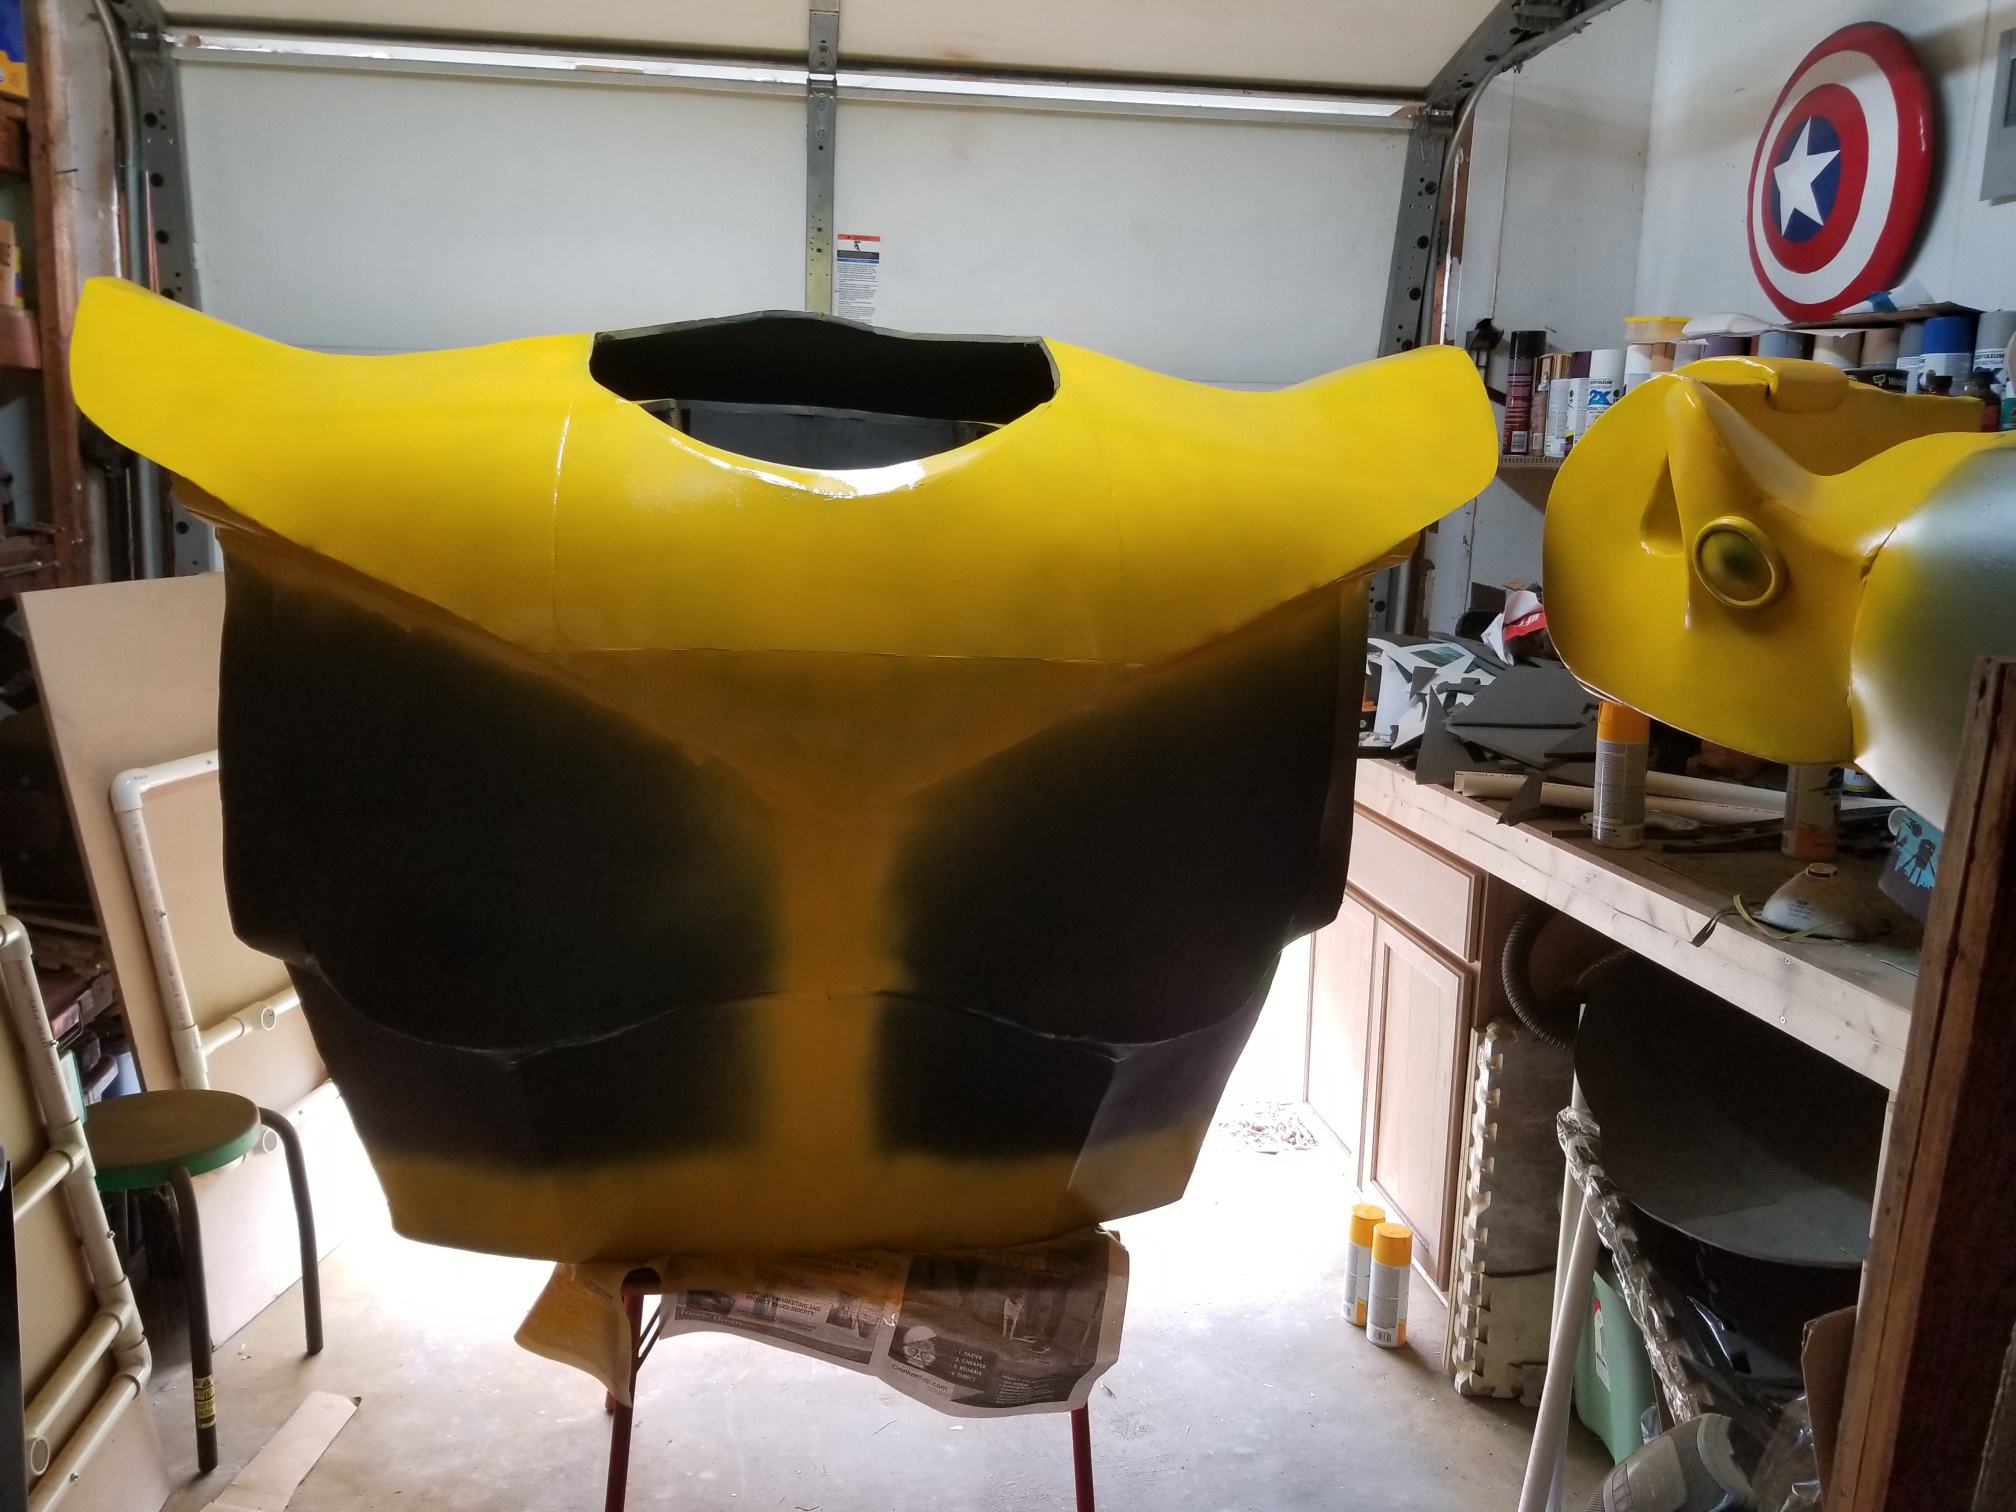
| Each panel was glued together to form a basic “foam” shell for each body part. Cardboard boxes were used to reinforce the internal structure of each body part. |
 |
 |
 |
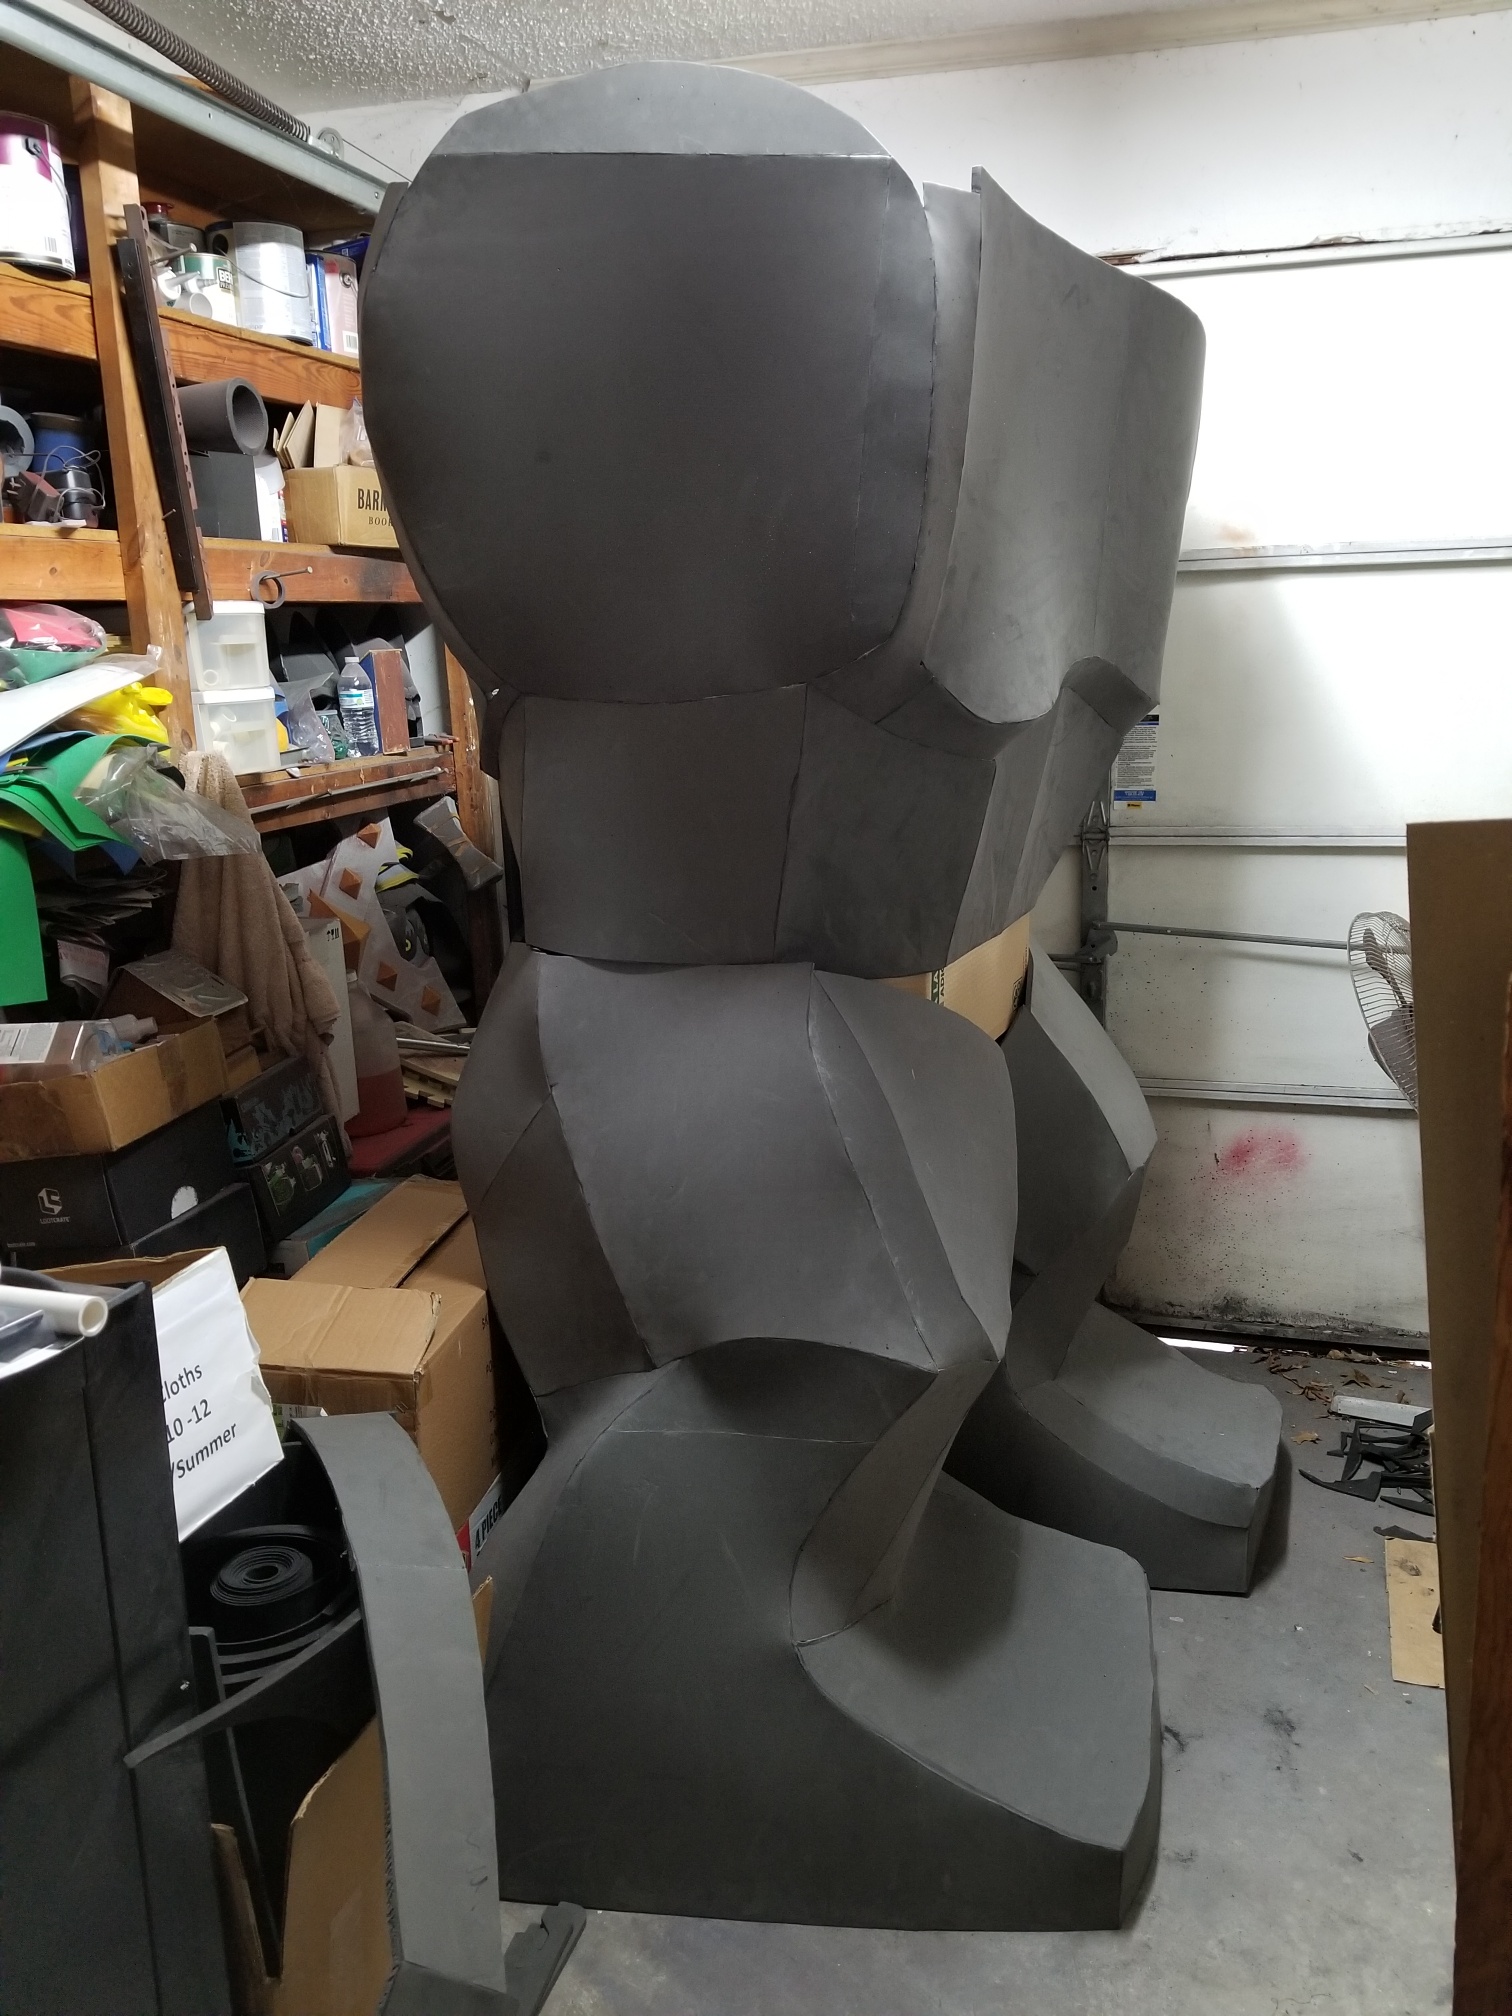
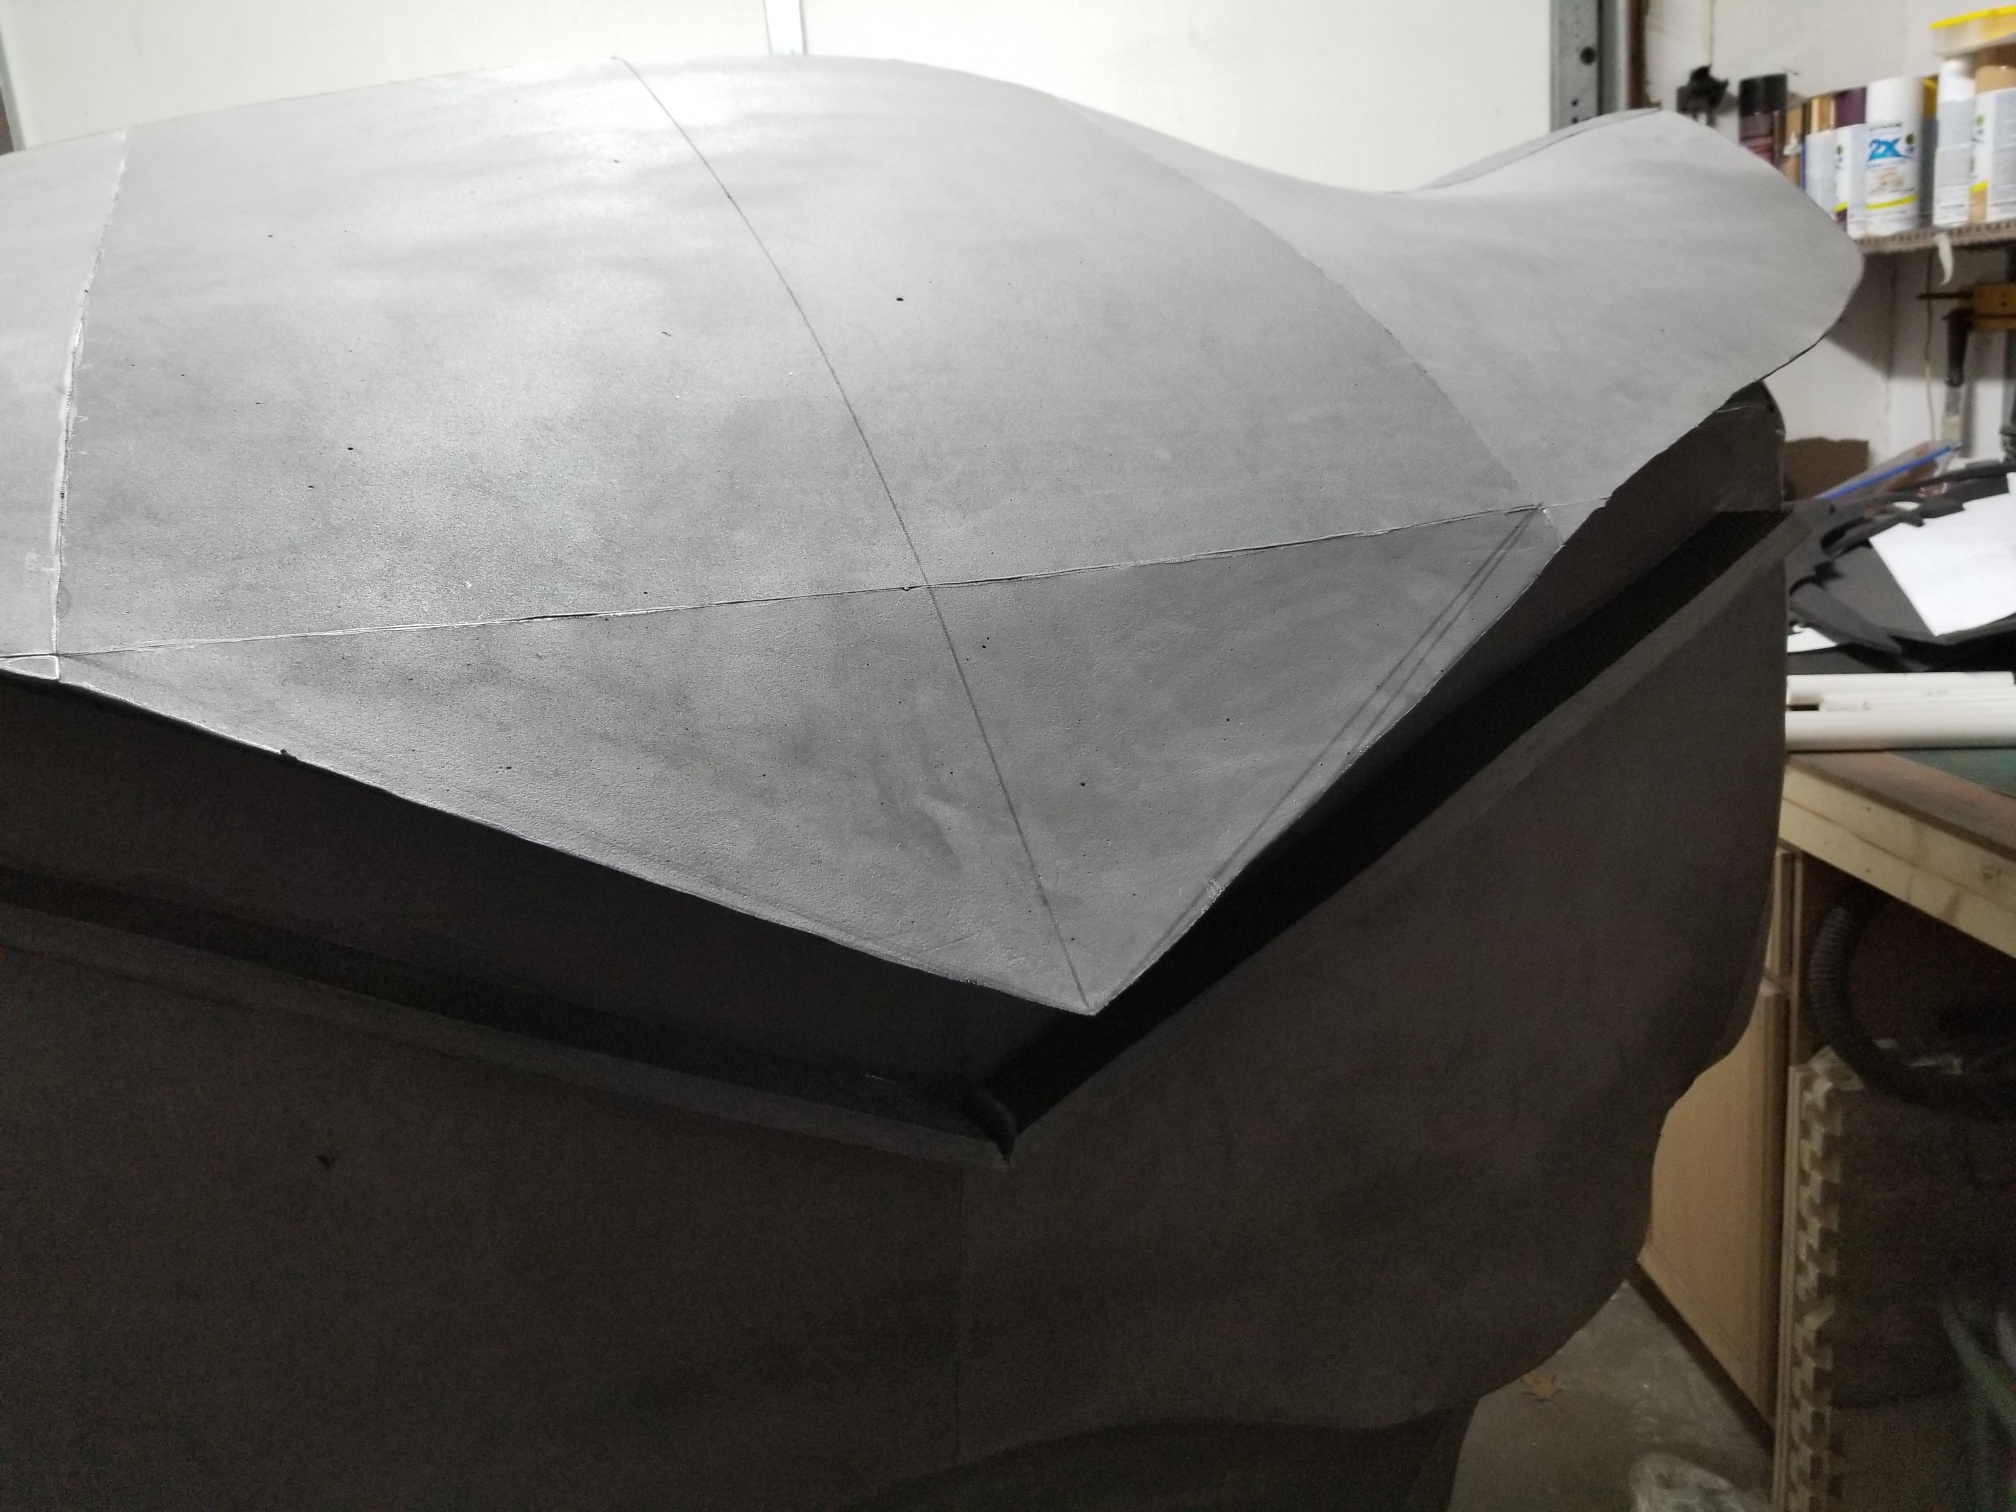
| The majority of the project was simply following the procedure above to cut out each panel and glue them together to form hollow body parts. |
 |
 |
 |
 |
 |
 |
 |
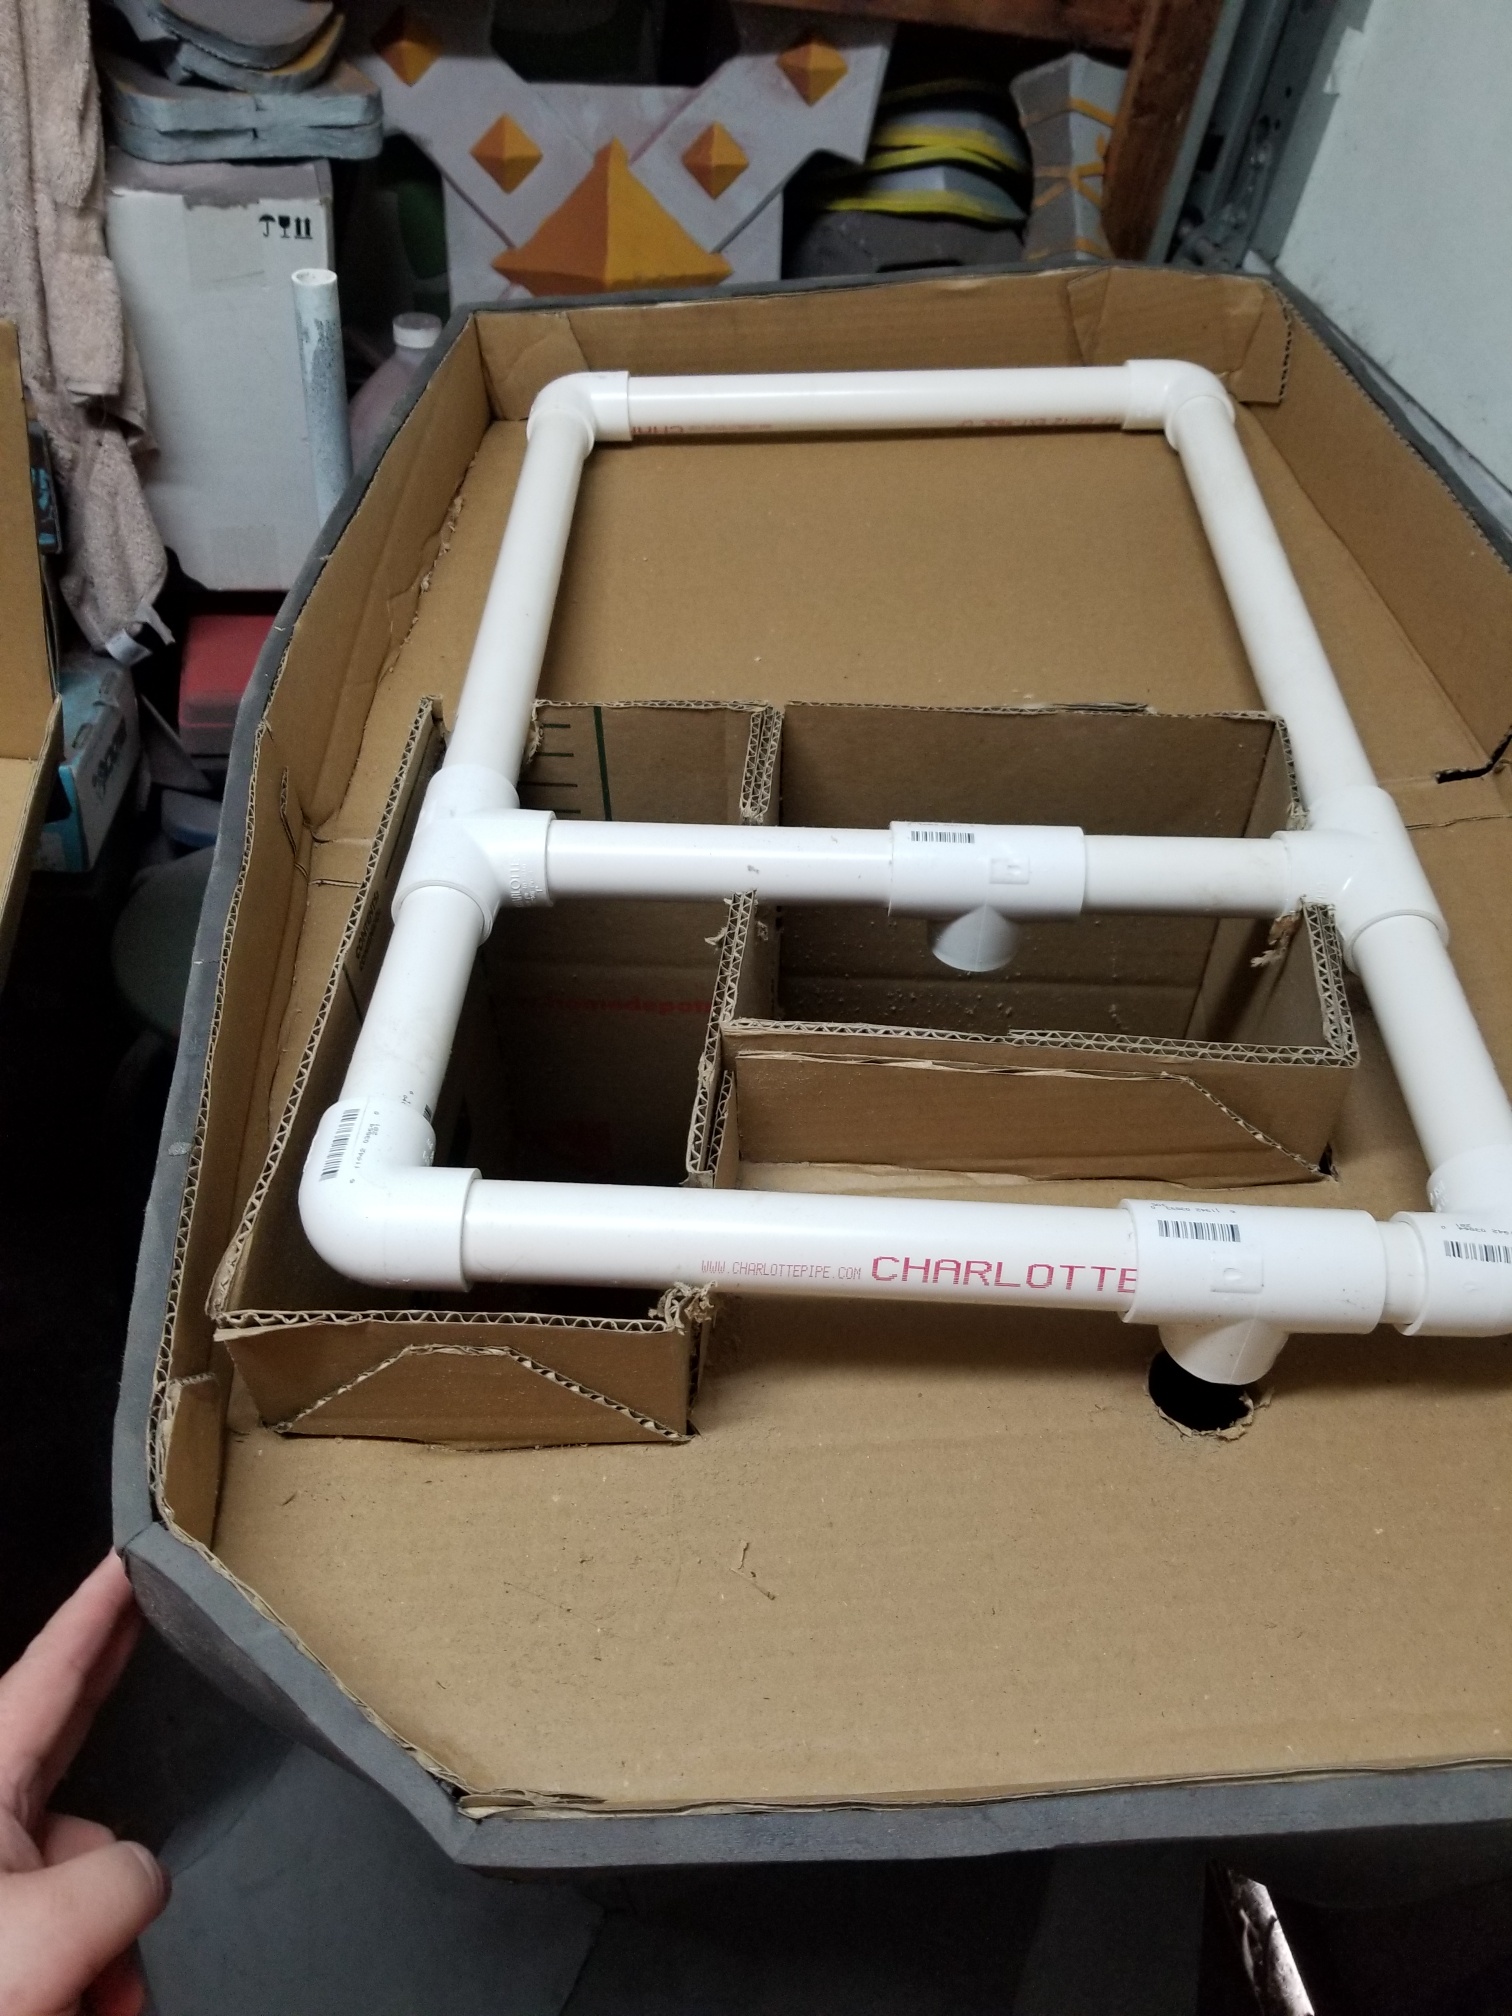 |
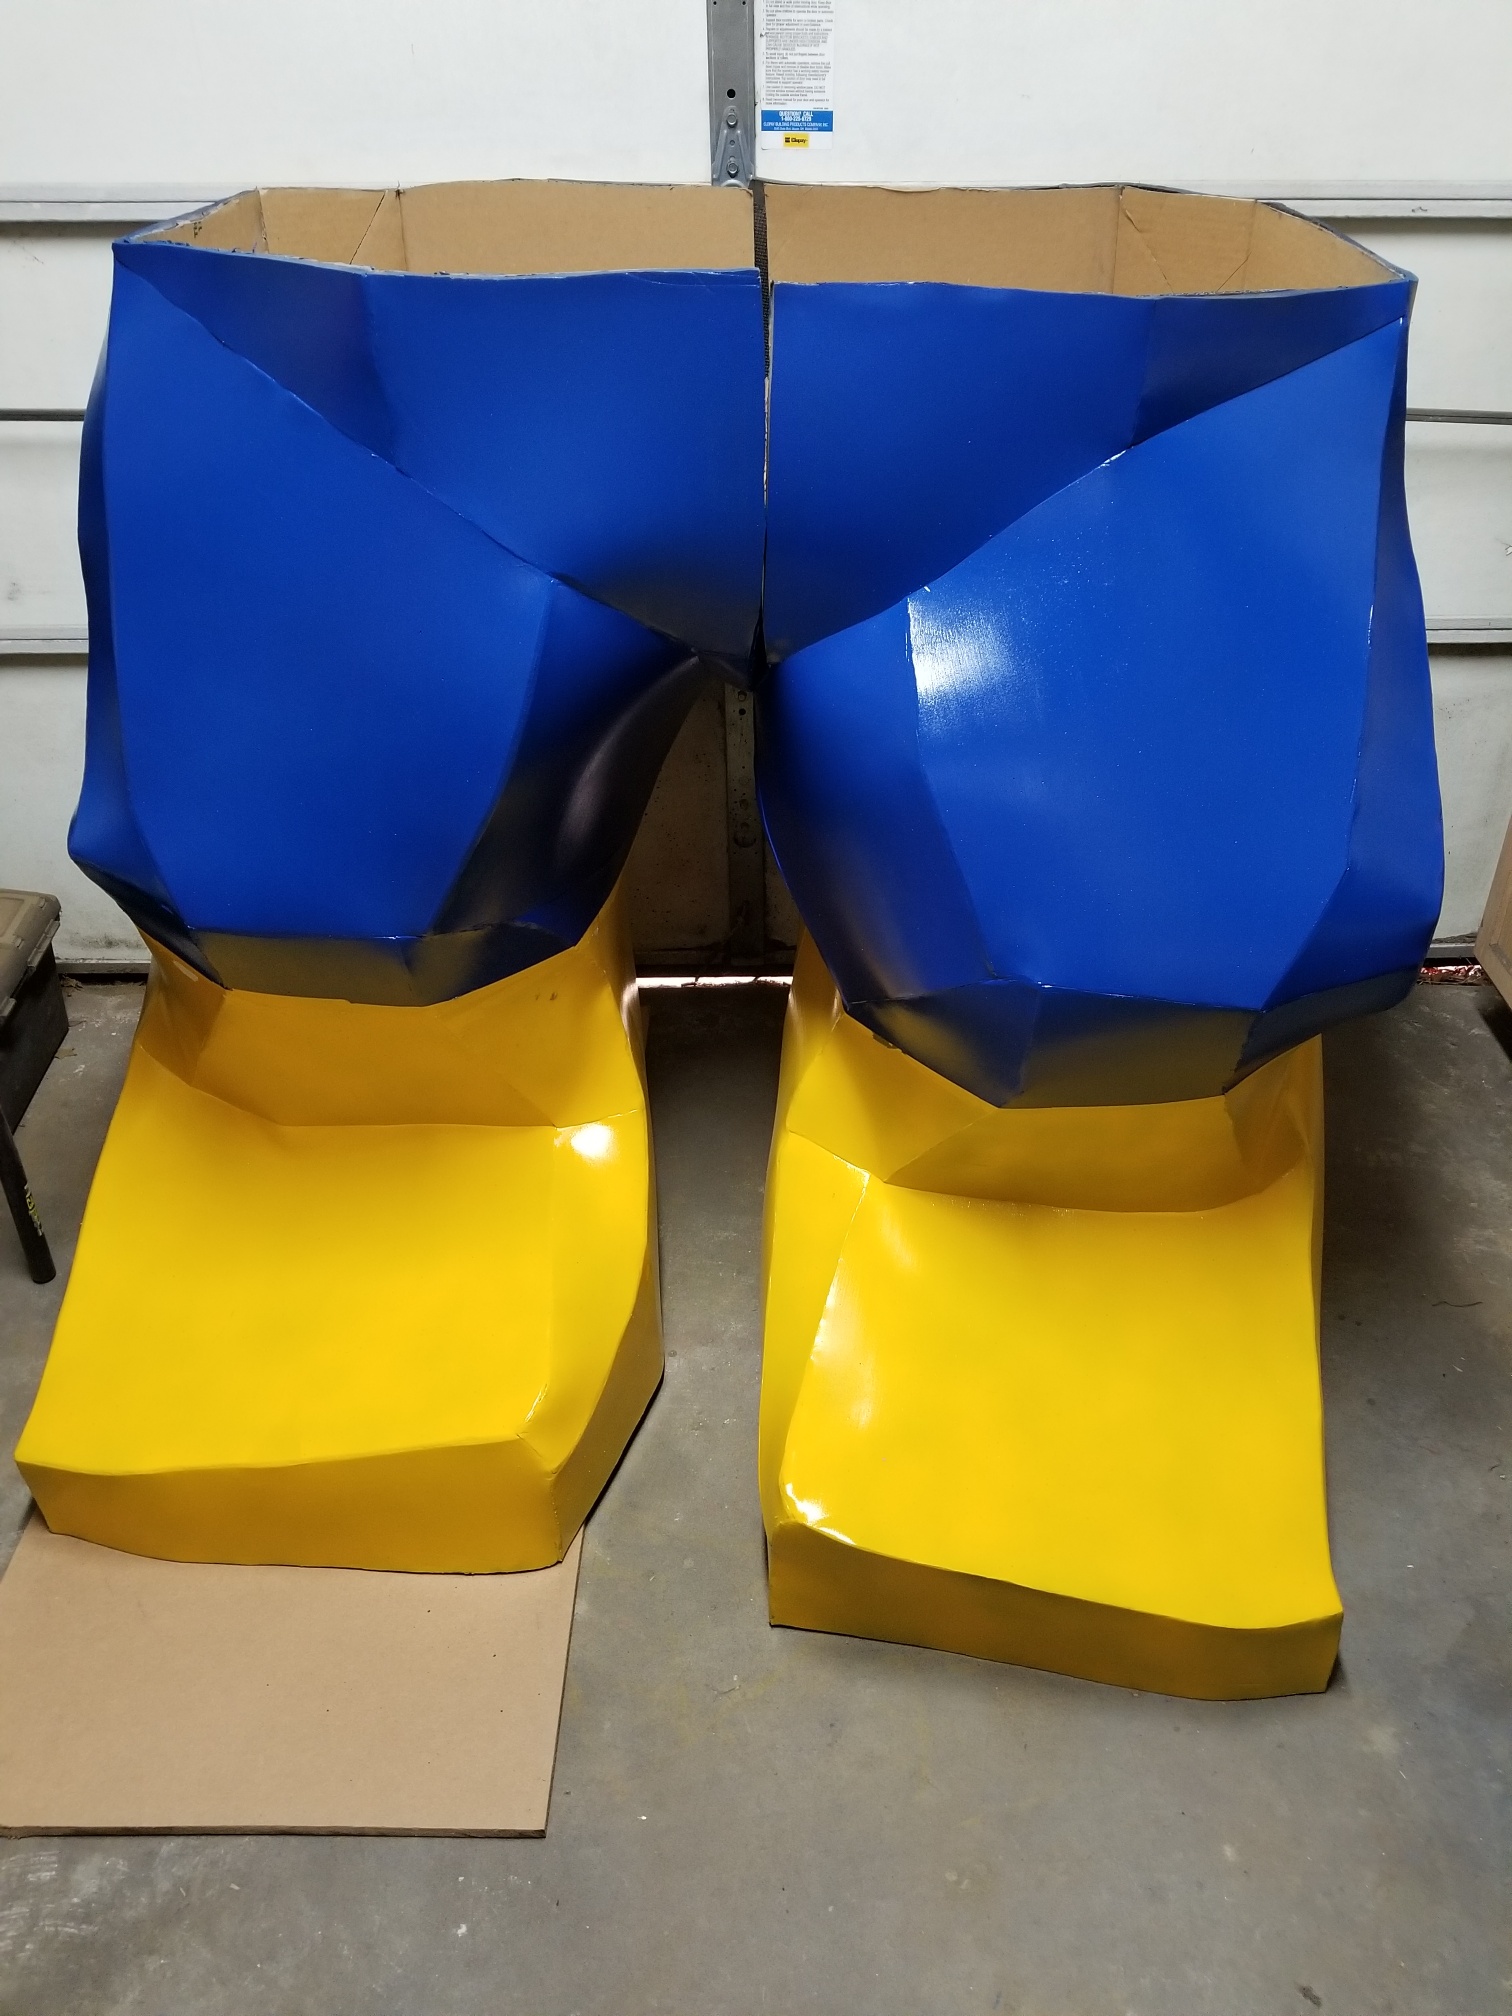
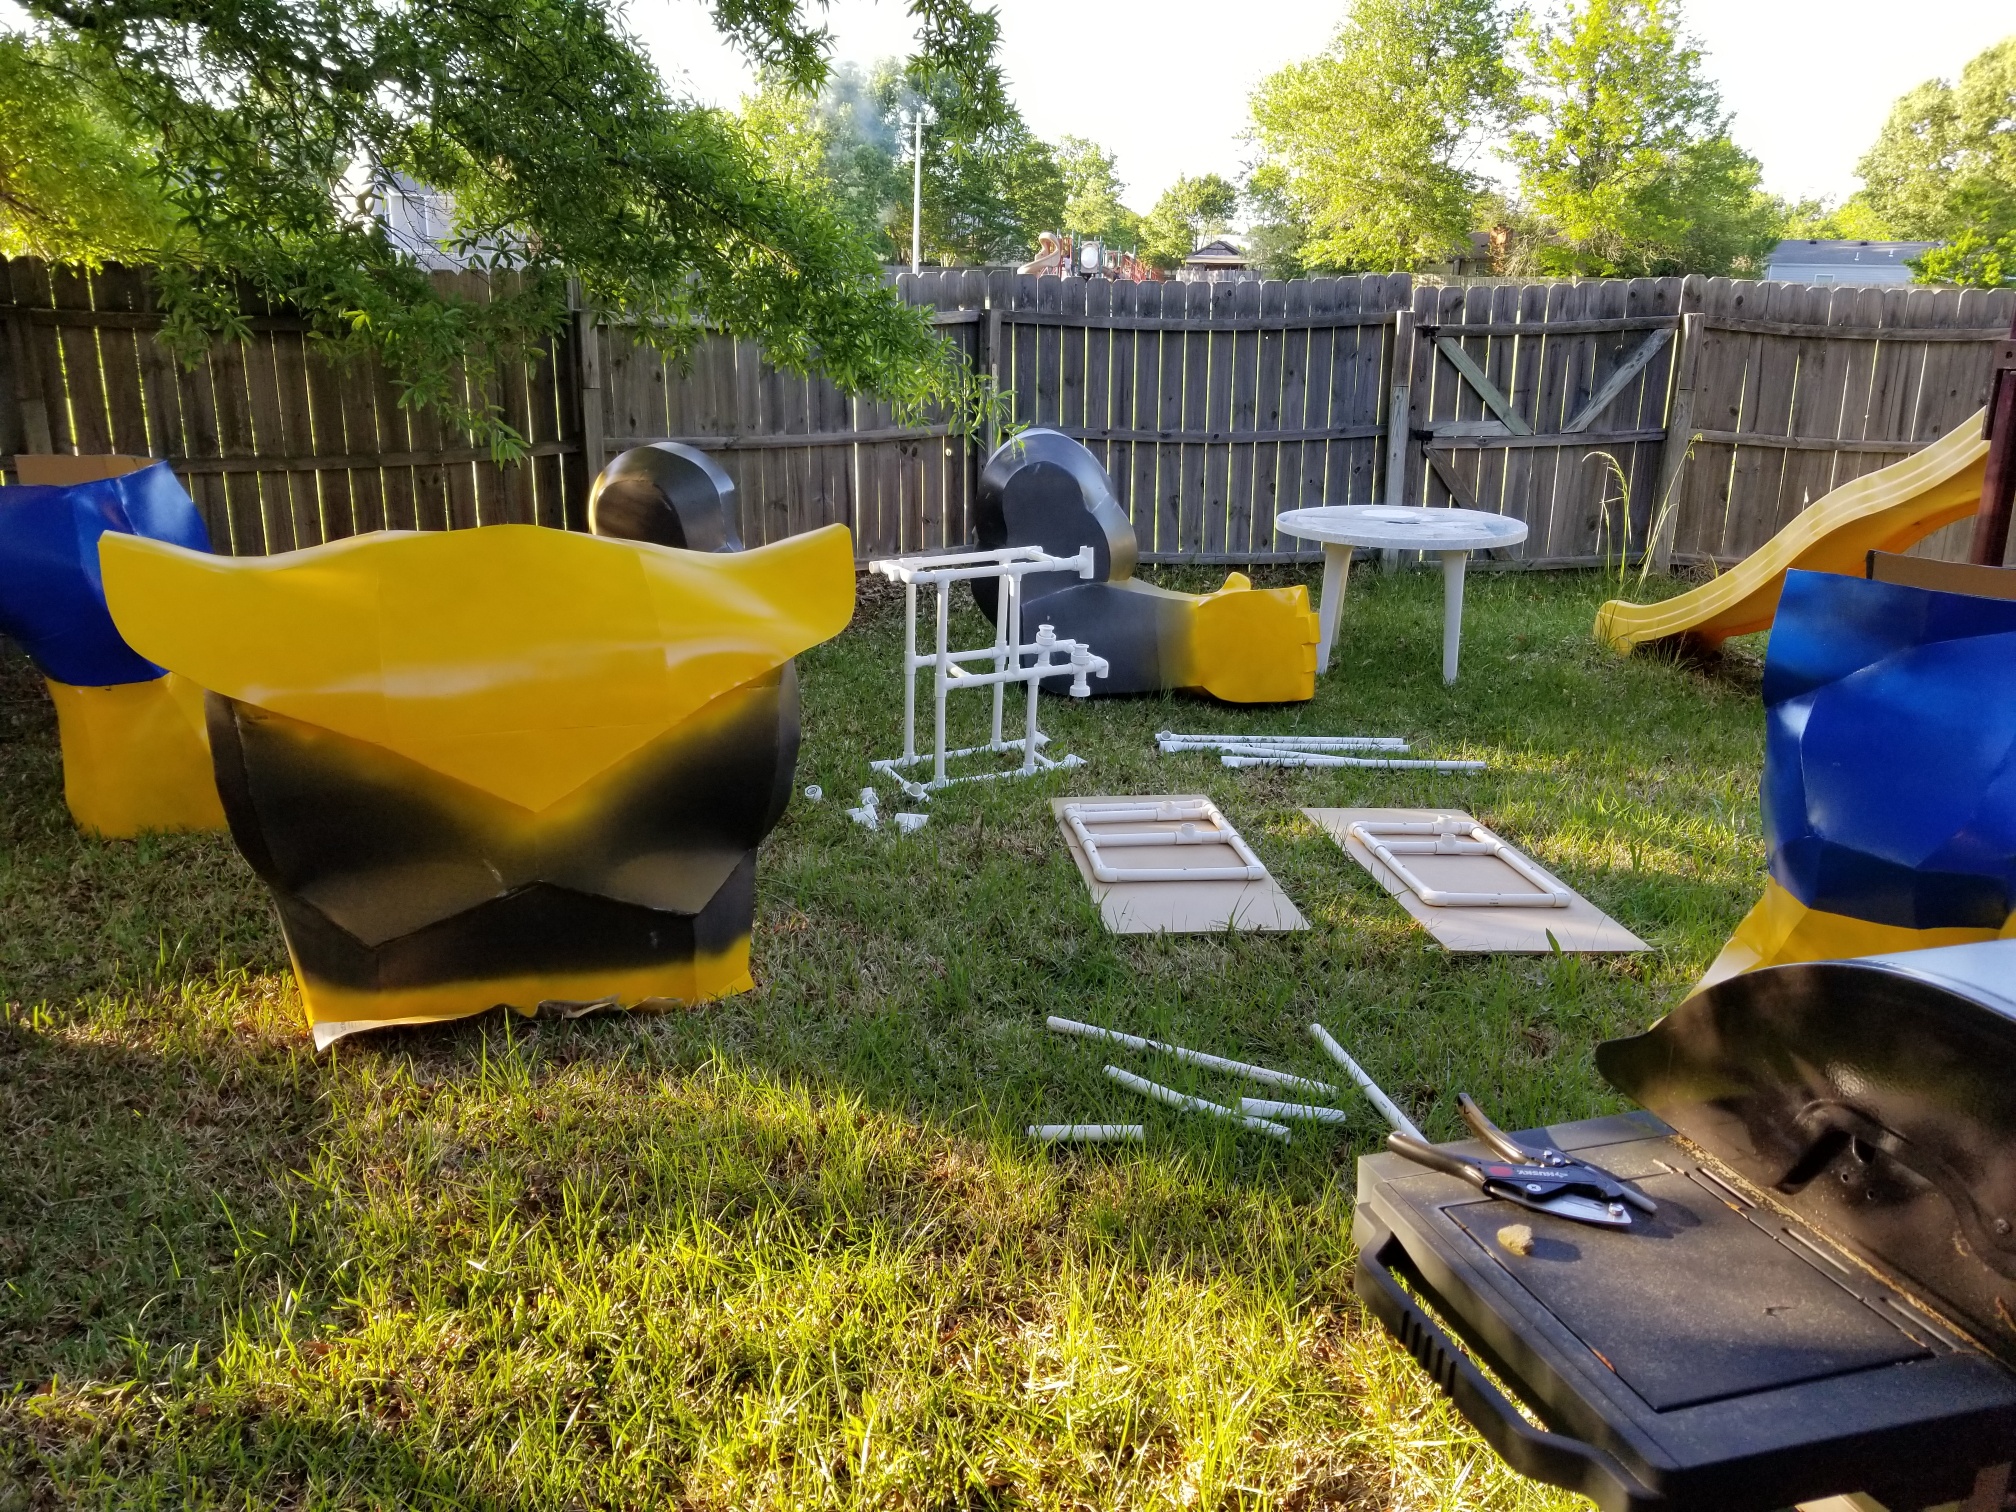
| Like my other statues, I used PVC pipes to hold up the structure. At the bottom of each foot was a PVC frame that was bolted to a 1/2″ MDF wooden board for support. |
 |
 |
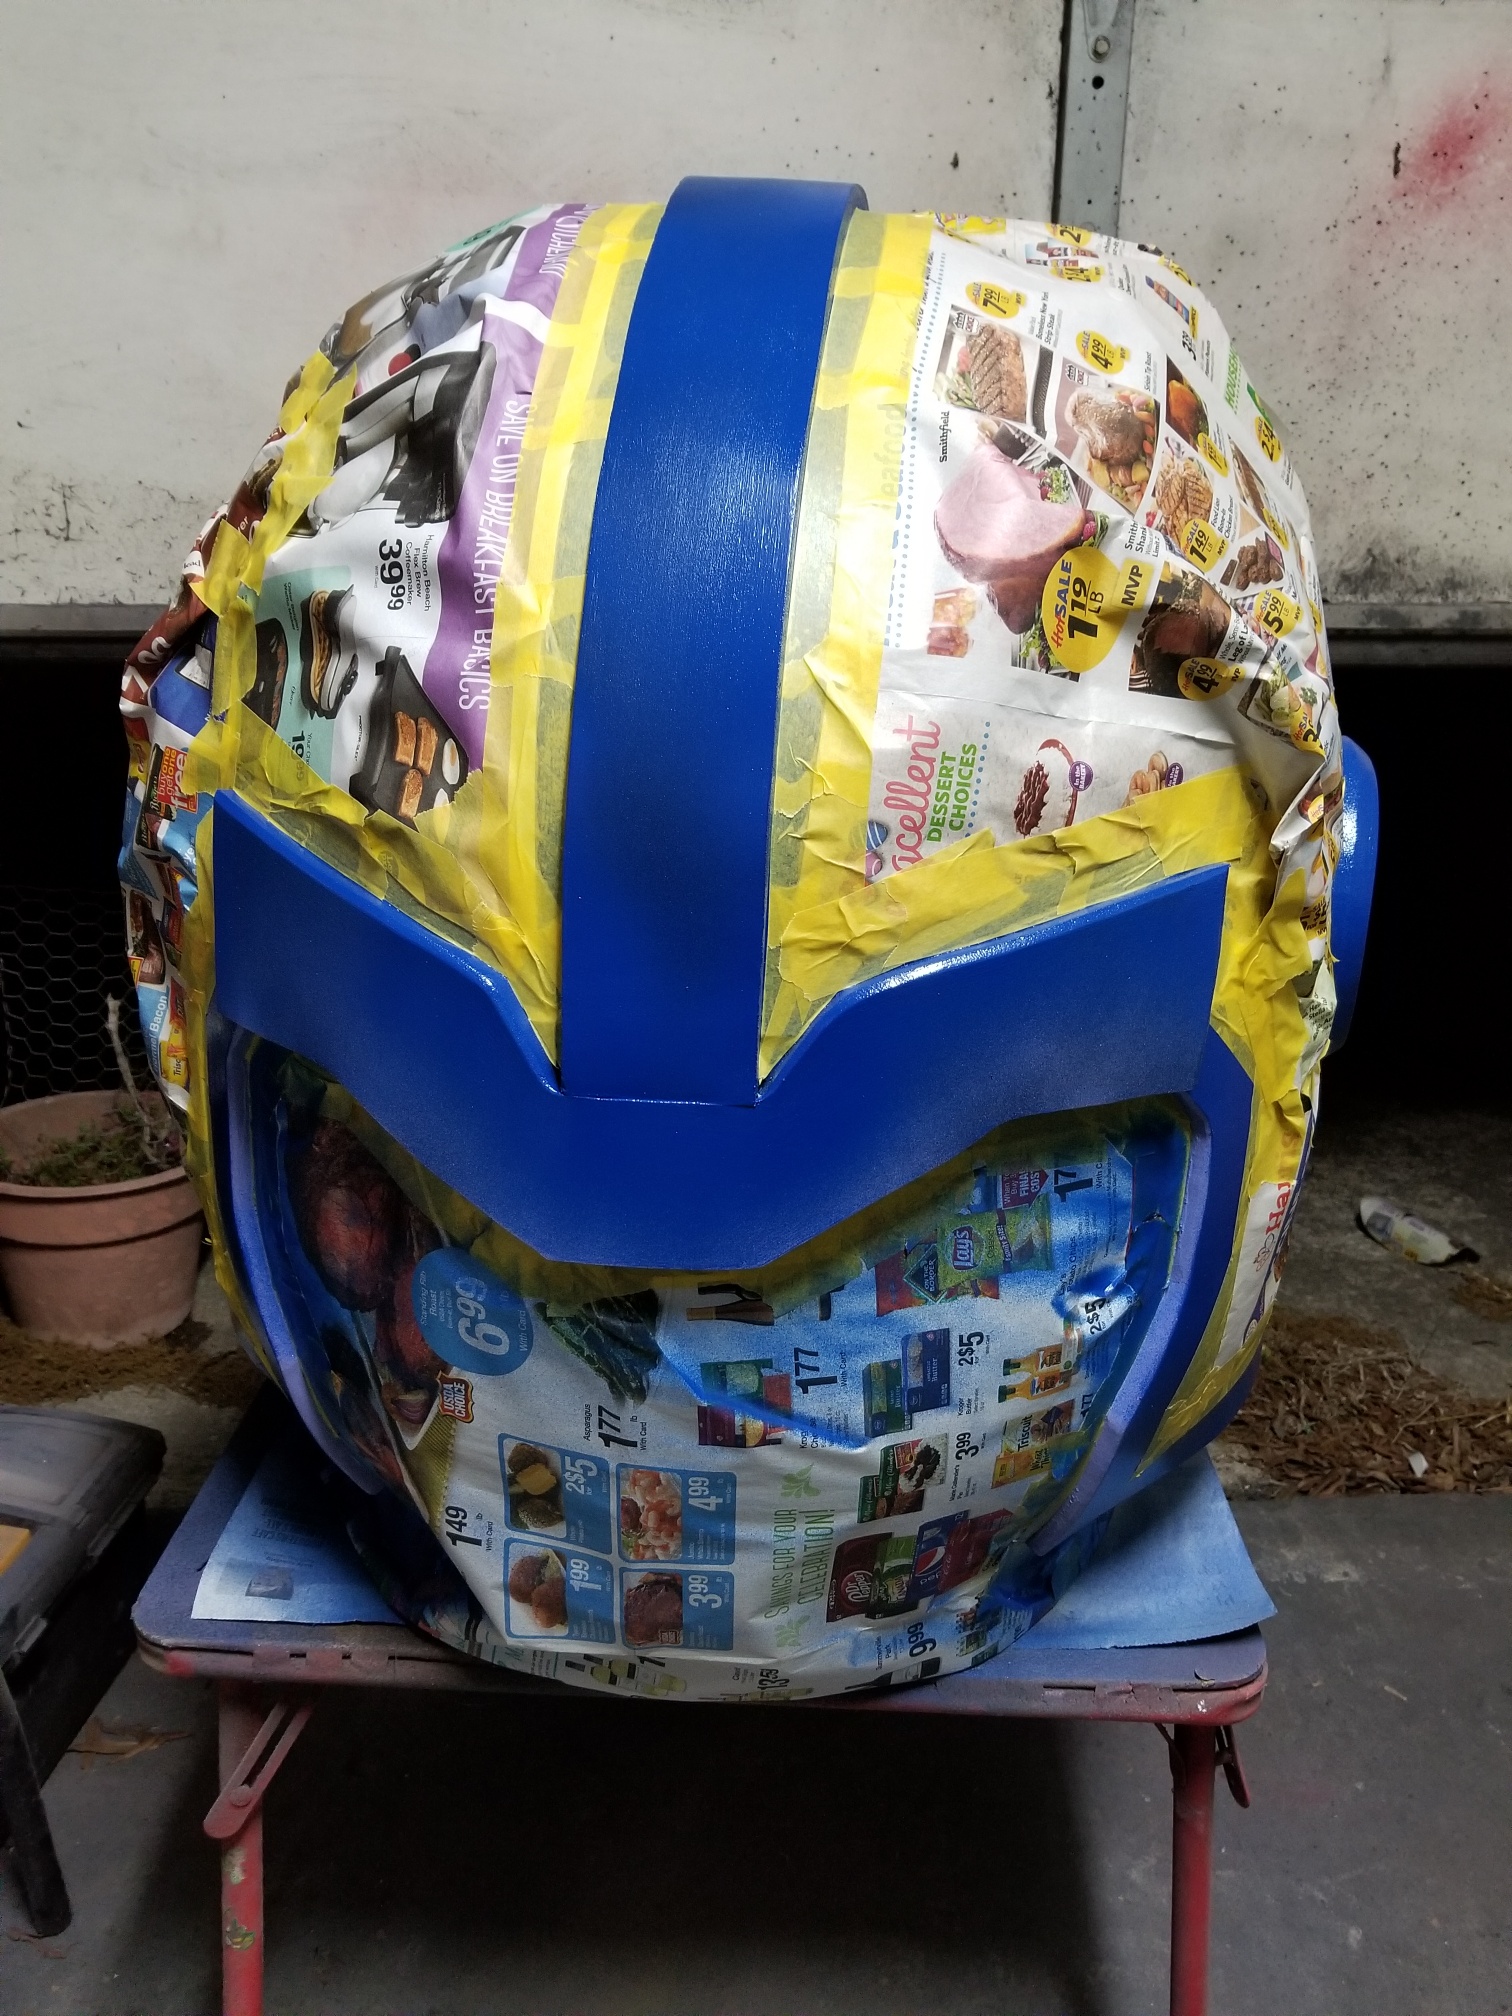 |
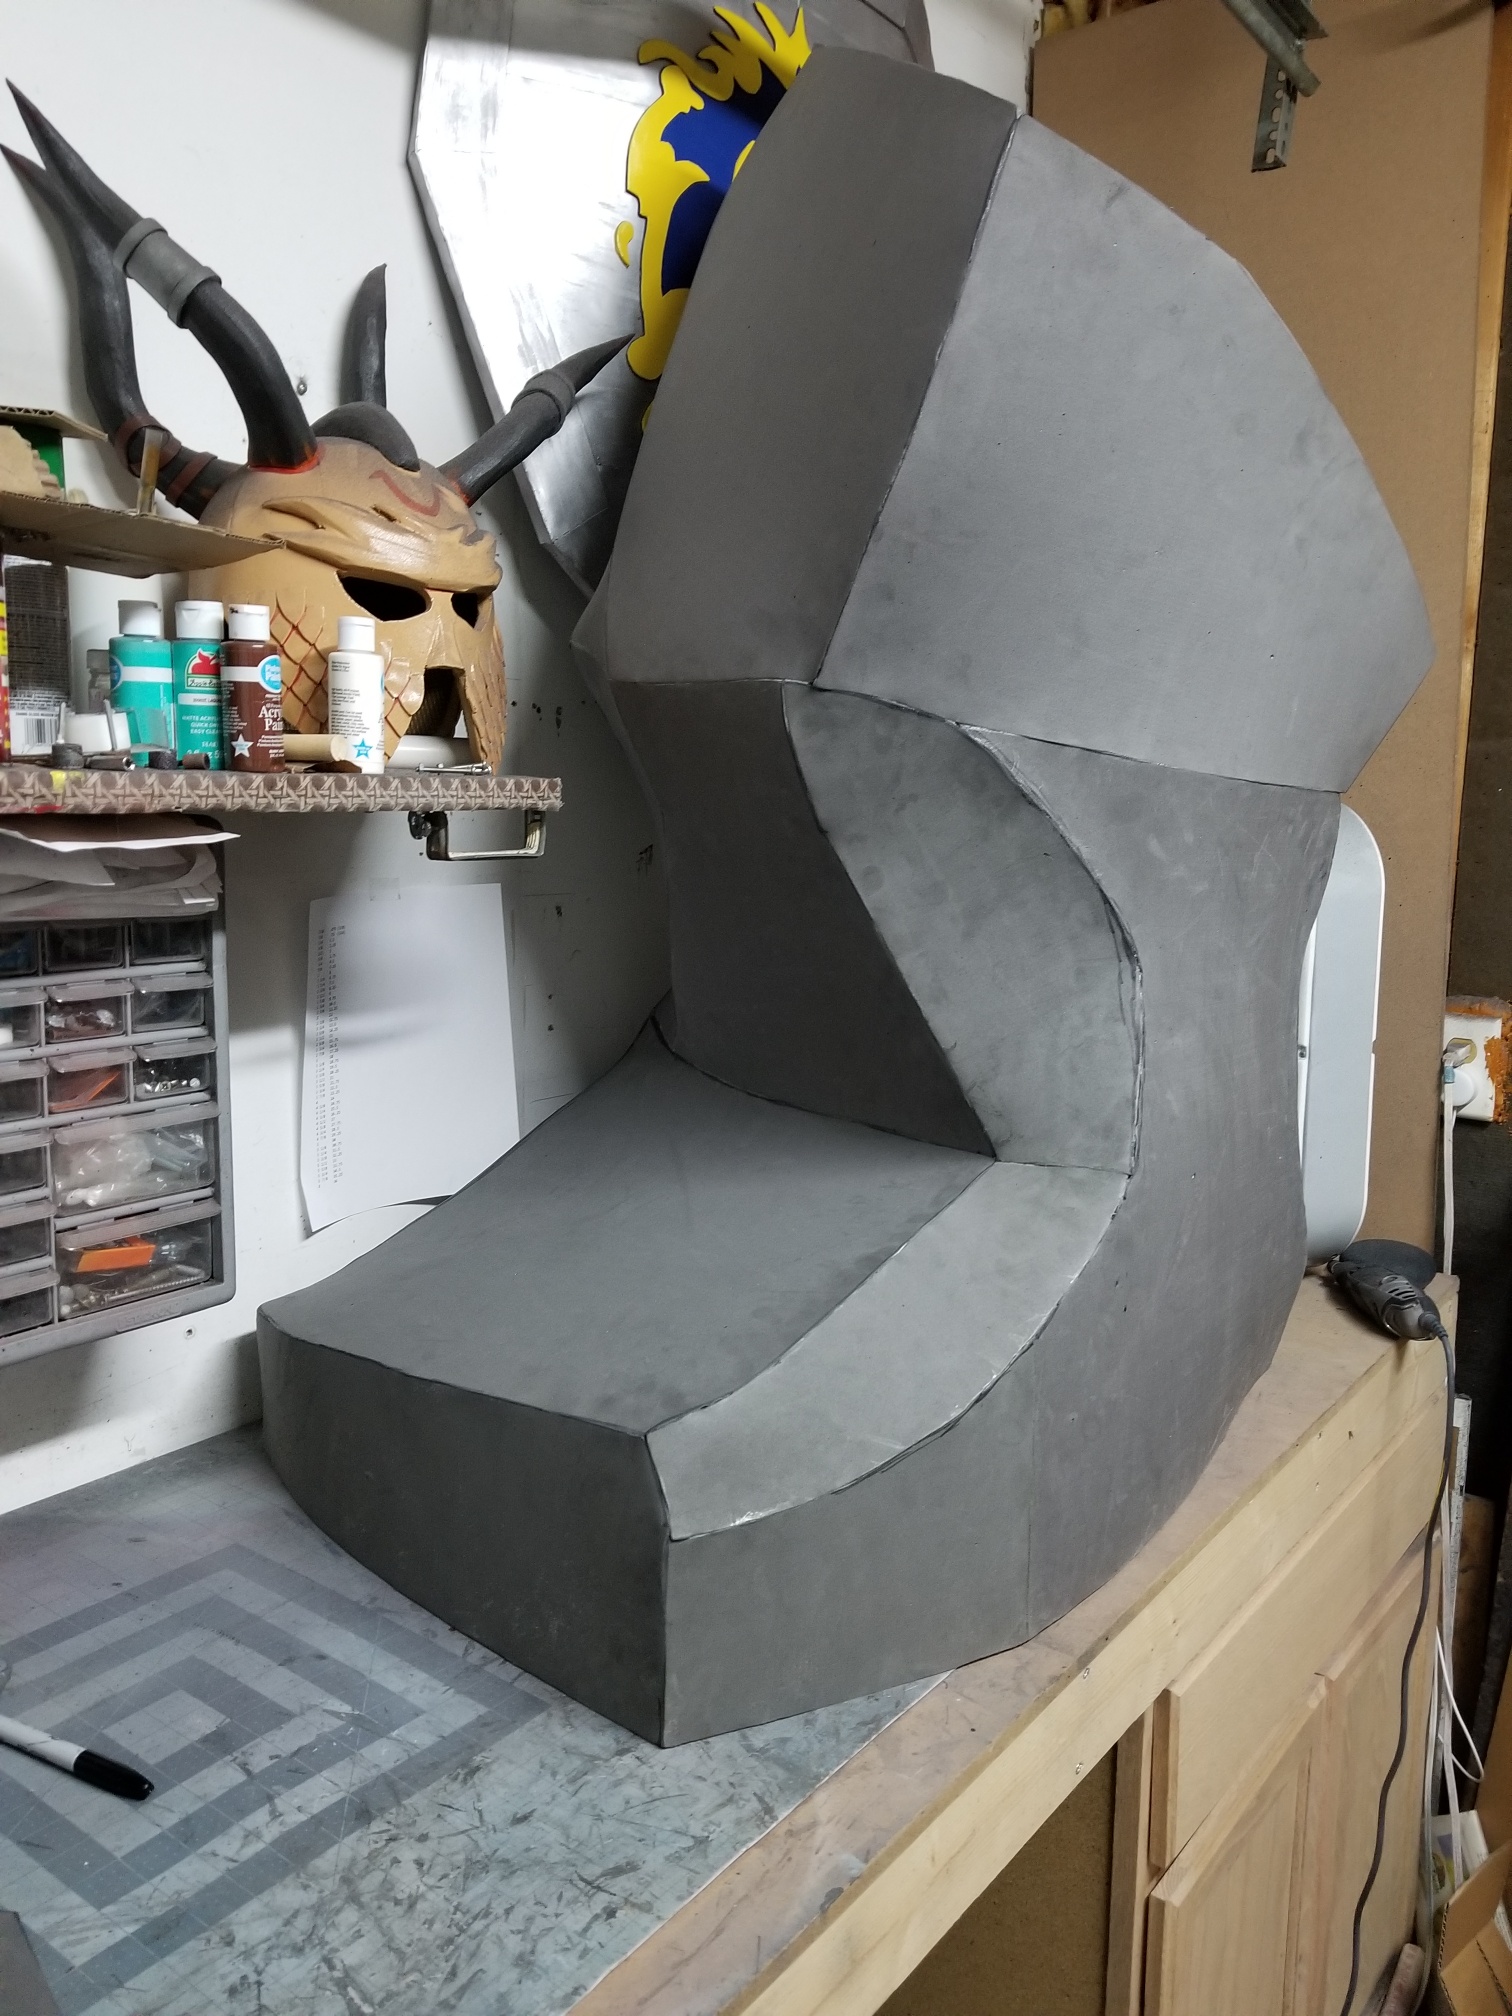
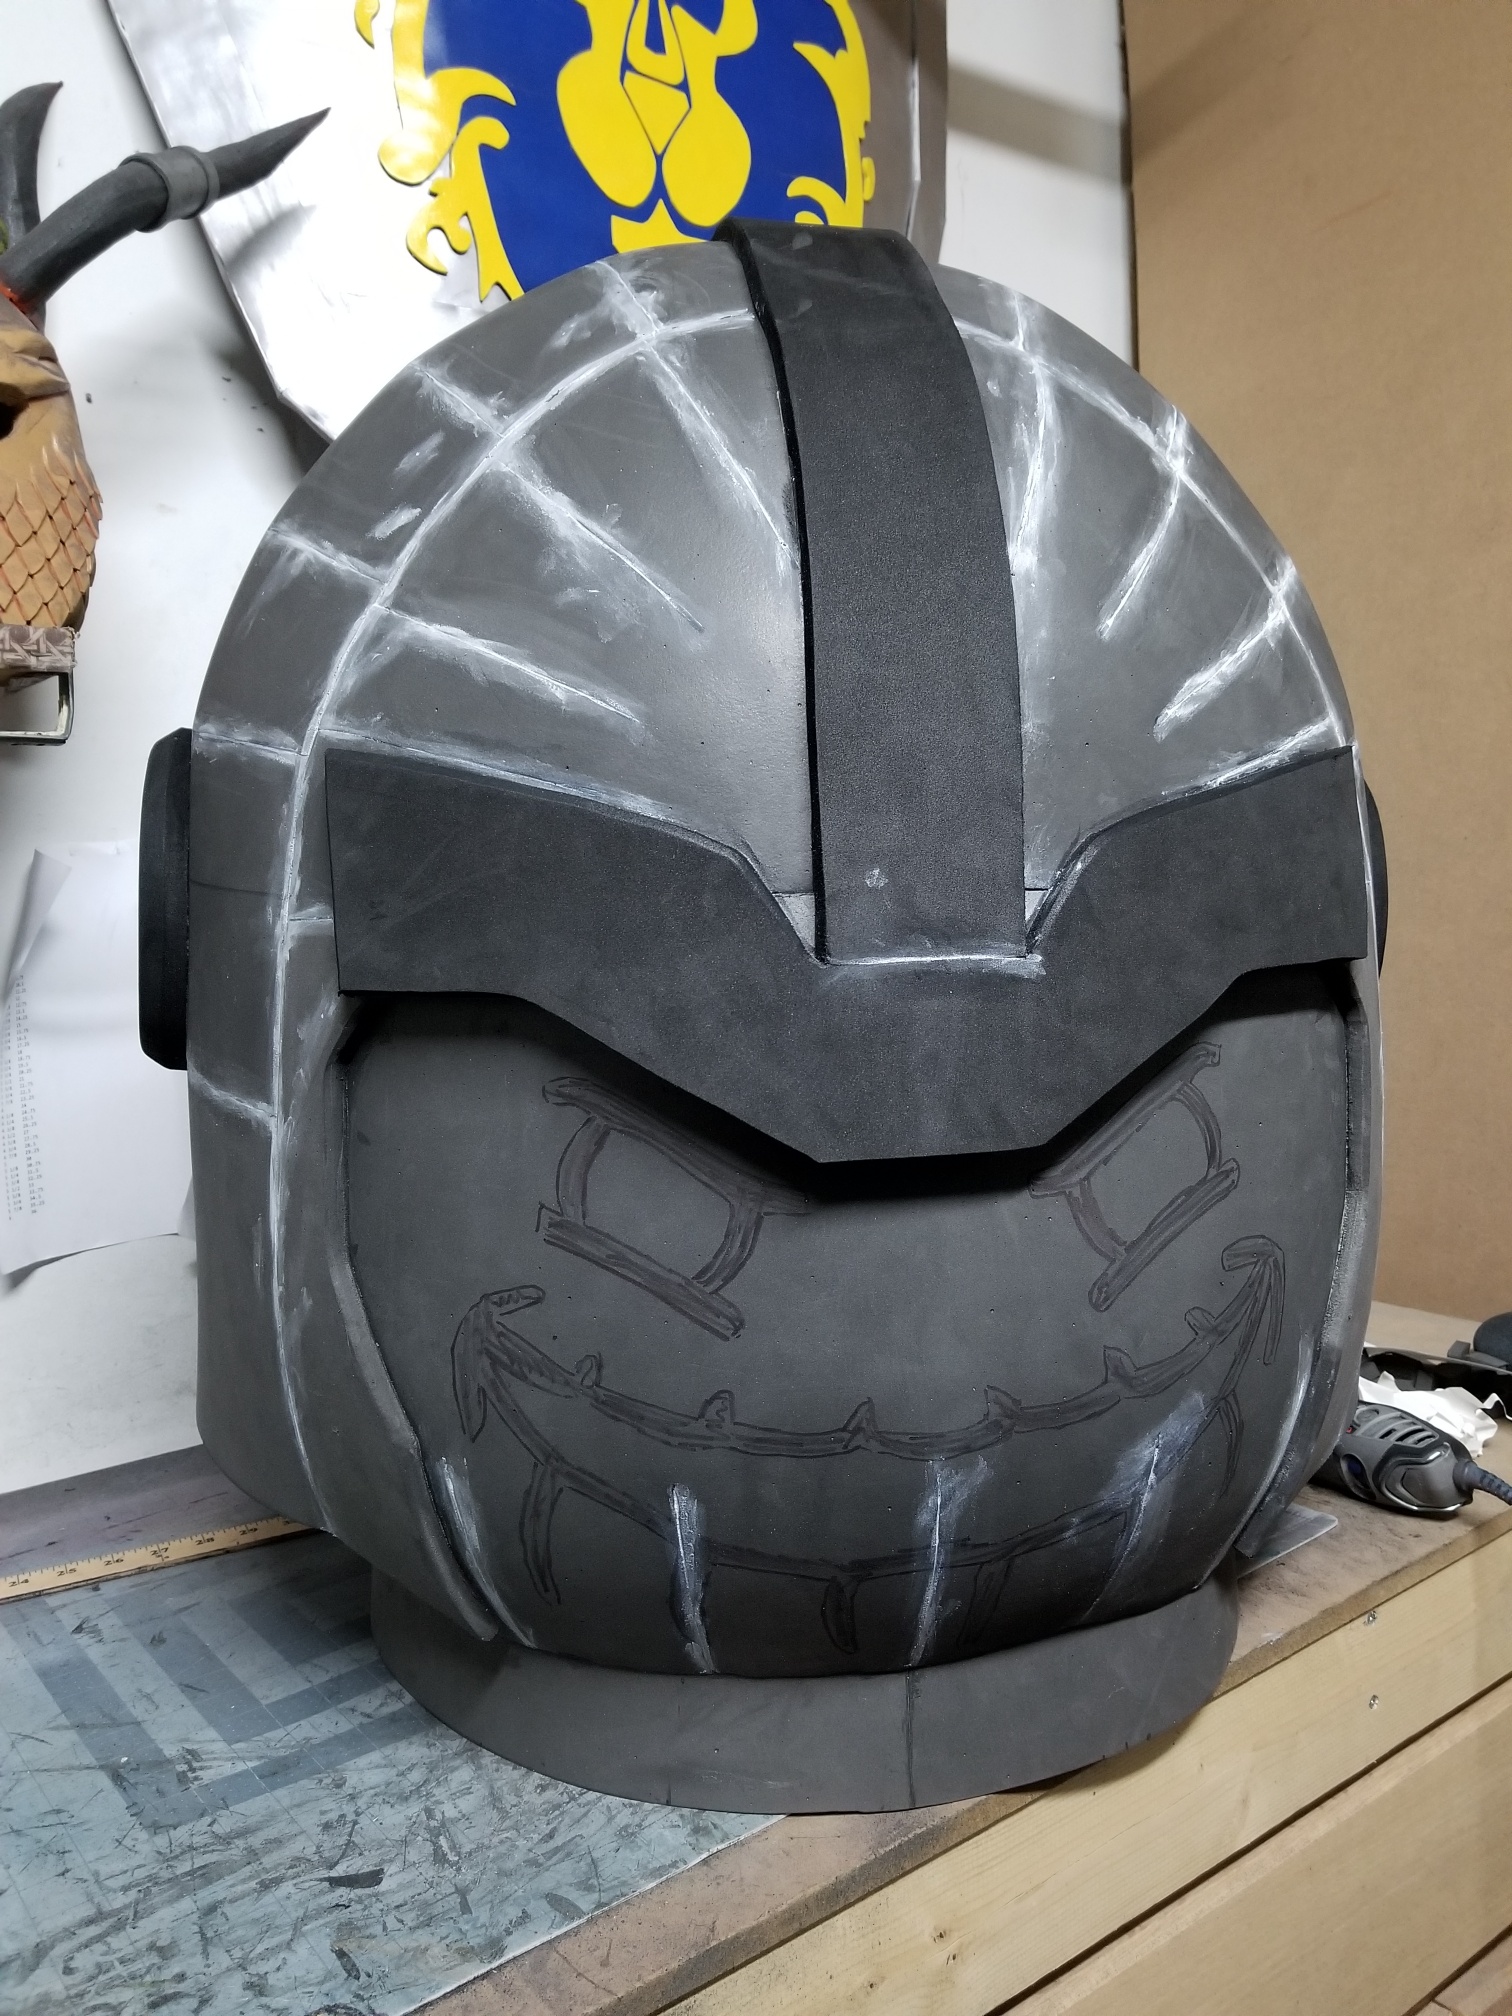
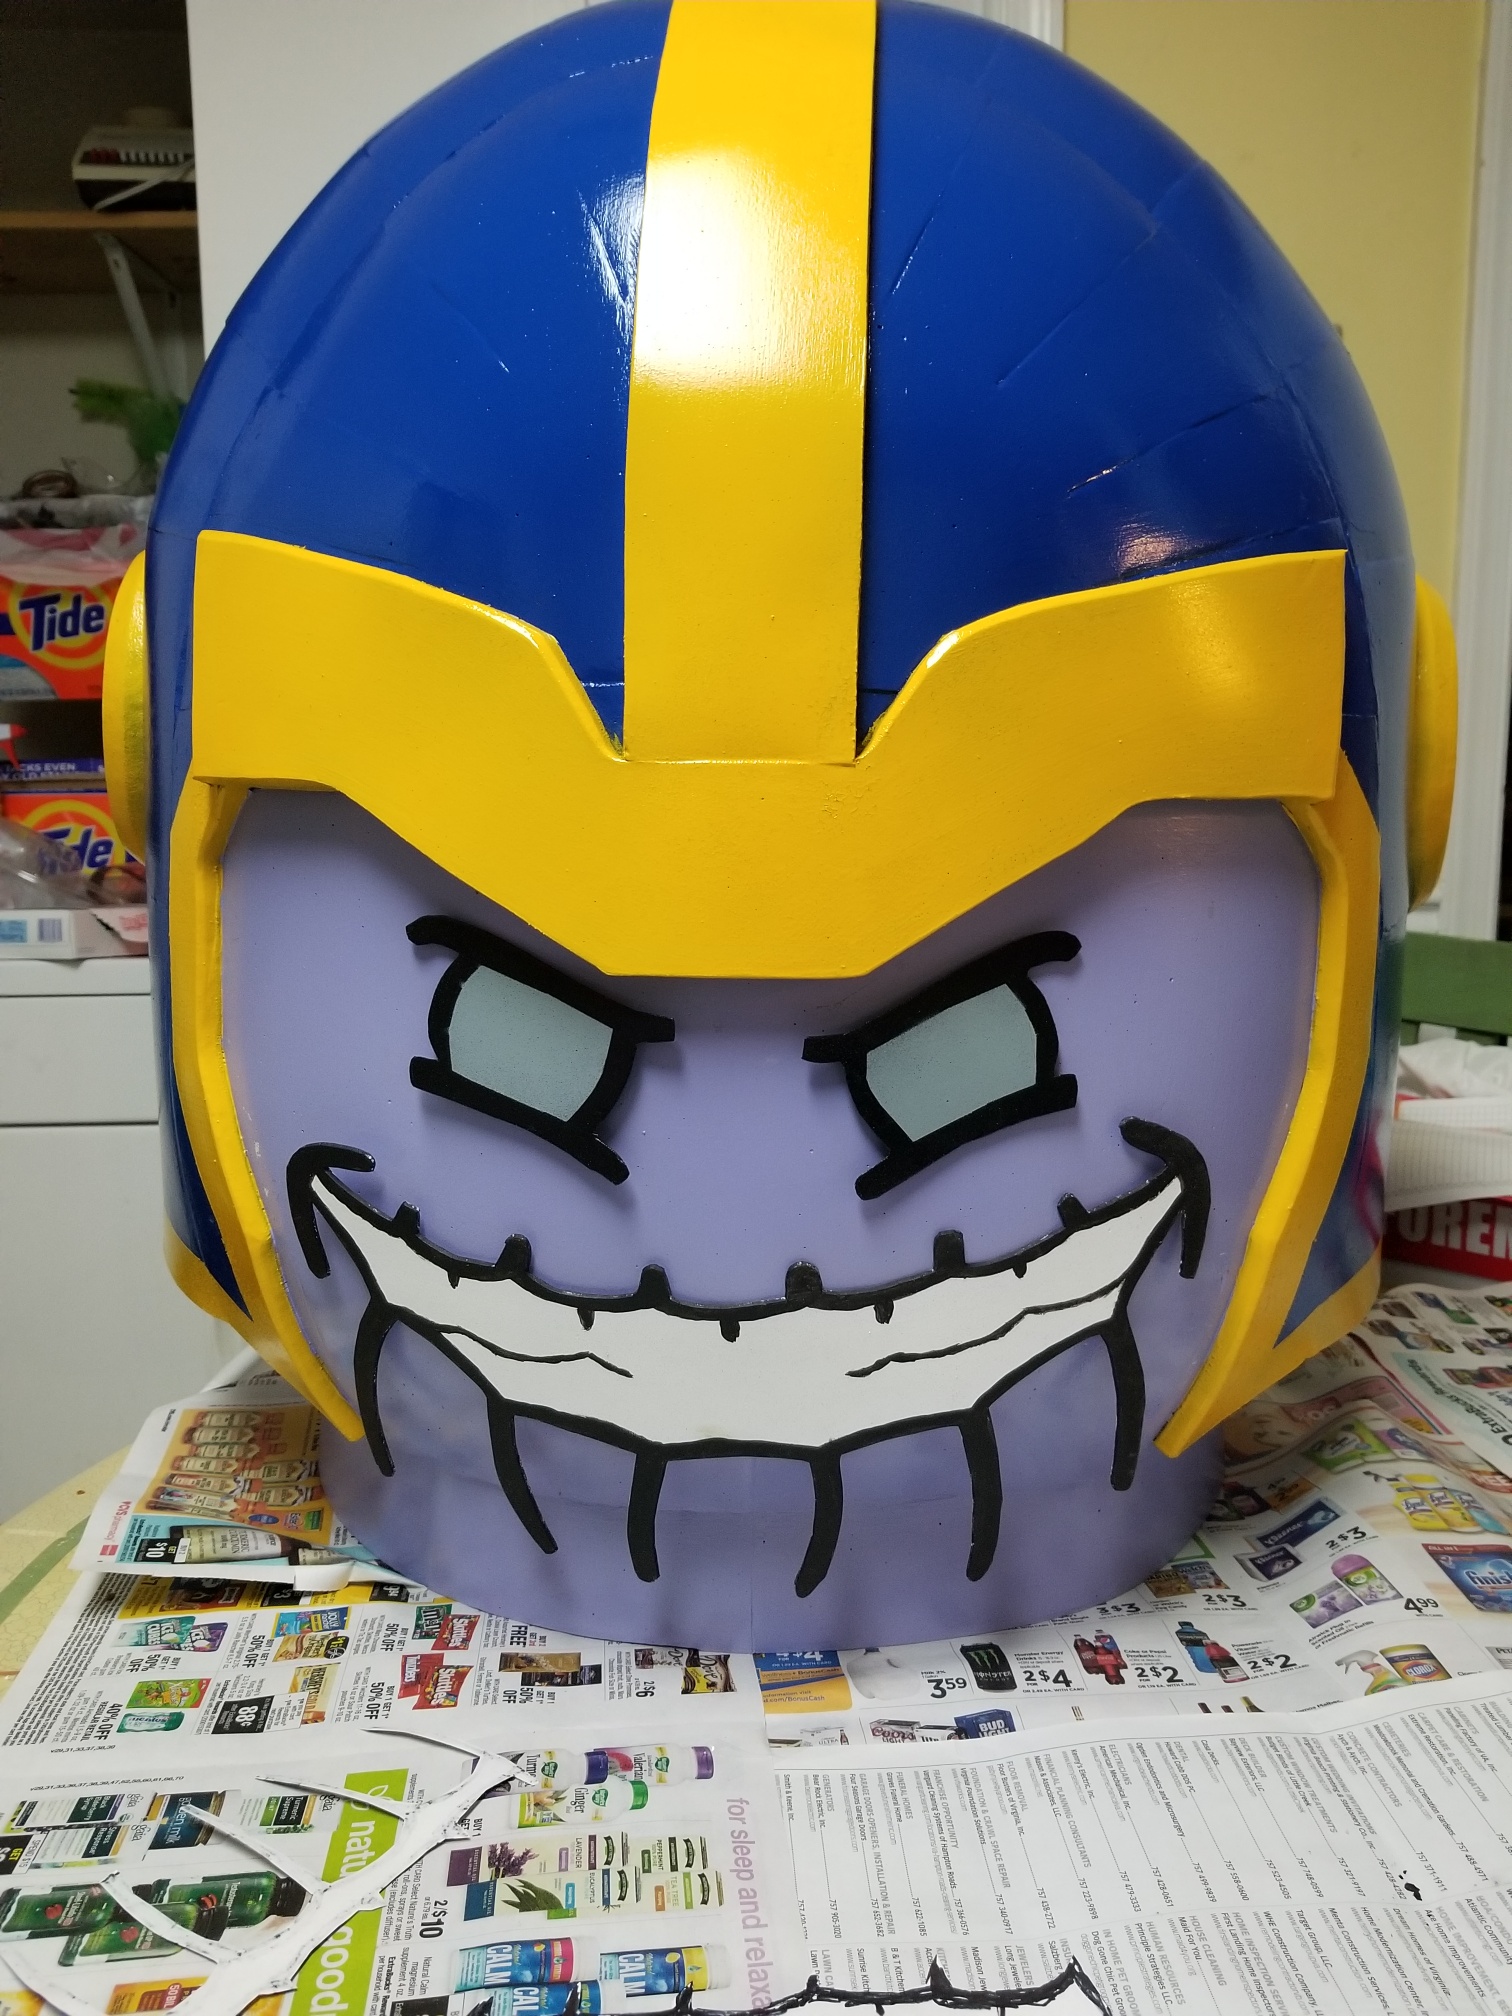
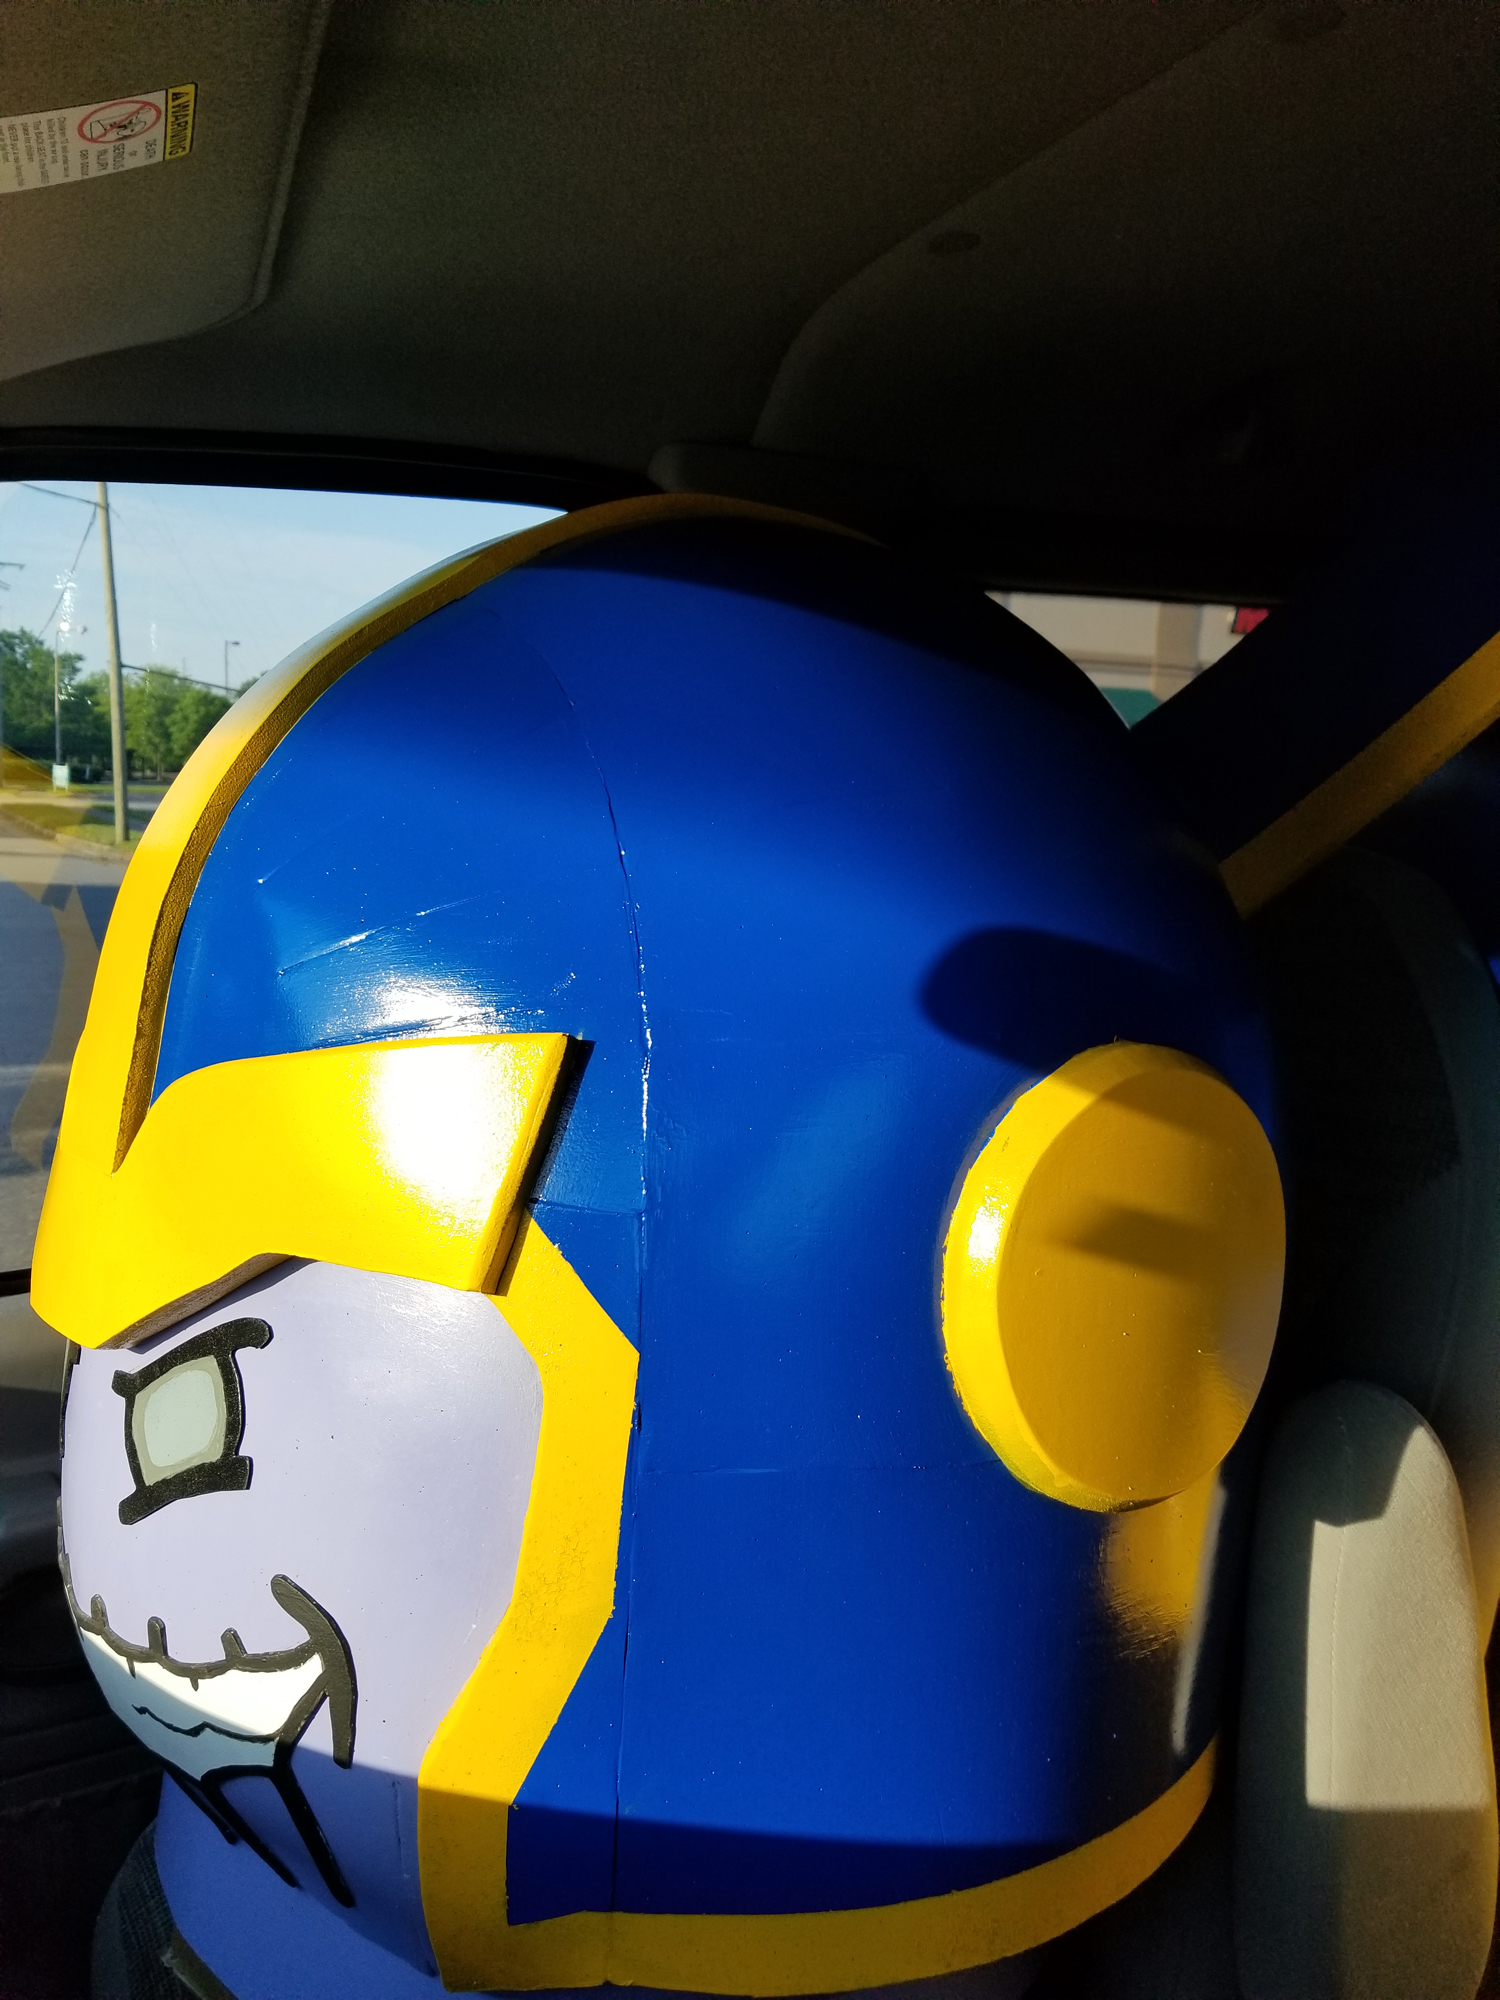
| I didn’t make a pattern for the head/helmet. I did use some math to try to figure out the curves for making the dome. The head was just a larger version of the LEGO head piece I’ve used on other statues. |
 |
 |
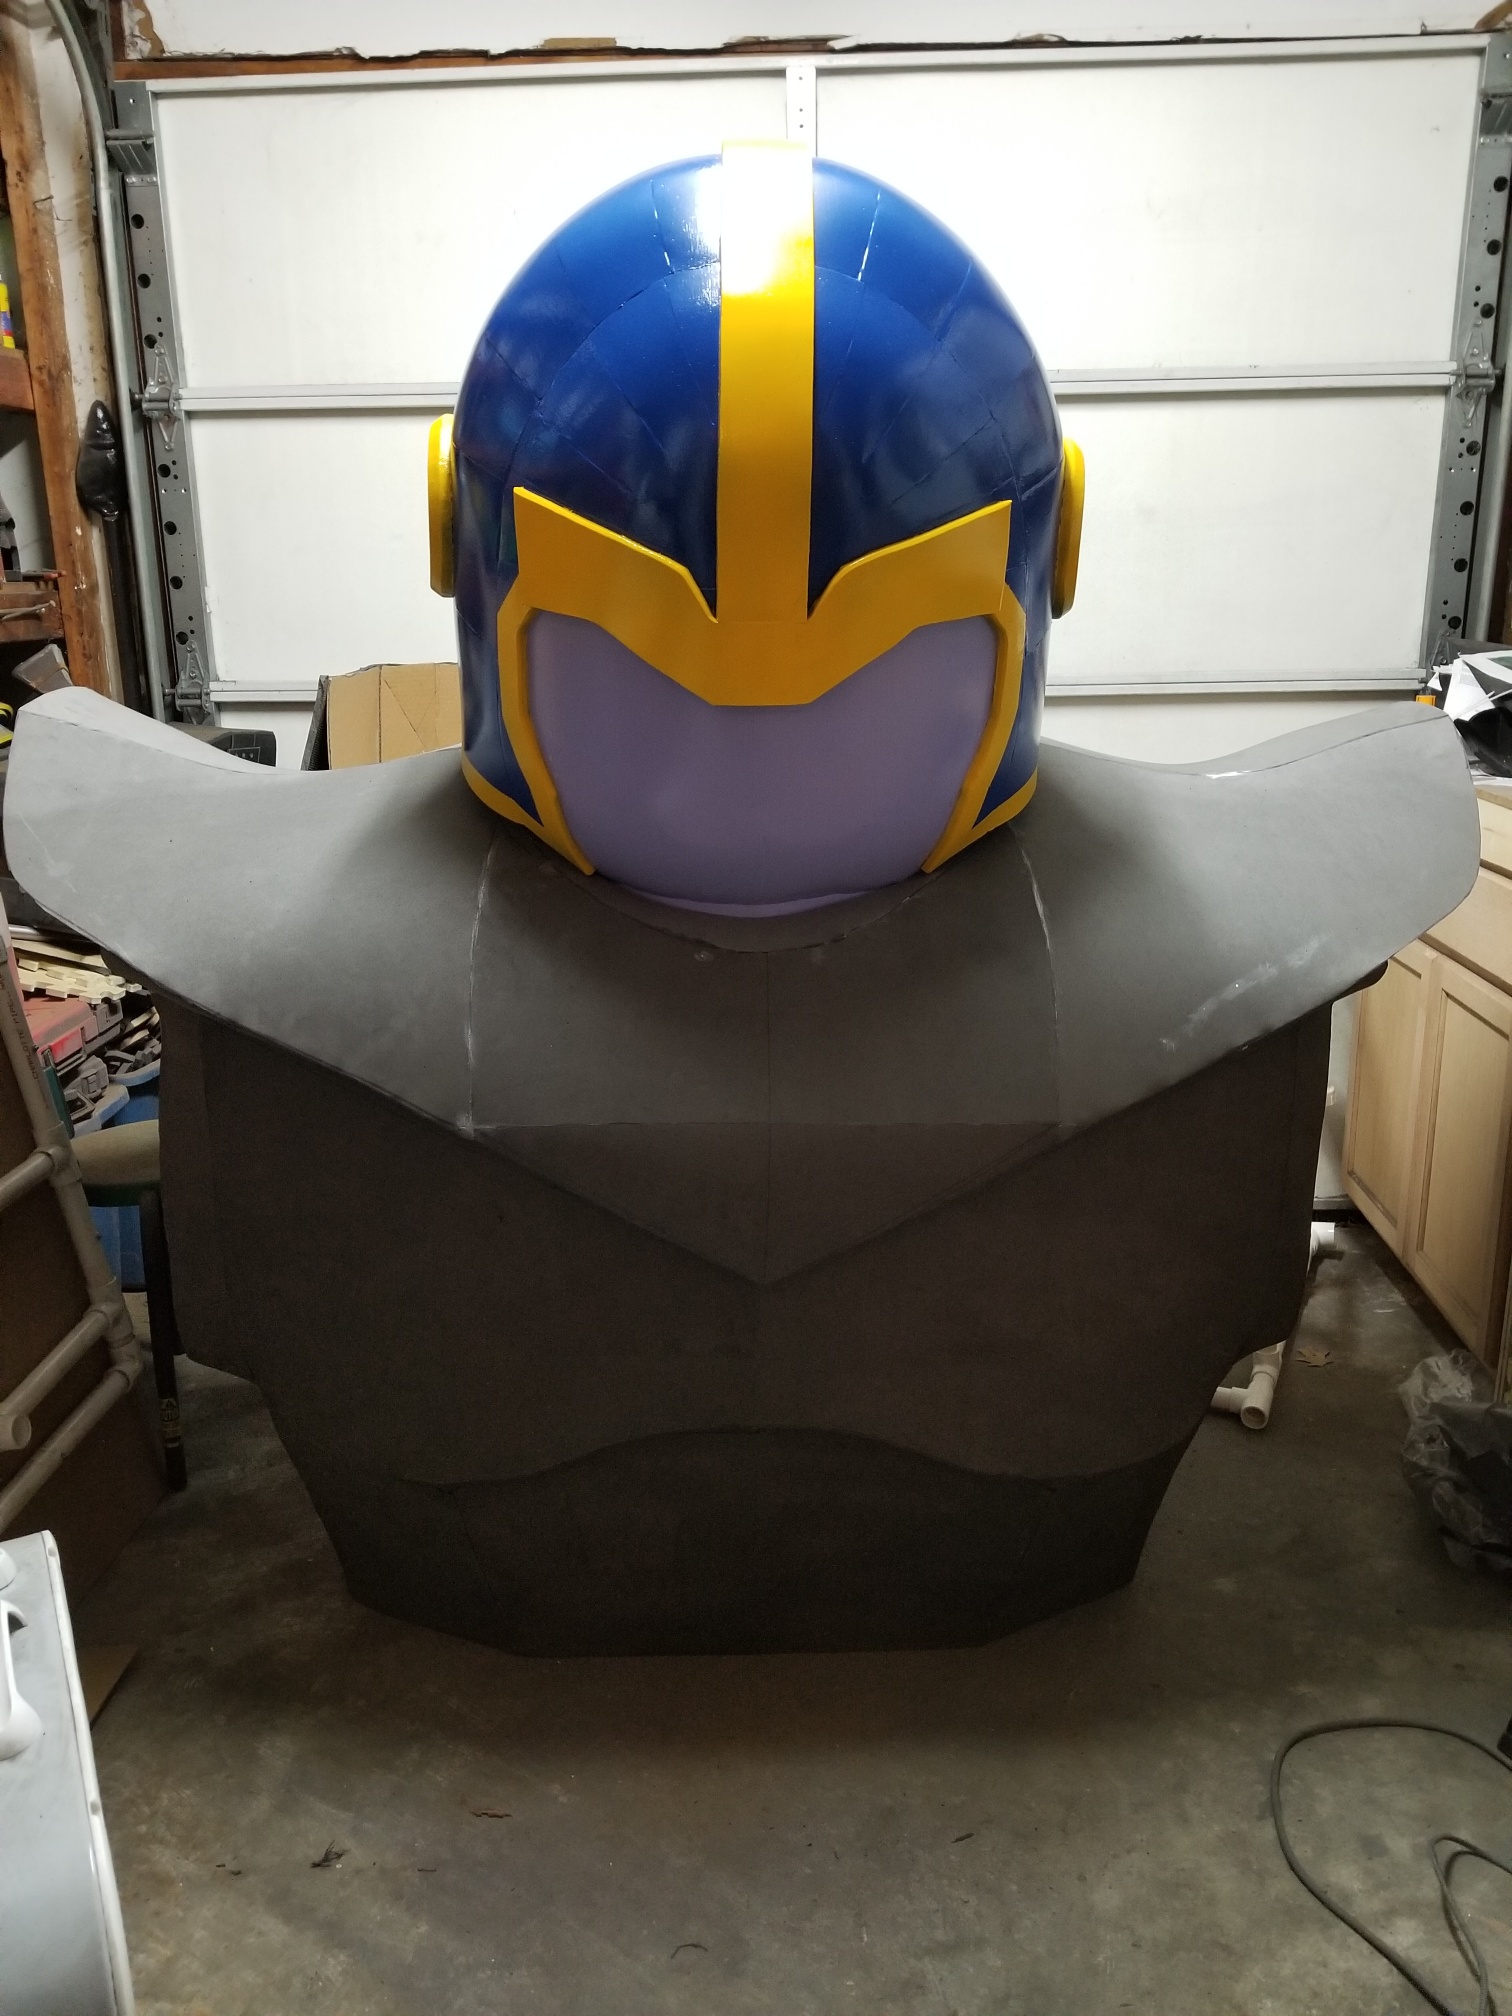 |
| During the 2 months I spent building this project, the design changed a few times. The torso and shoulders changed the most. Originally the shoulders were going to be a separate piece from the torso. As I was nearing the end of the project, I realized it would be easier to have the shoulders attached to the torso. This made the torso/shoulder piece the largest single foam piece I’ve built. It nearly takes up half of my 1/2 car garage. In the final weeks, I spent a lot of time rotating body parts in and out of my garage to have space to work. |
 |
 |
 |
 |
 |
 |
| Since the final statue was over 9 feet tall and the ceiling in my garage is only 8 feet tall, I had to do full assembly of the project in my backyard to make sure everything fit together. With just a few days left and running into problems, I had to make a bunch of adjustments to the PVC frame to support the weight of the arms. One night, I was outside until after 10pm in the dark before I finally got both arms to fully stay in place. The following night it rained and I wasn’t able to setup the statue. I was able to work on the gems and other last minute painting. The third night (the night before the convention), I was still making final adjustments to the fittings to get the arms secure. |
 |
 |
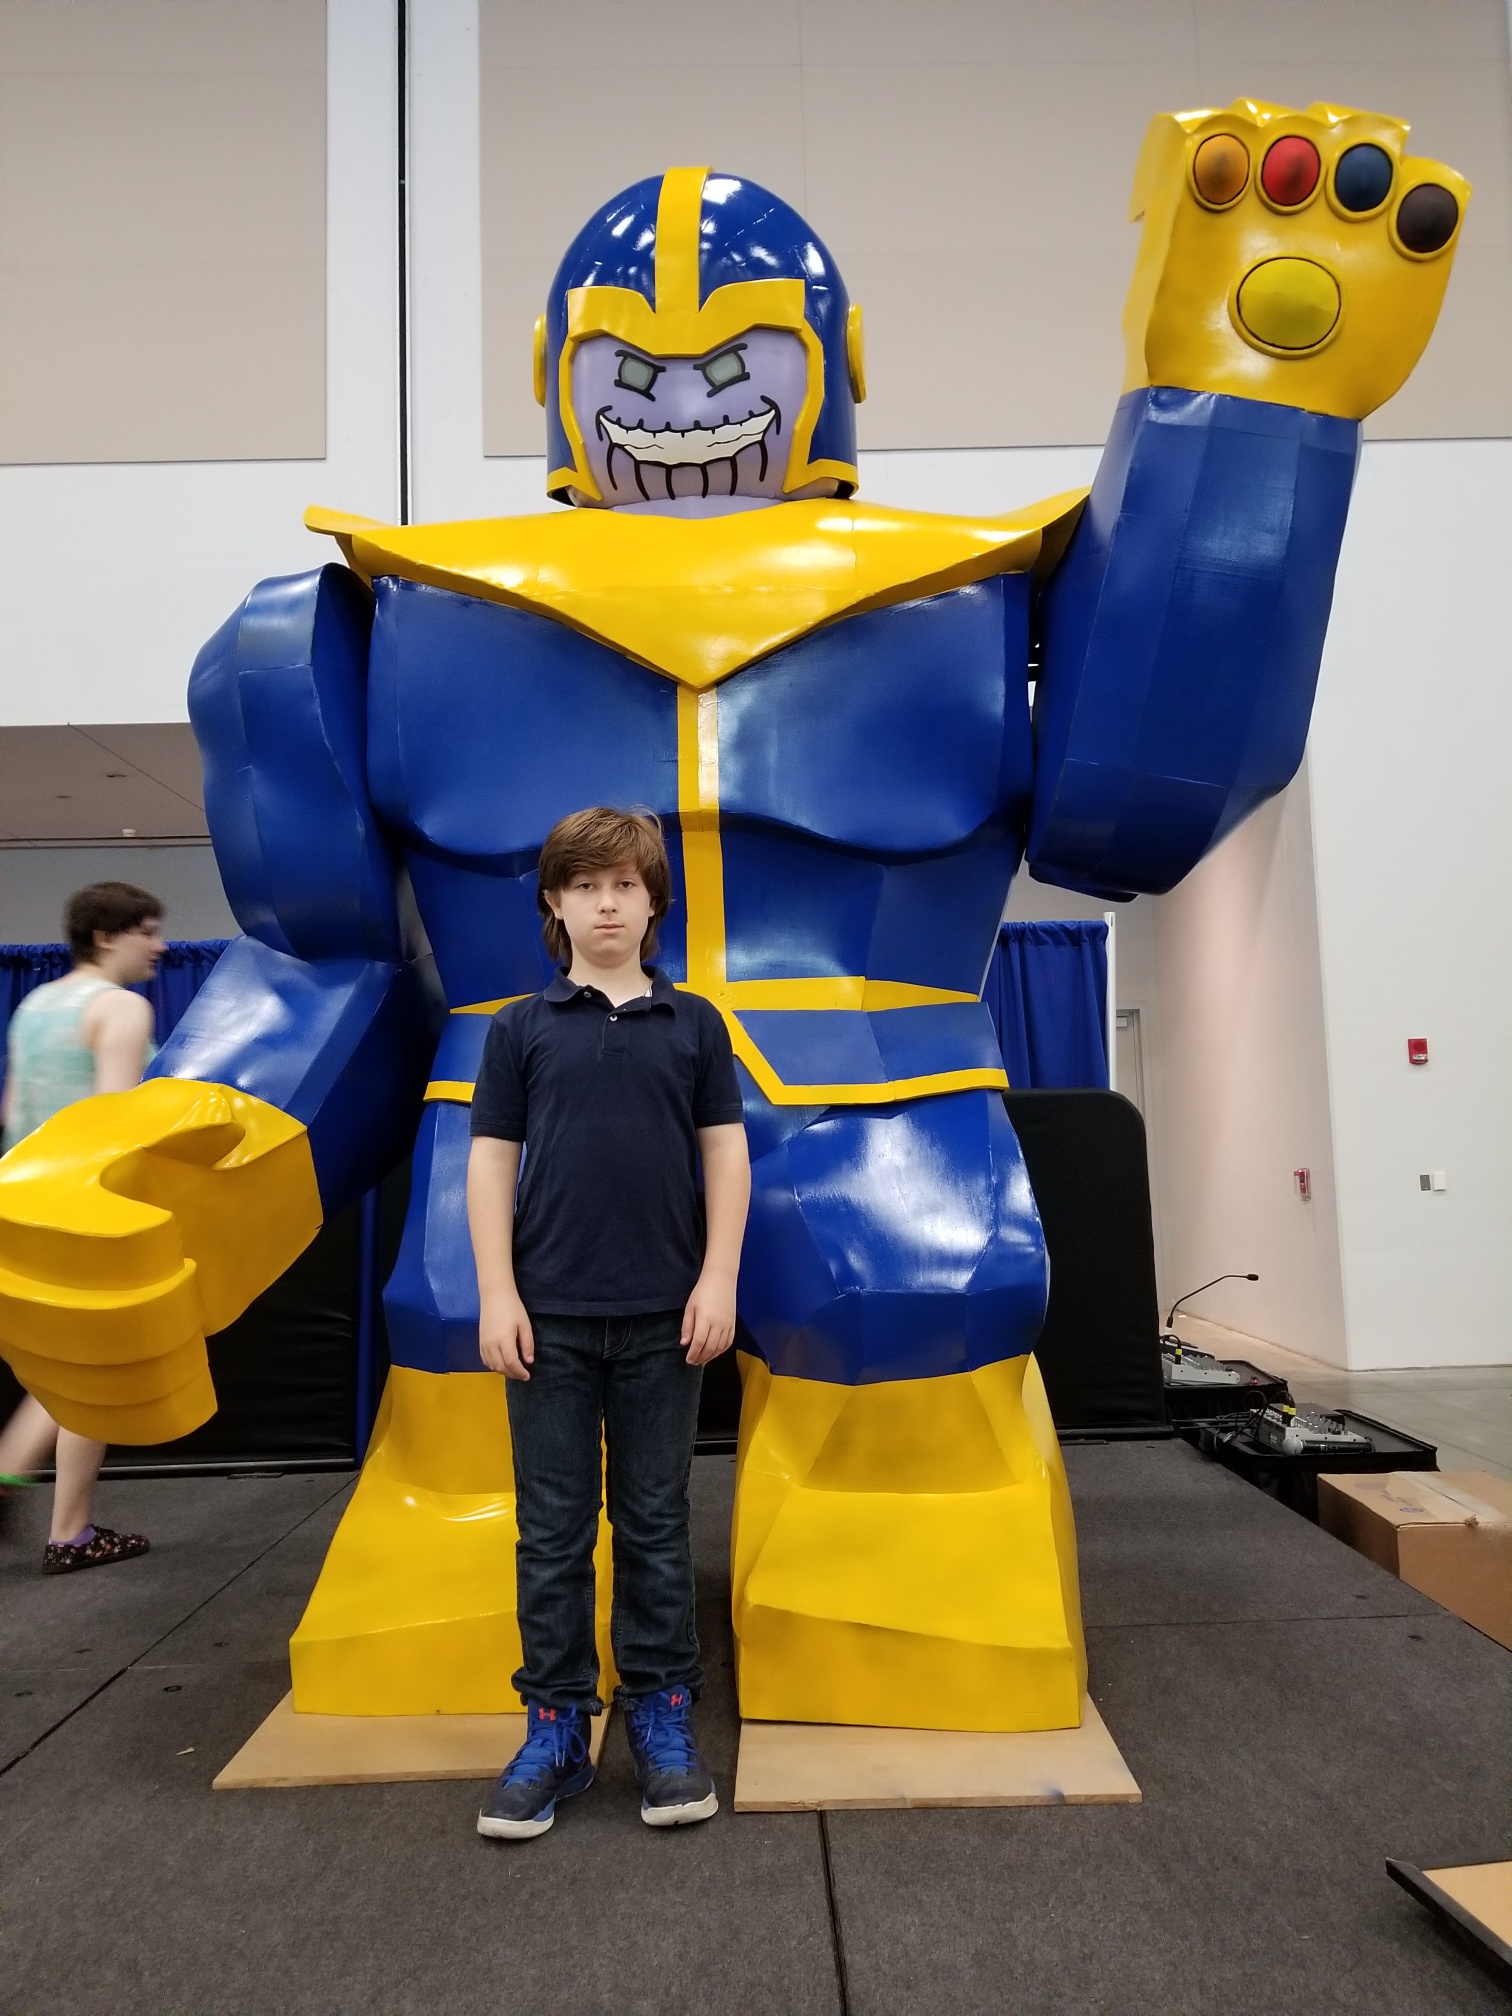 |
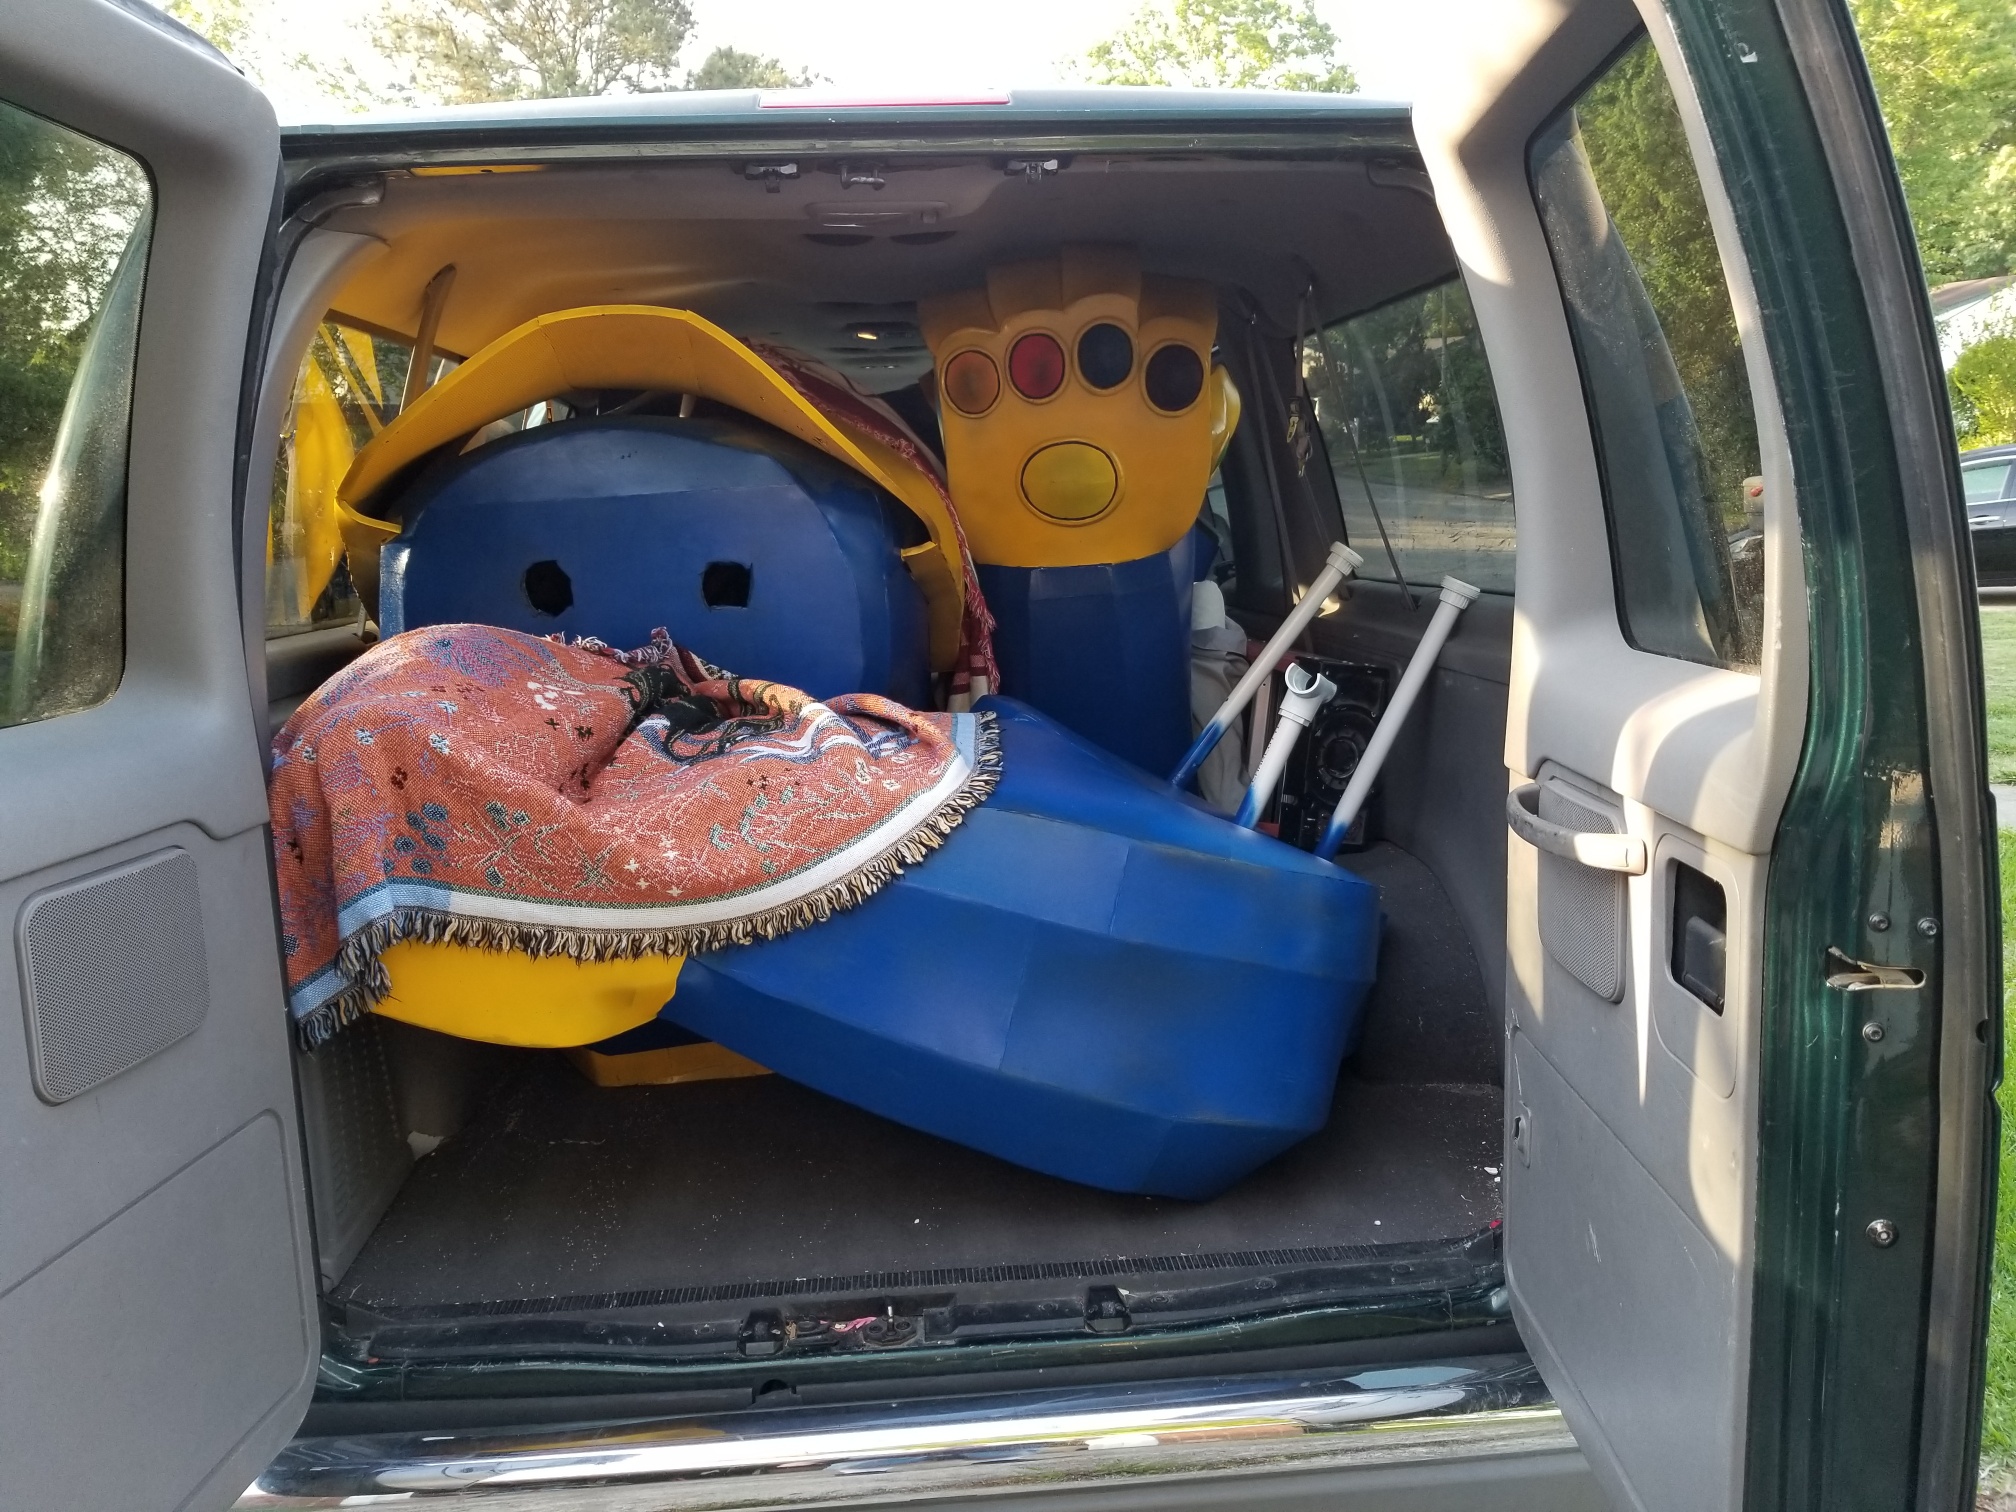
| The day of the convention, I somehow managed to squeeze the entire statue into a van I borrowed. The head rode in the passenger seat. After carrying all the parts across the convention hall, it only took a few minutes to setup thanks to all the adjustments I had made to the PVC frame during the last week. My son stood in front of Thanos for scale. He is just over 4.5 feet tall. Fortunately the statue didn’t fall over and the arms stayed in place the entire weekend. |