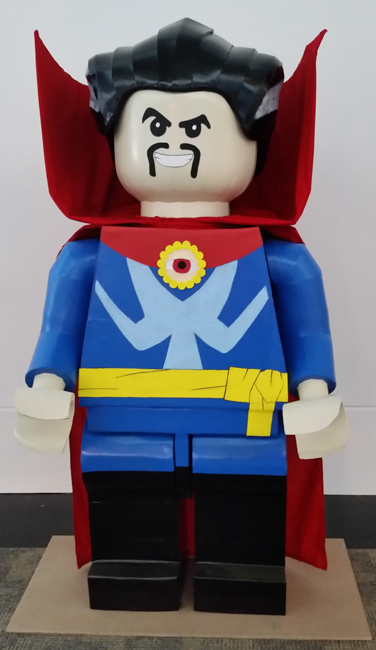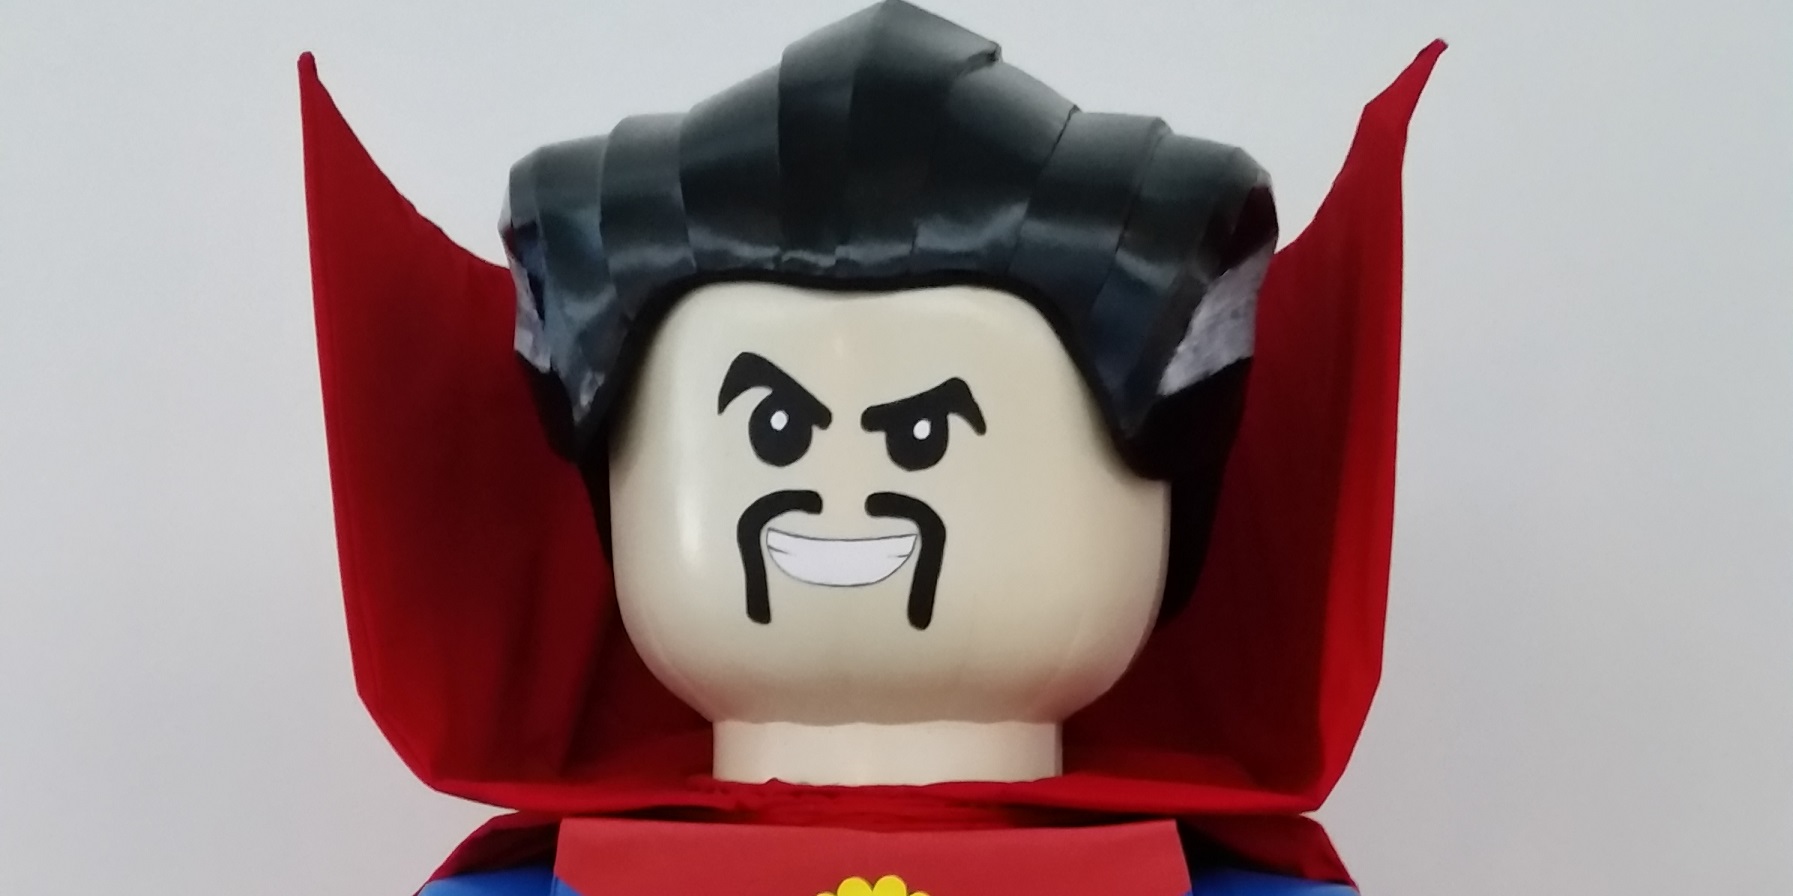
Five months after the debut of my first three LEGO statues, I made Doctor Strange for the 2016 Hampton Comicon. This time I took more work in progress photos.
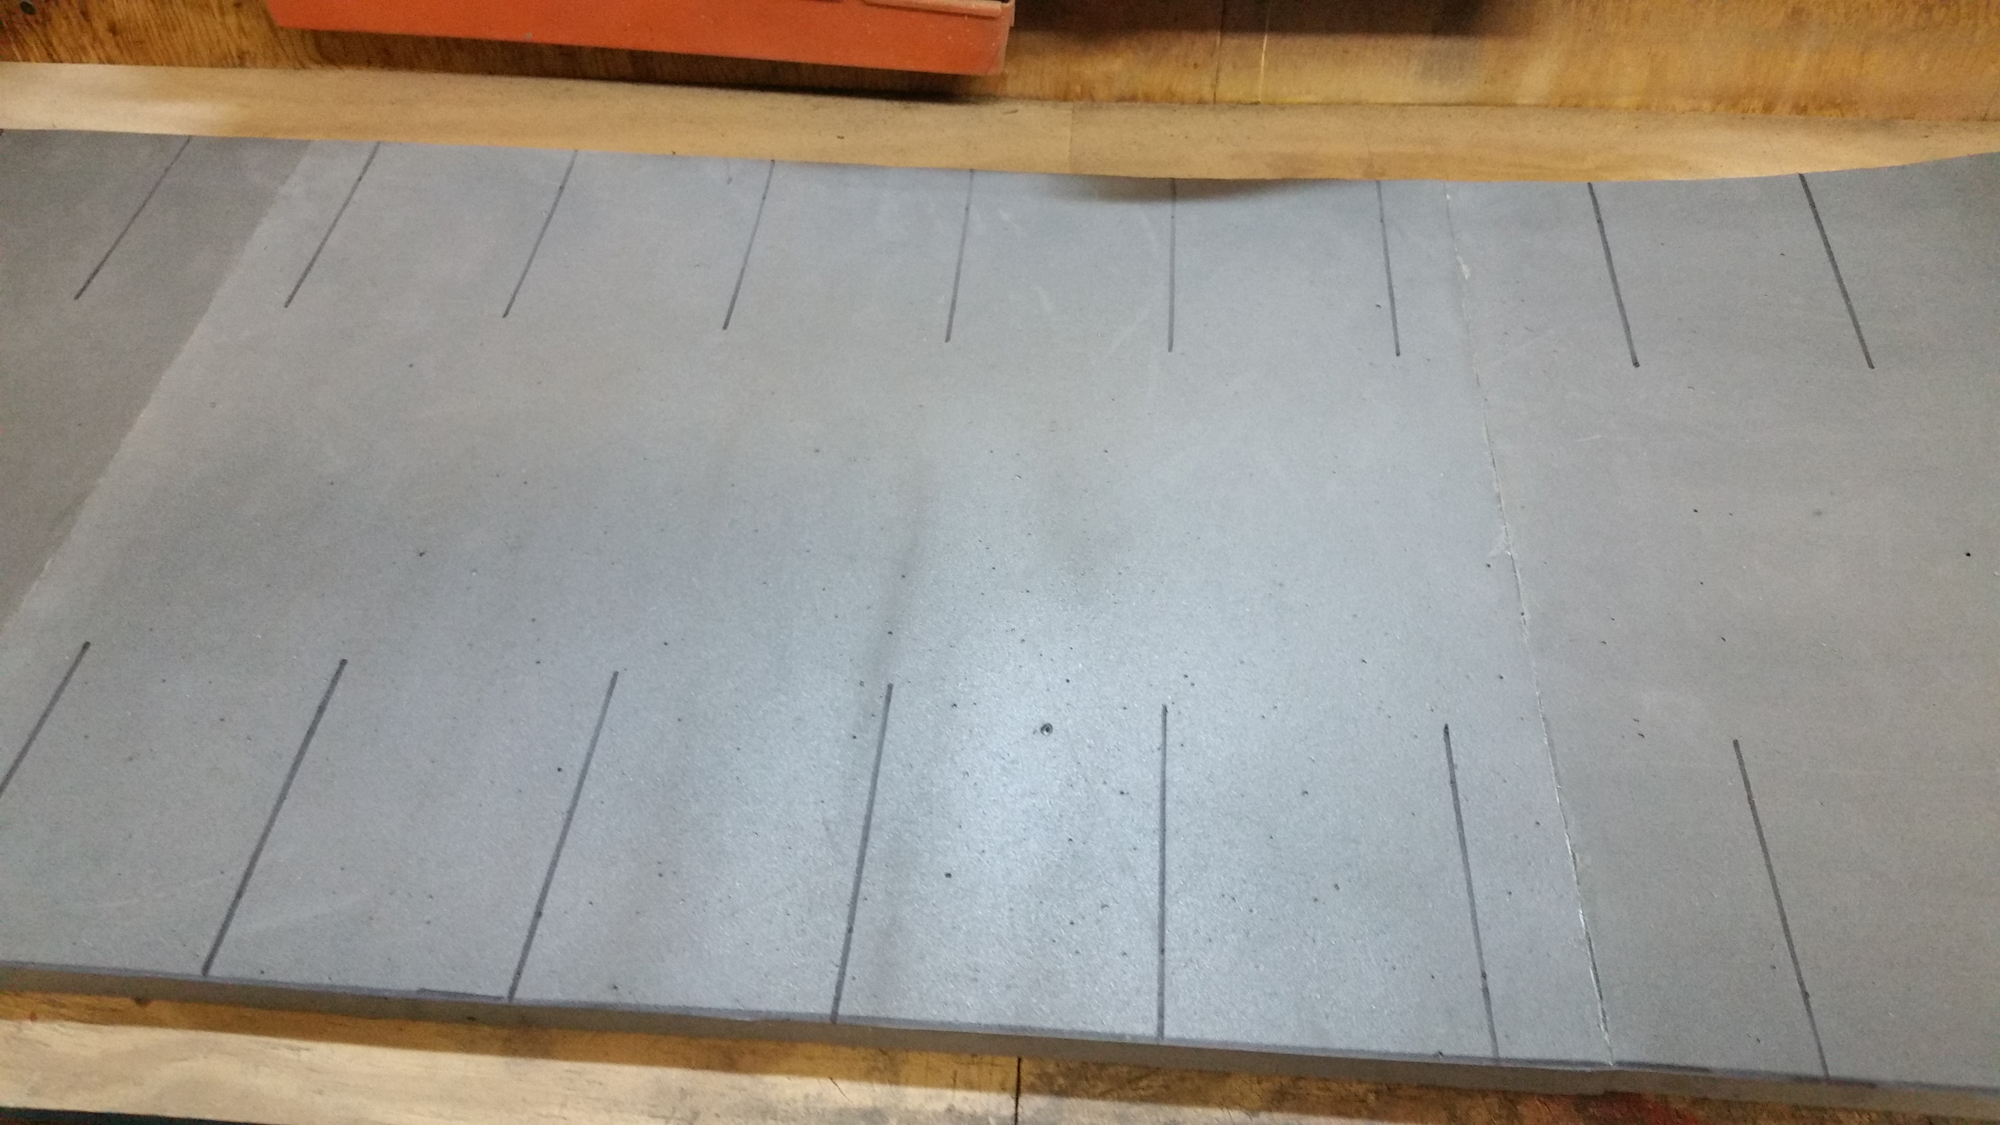
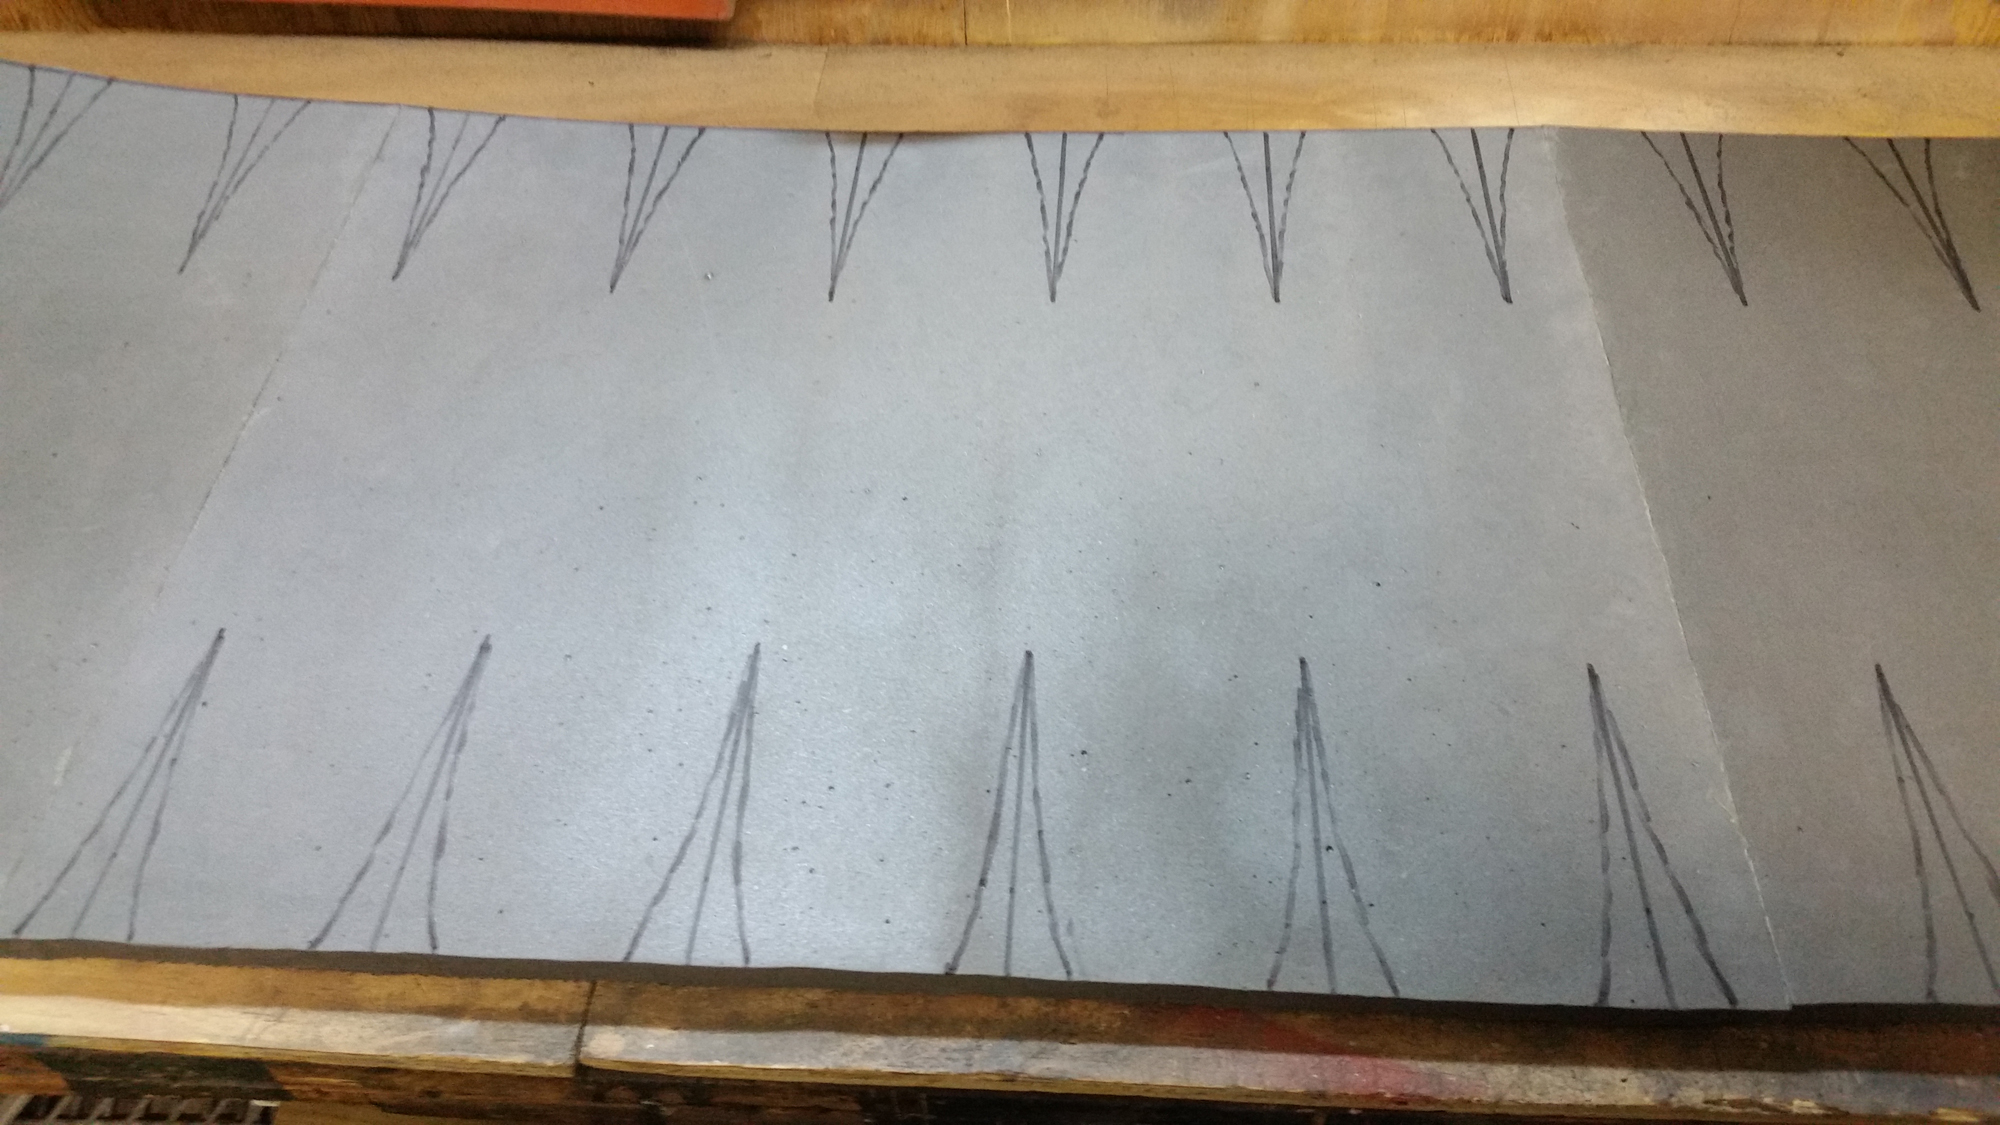
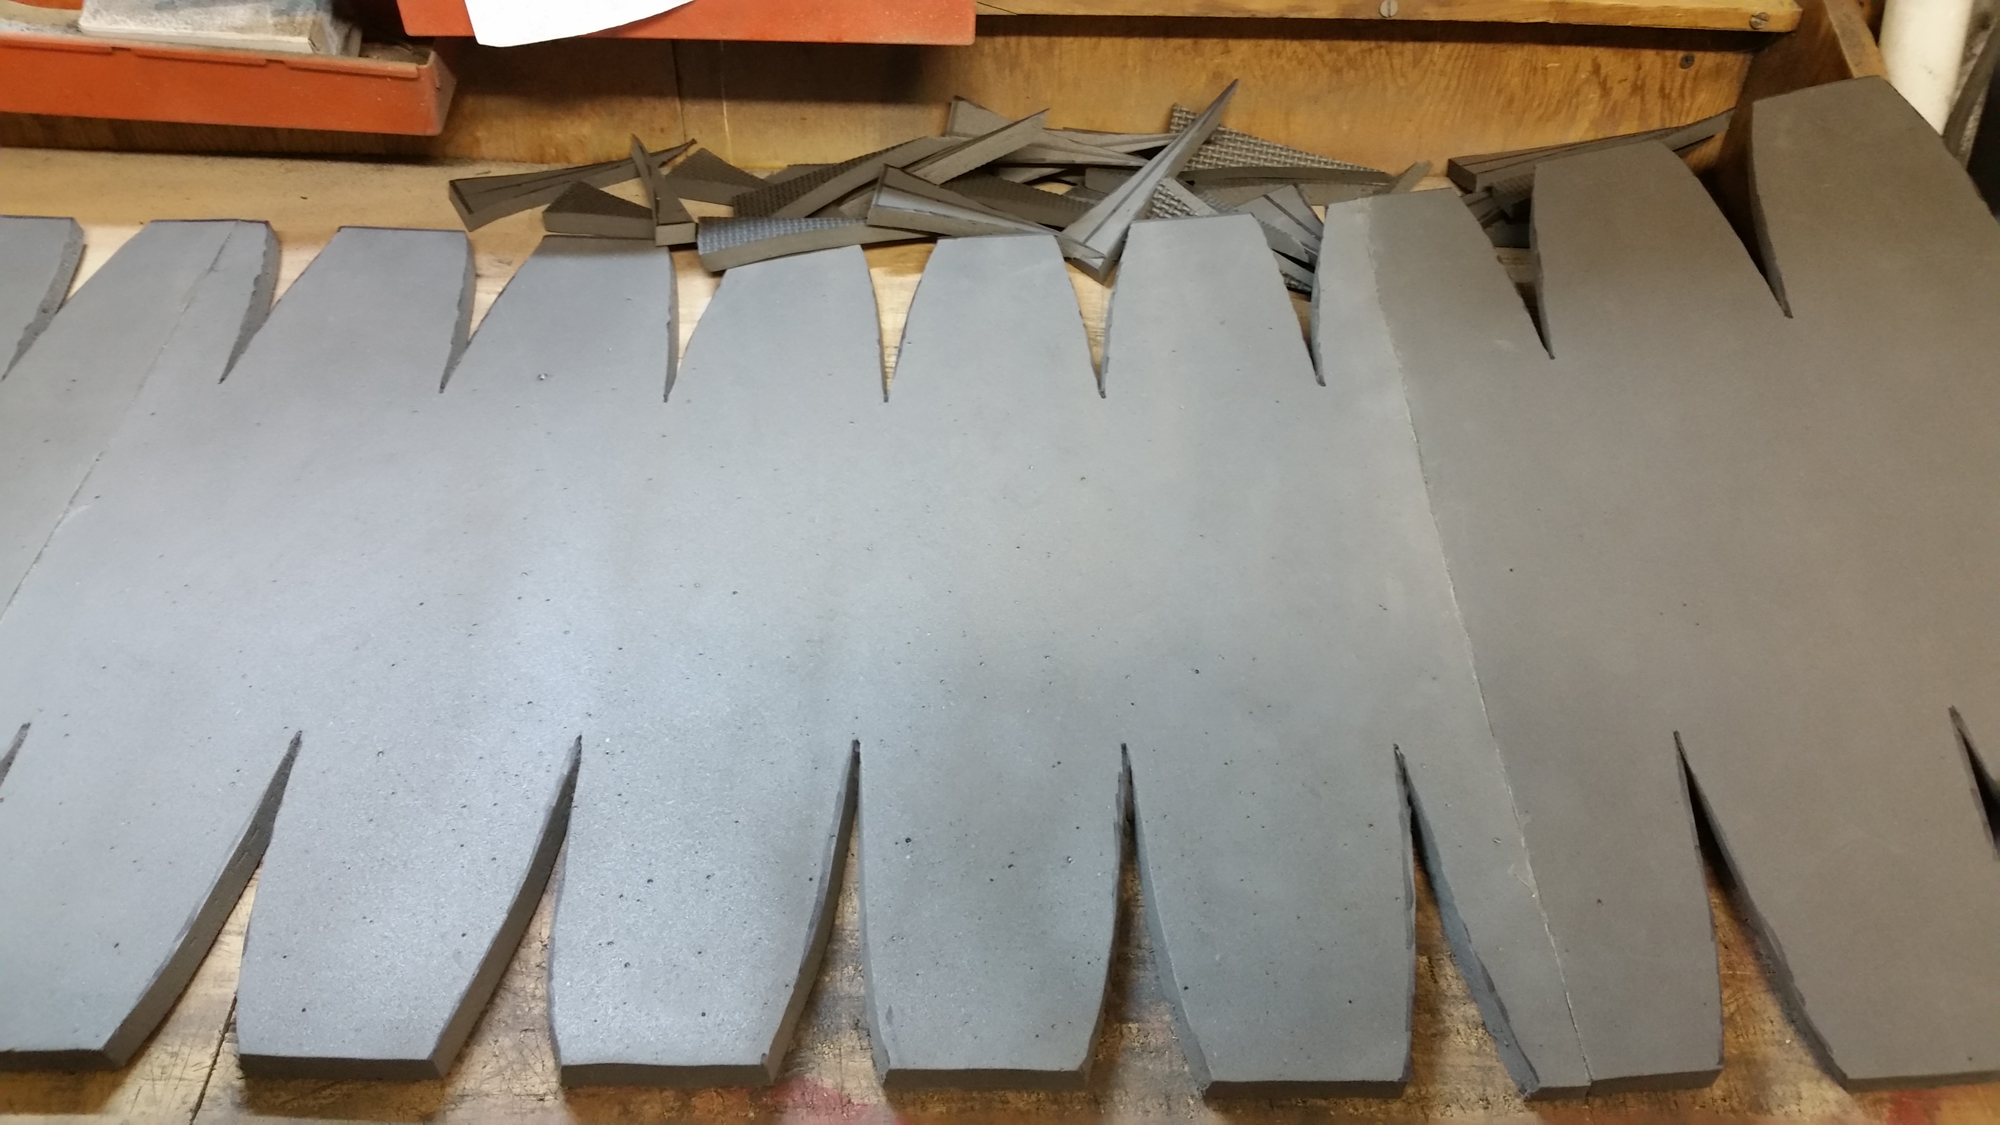
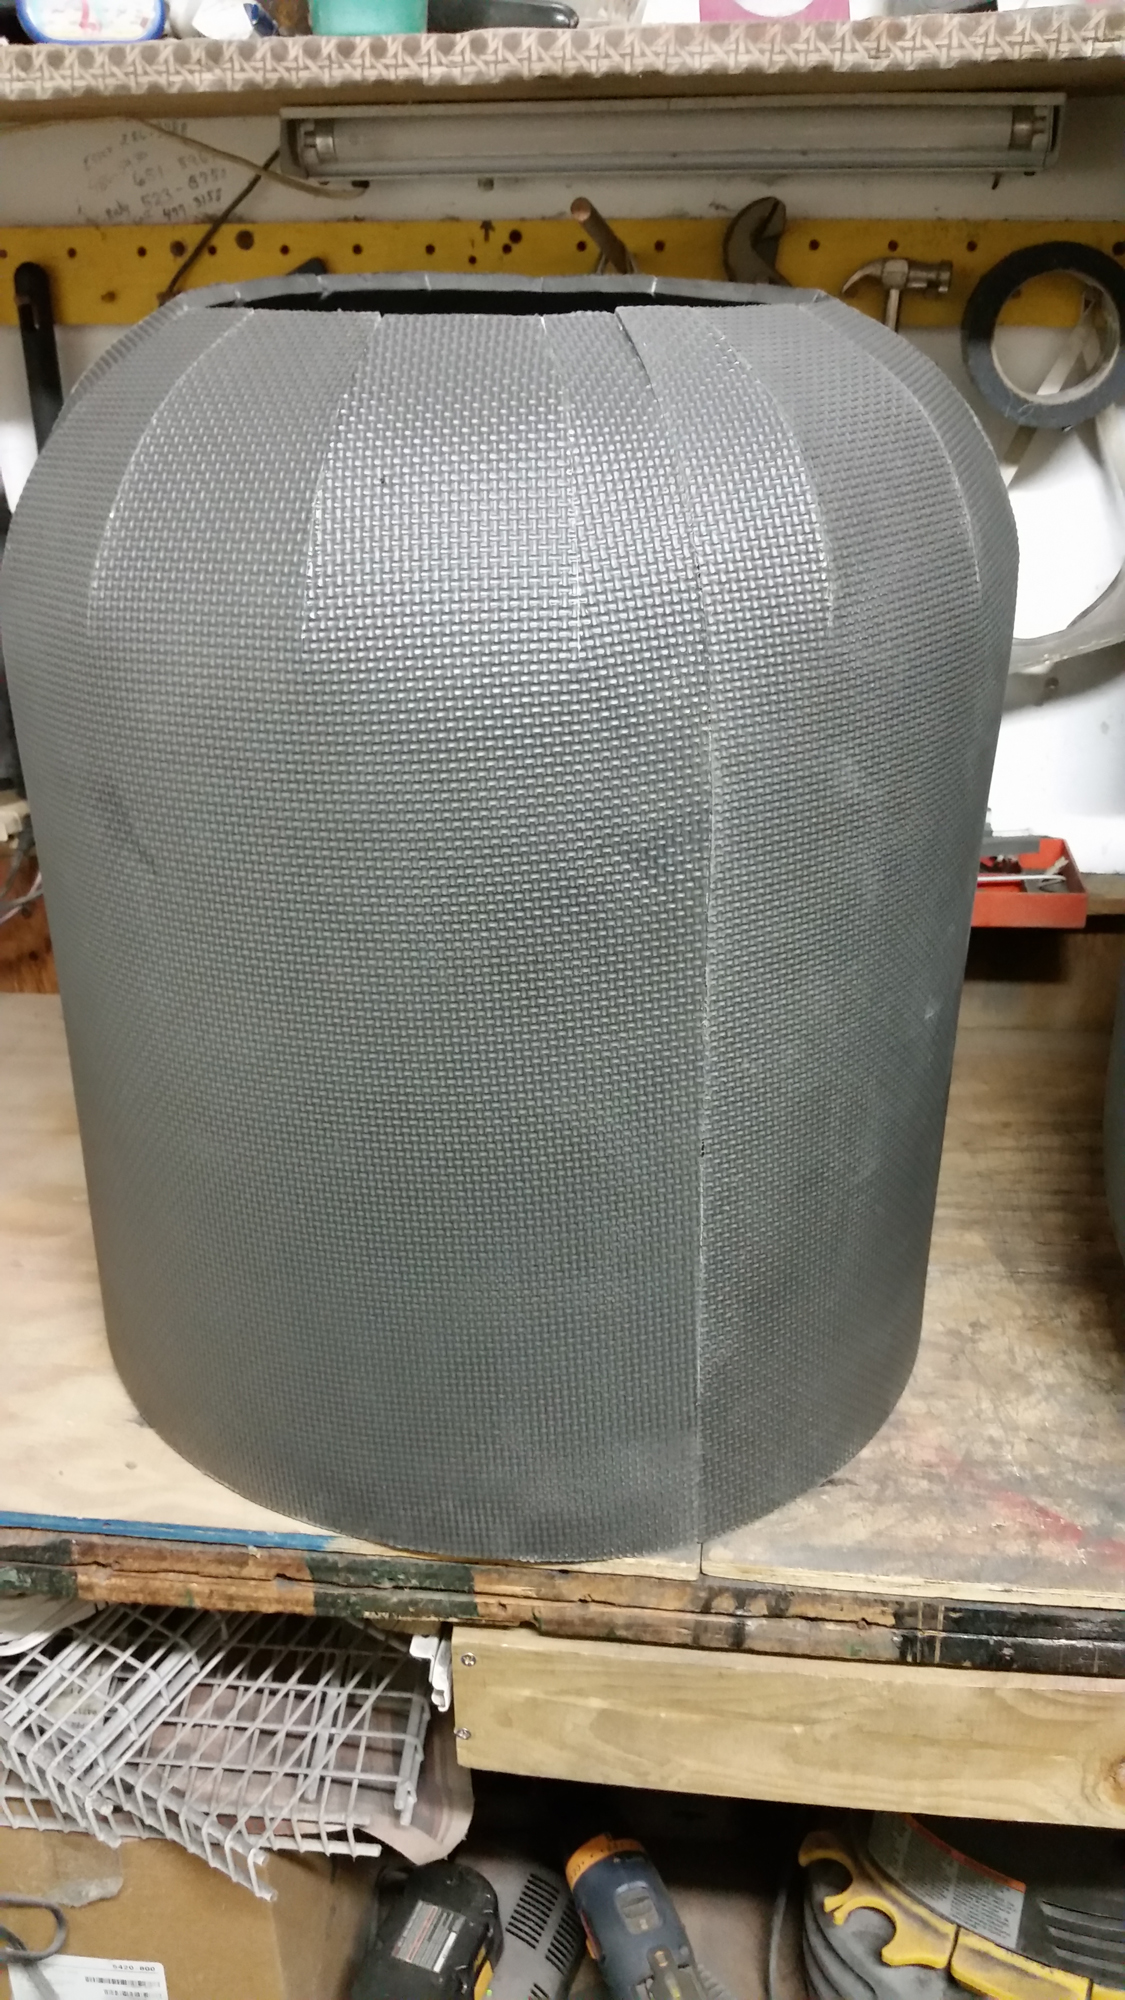
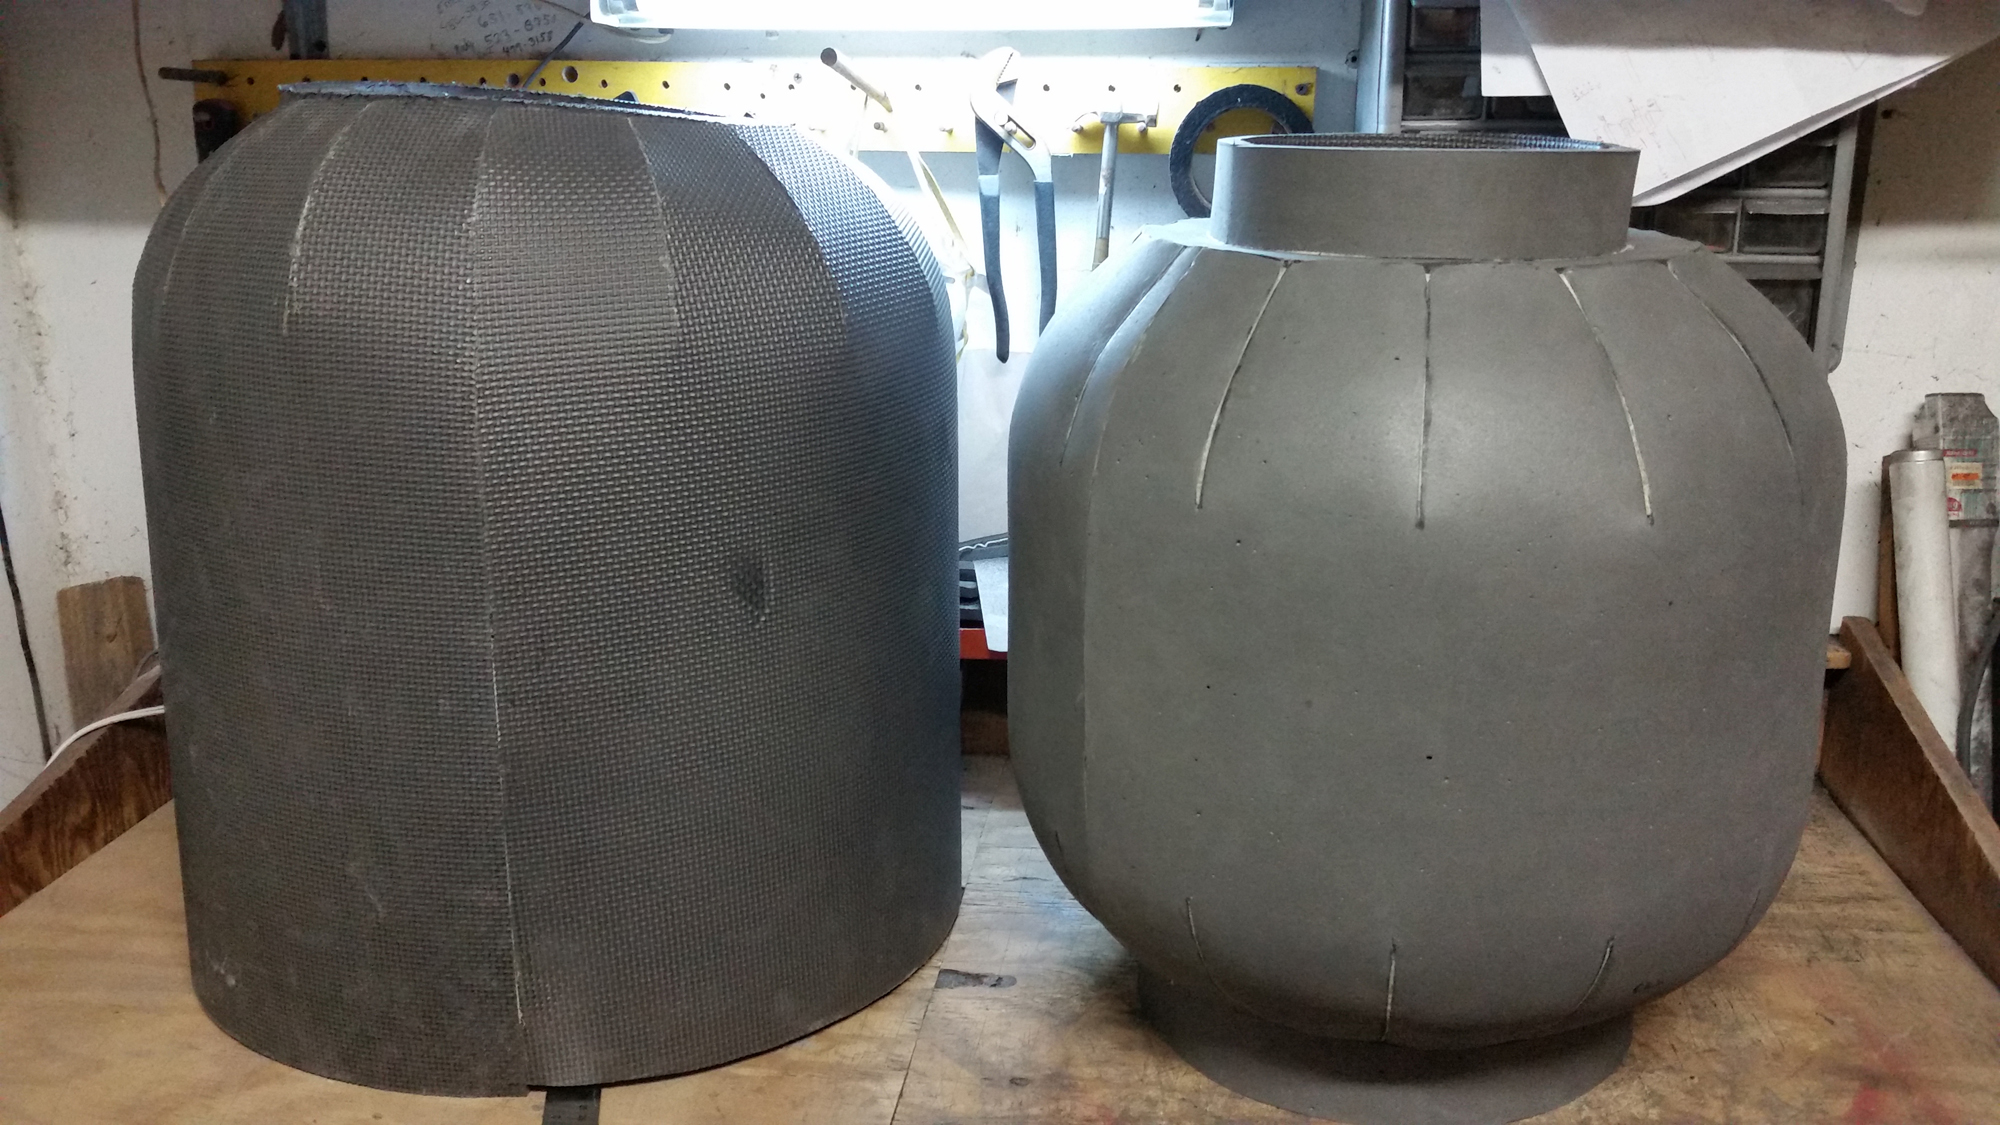
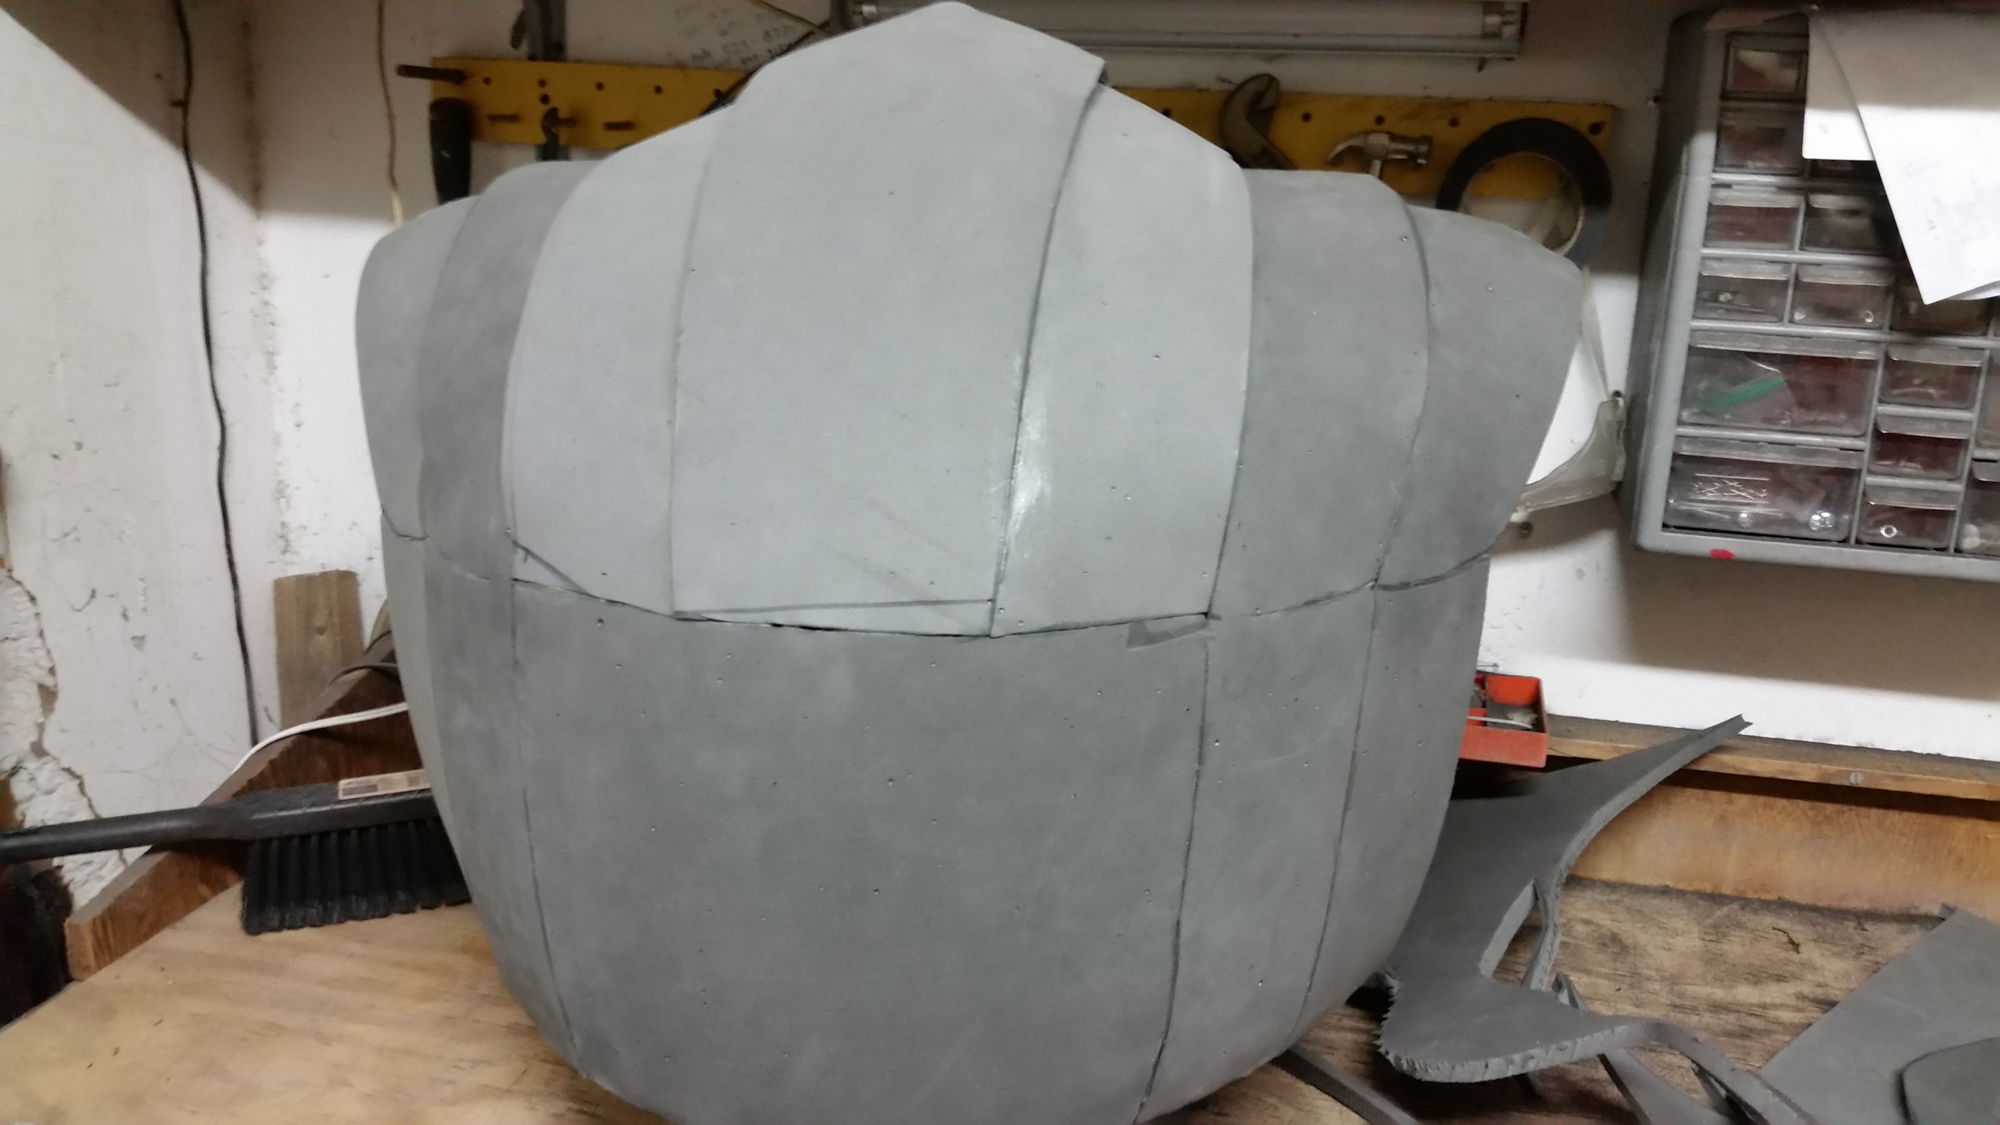
To start the process I cut off the edges of 3 22″ x 22″ sheets of floor mat foam and glue 3 in a row. to make a longer sheet. The sheet is cut to 56″ x 18.5″ in size. Every 4″ I draw a line 5.25″ long. On each side of the line, I draw a curve 3/4″ from the line that intersects the inner tip of the line like the picture above. What this does is create a curve in the “sphere” that reduces the 18″ diameter down to about 11″ by removing 1 1/2″ every 3 inches.
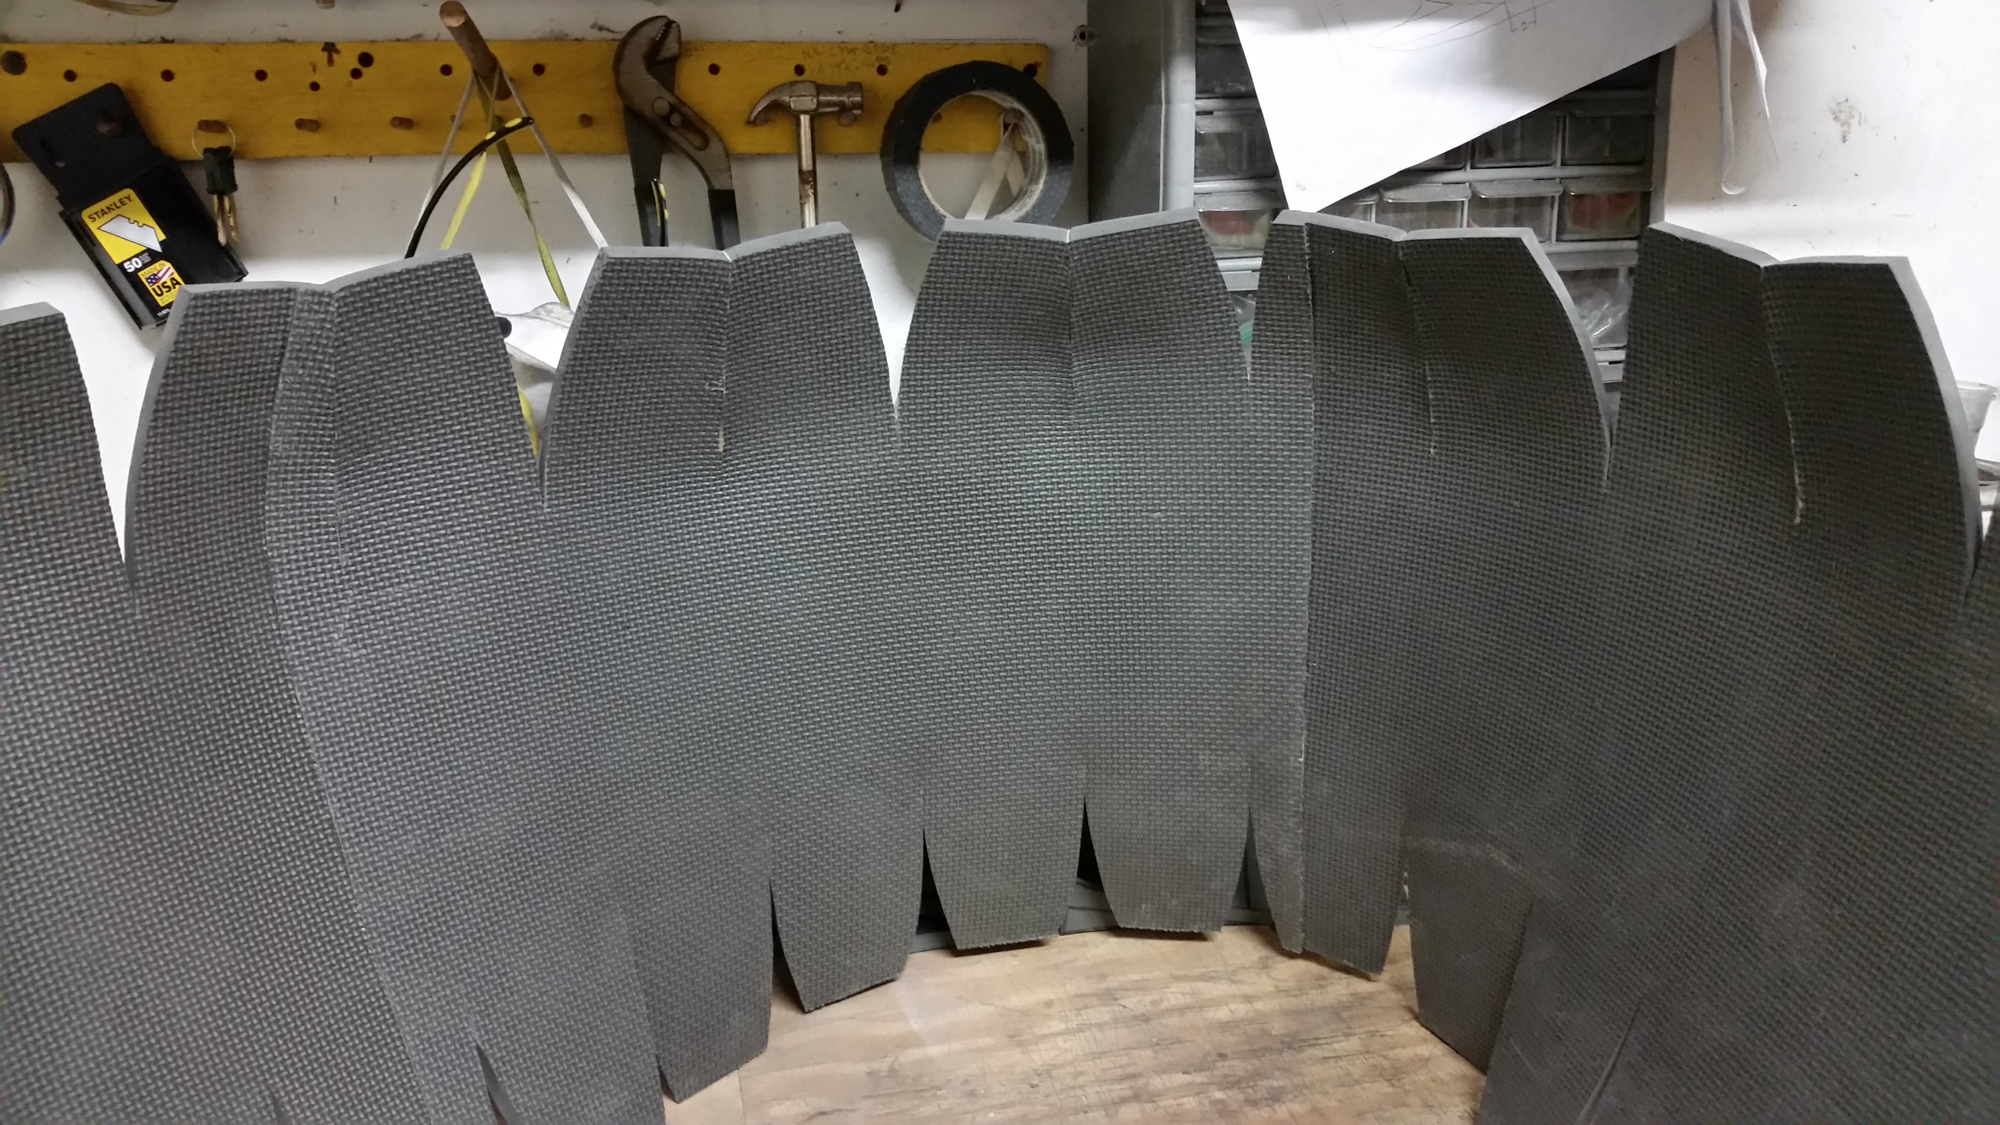
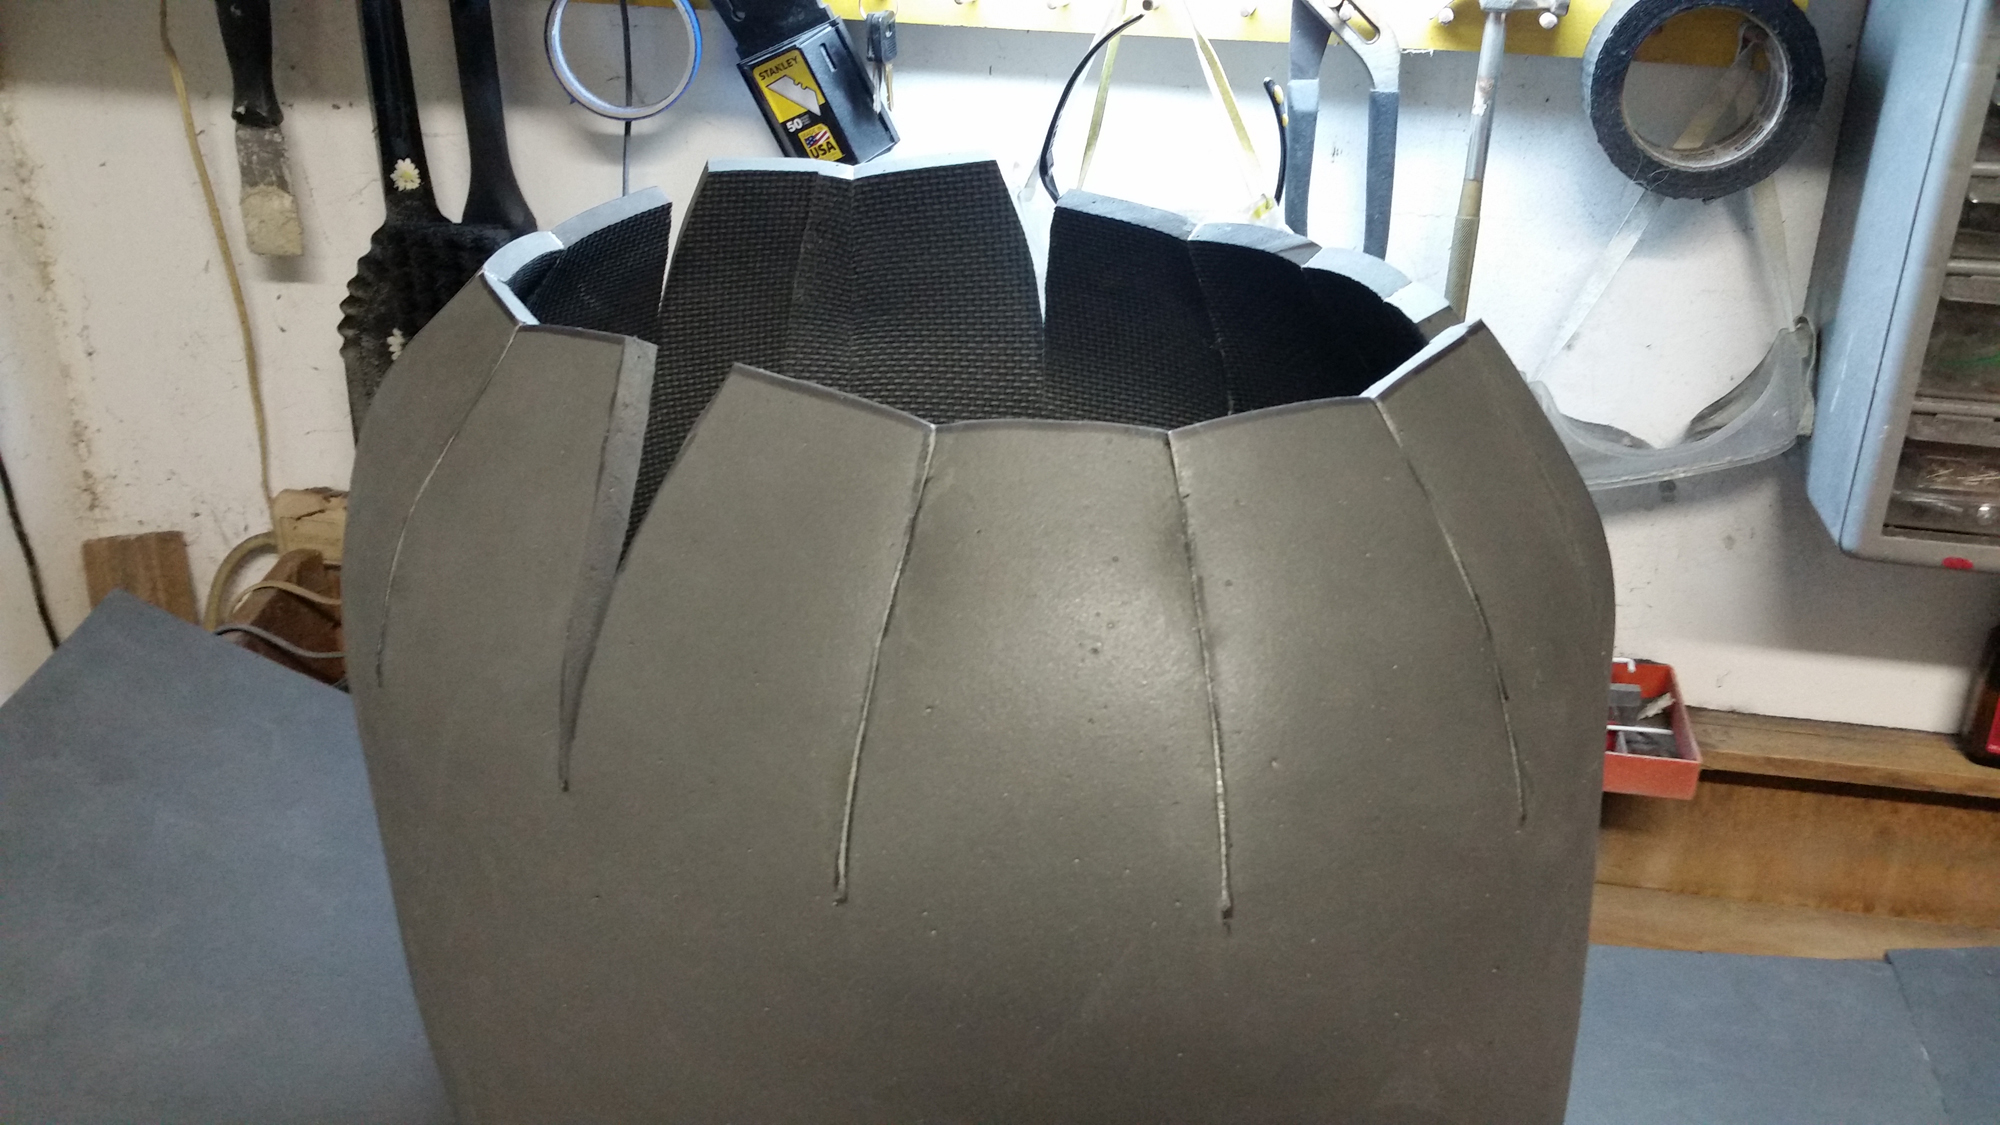

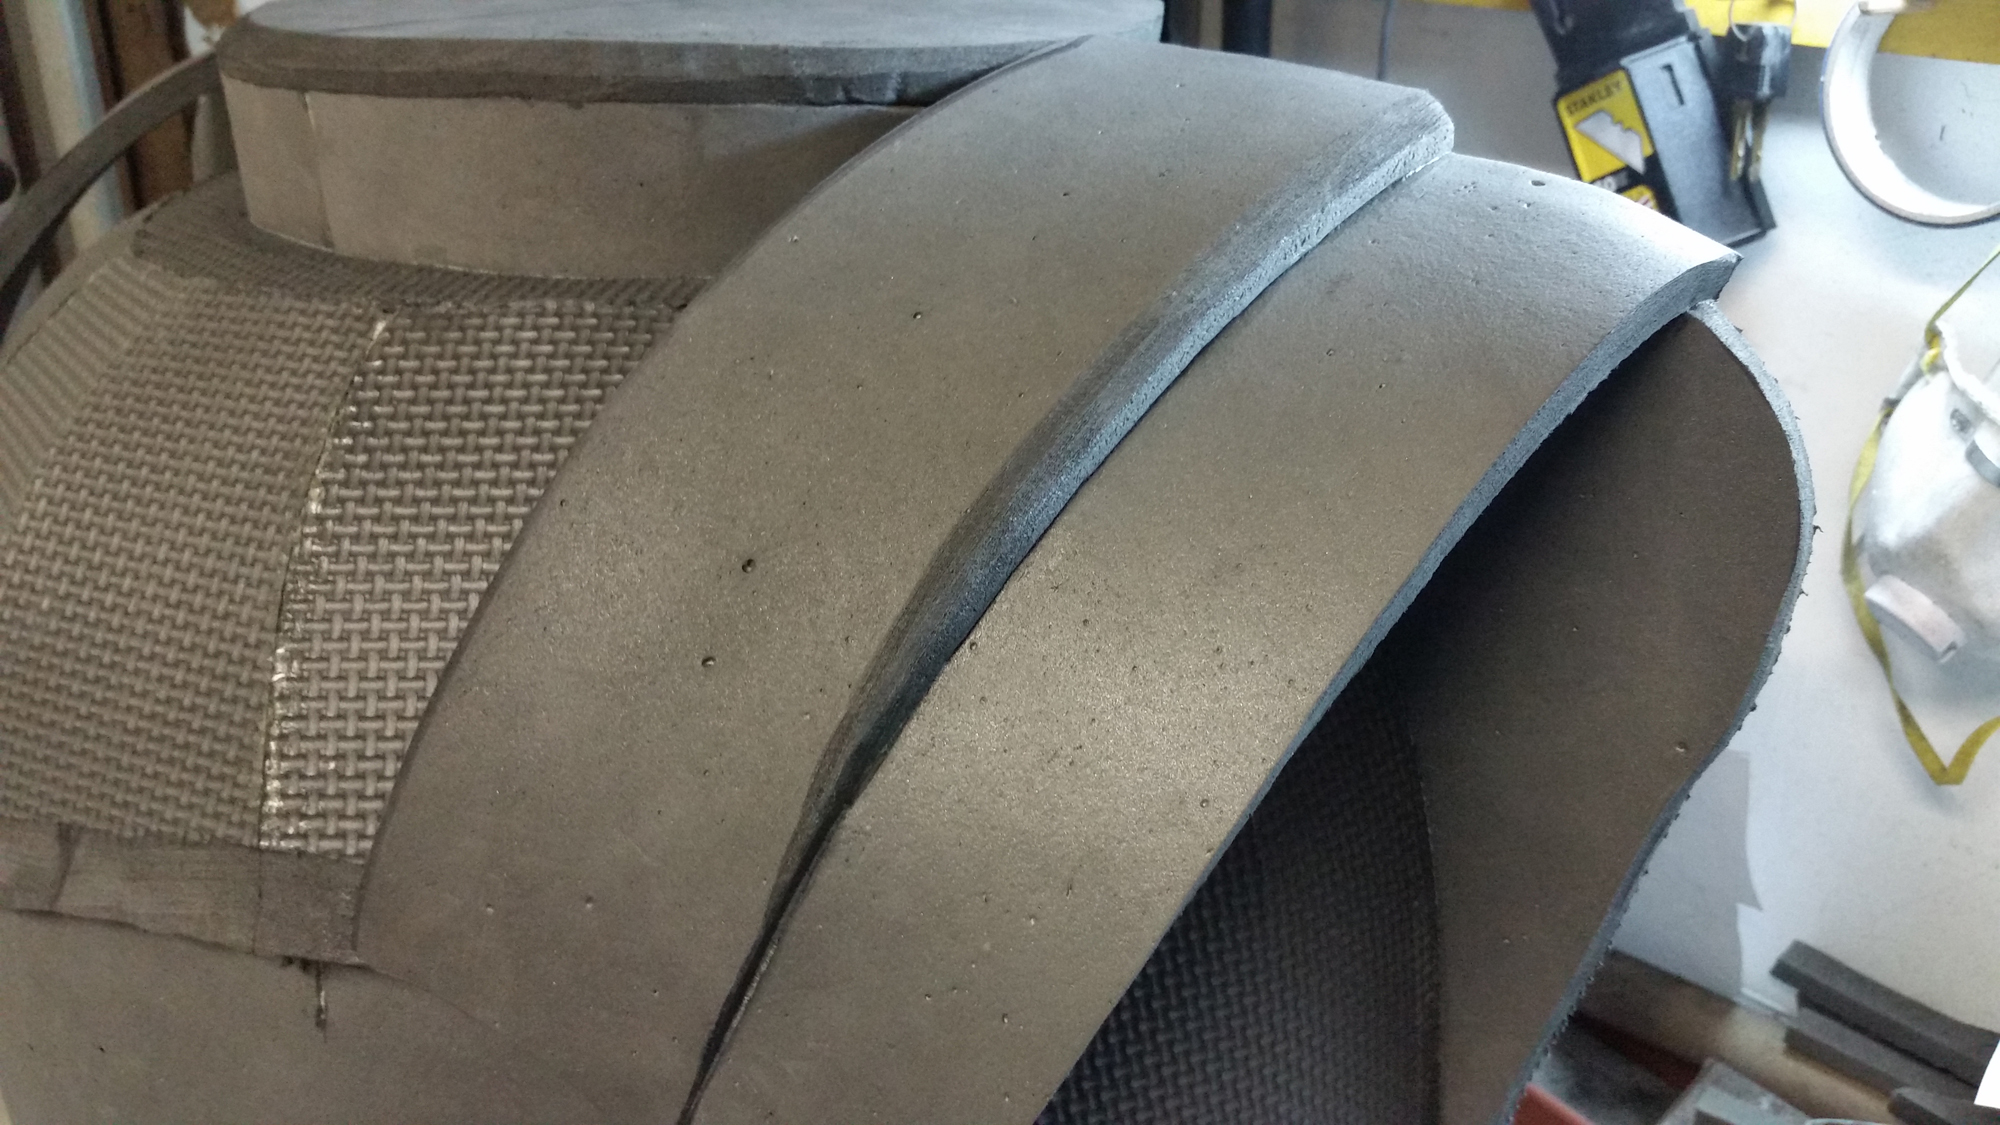
Each new tab is glued to the tab next to it. I like to do this in three passes. The first pass I glue every other split together. The second pass I glue the long seam to close the bigger circle. The last pass glues the remaining cracks together to complete the curve.
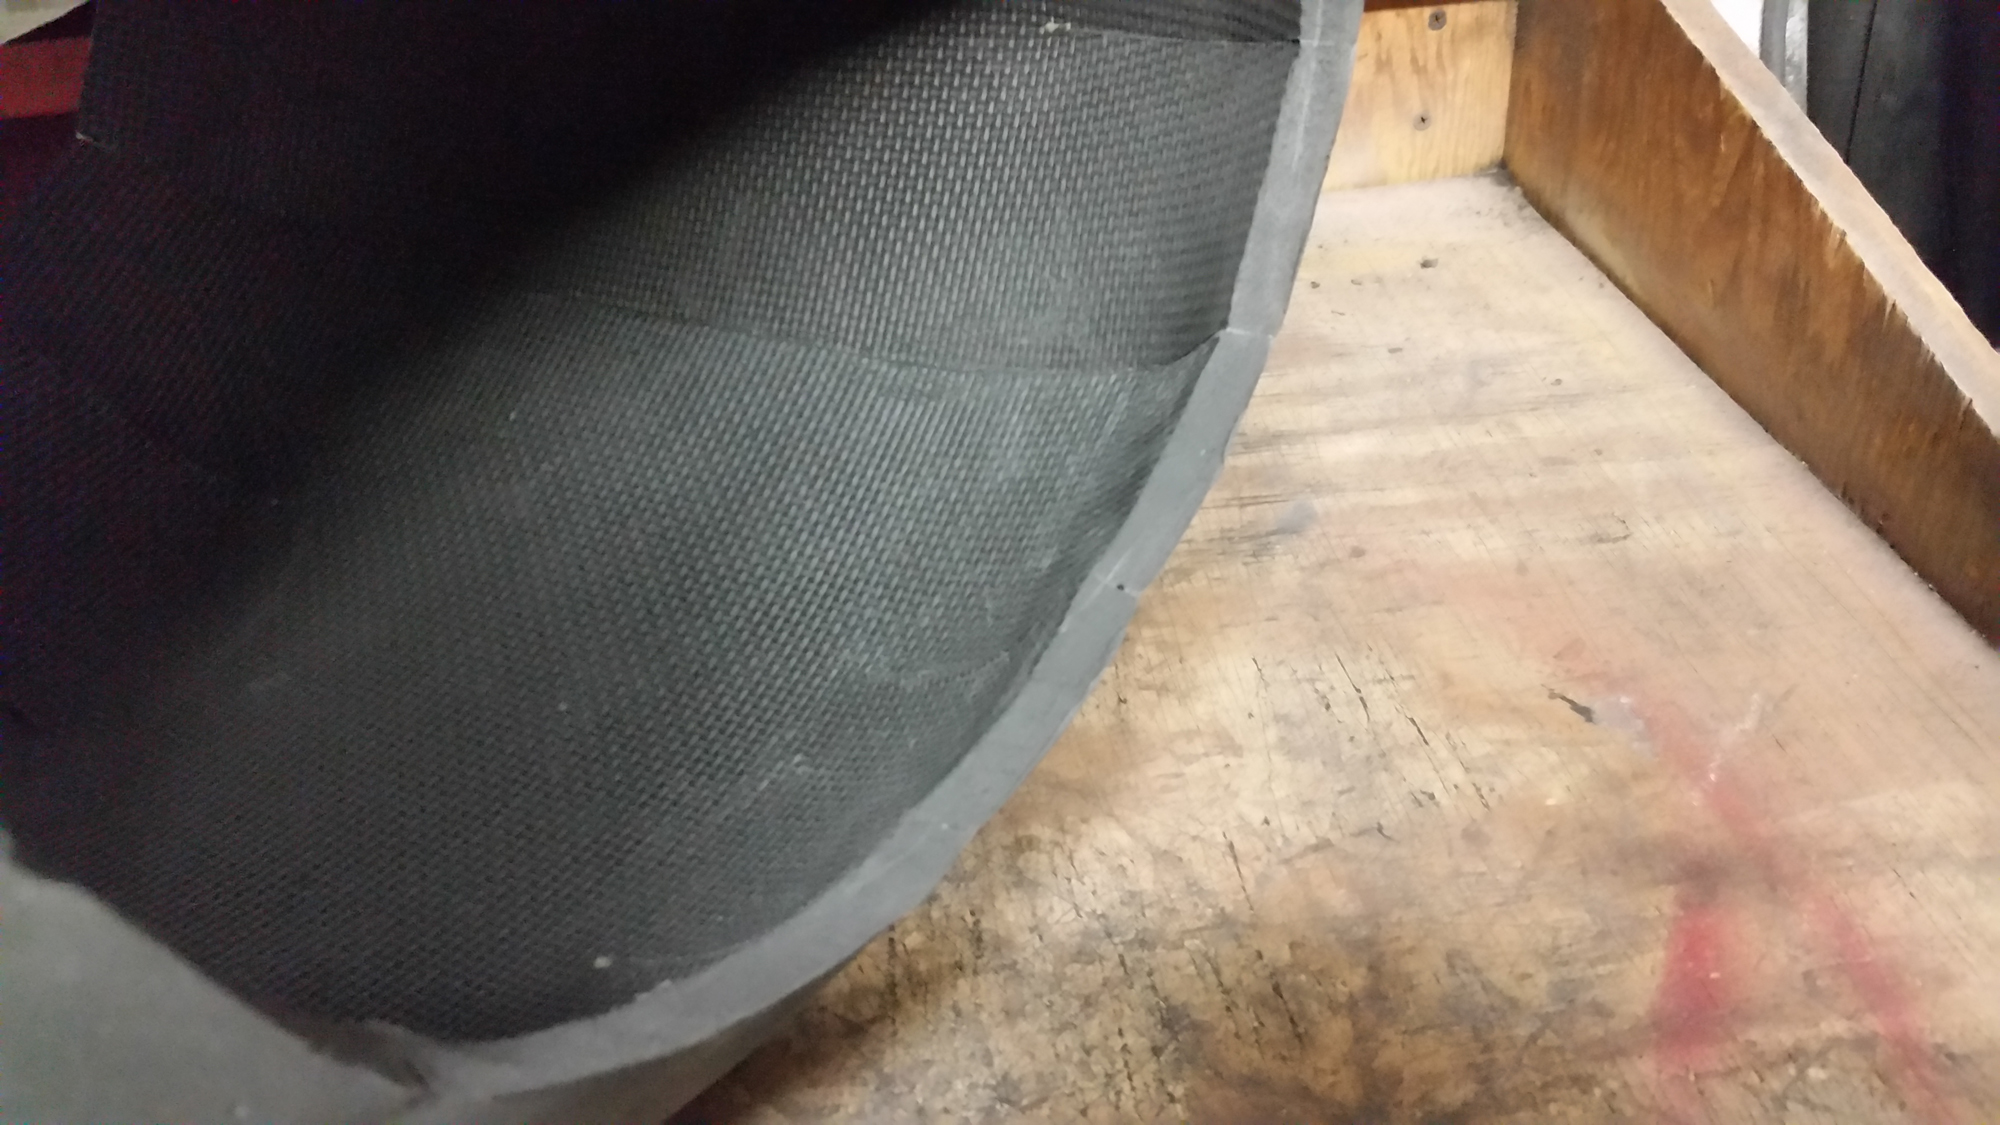
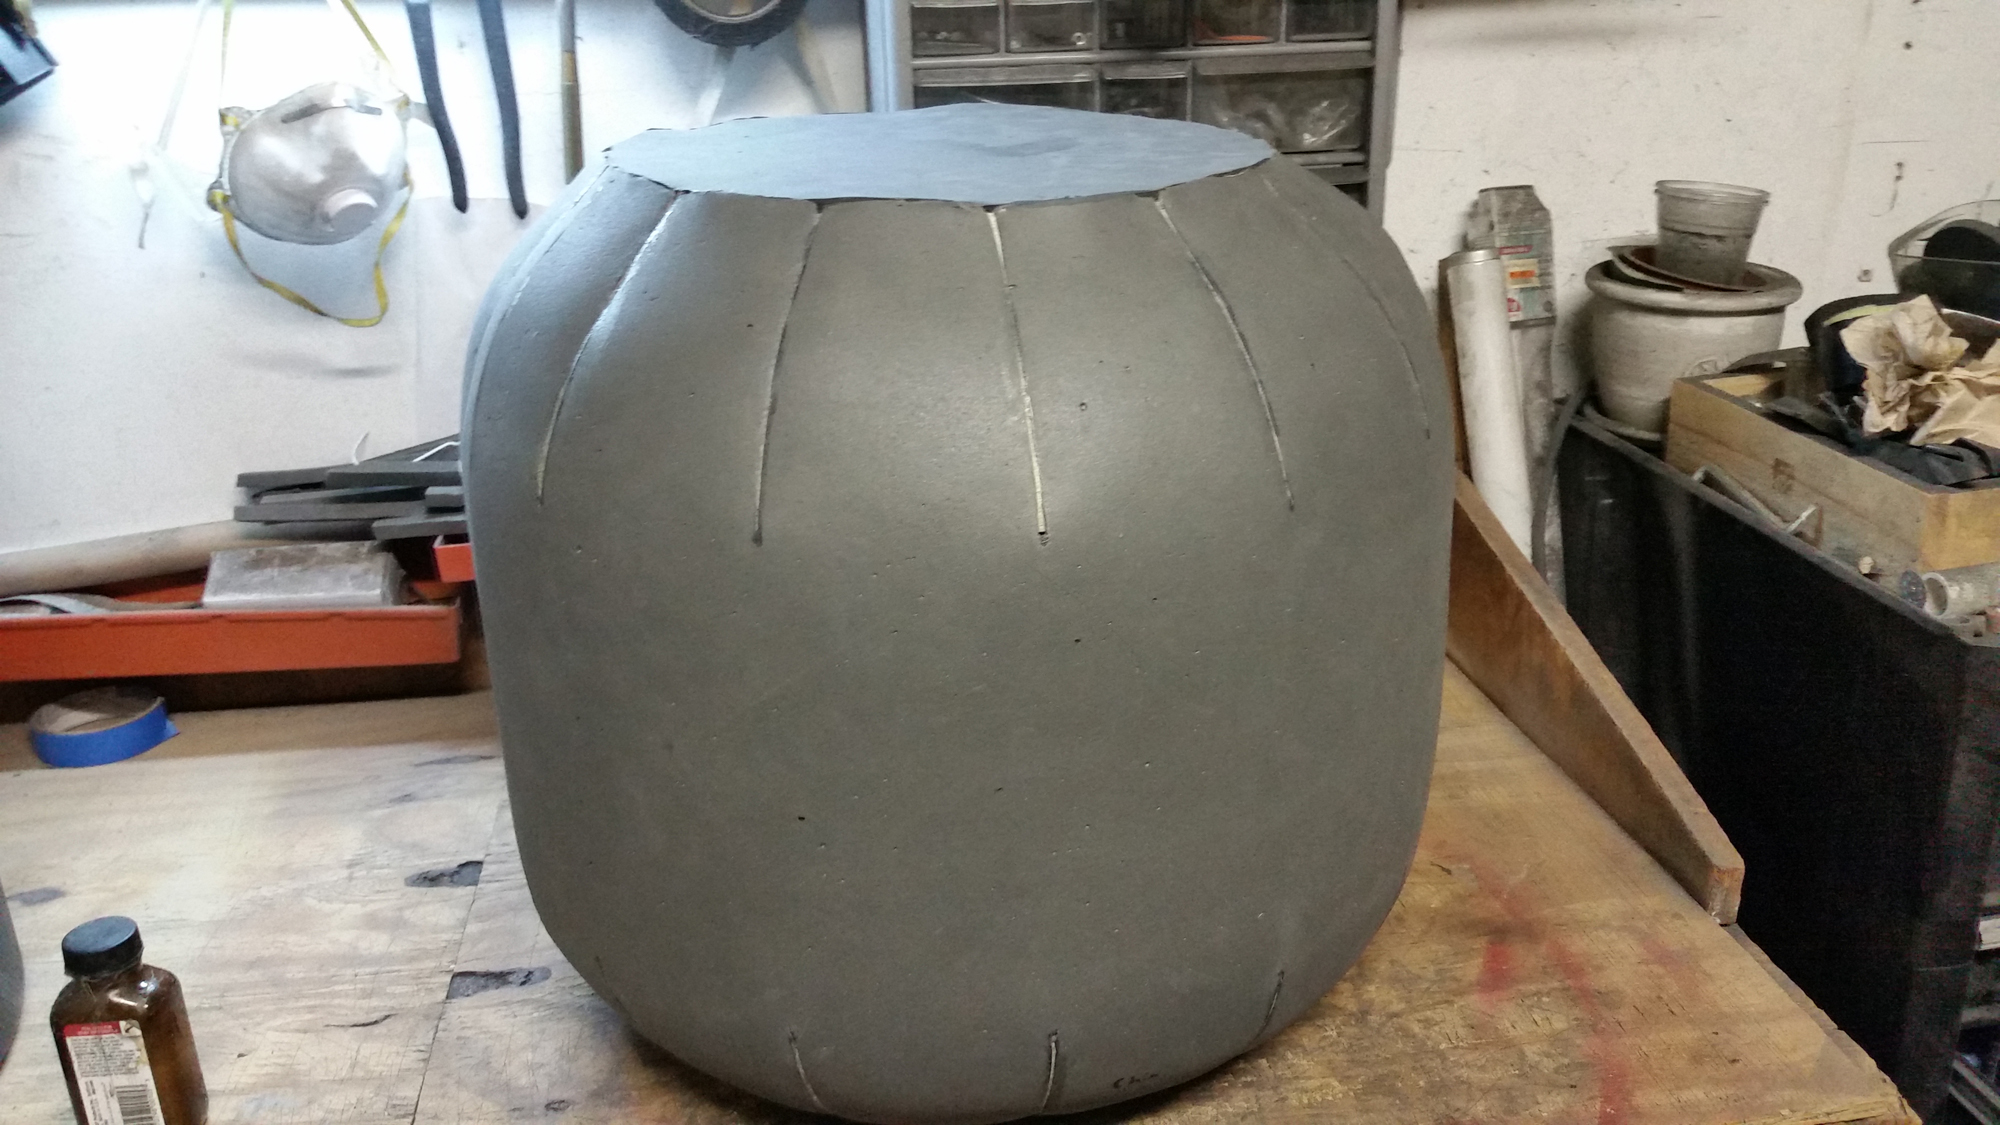

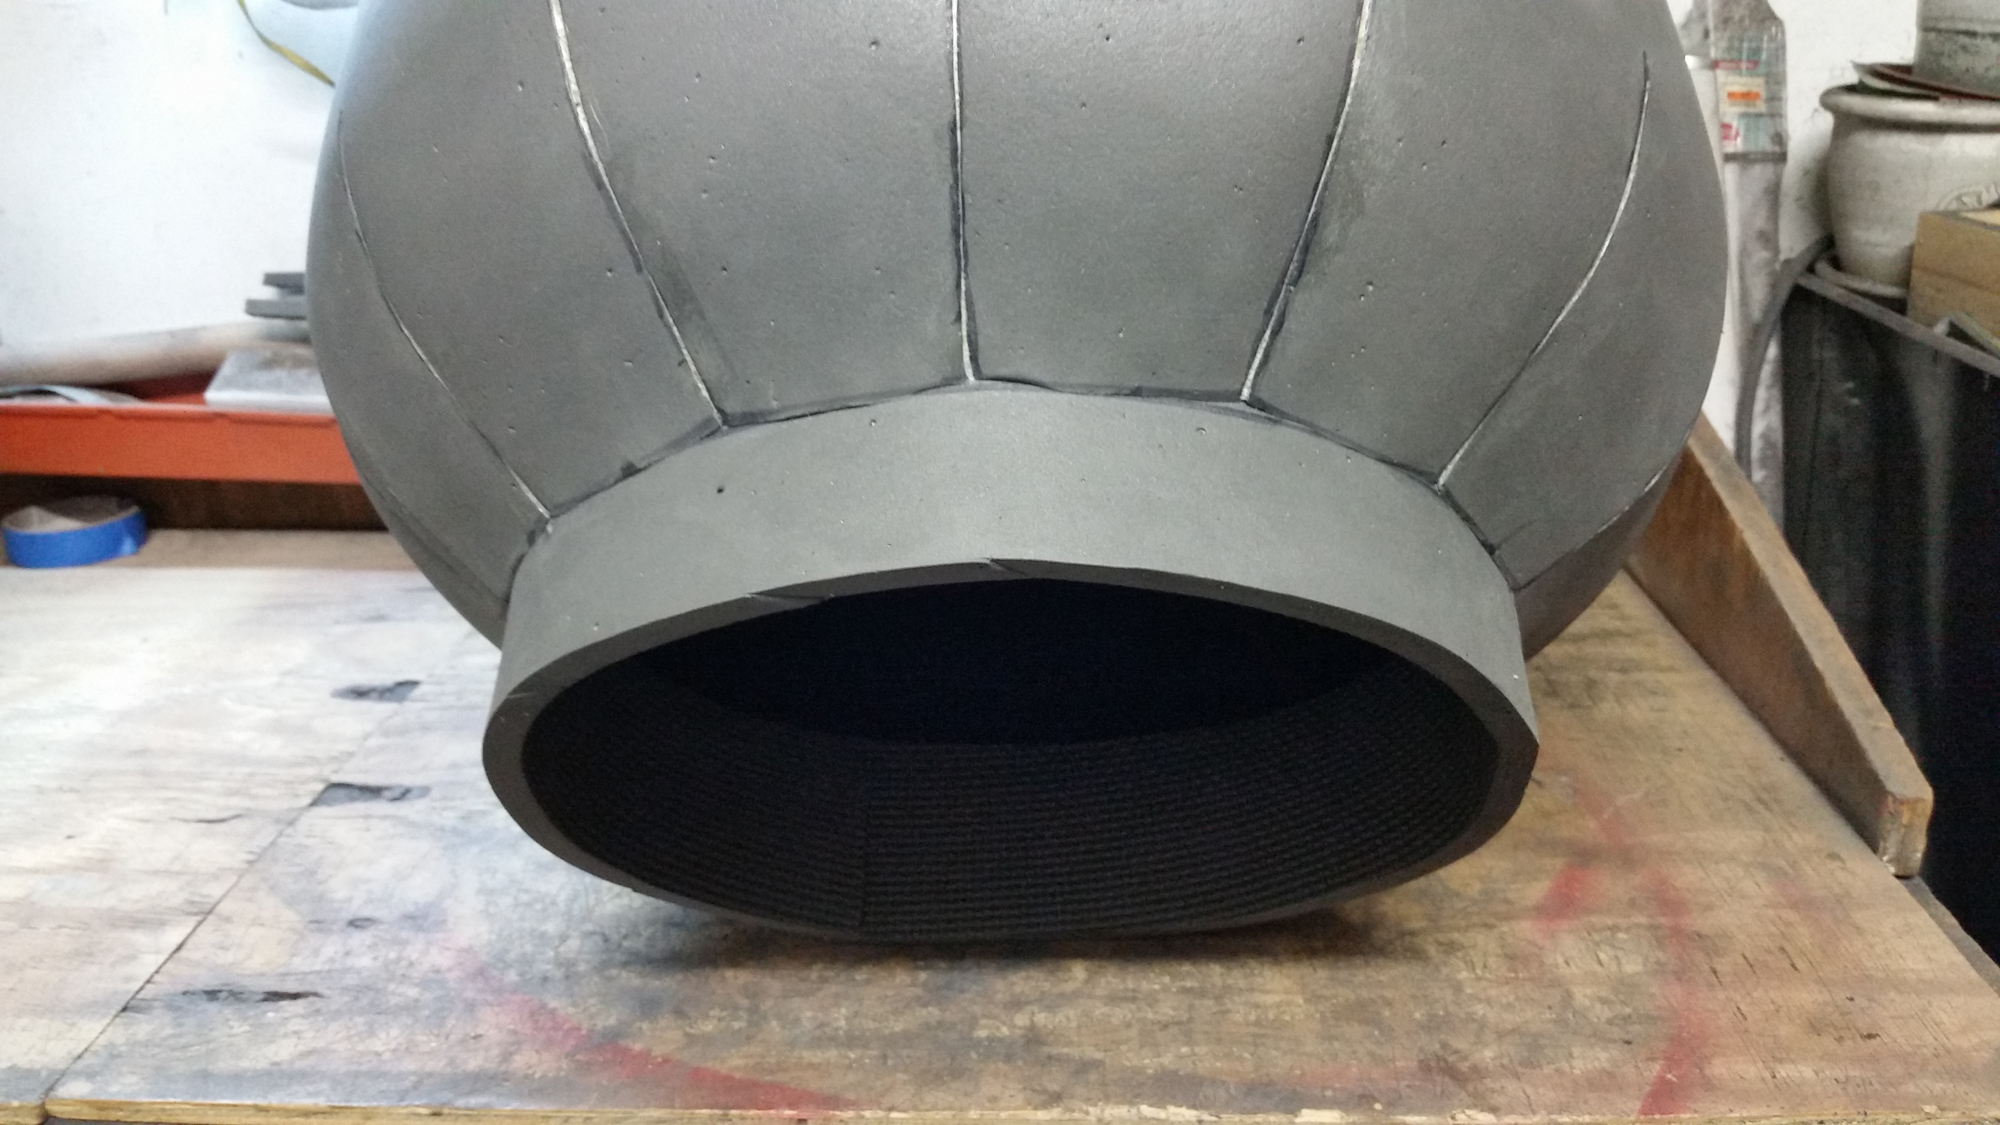
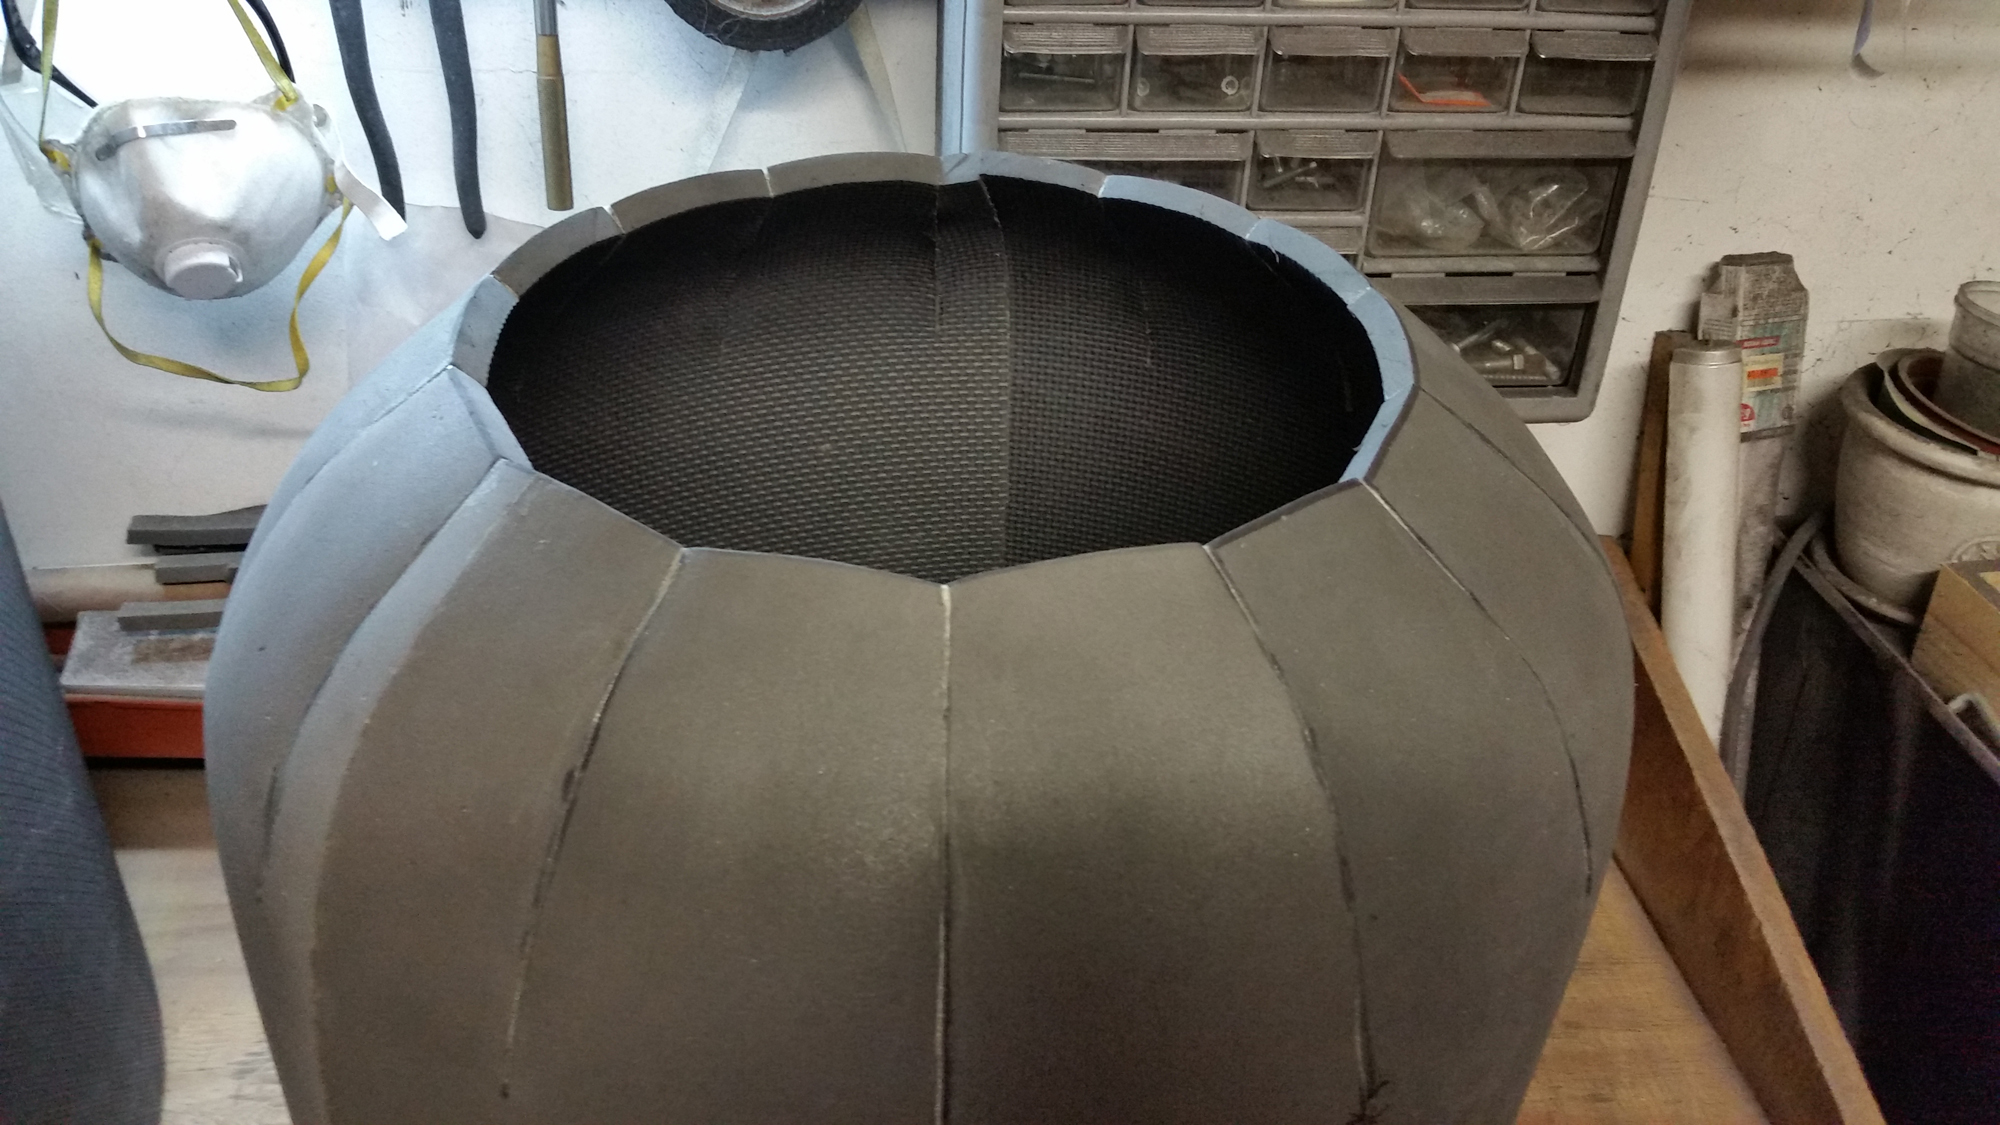
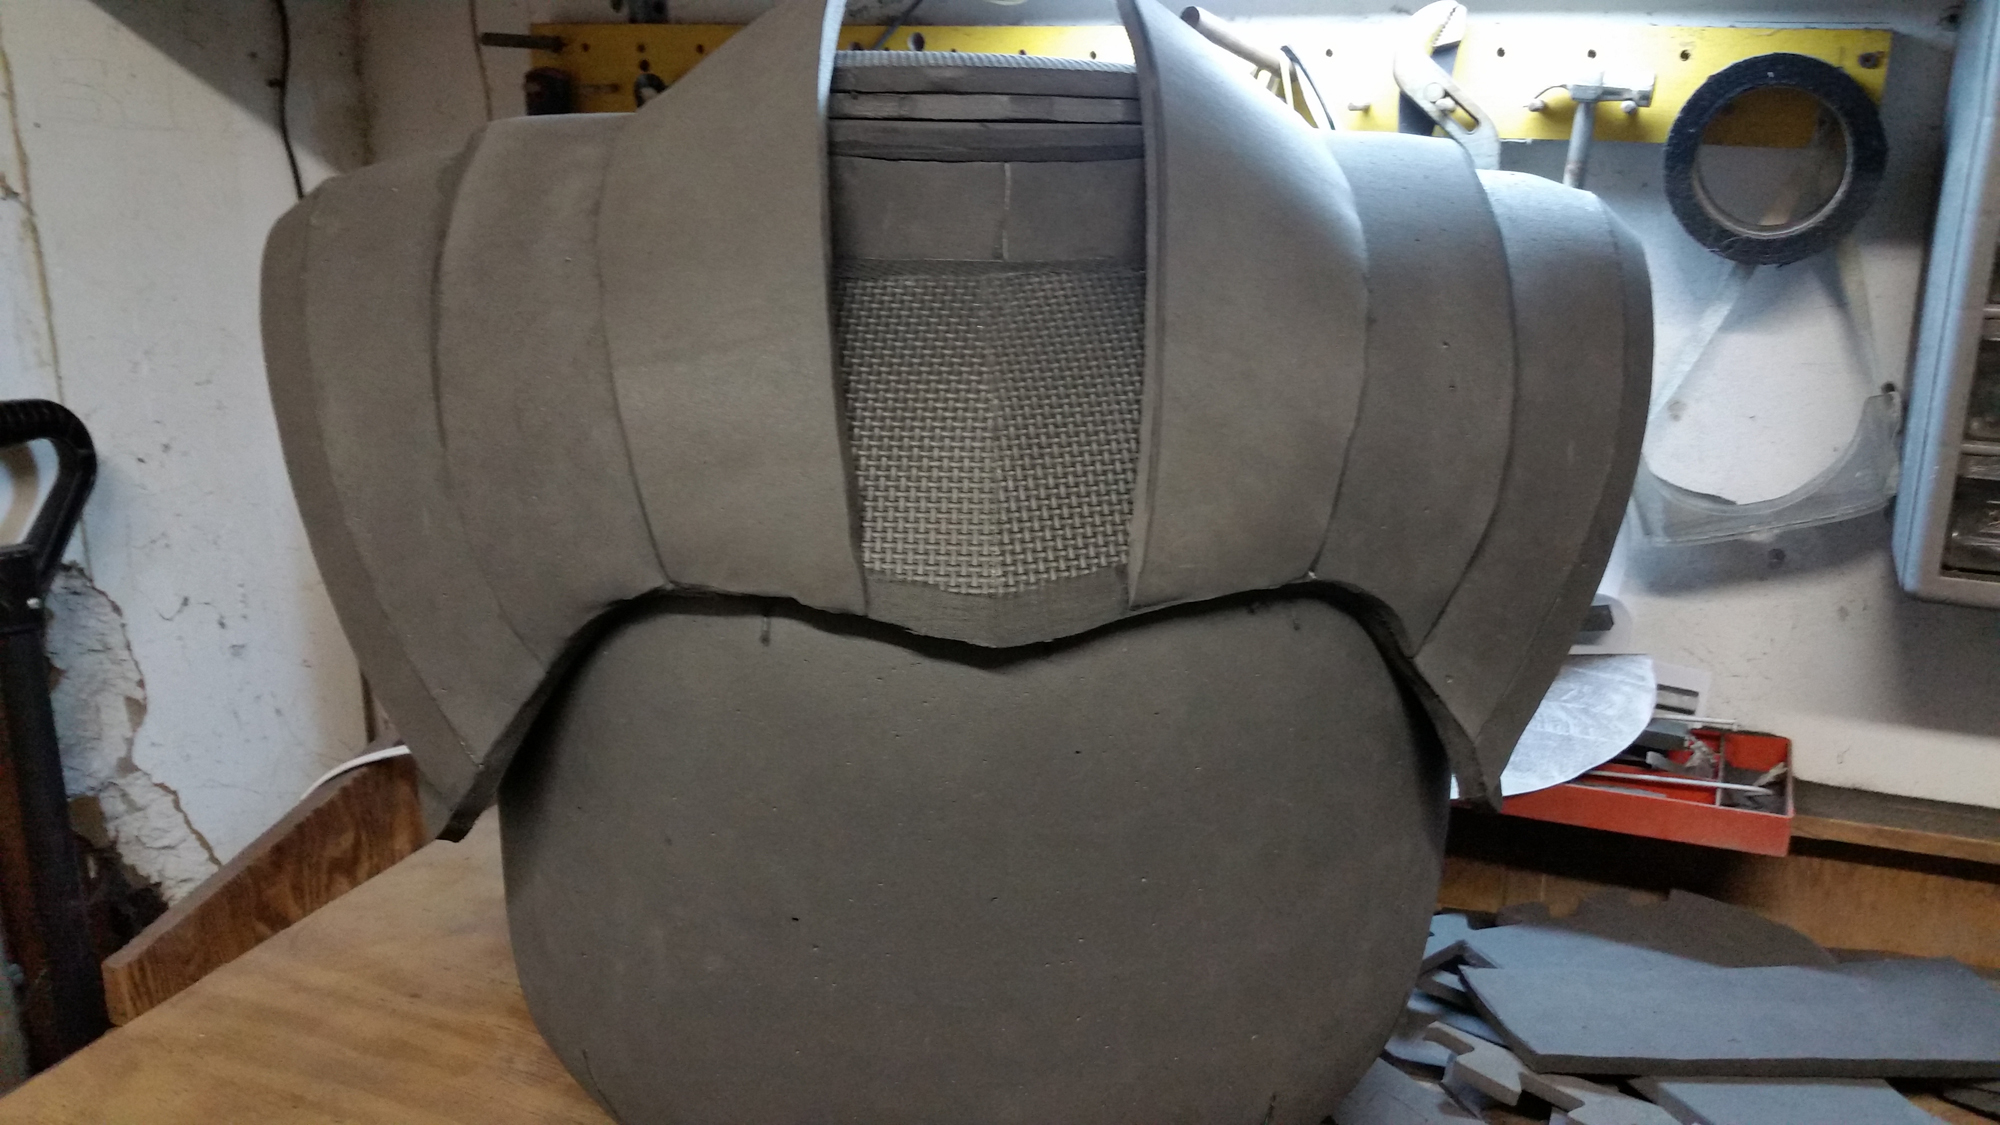
Based on how well the seams come out, I pick a top and a bottom of the “sphere”. Usually the top of the sphere is hidden and the bottom is visible to people. The bottom hole is cleaned up and becomes the collar. The top hole is cleaned up and a circular piece of foam covers the hole.

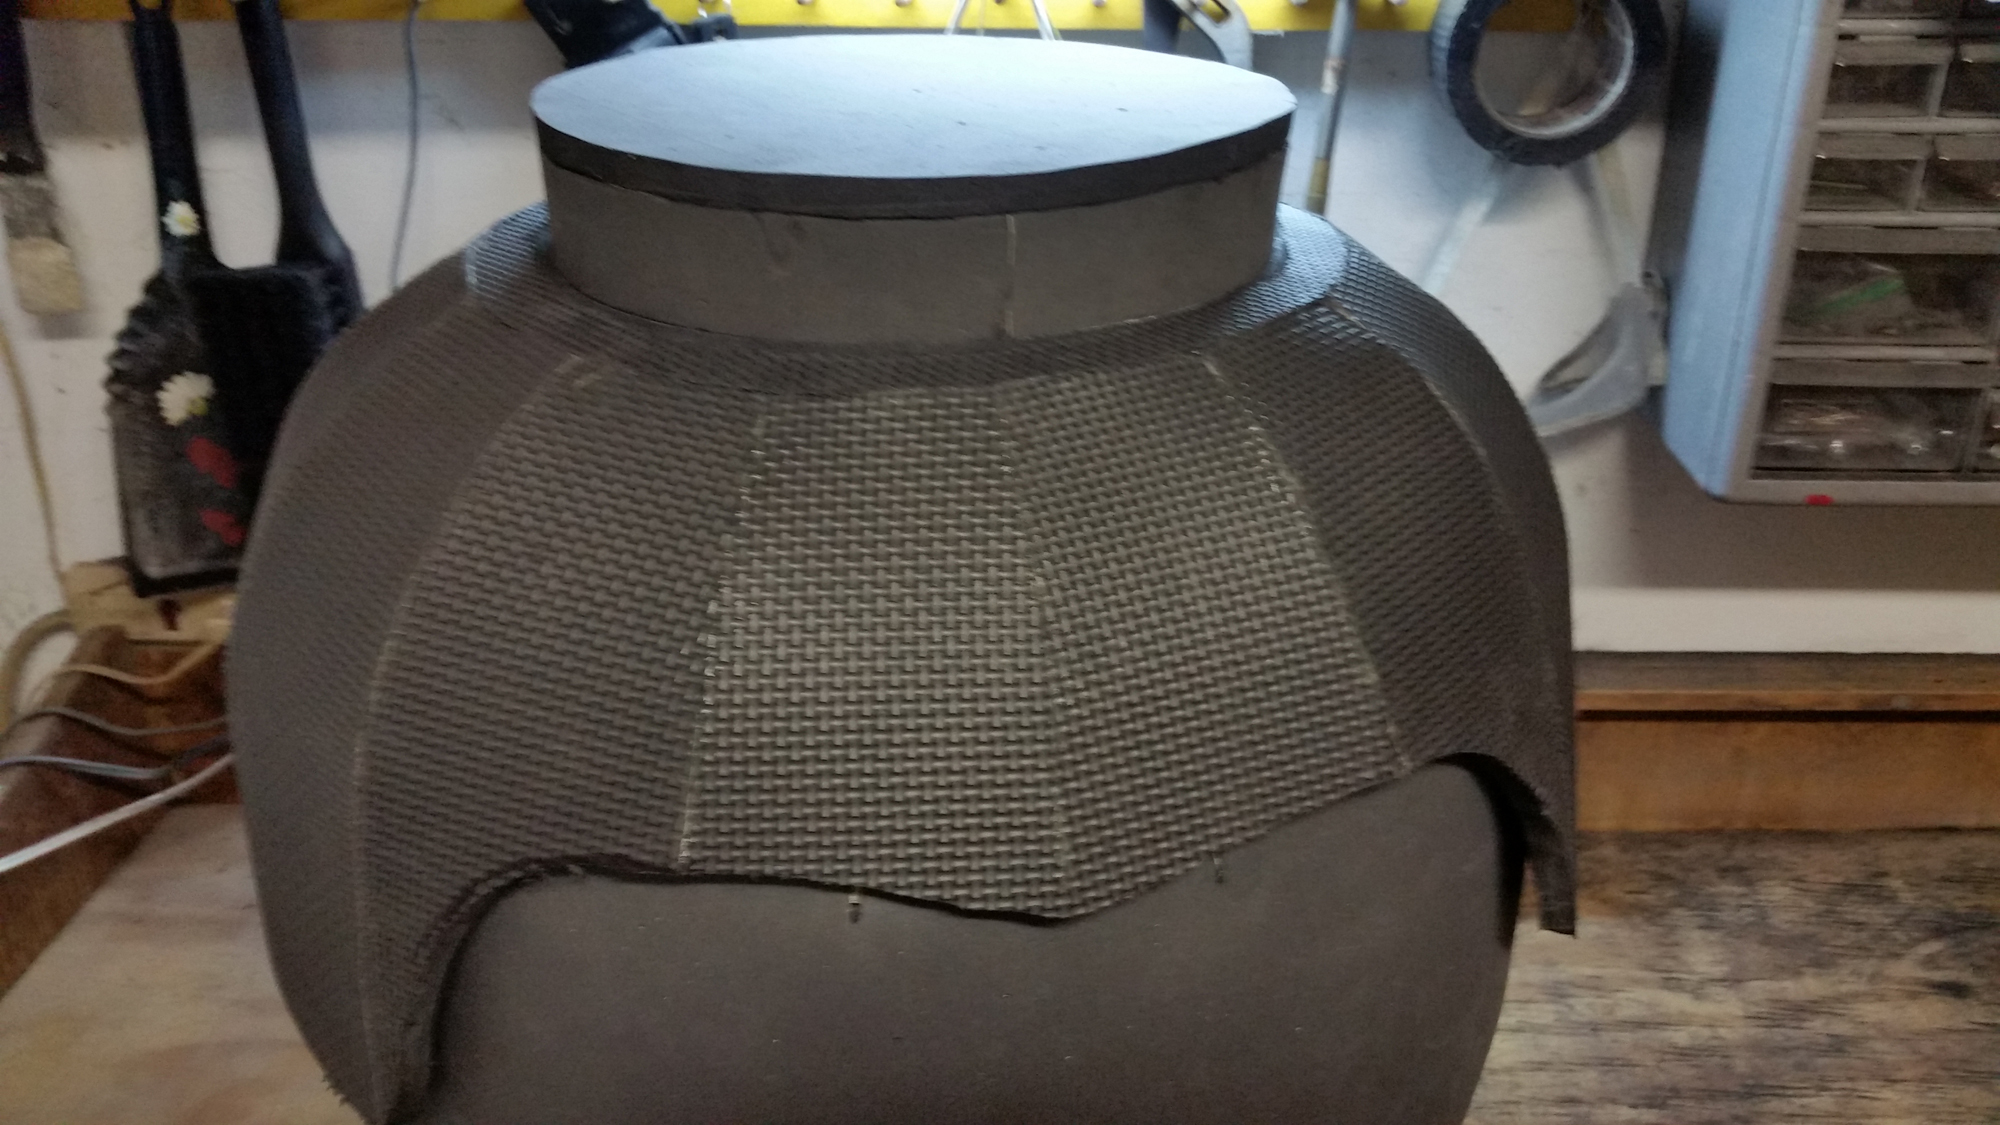
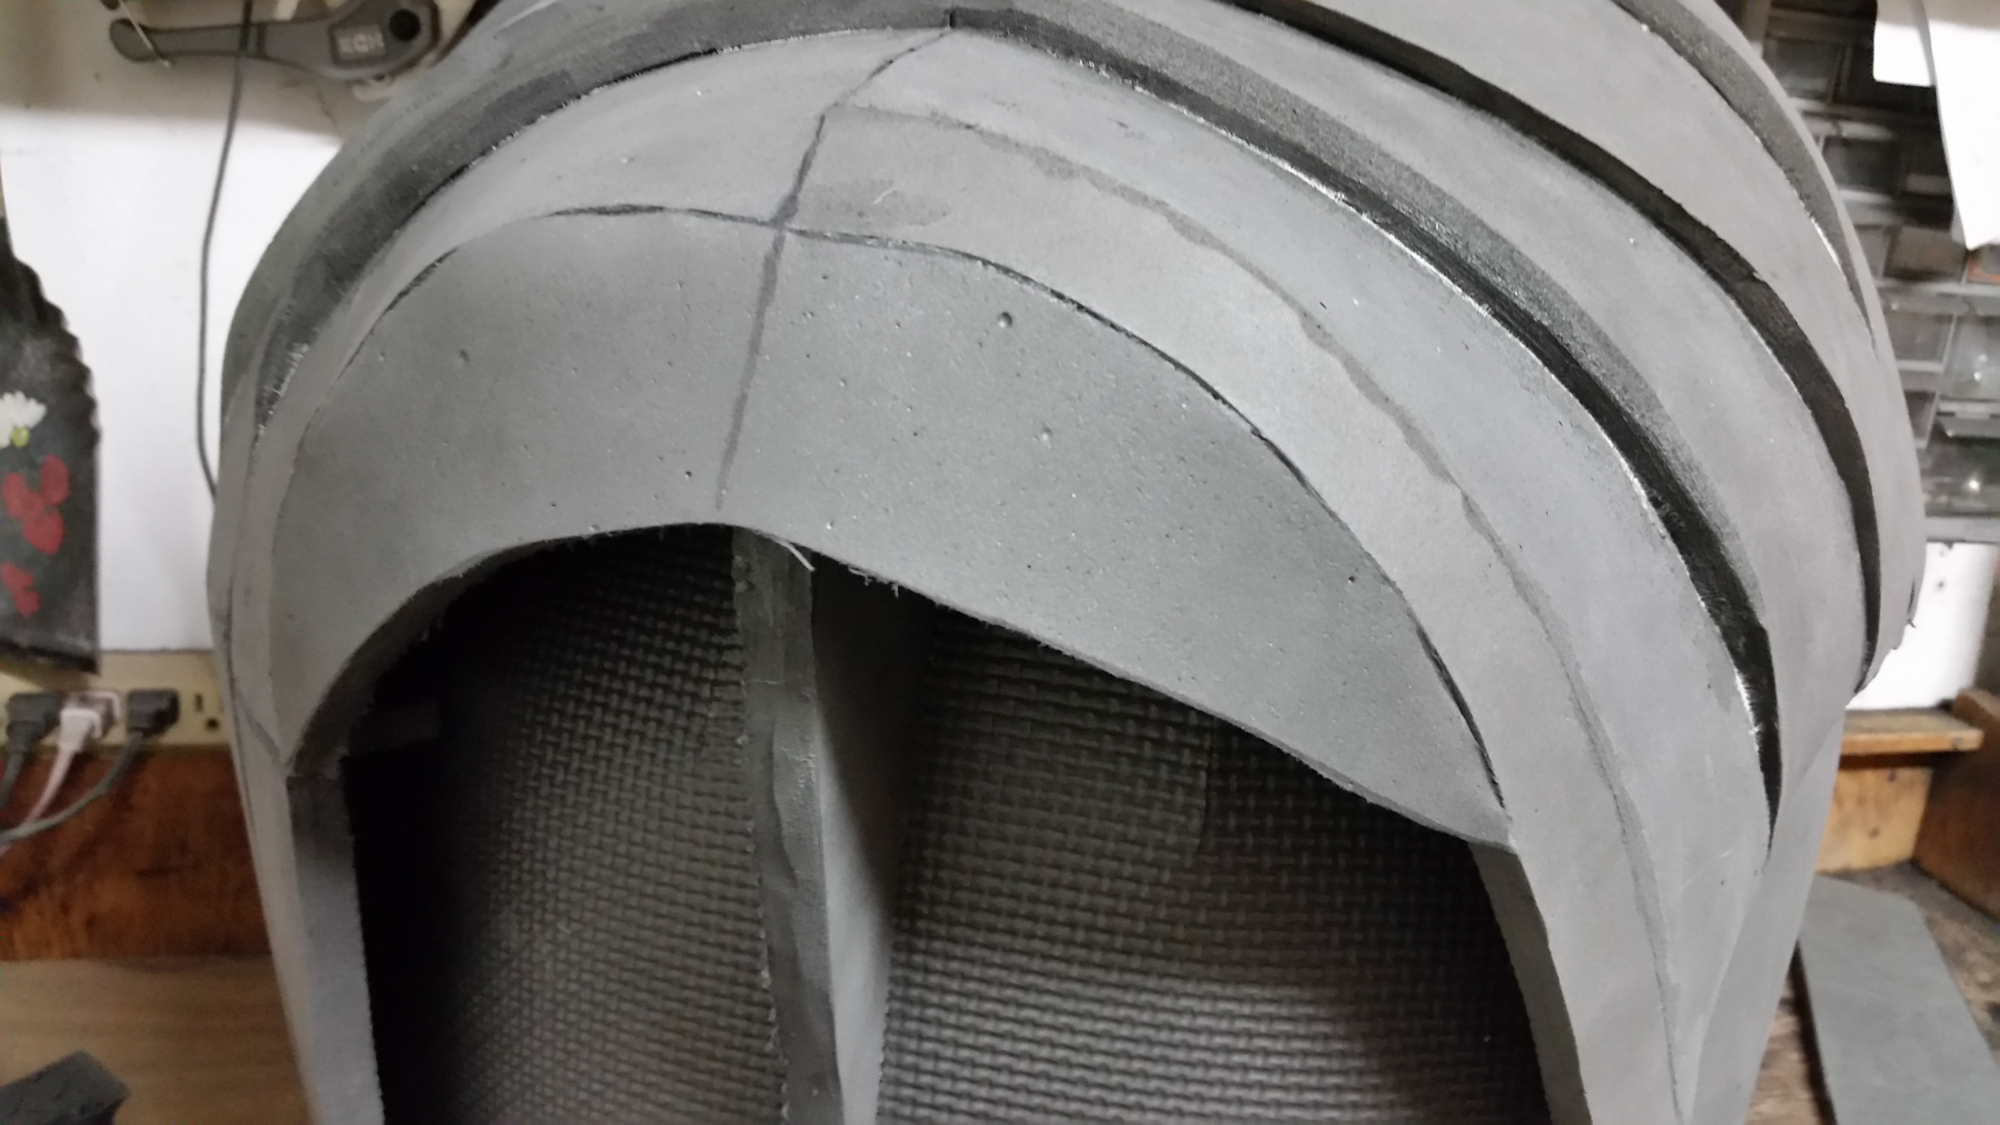
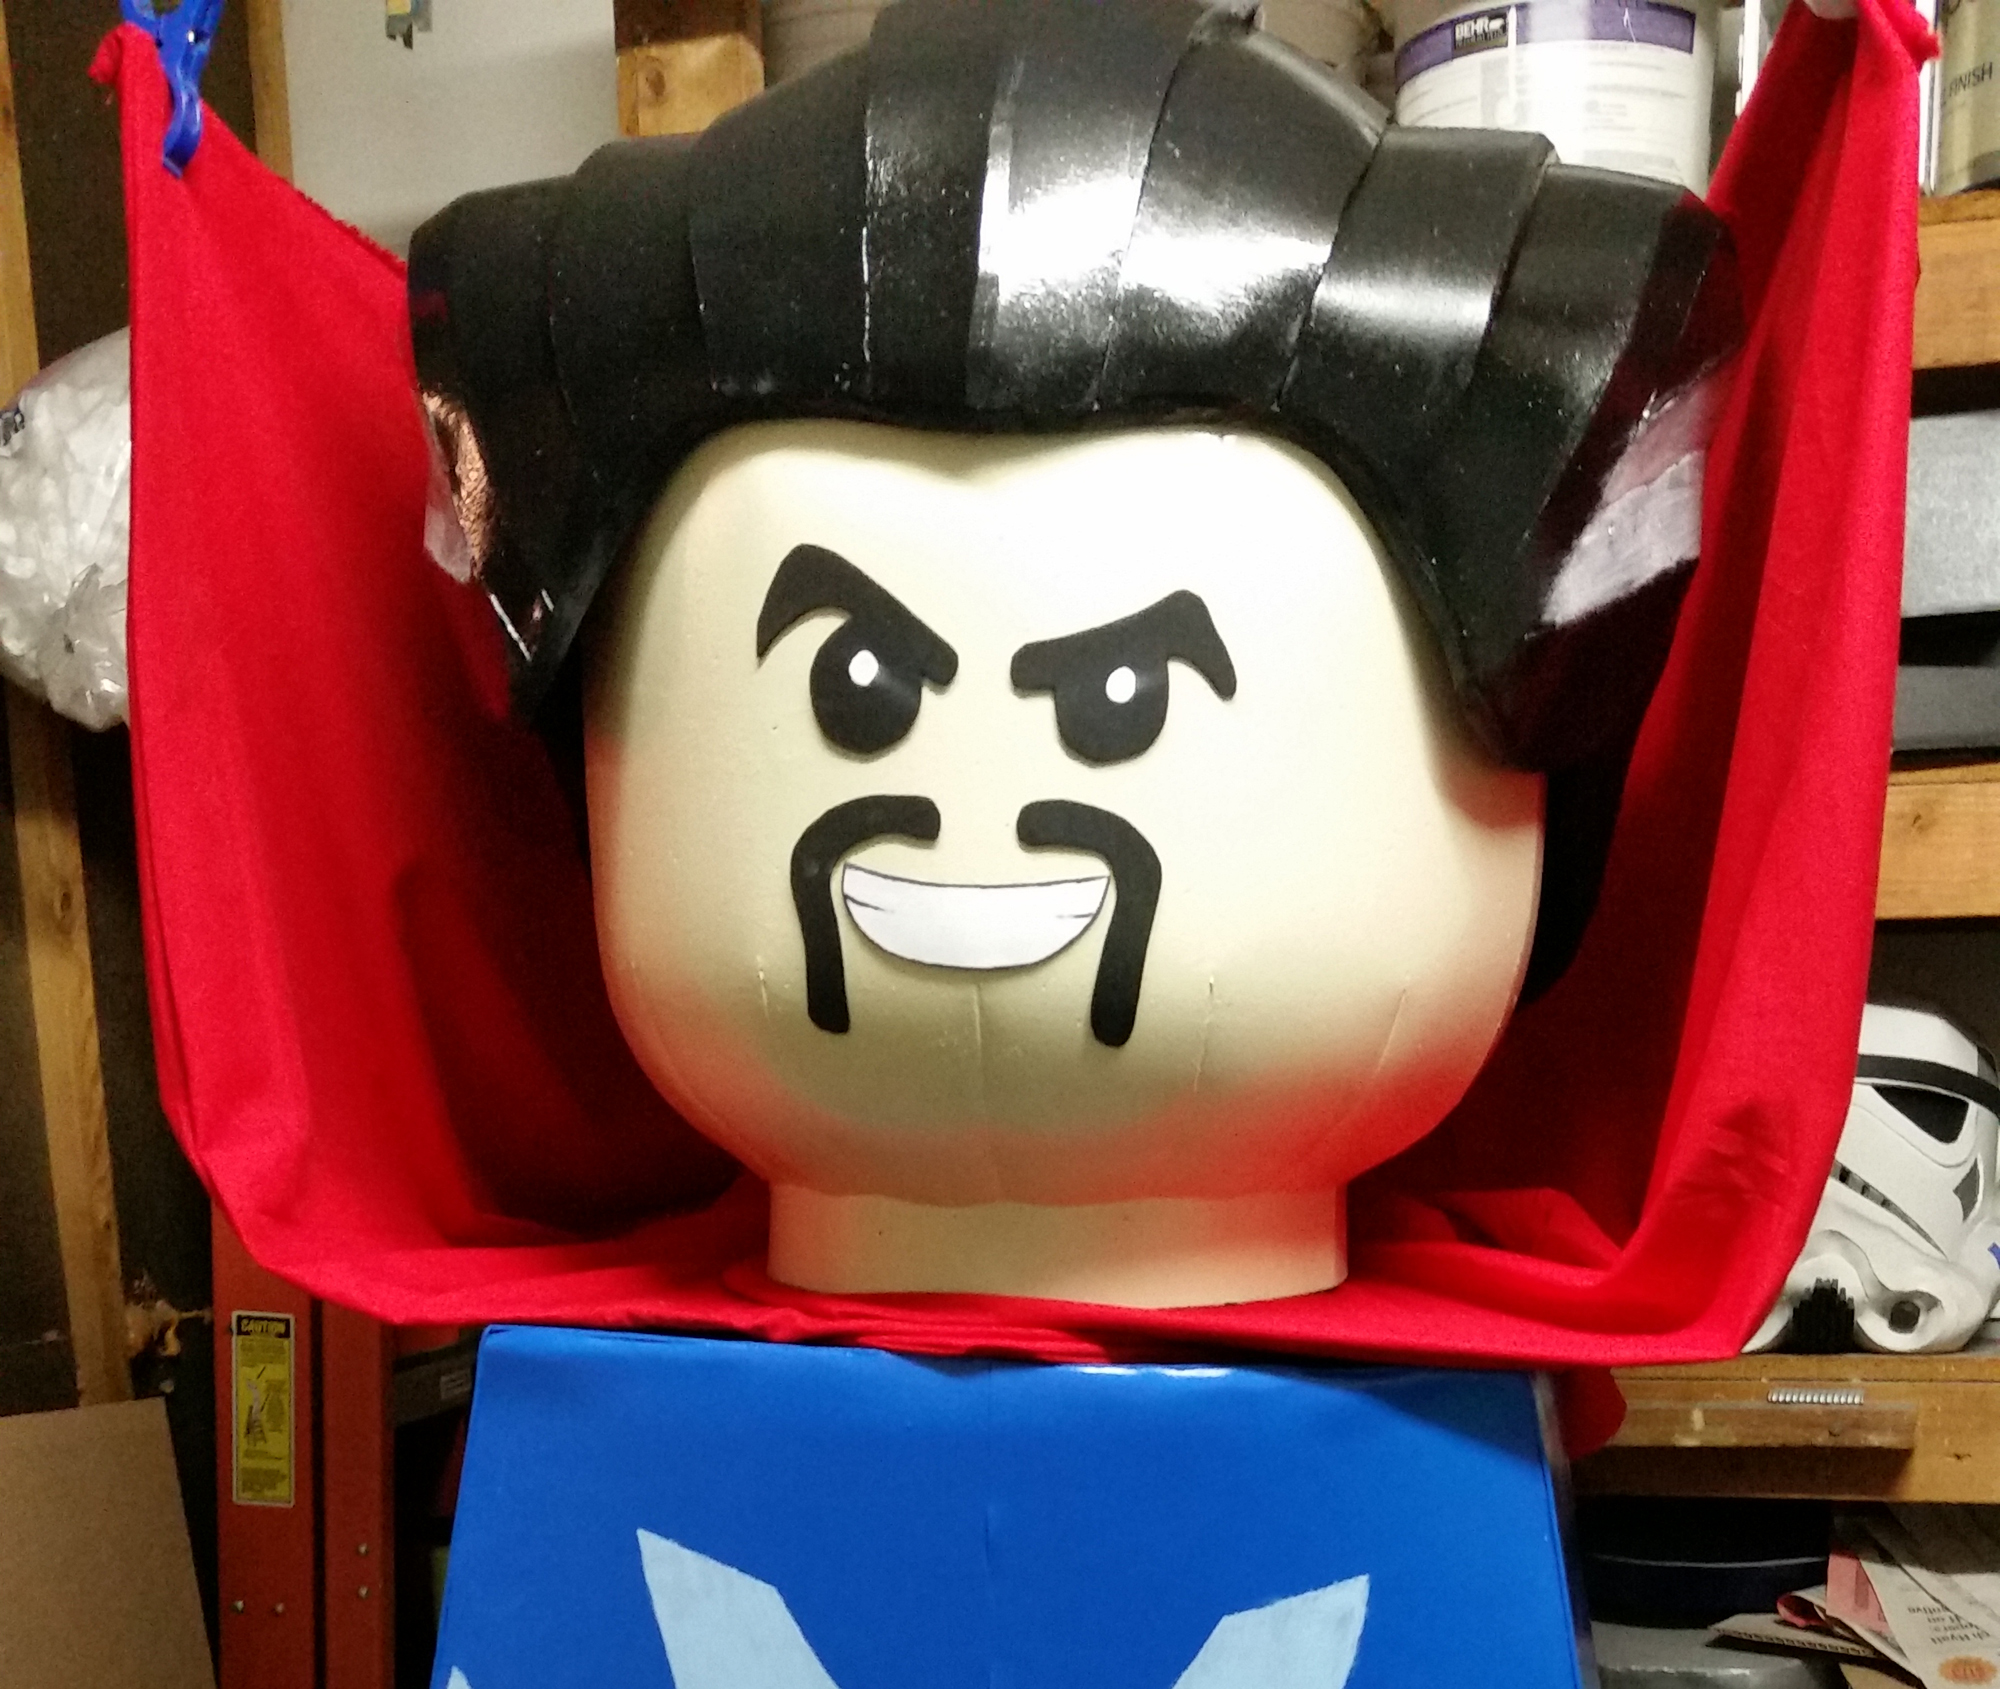
For the hair, I created a new shell to go over the head. I use a similar technique to making the head except I flip the pattern on the outside and the diameter is a littler larger so the three sheets of foam cut together are 60″ long. I add a ring that fits into the edge of the hair shell with an inner circle just big enough to fit over the peg in the head.
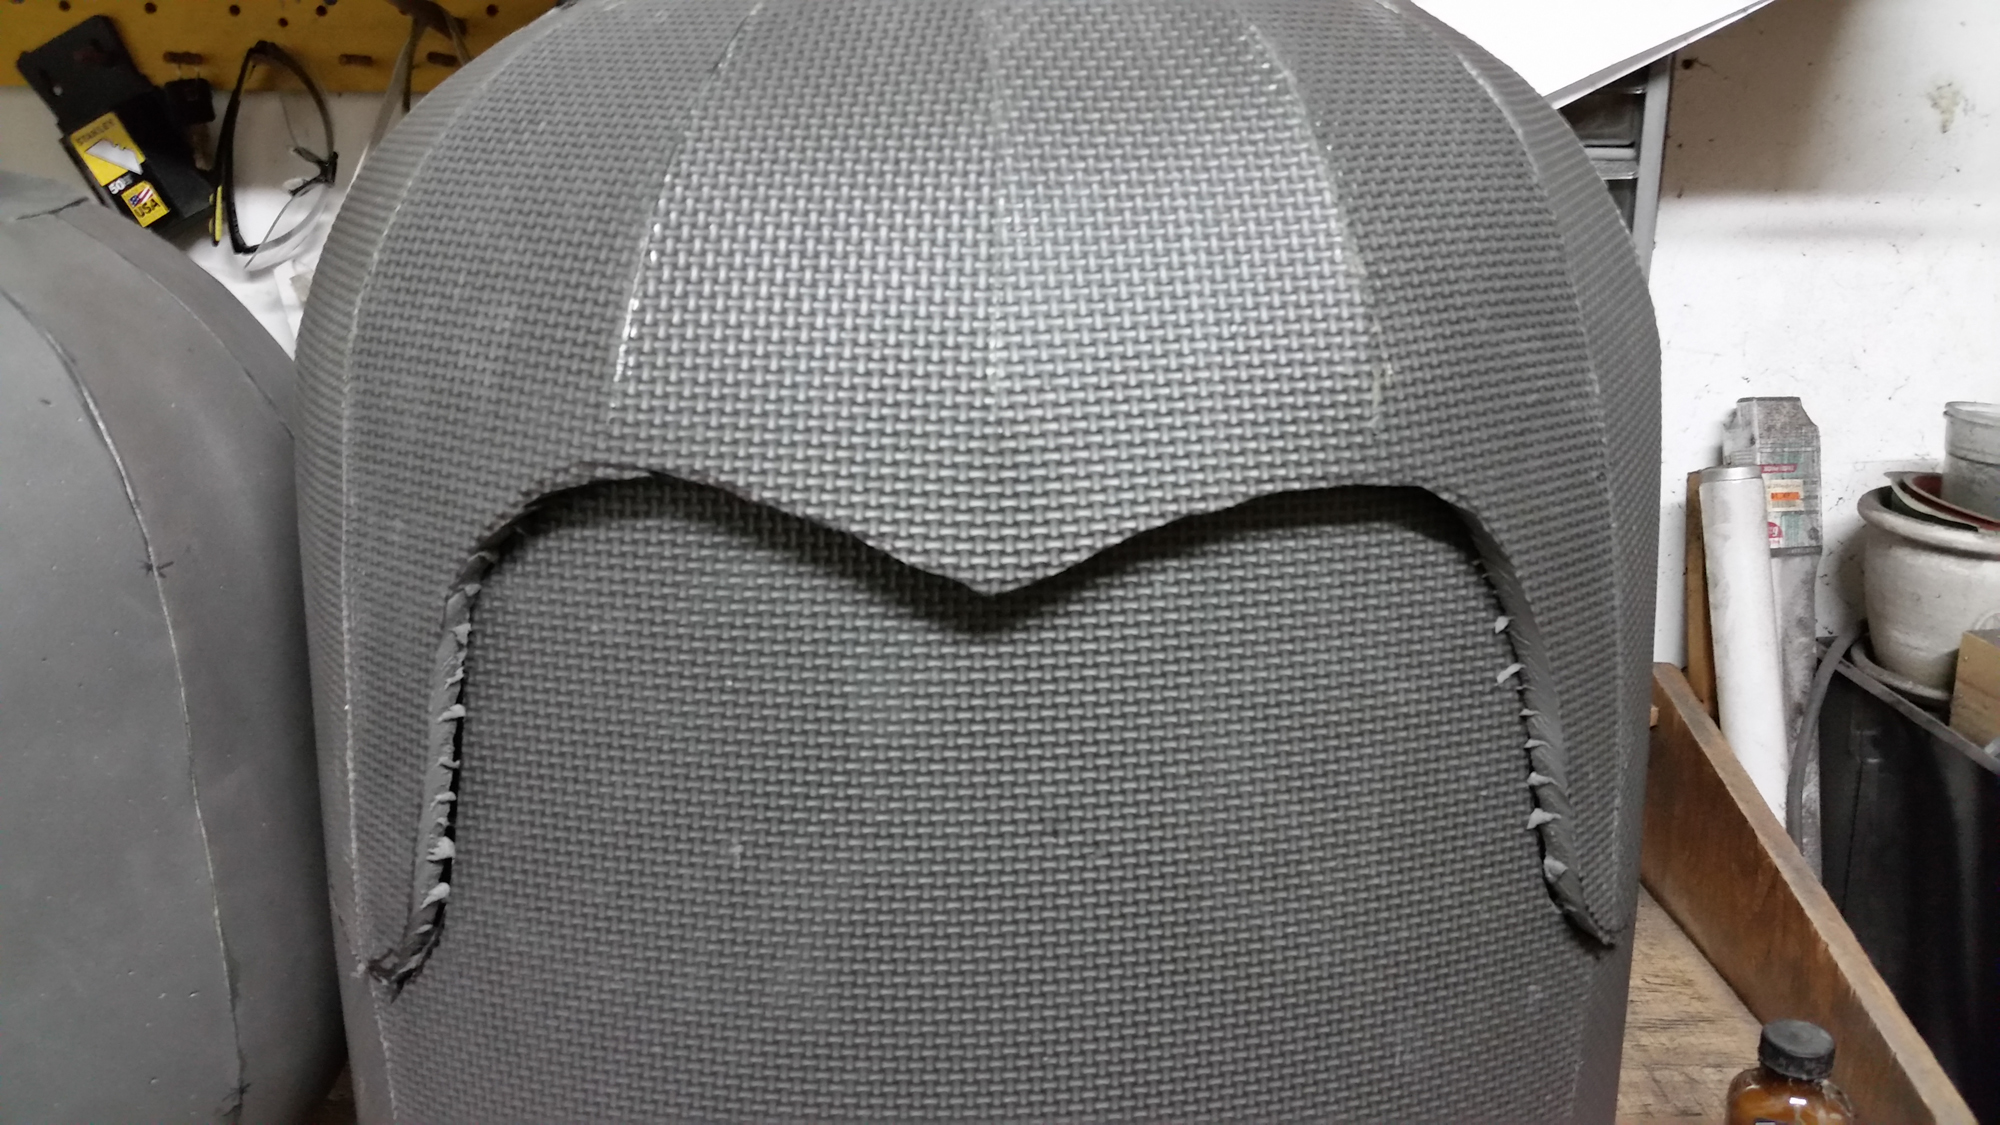

I cut the shell in the shape of Doctor Strange’s hairline.
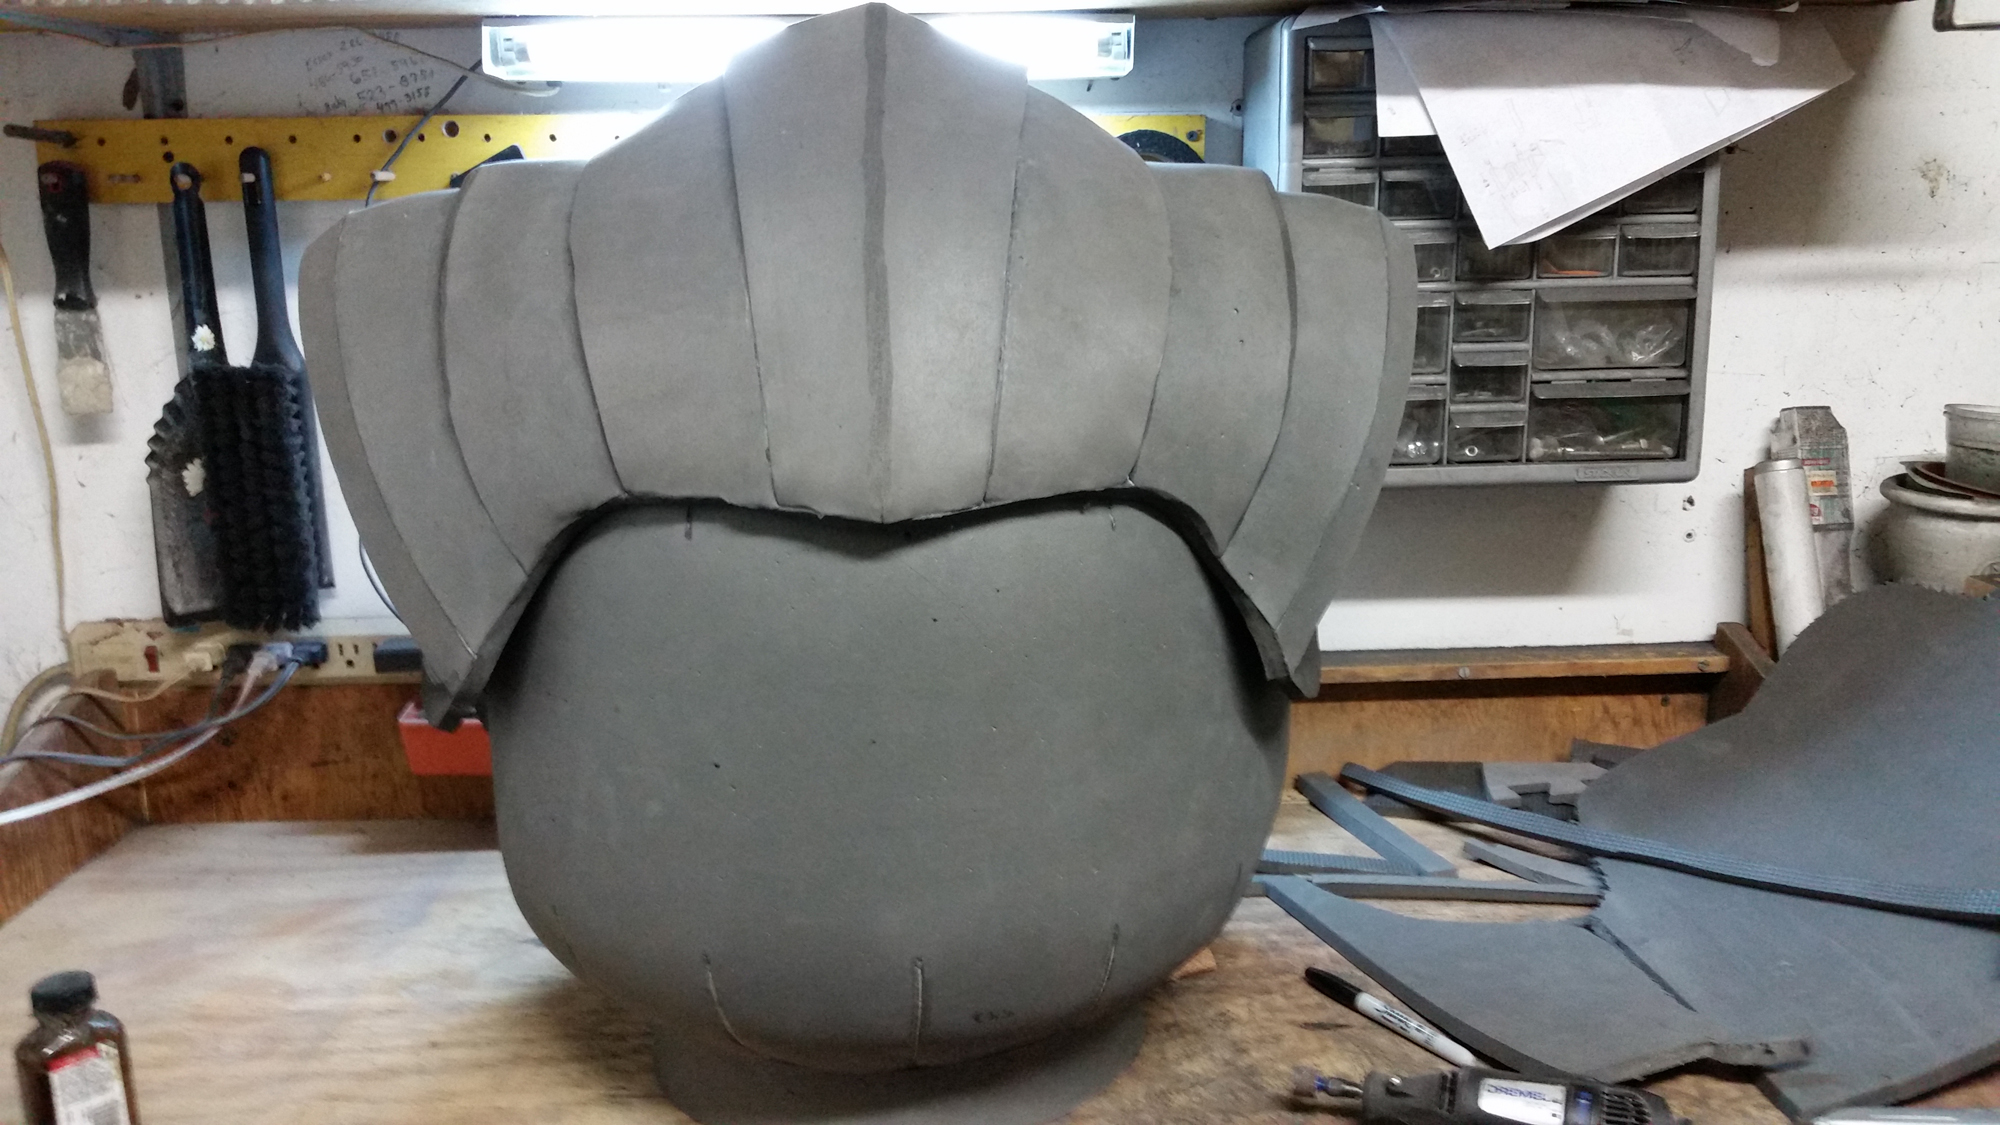
I added a foam spacer to get the profile of Doctor Strange’s hair. This also gives me something to anchor the strips of foam in place. I tried to keep it symmetrical and made staggered layers of hair starting from the hairline and ending at the seam at the top.

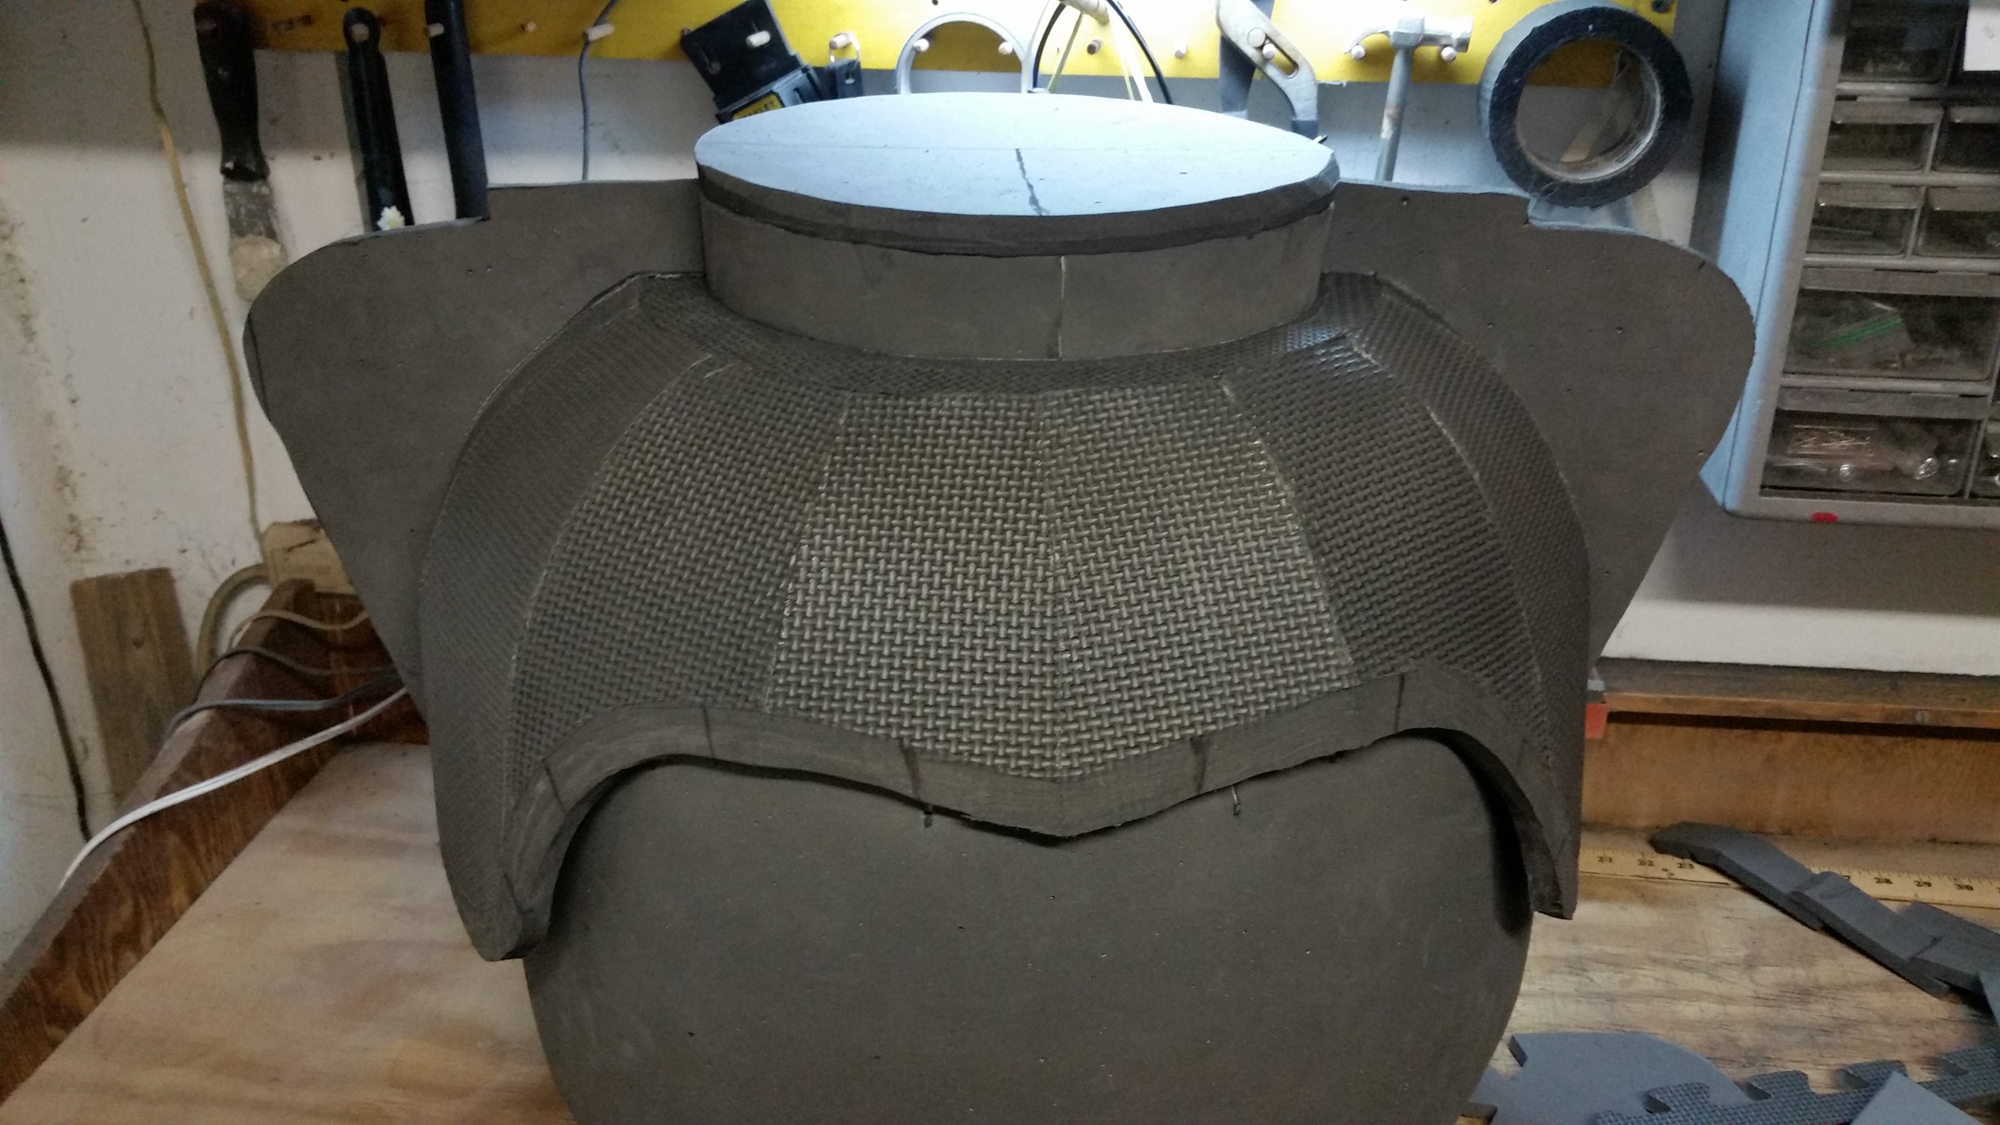
From the seam at the top, I continue the foam in the back down to the bottom of the hair. There’s another foam spacer in the middle of the back to give the hair more volume. The back doesn’t need as much detail because the cape covers the back of the head.
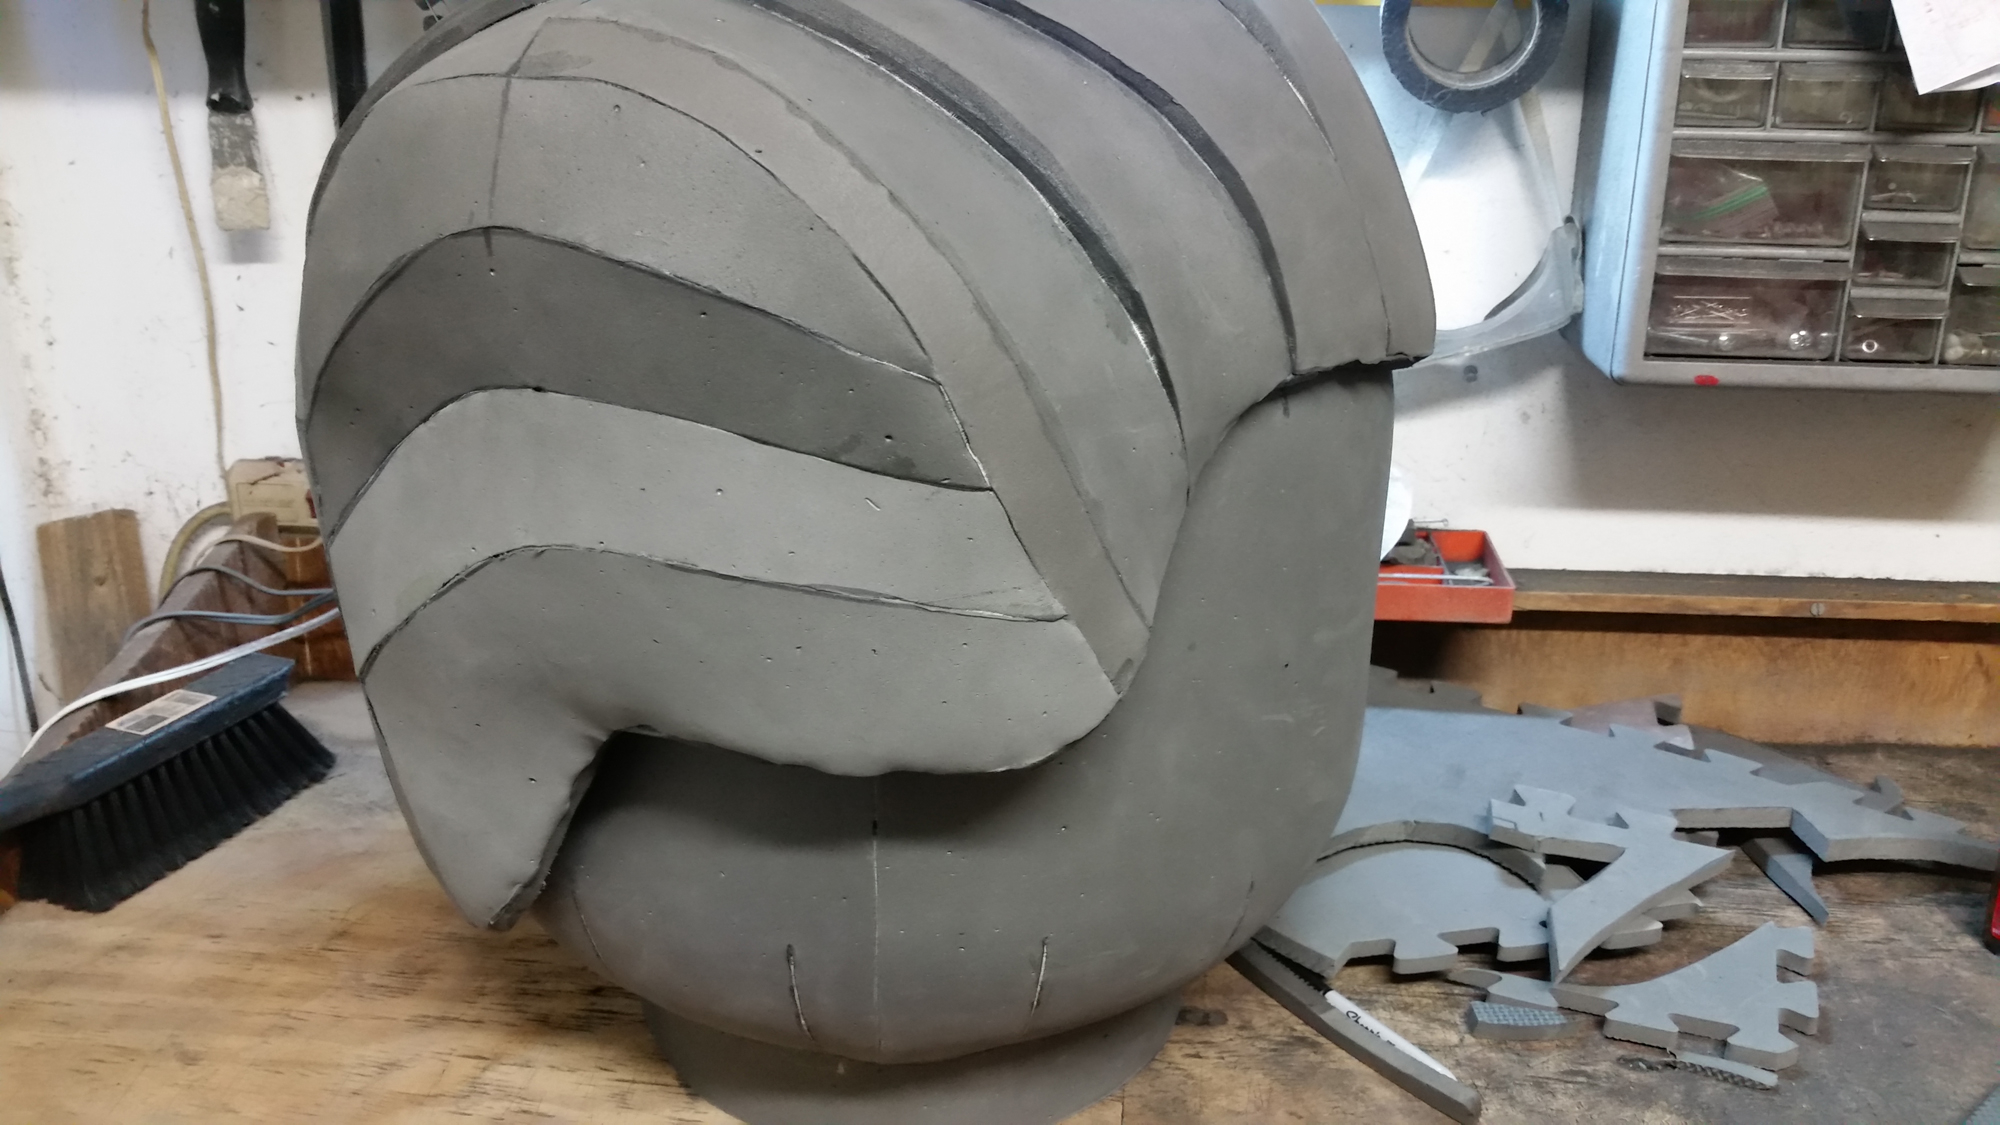

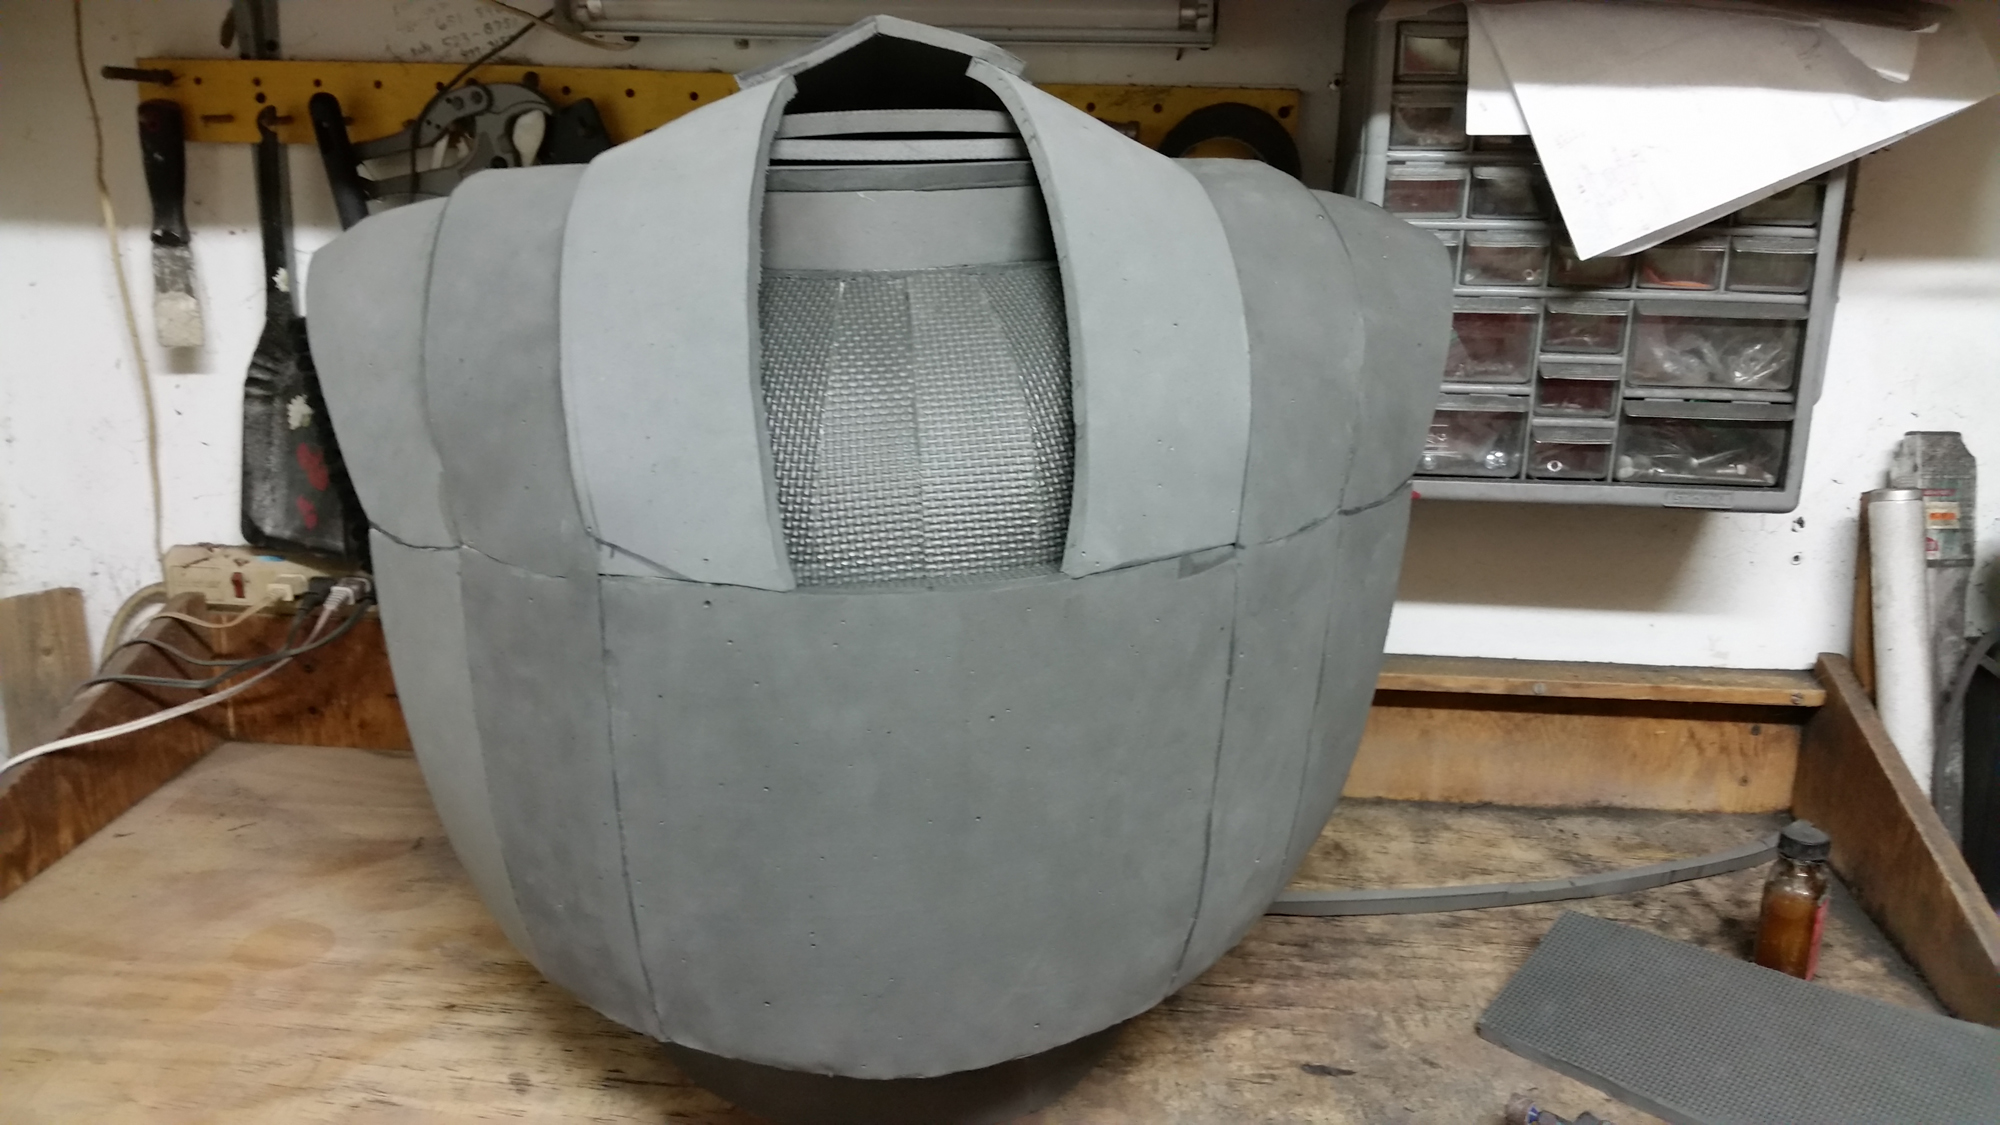
The side of the hair piece continues the staggered “wavy’ hair down the side.
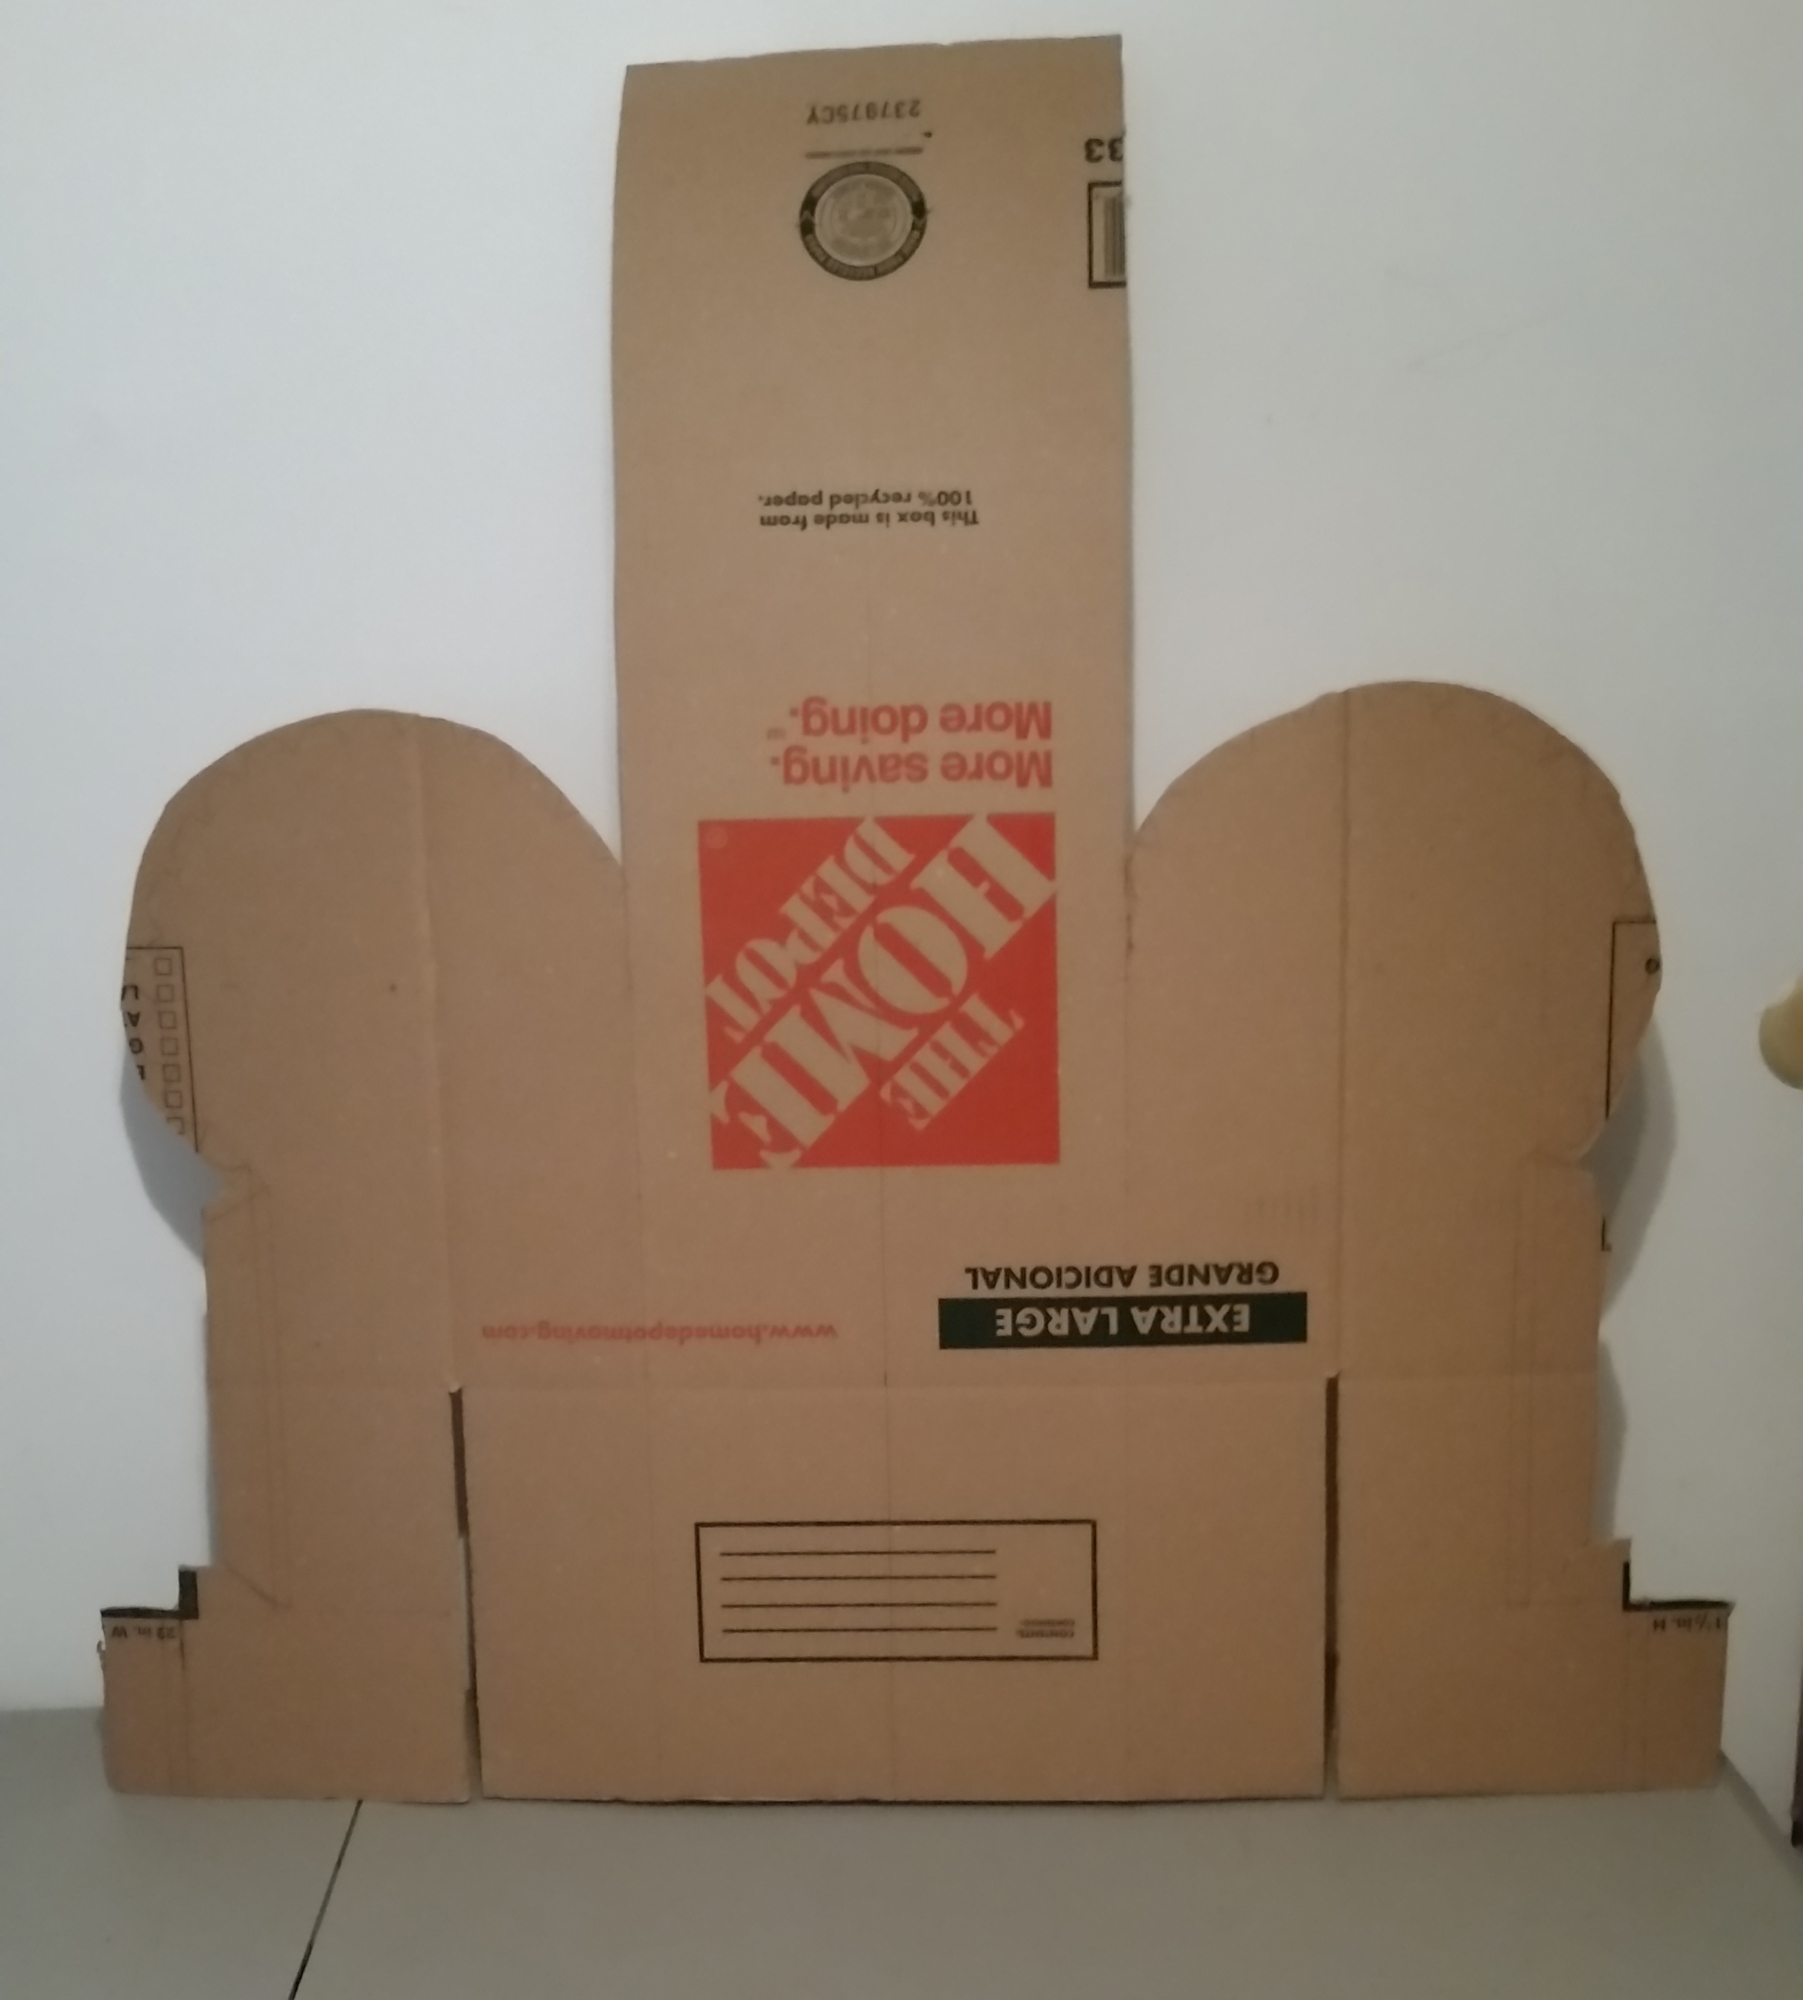
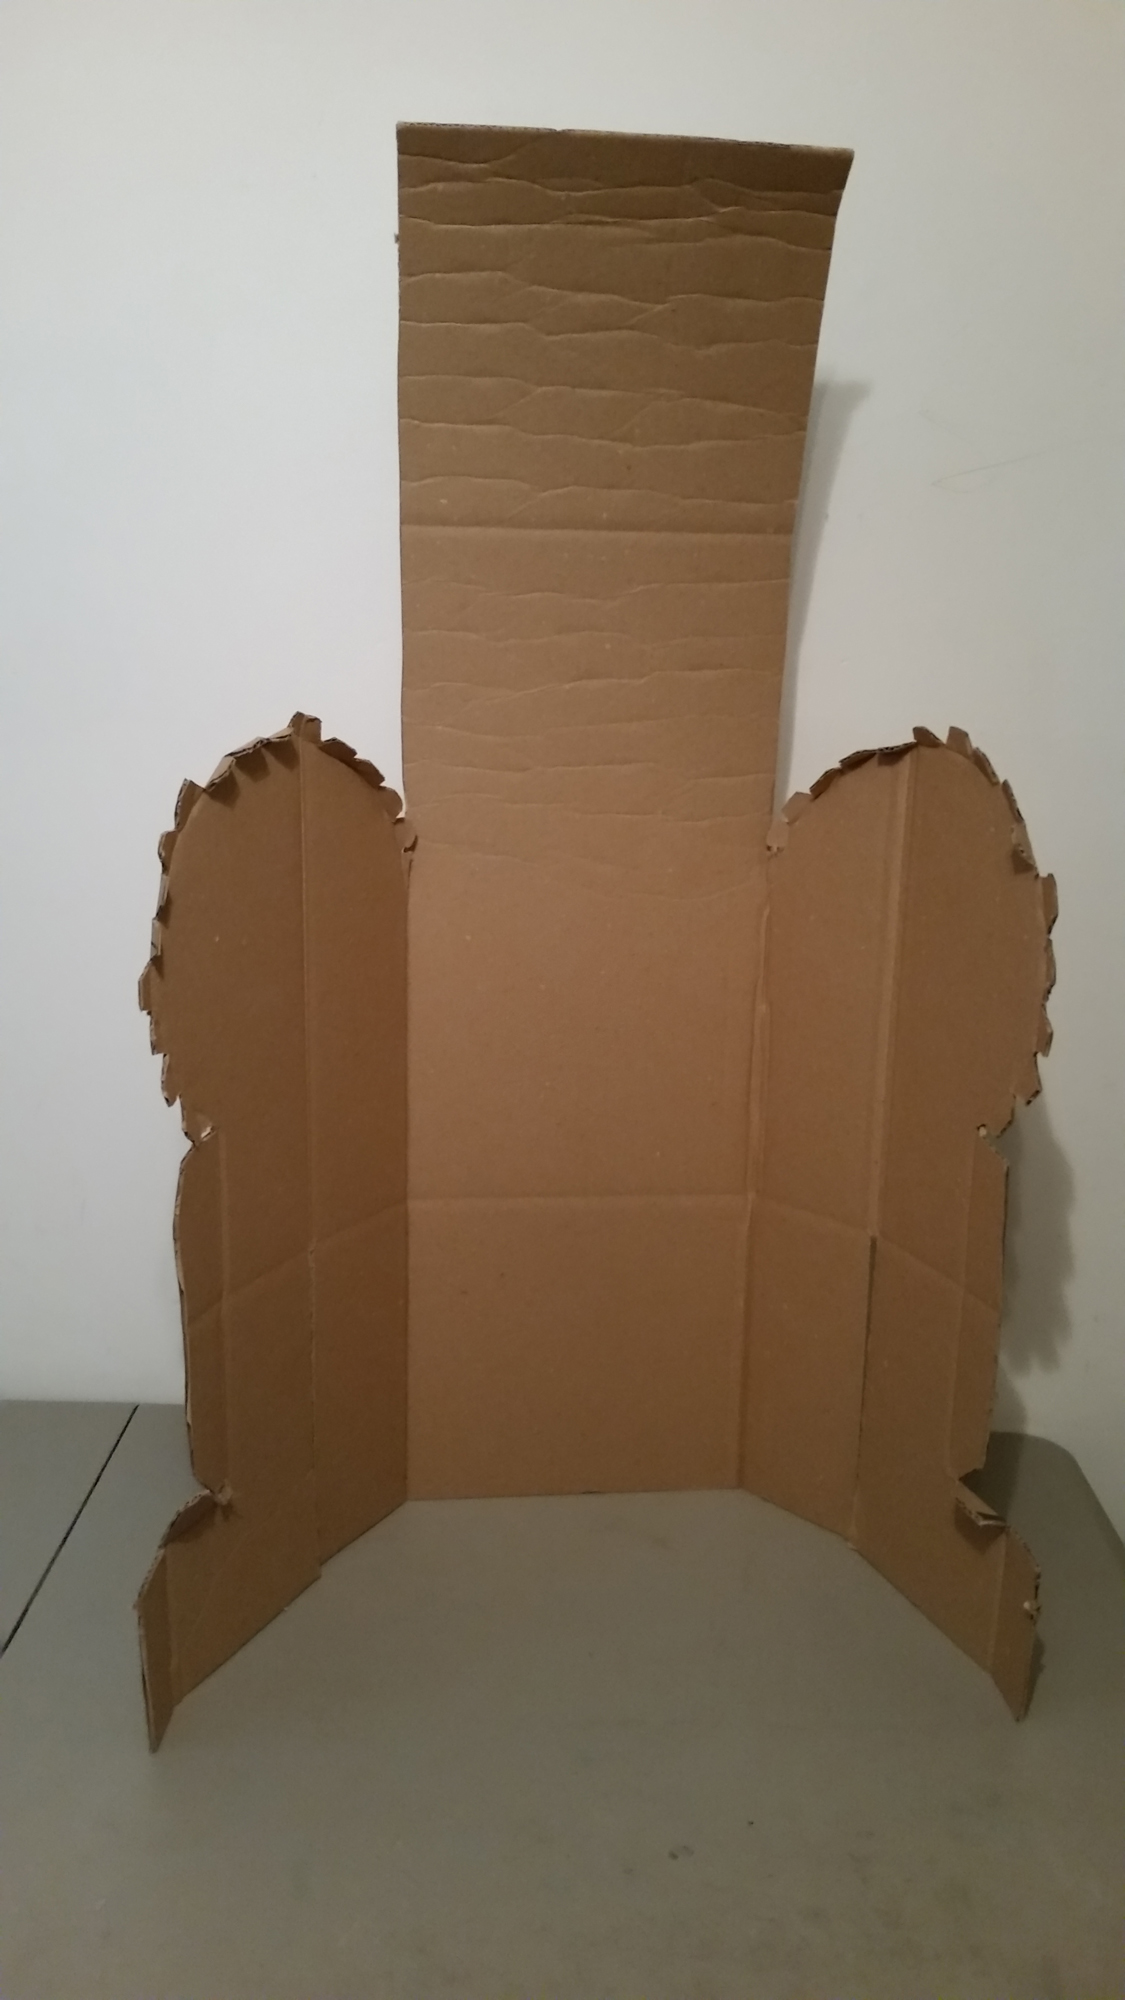
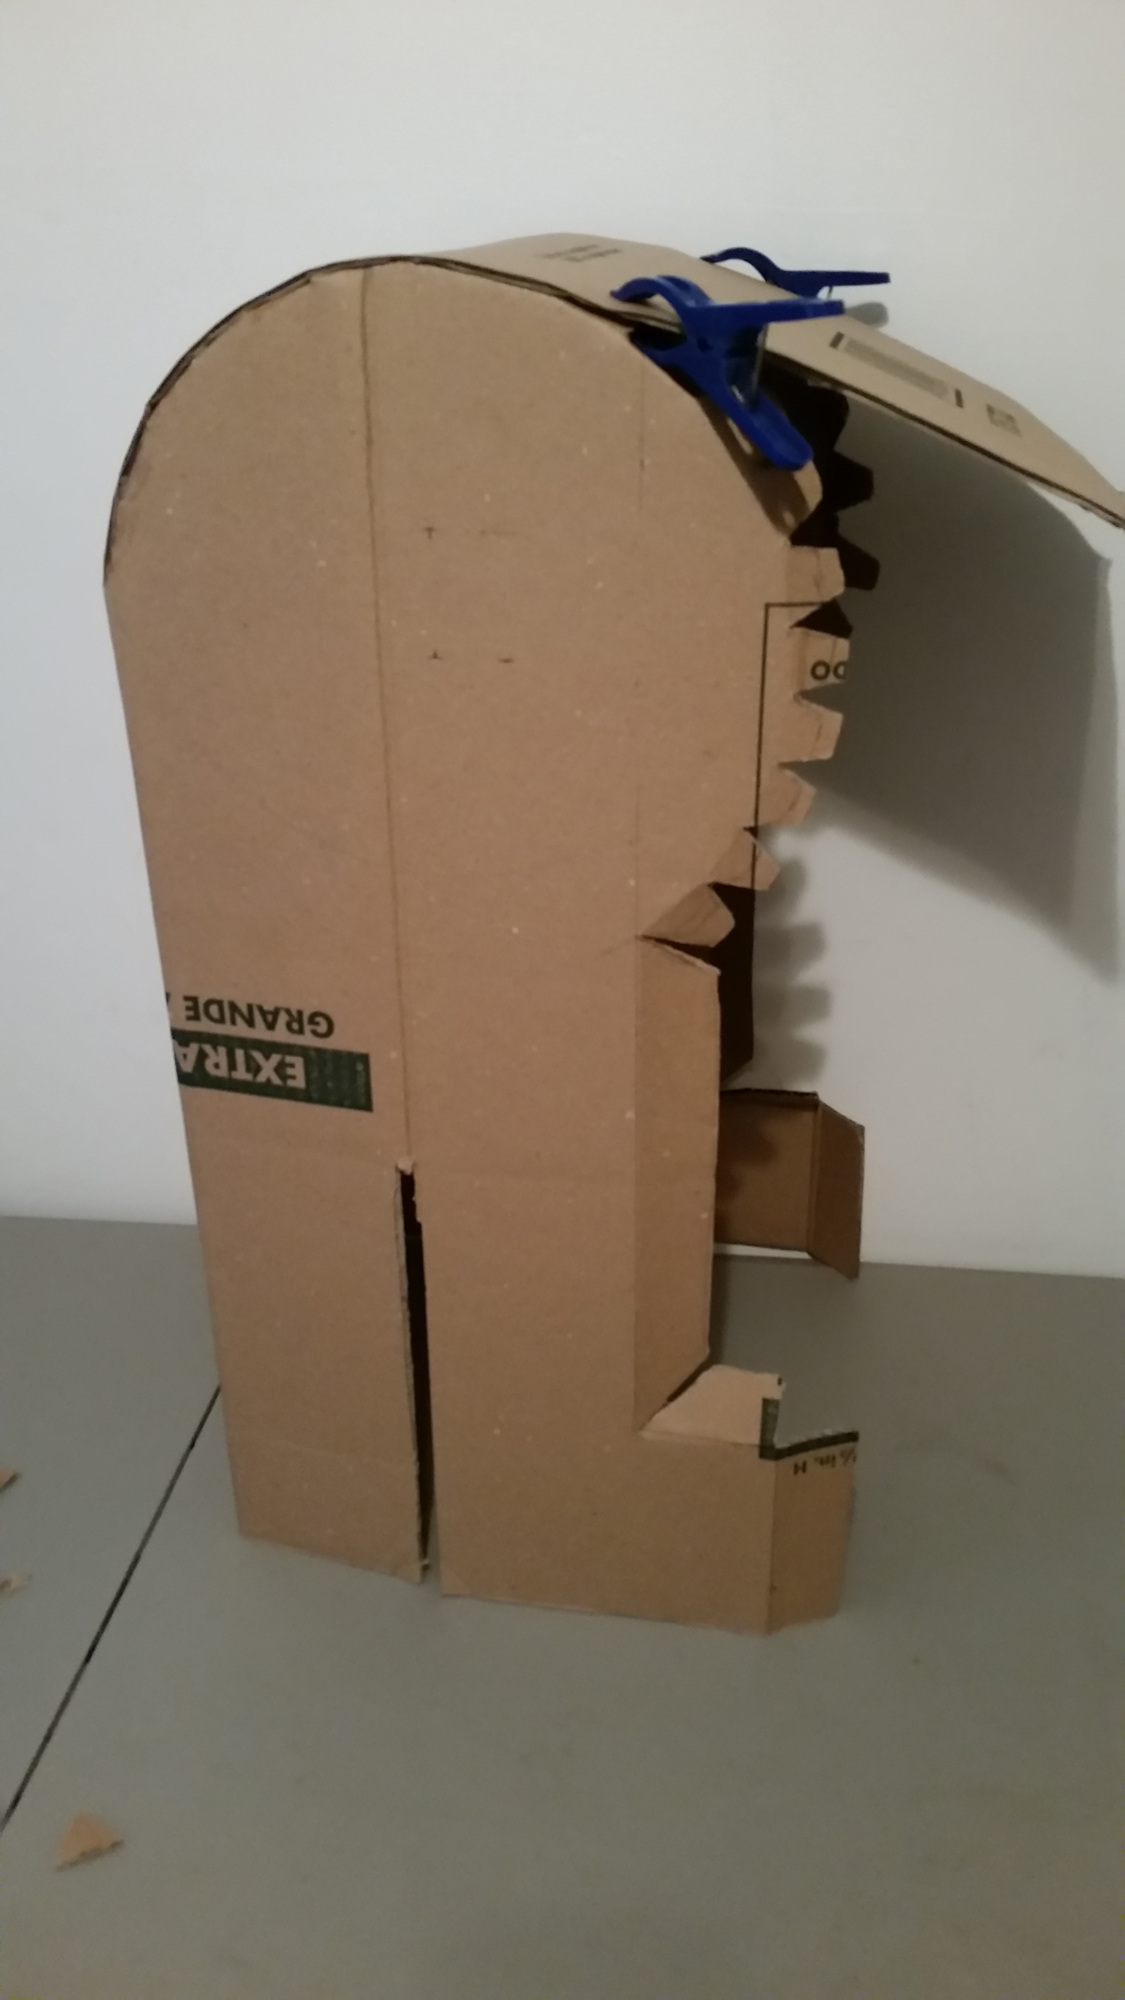
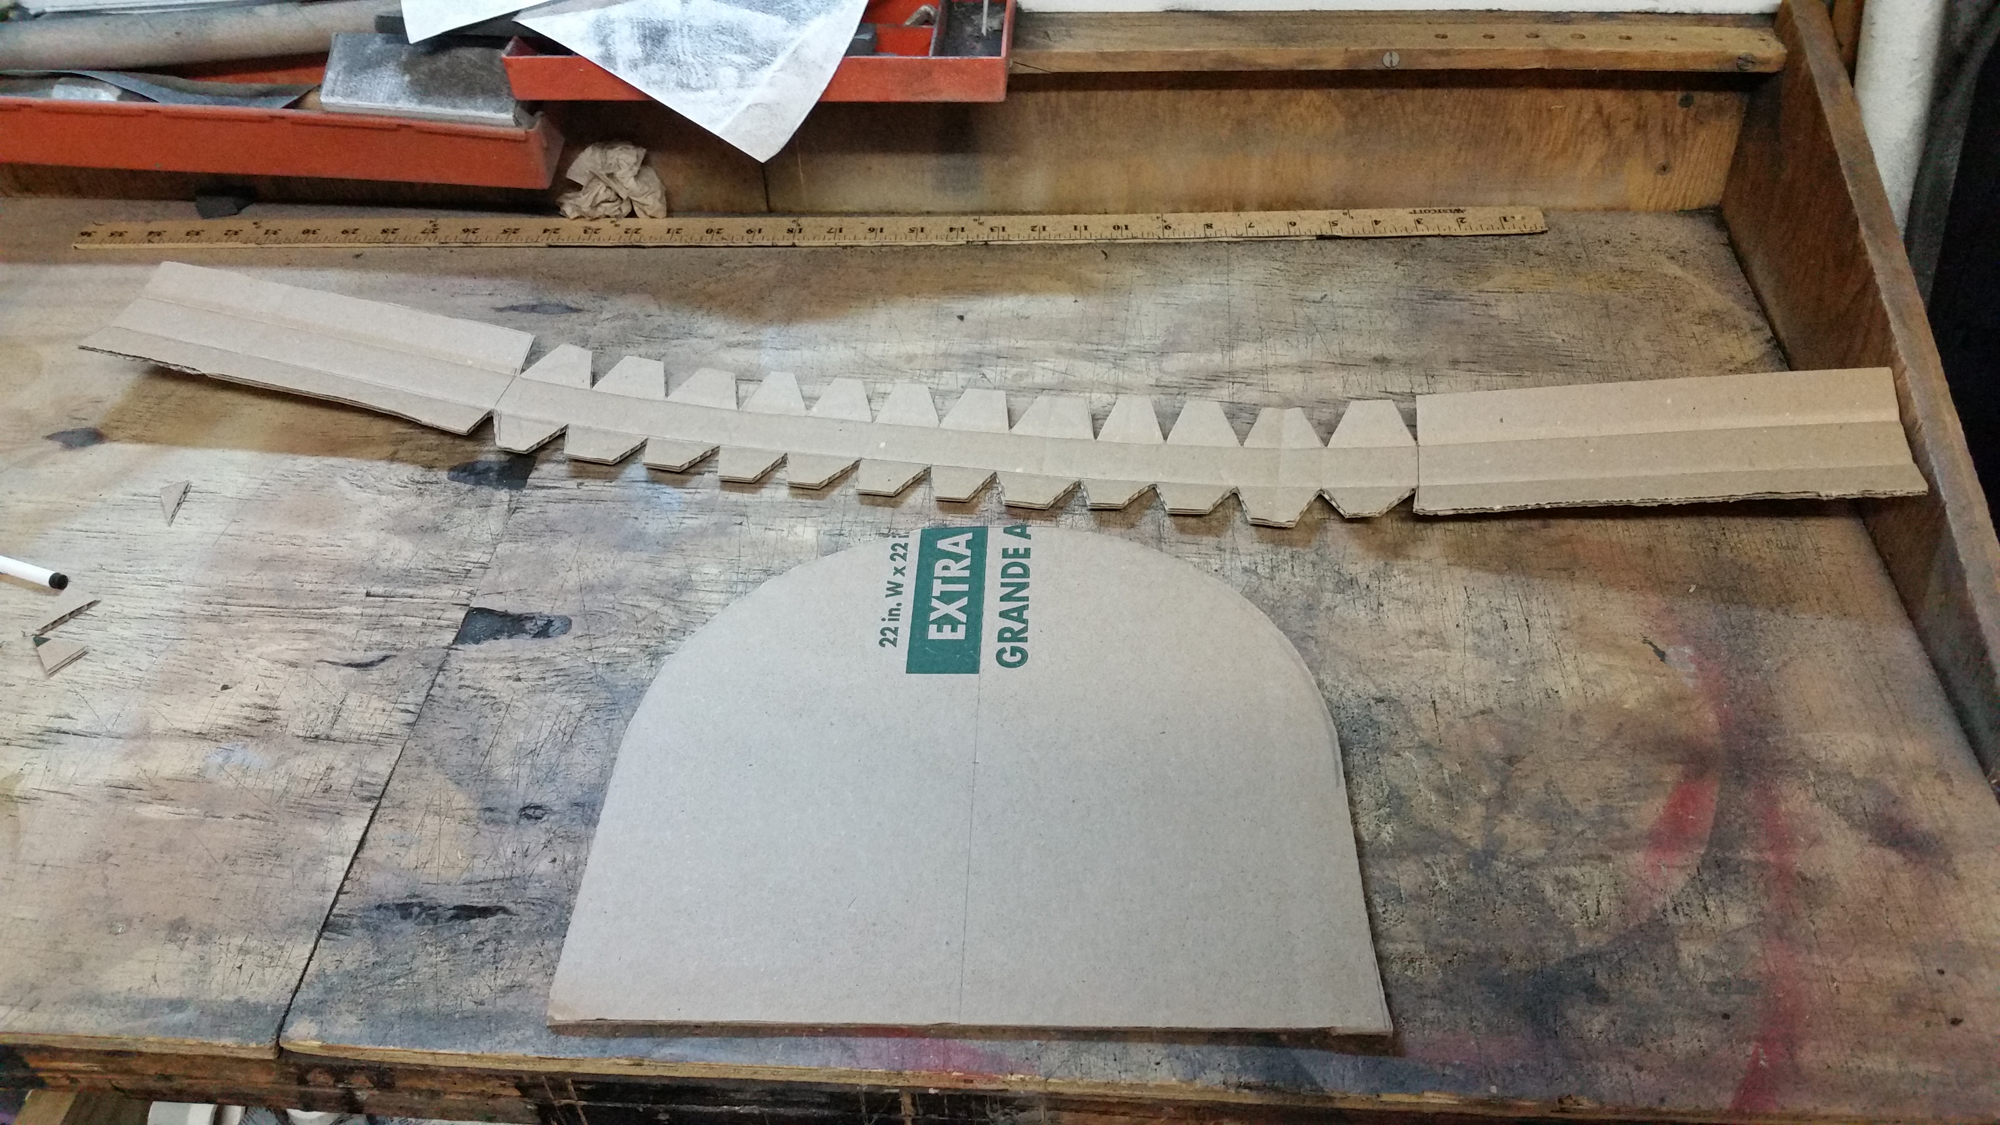
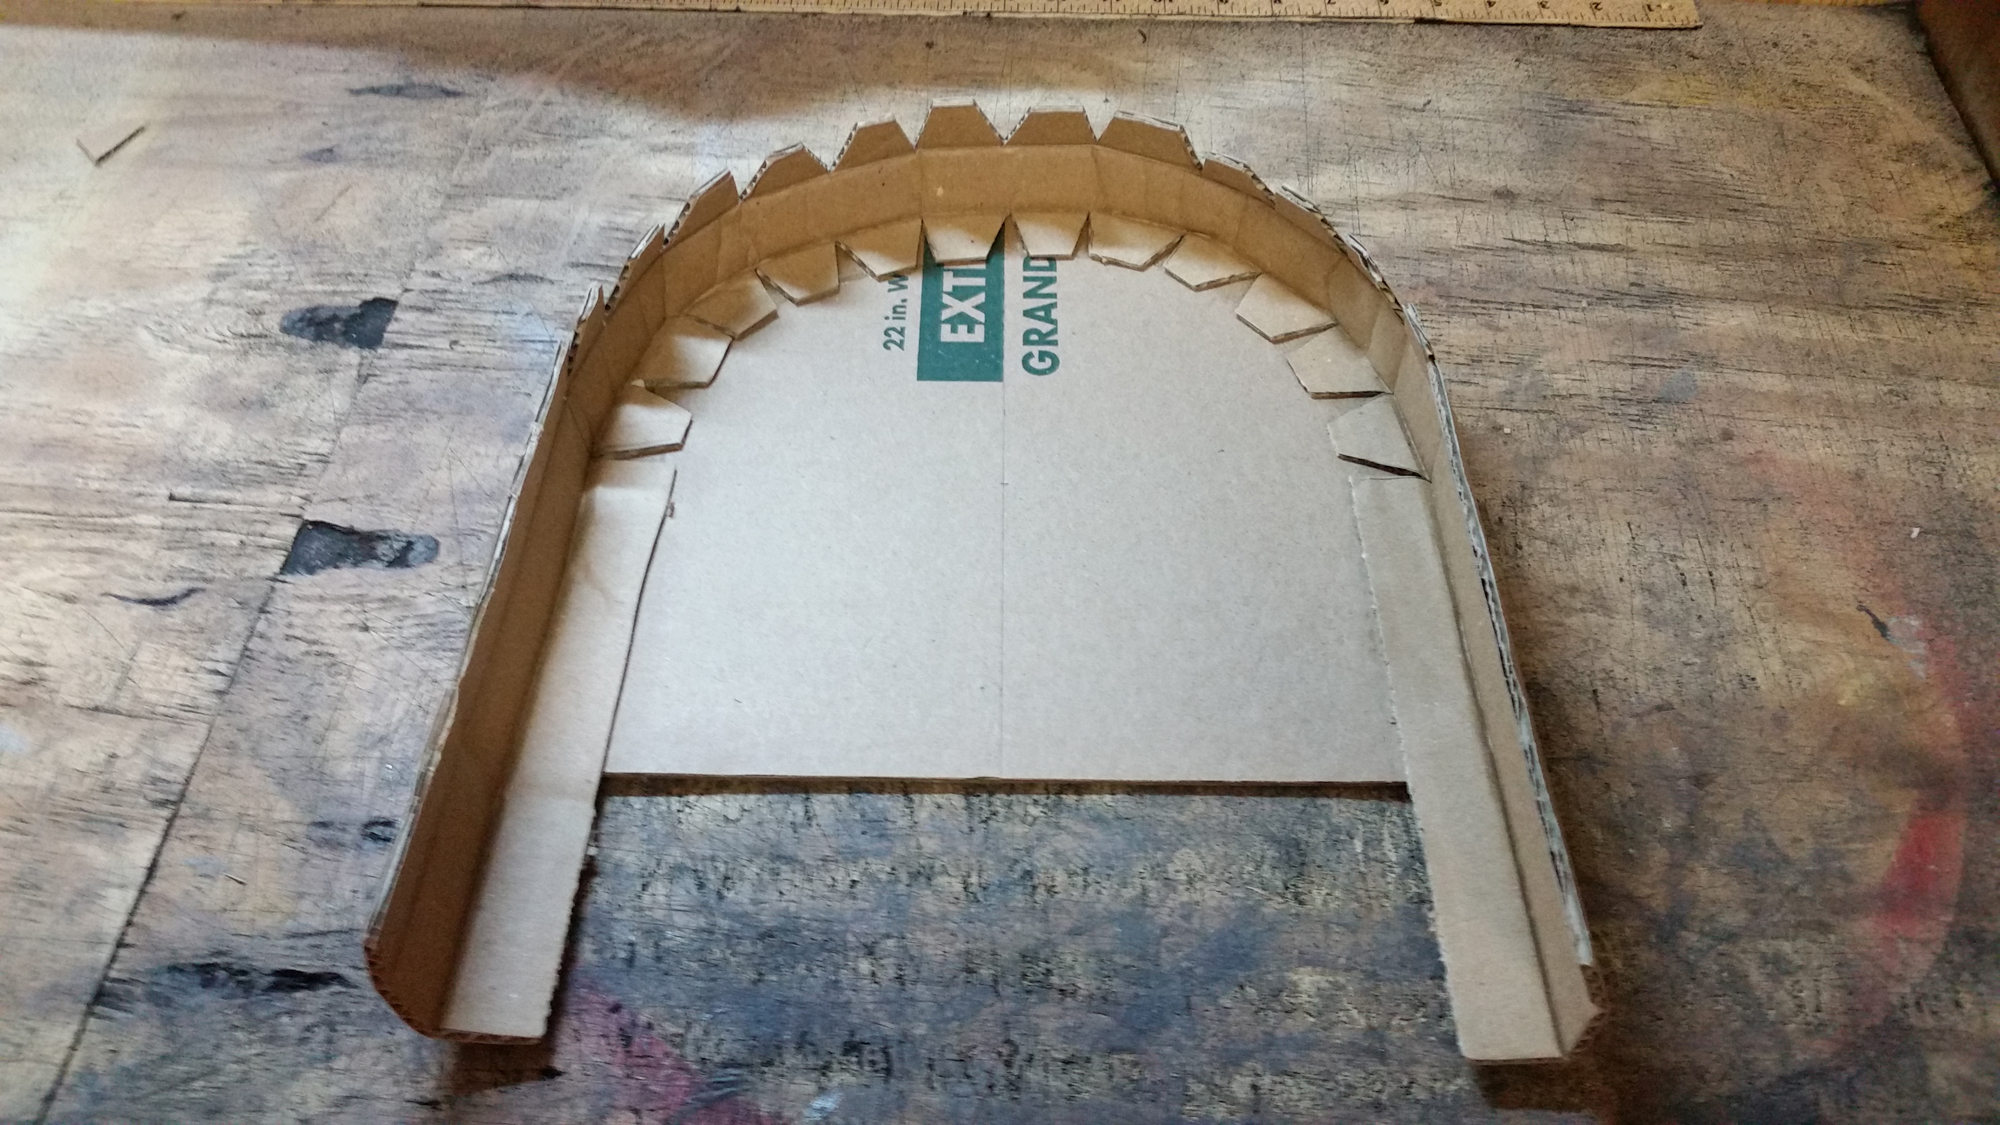
The base of the legs are made from a 22″ x 22″ x 22″ cardboard box from Home Depot. I can get 2 legs out of each box. You can see the basic pattern for making the leg. I leave tabs around the edges on the sides of the leg to glue to the center piece that’s wrapped over the top of the leg and comes down the front.

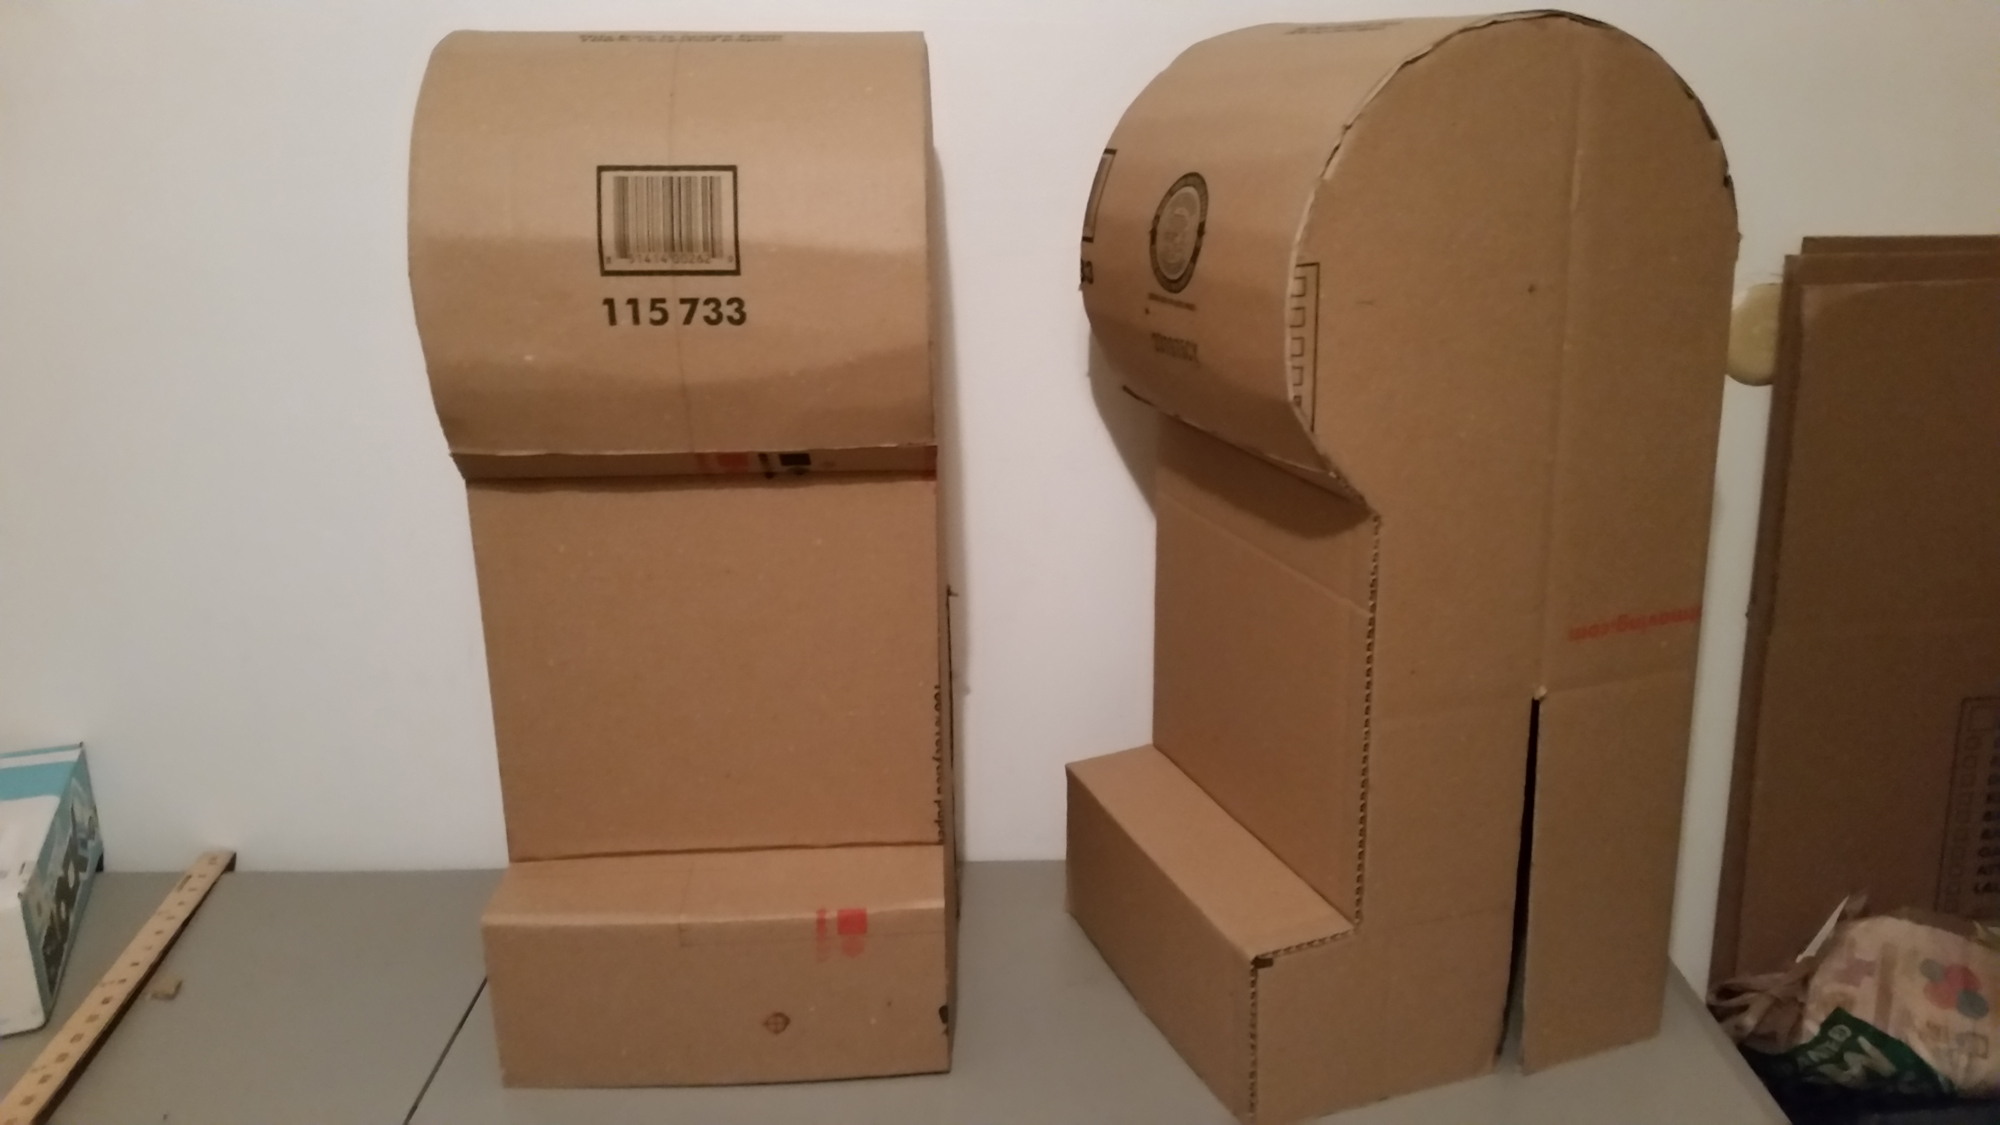
The center piece doesn’t cover the entire leg. I have to use another piece to finish off the front of each leg.

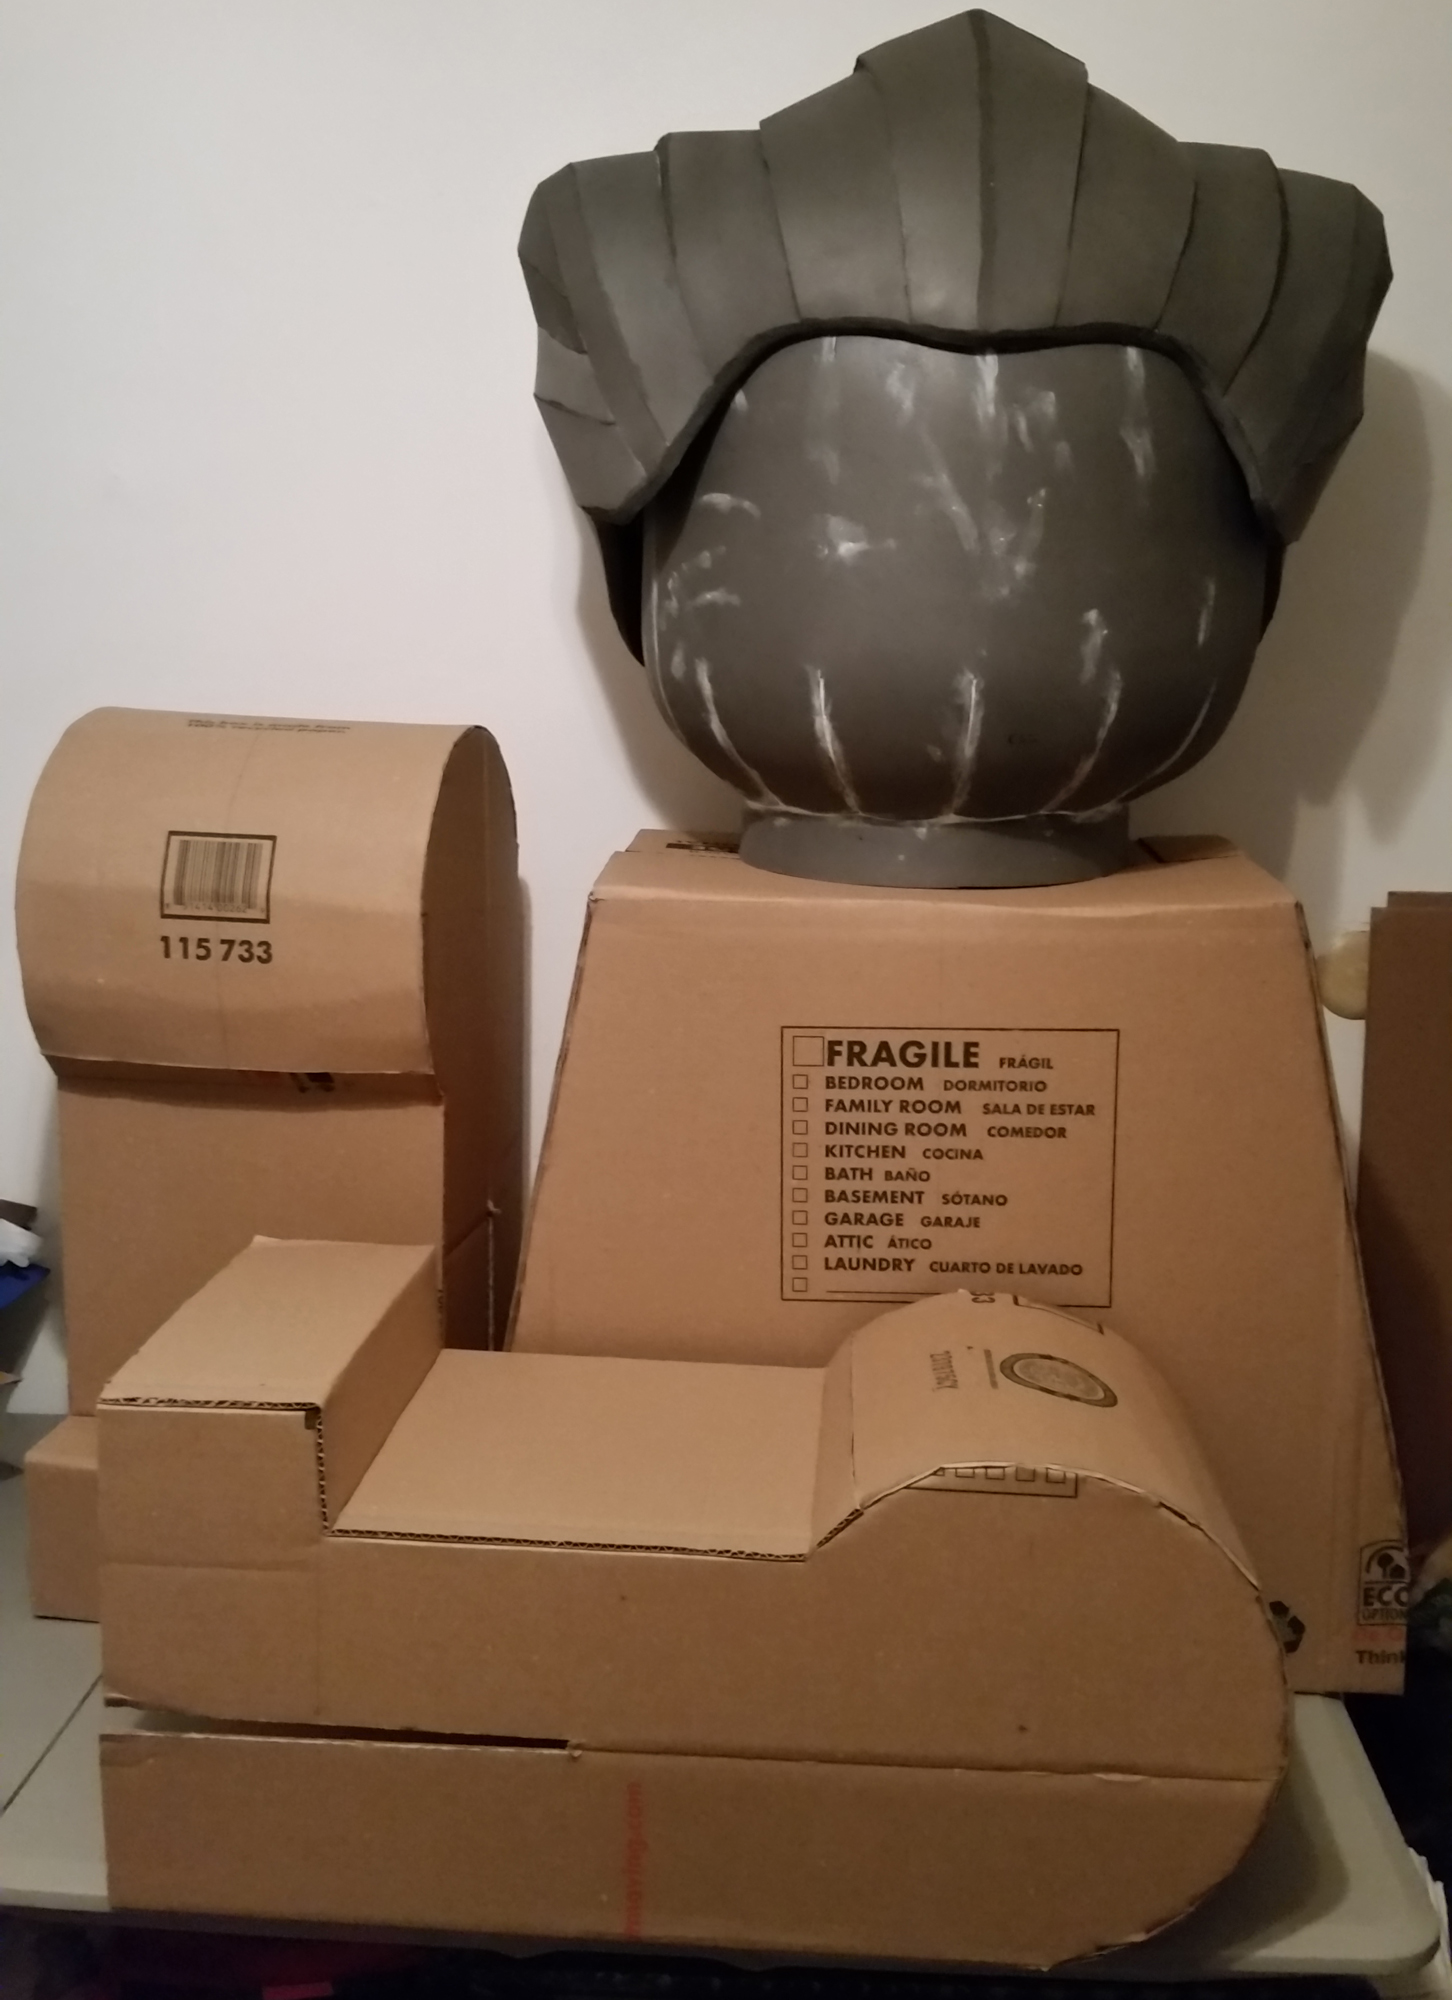
I use another box to make the torso. The sides are angled a little to match the proportions of a LEGO minifig. It’s not pictured but a foam “peg” is added to the top of the torso for the head to slip over. You can also see white marks on the head. This is quick seal used to clean up some of the seams and any imperfections in the foam.
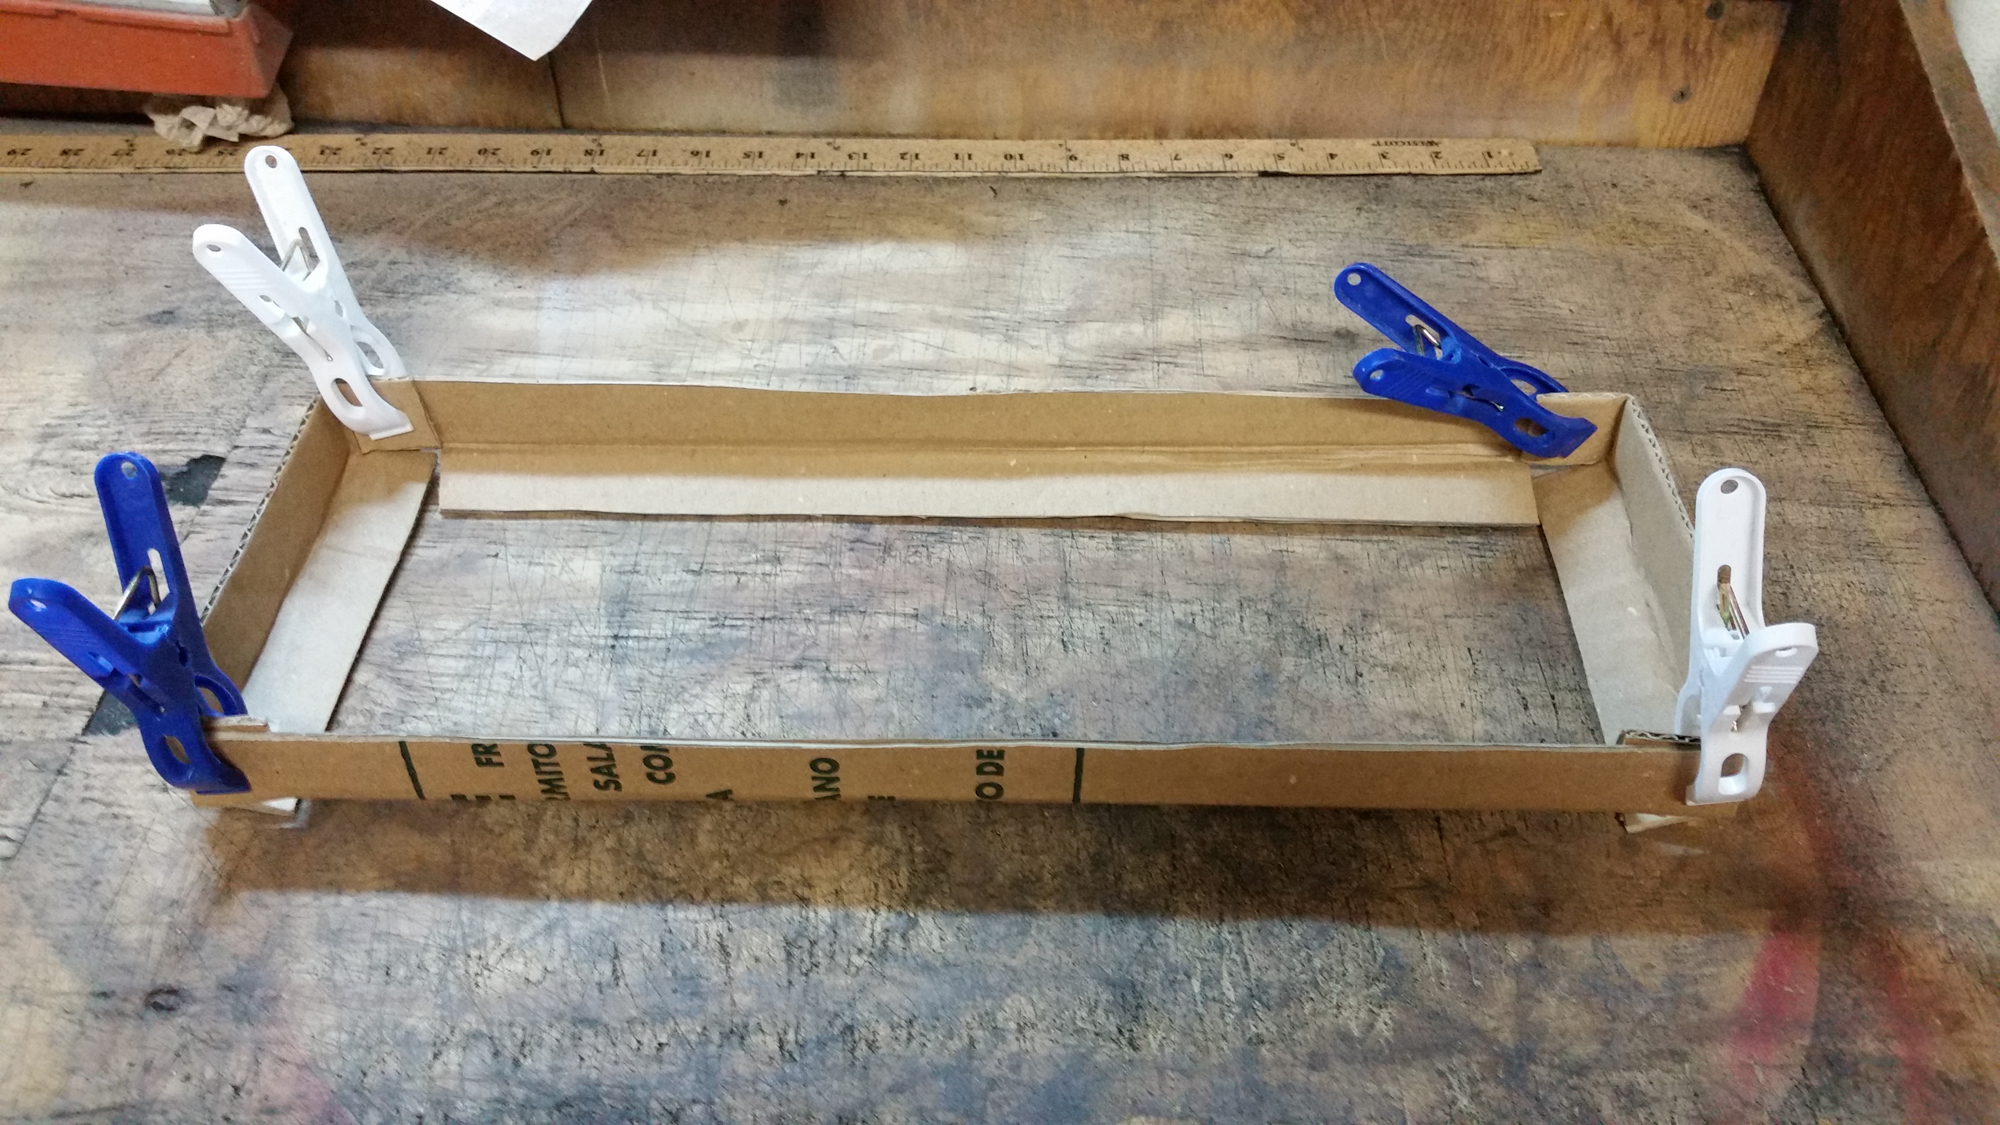
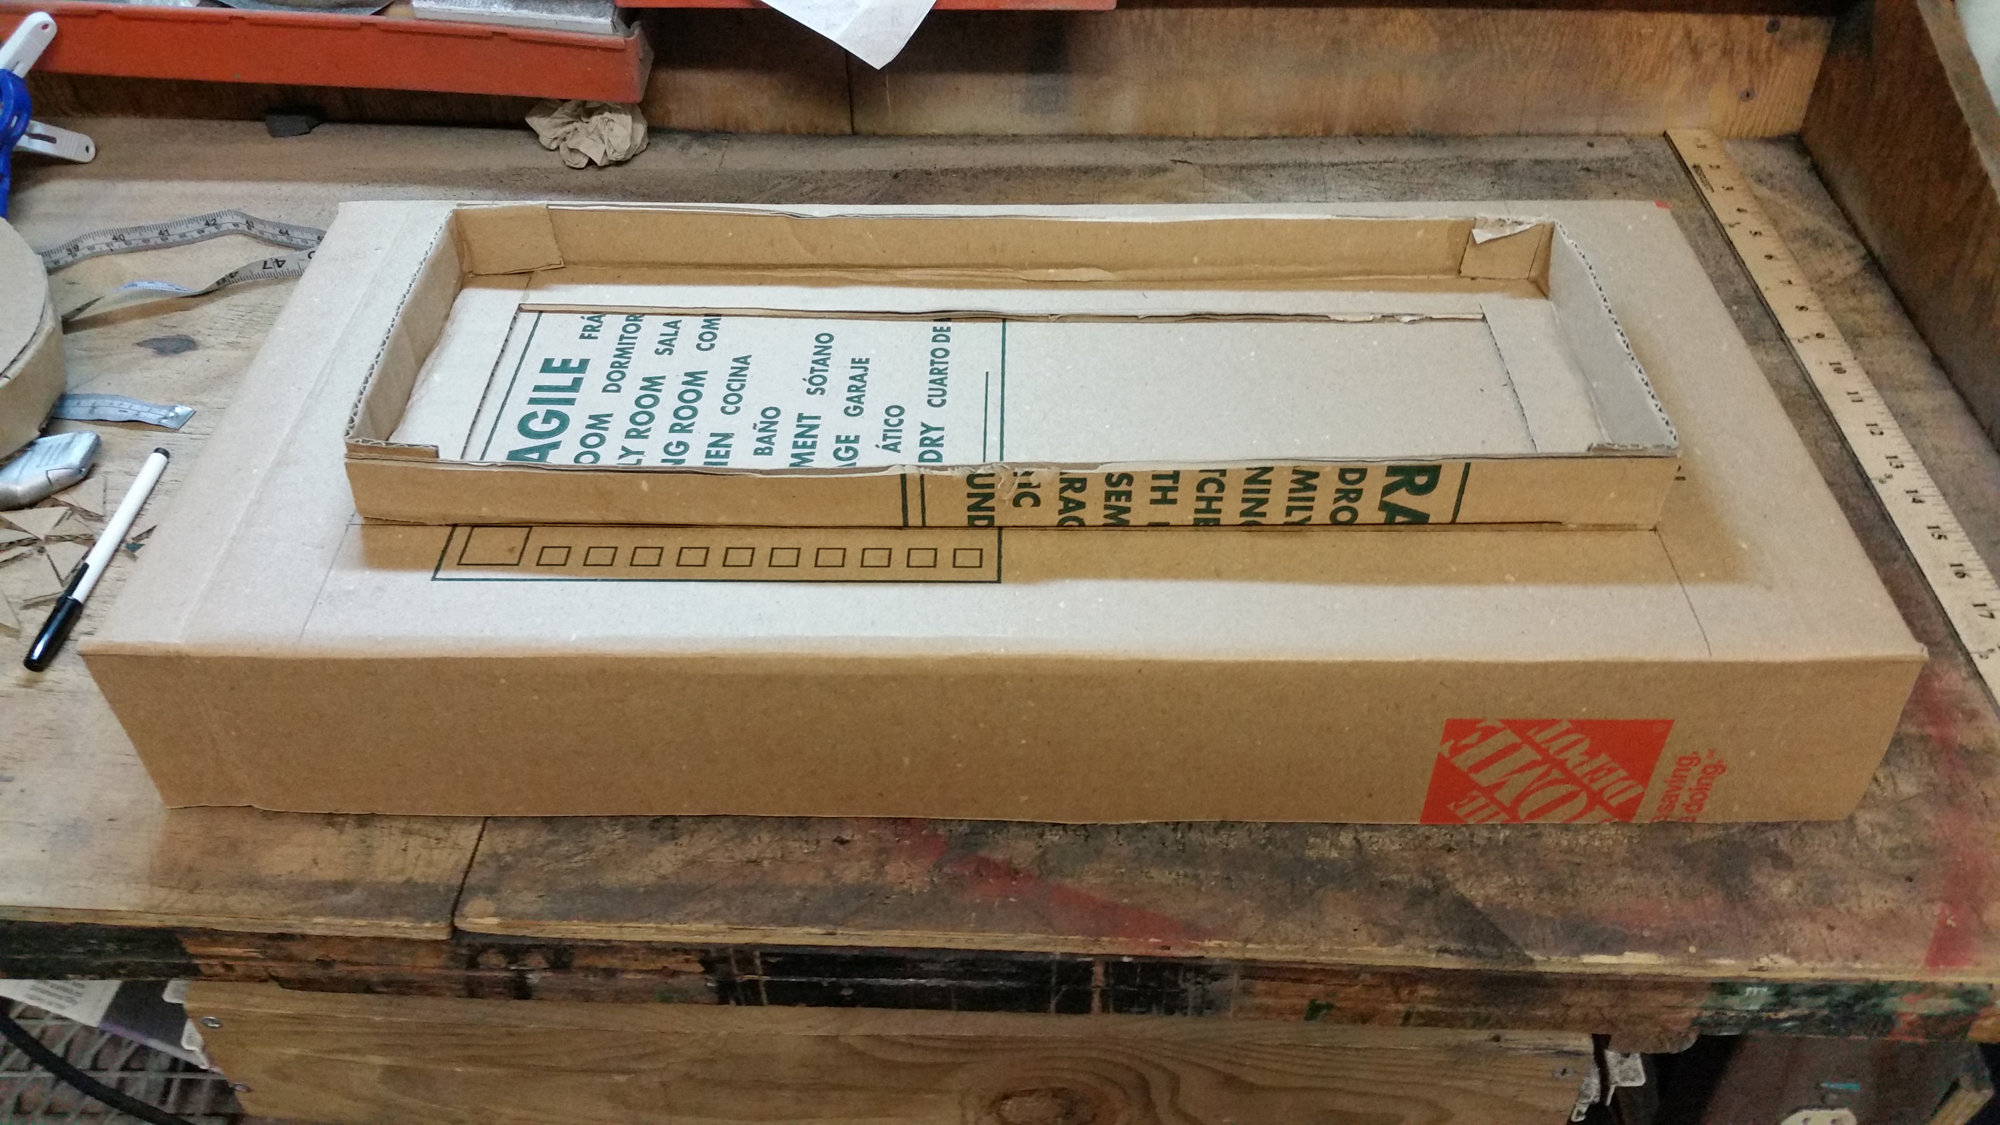
The hips of the LEGO figure are also made with a LEGO base. The rectangle in the third picture is used to hold the torso in place. In the picture above, you can see there’s a hole in the bottom. The torso, hips, and legs are covered in 2mm craft foam, sealed in nod podge, and then spray painted.
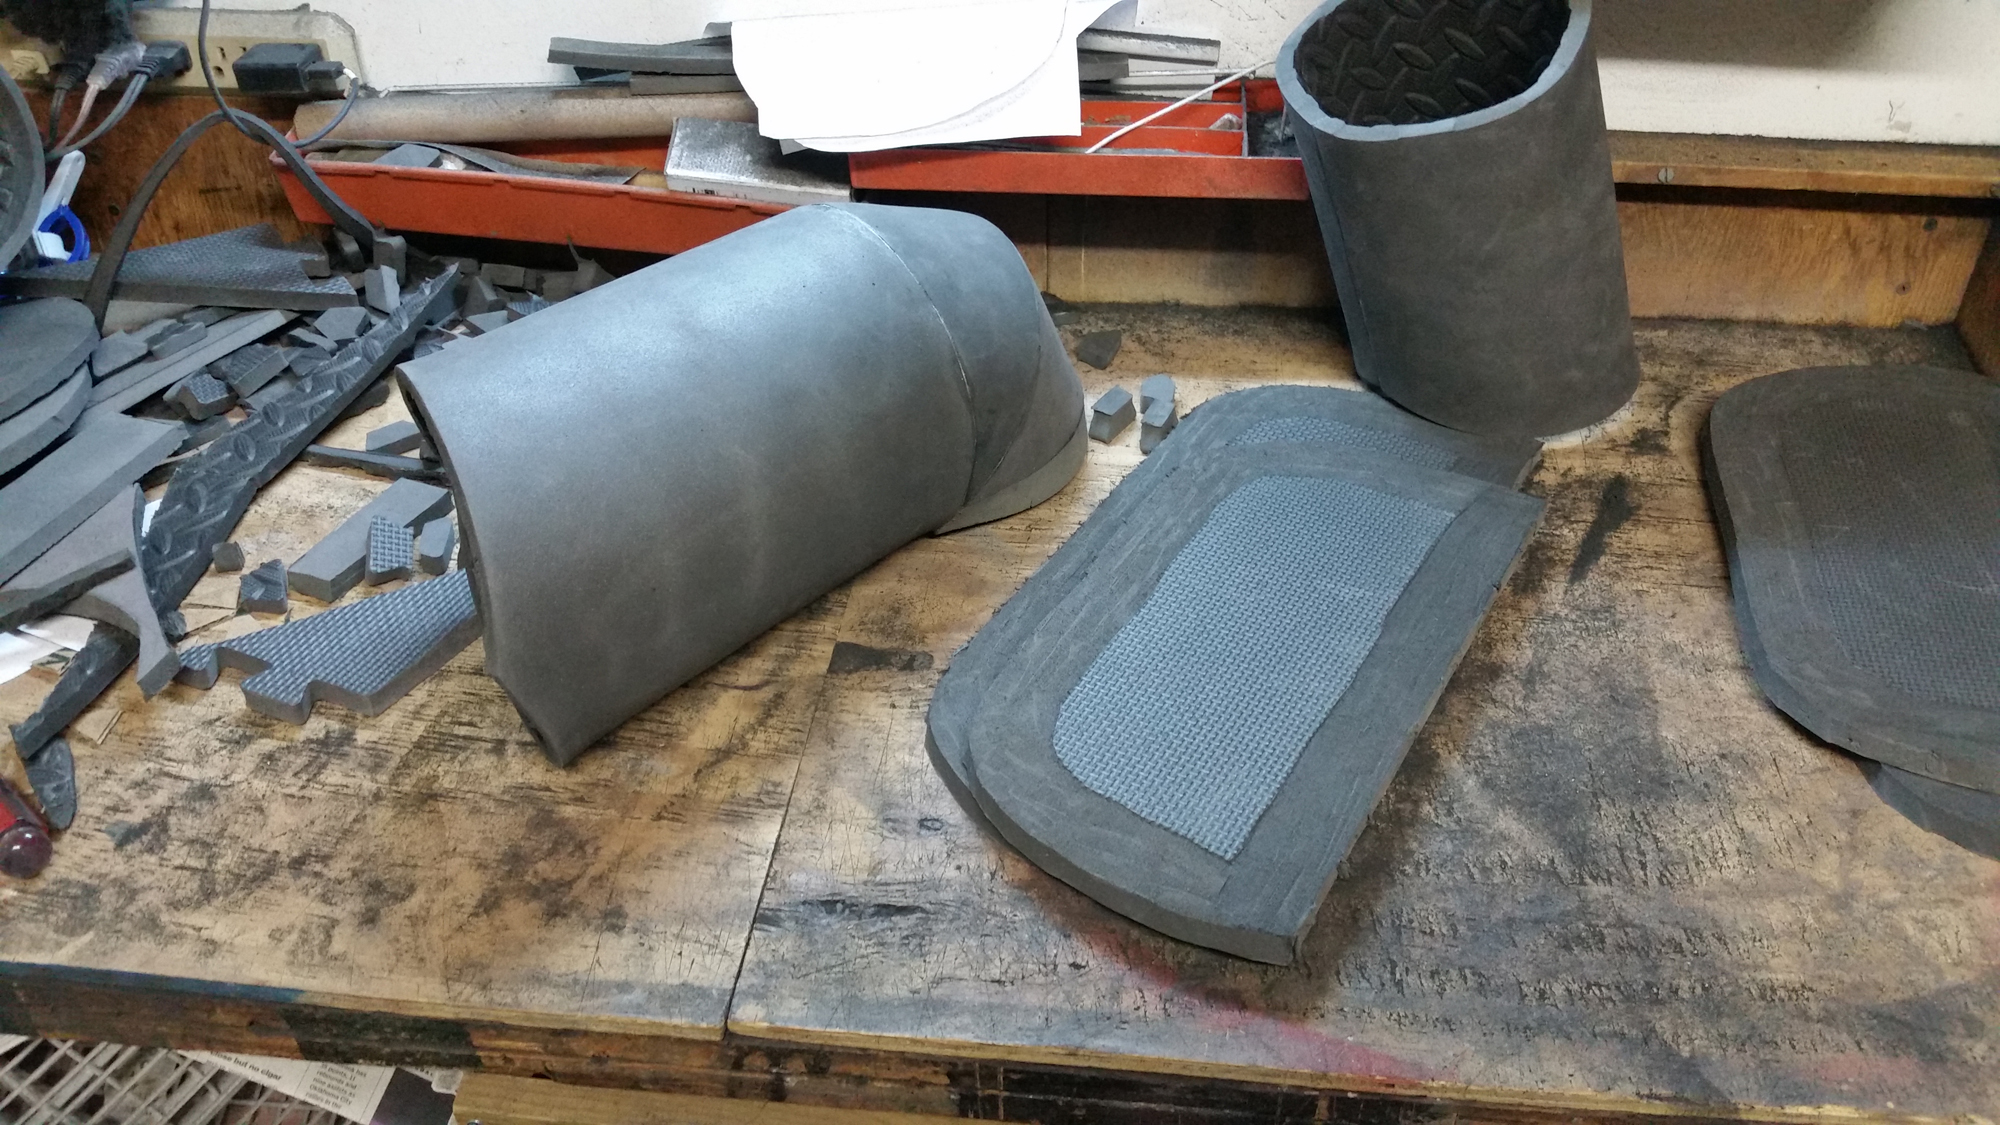
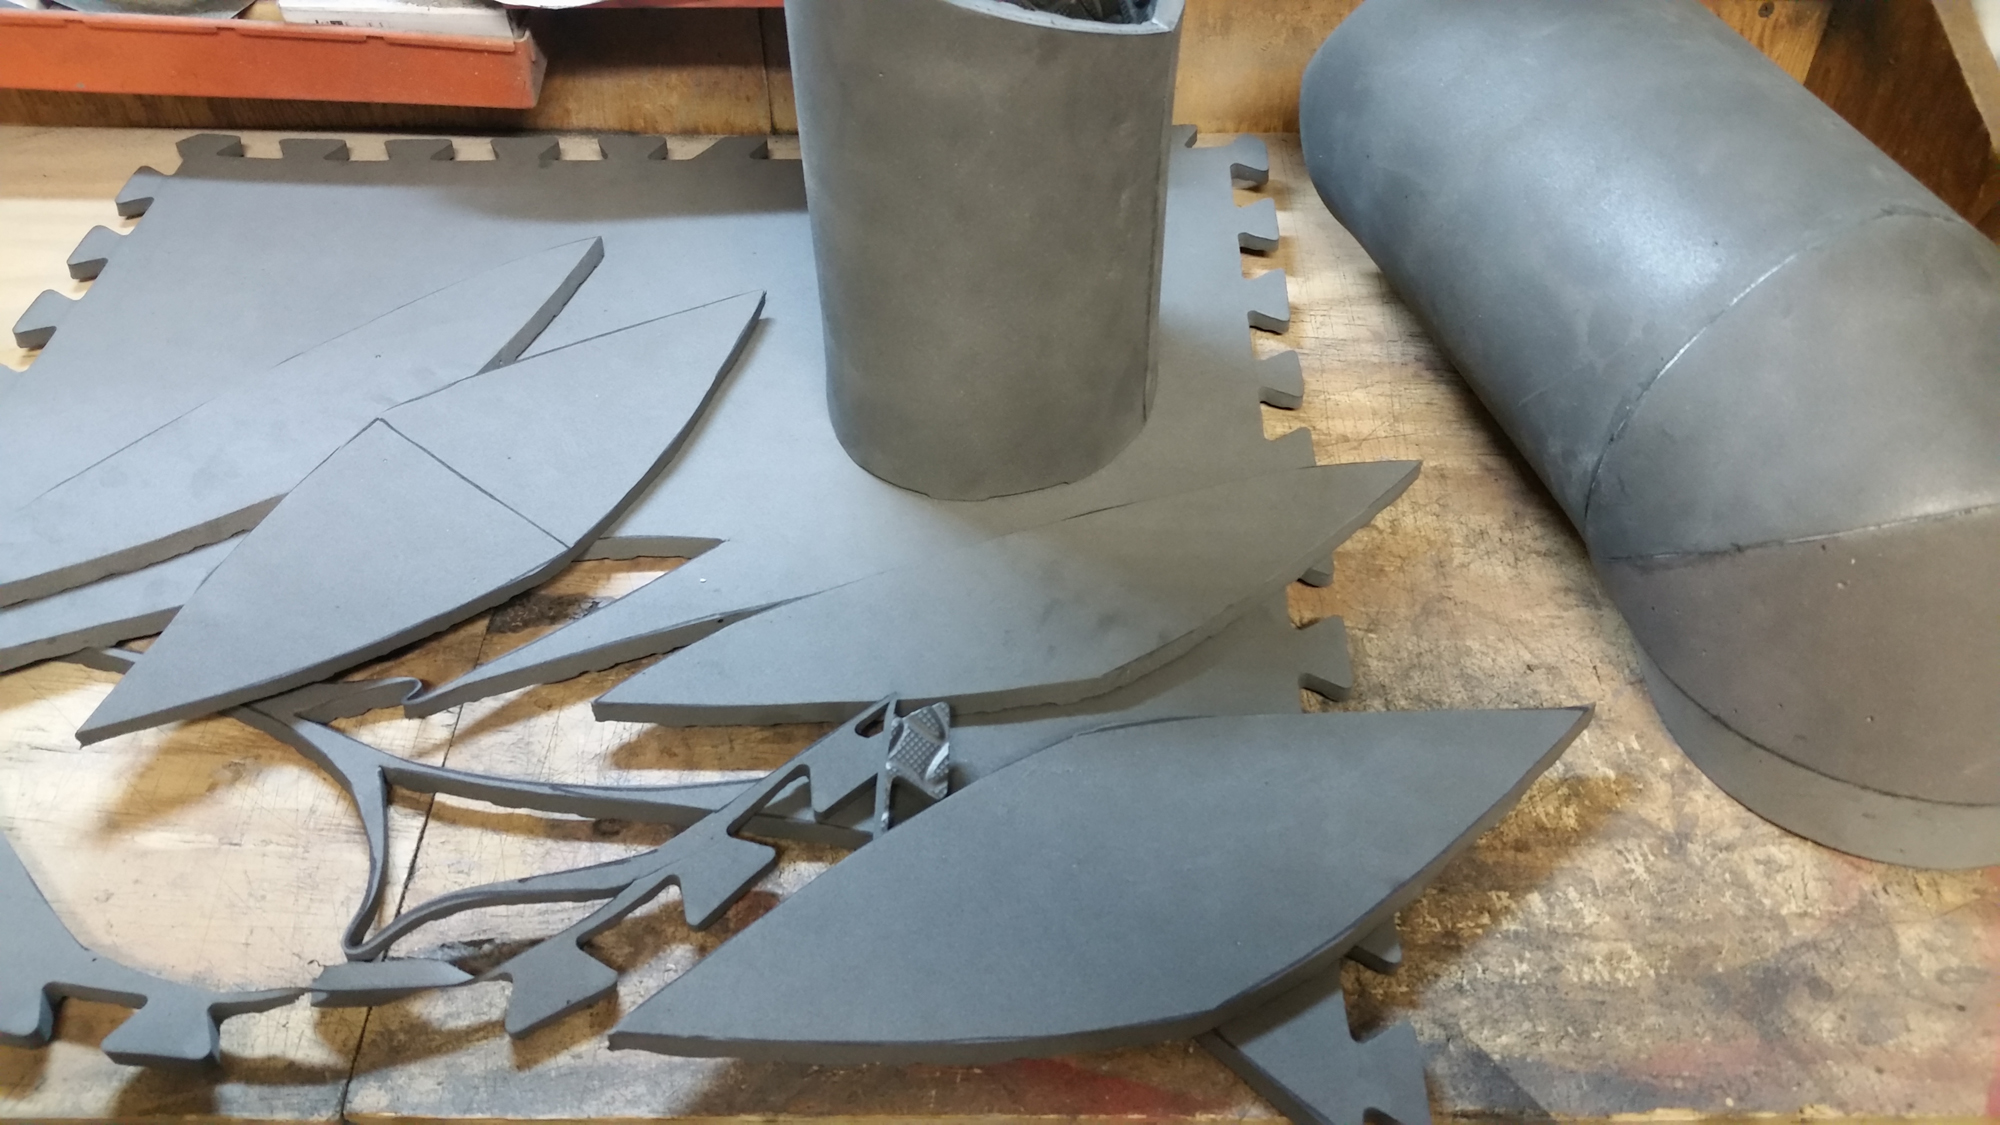
The arms are always a challenge for me. I haven’t found a good template for making the arms but you can see some of the work that went into Doctor Strange’s arms.
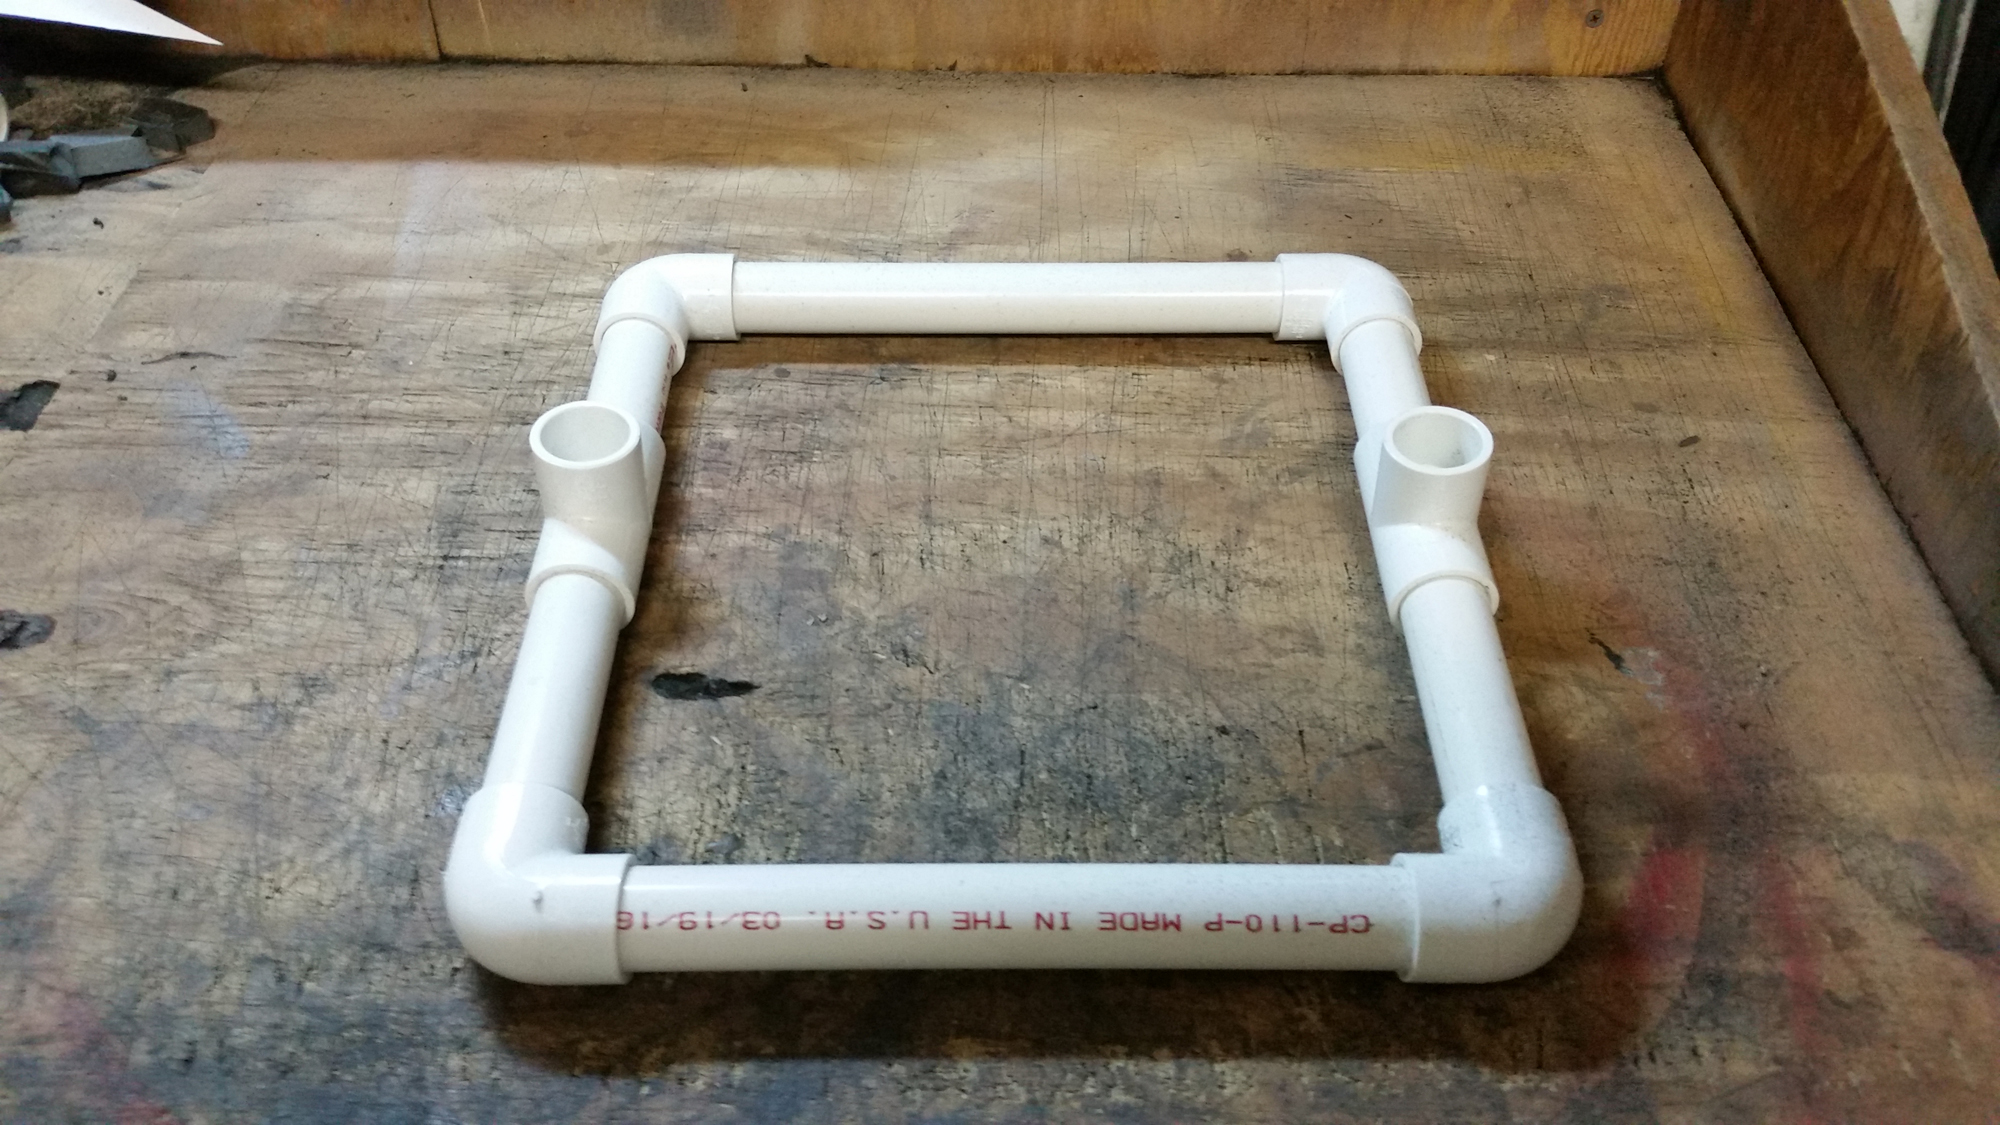
After having problems with making the Flash for the May show, I decided to anchor the statue to a wooden board. The bottom of the PVC frame (above) is bolted to the board.
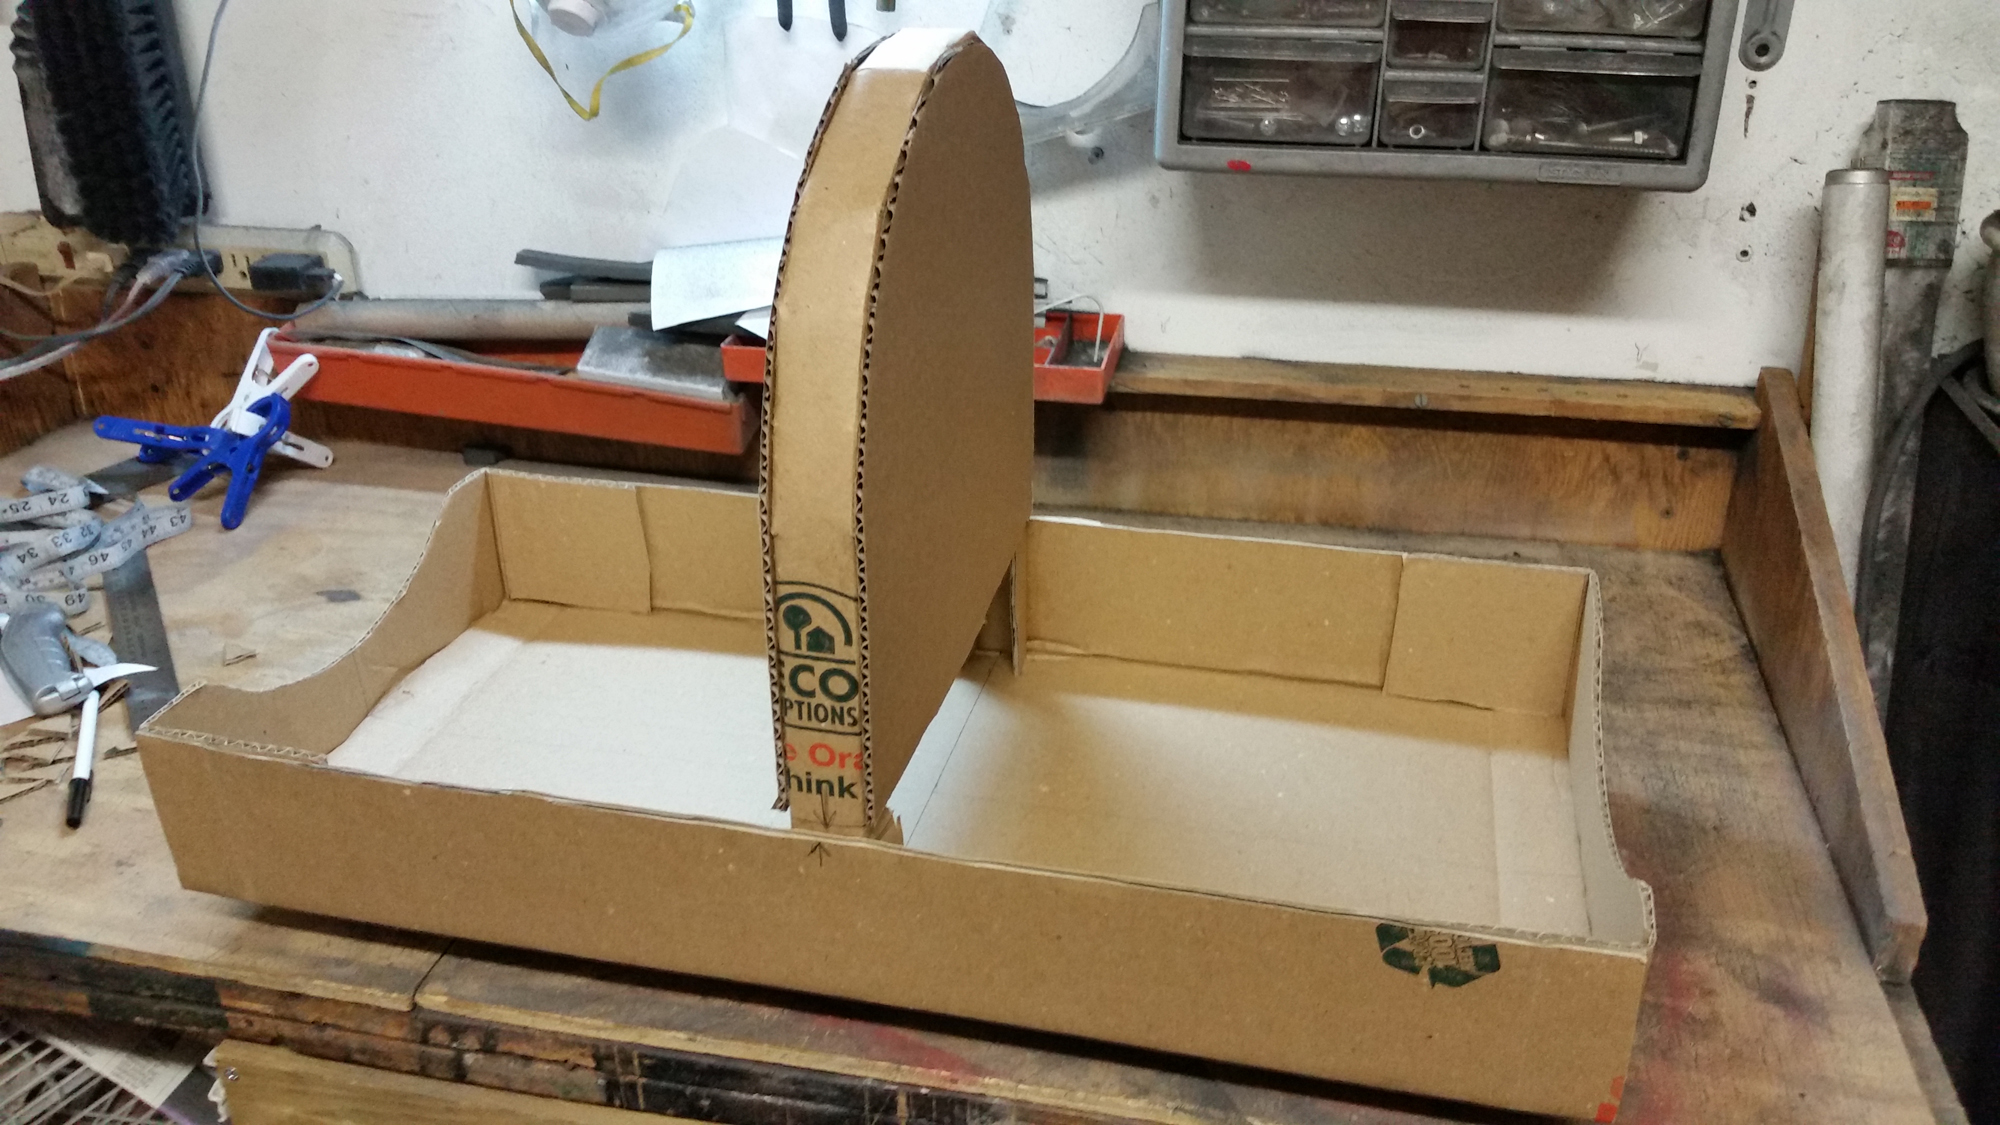
Another interesting challenge for this statue was the cape. The top part of the cape curls up. To achieve this effect, I made a cardboard form with three rings that slip over the peg at the top of the torso. The form is a 5 sided open box (think 5 sides of a stop sign). The rings are part of the cardboard on the 1st, 3rd, and 5th side. When laid flat, this looks like a big rectangle with 3 rings hanging down. When folded, it allows the cape to stay up.