
Voltron was my first non-LEGO statue. This was created for the first BAM Anime Convention in February of 2017. This project had me worried because it was different than the LEGO costumes and statues I had been making. Although I knew about this project and convention date ahead of time, I ran short on time due to the holidays and being sick for a couple of weeks in January. By the time I started this project, I only had 3 weeks to get it done. I was still painting details at 3am on Saturday and had to deliver this project early that morning. Because this project was so rushed, I didn’t take as many progress photos as I would have liked.
I remember watching Voltron as a kid but I was never a huge fan. When doing research and planning, I noticed it seemed like every picture of Voltron was different from the next. Even the action figures varied in level of details. I found two pictures on the internet that I decided to use as reference and borrowed elements from each for the final design.
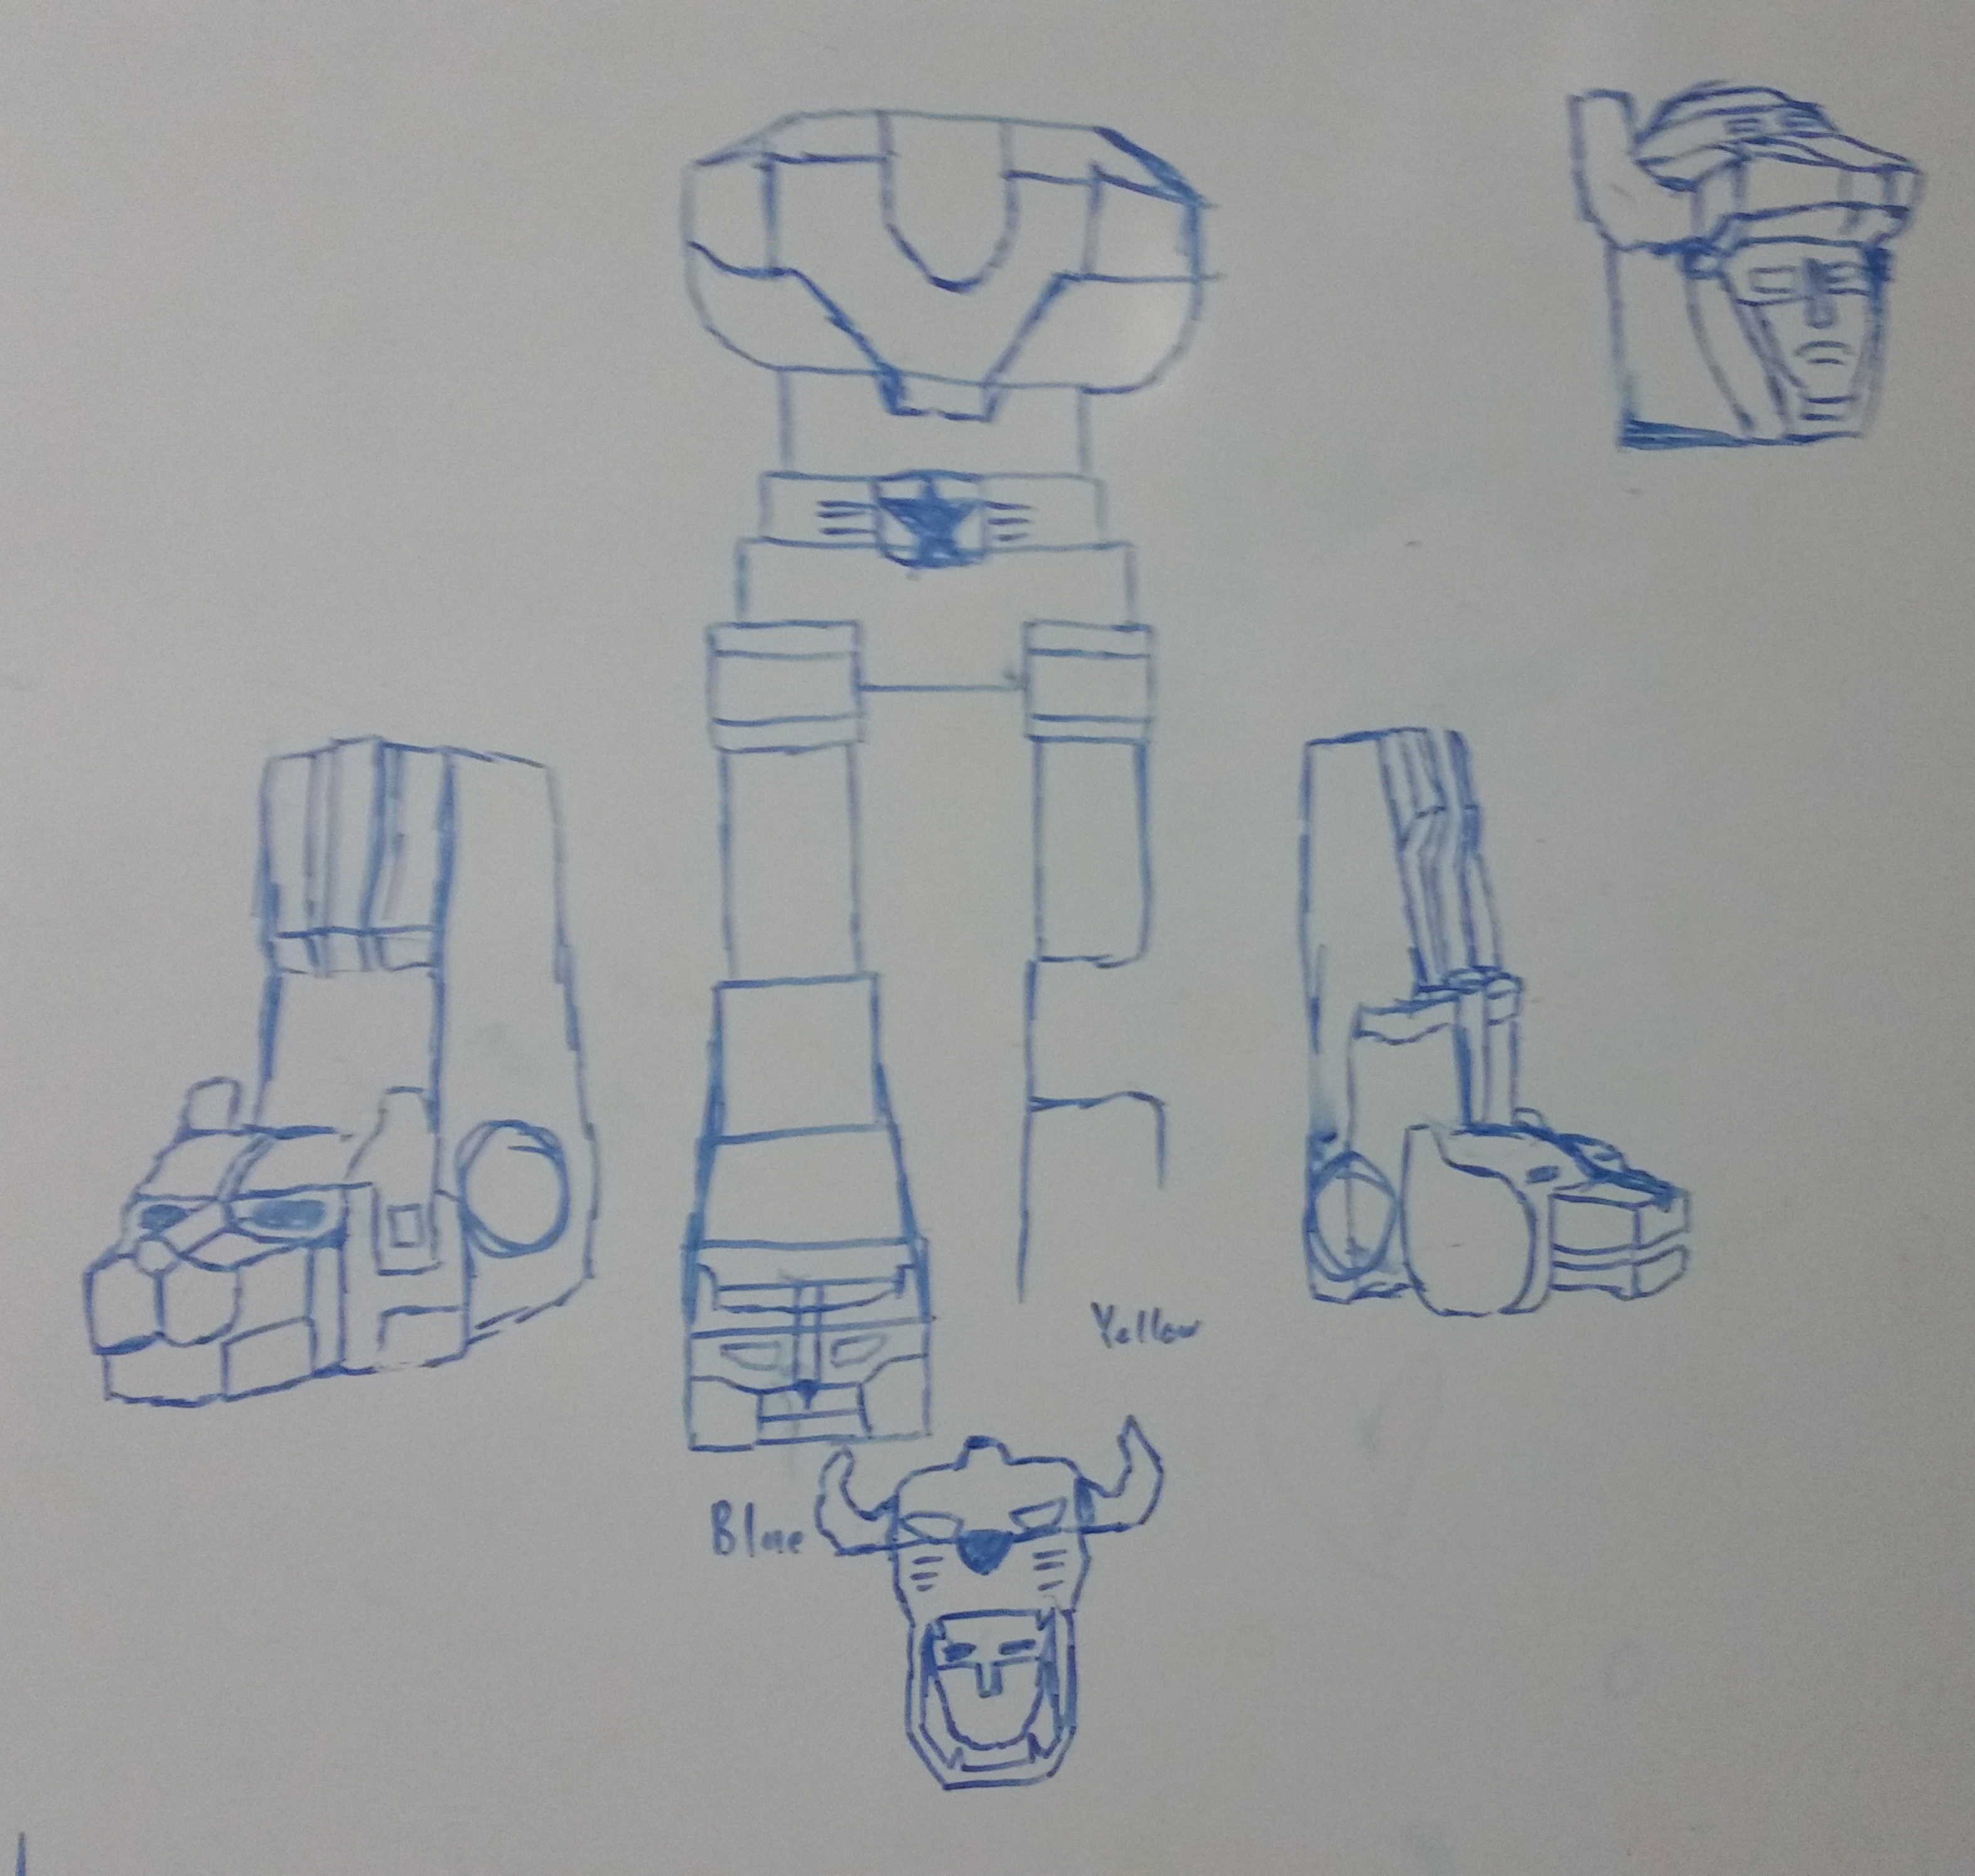
I did a sketch one night (excuse my poor drawing skills) to plan out how to build Voltron.
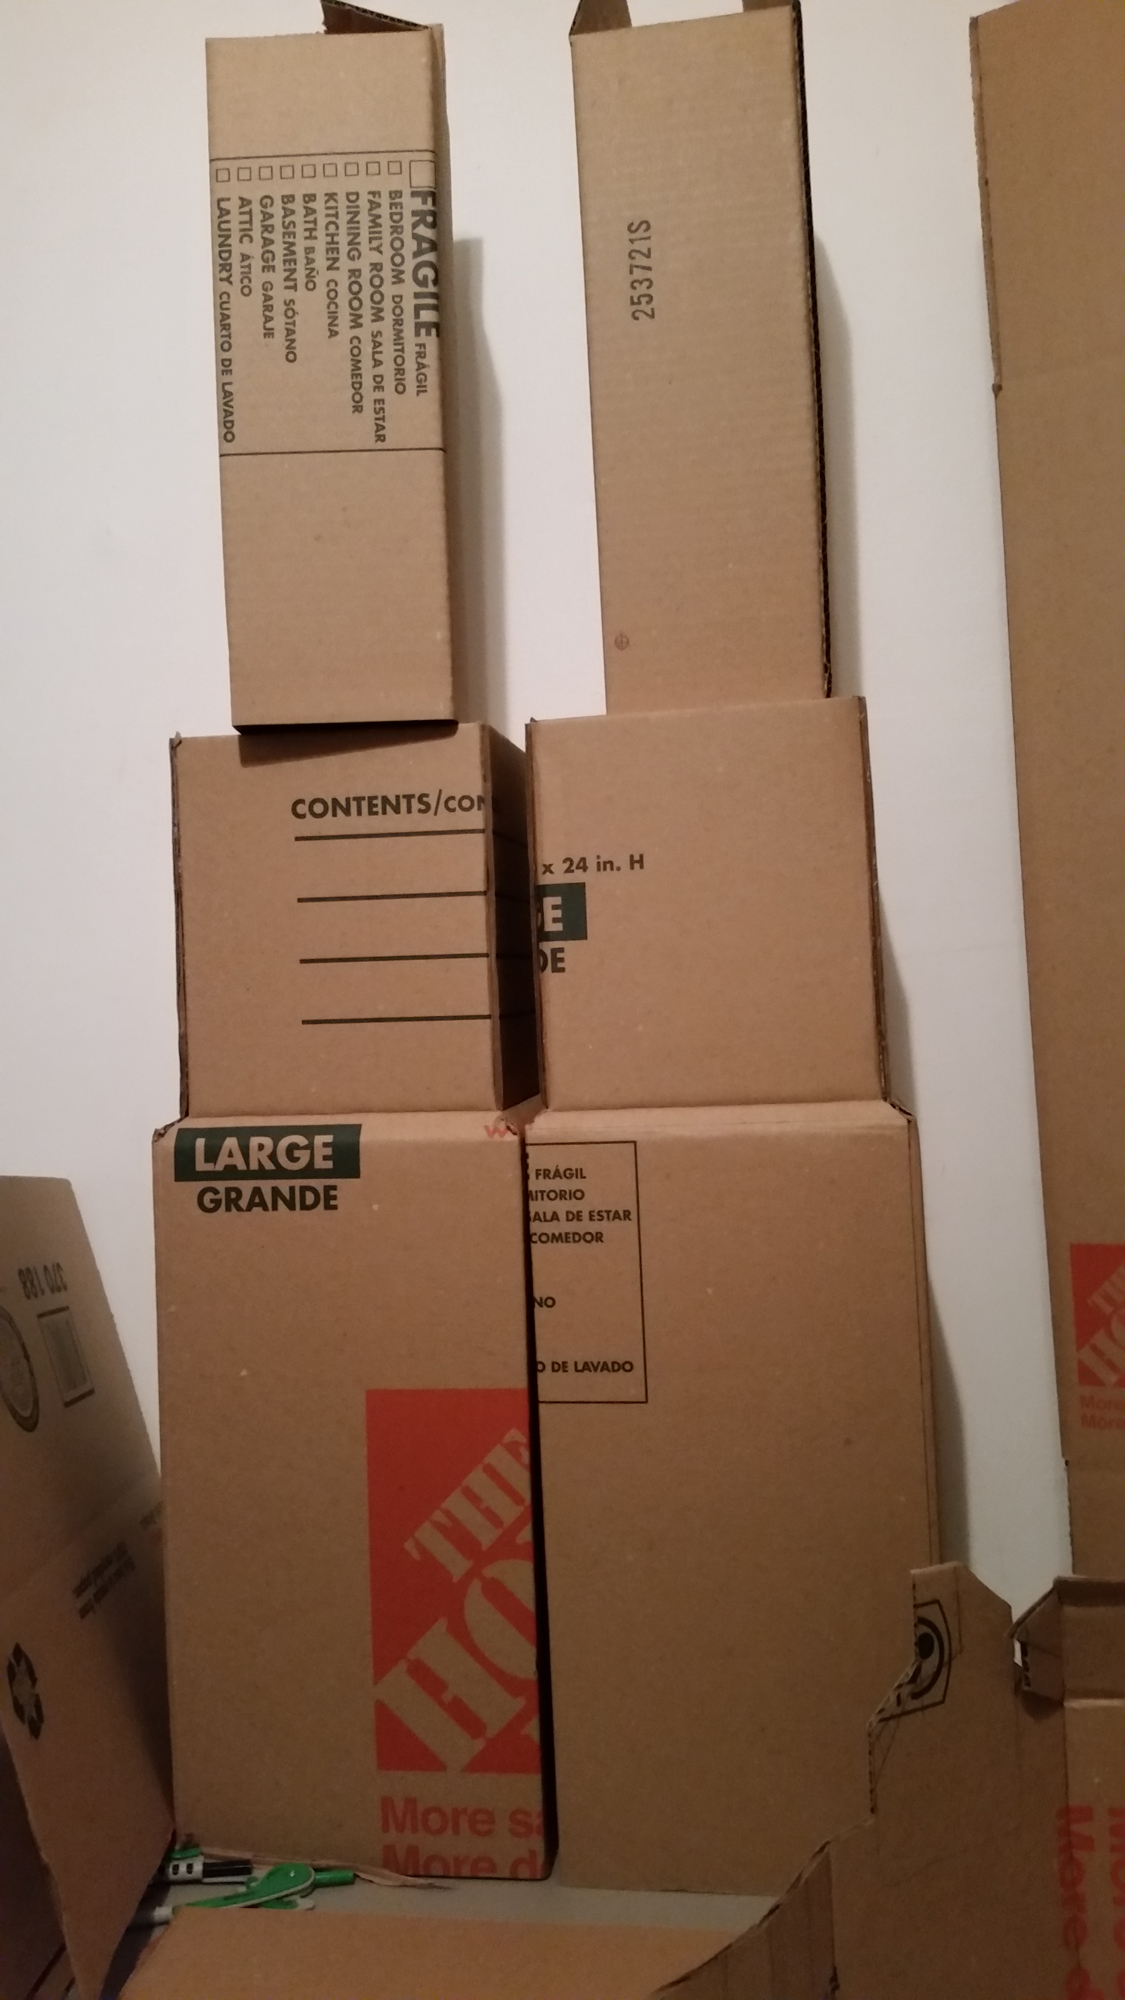
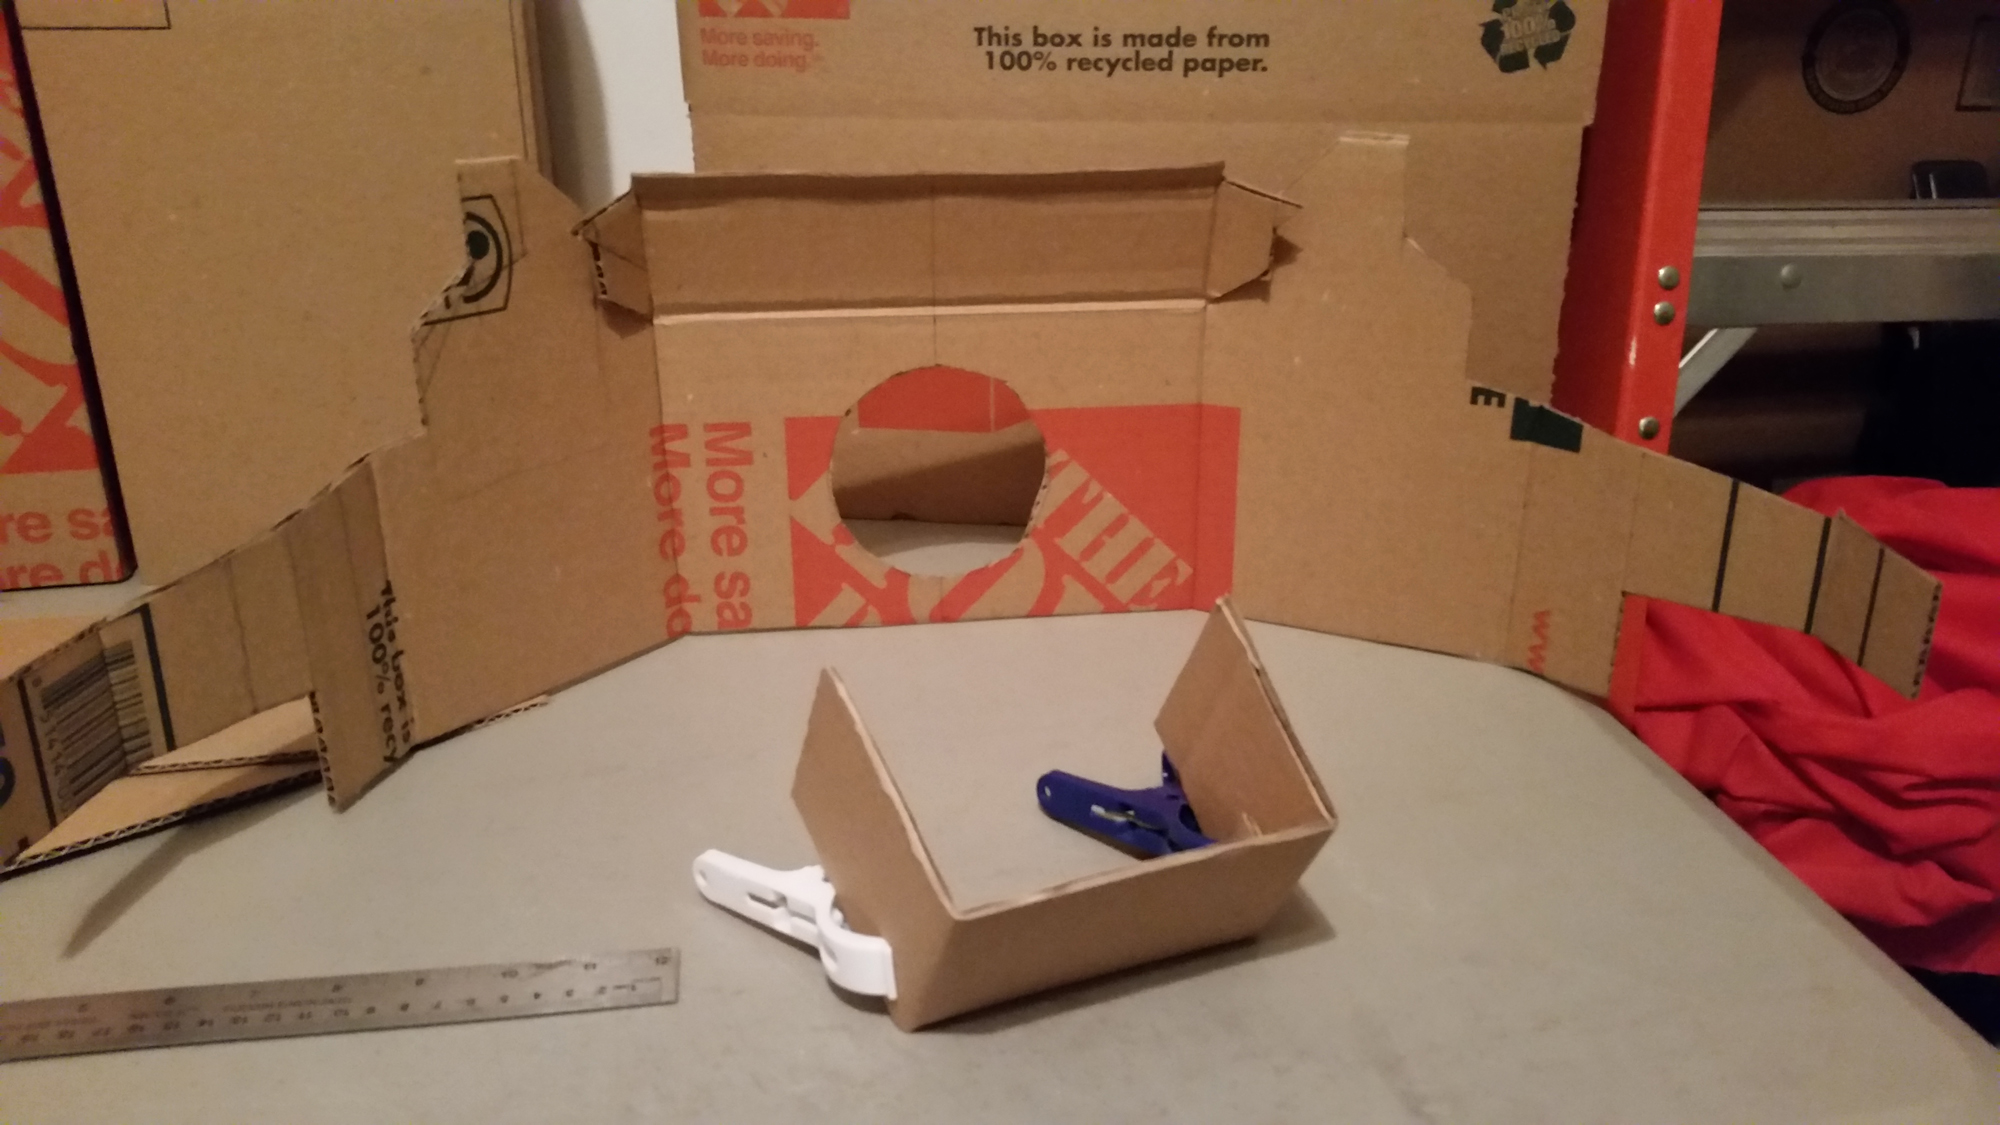
I knew I would build this like the LEGO statues with a cardboard base covered in foam. So the first step was to imagine each of boxes and how they would stack to form the legs. The lions heads on the feet started by trying to figure out the profile for each head and making a cardboard piece that wrapped from the back of the head to the front of the head. The piece in front is the bottom jaw that was offset from the top jaw. I then used a piece of cardboard with tabs to go over the top that attached to the sides to complete the basic head shape. The hole in the back was never used. Instead I simply zip-tied the heads to the legs.
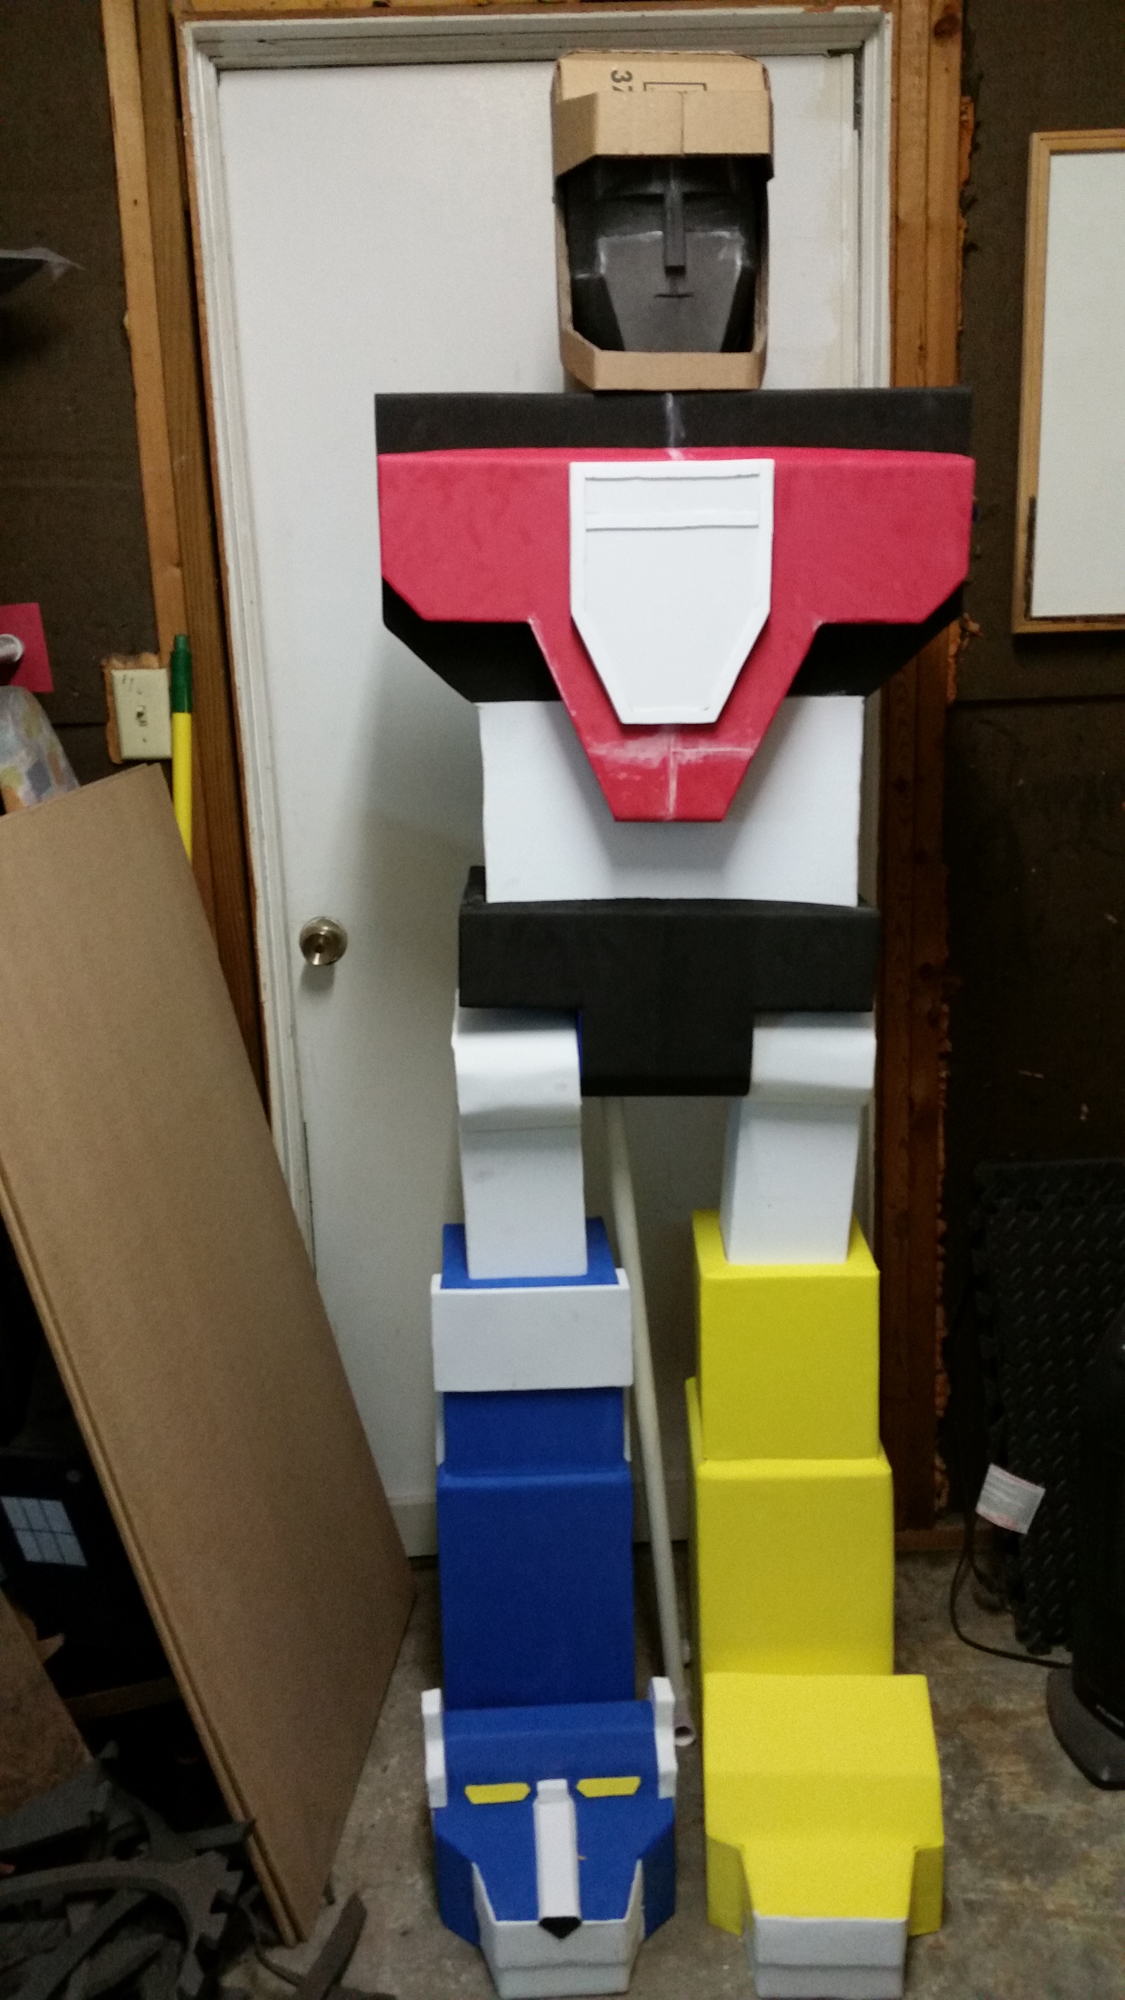
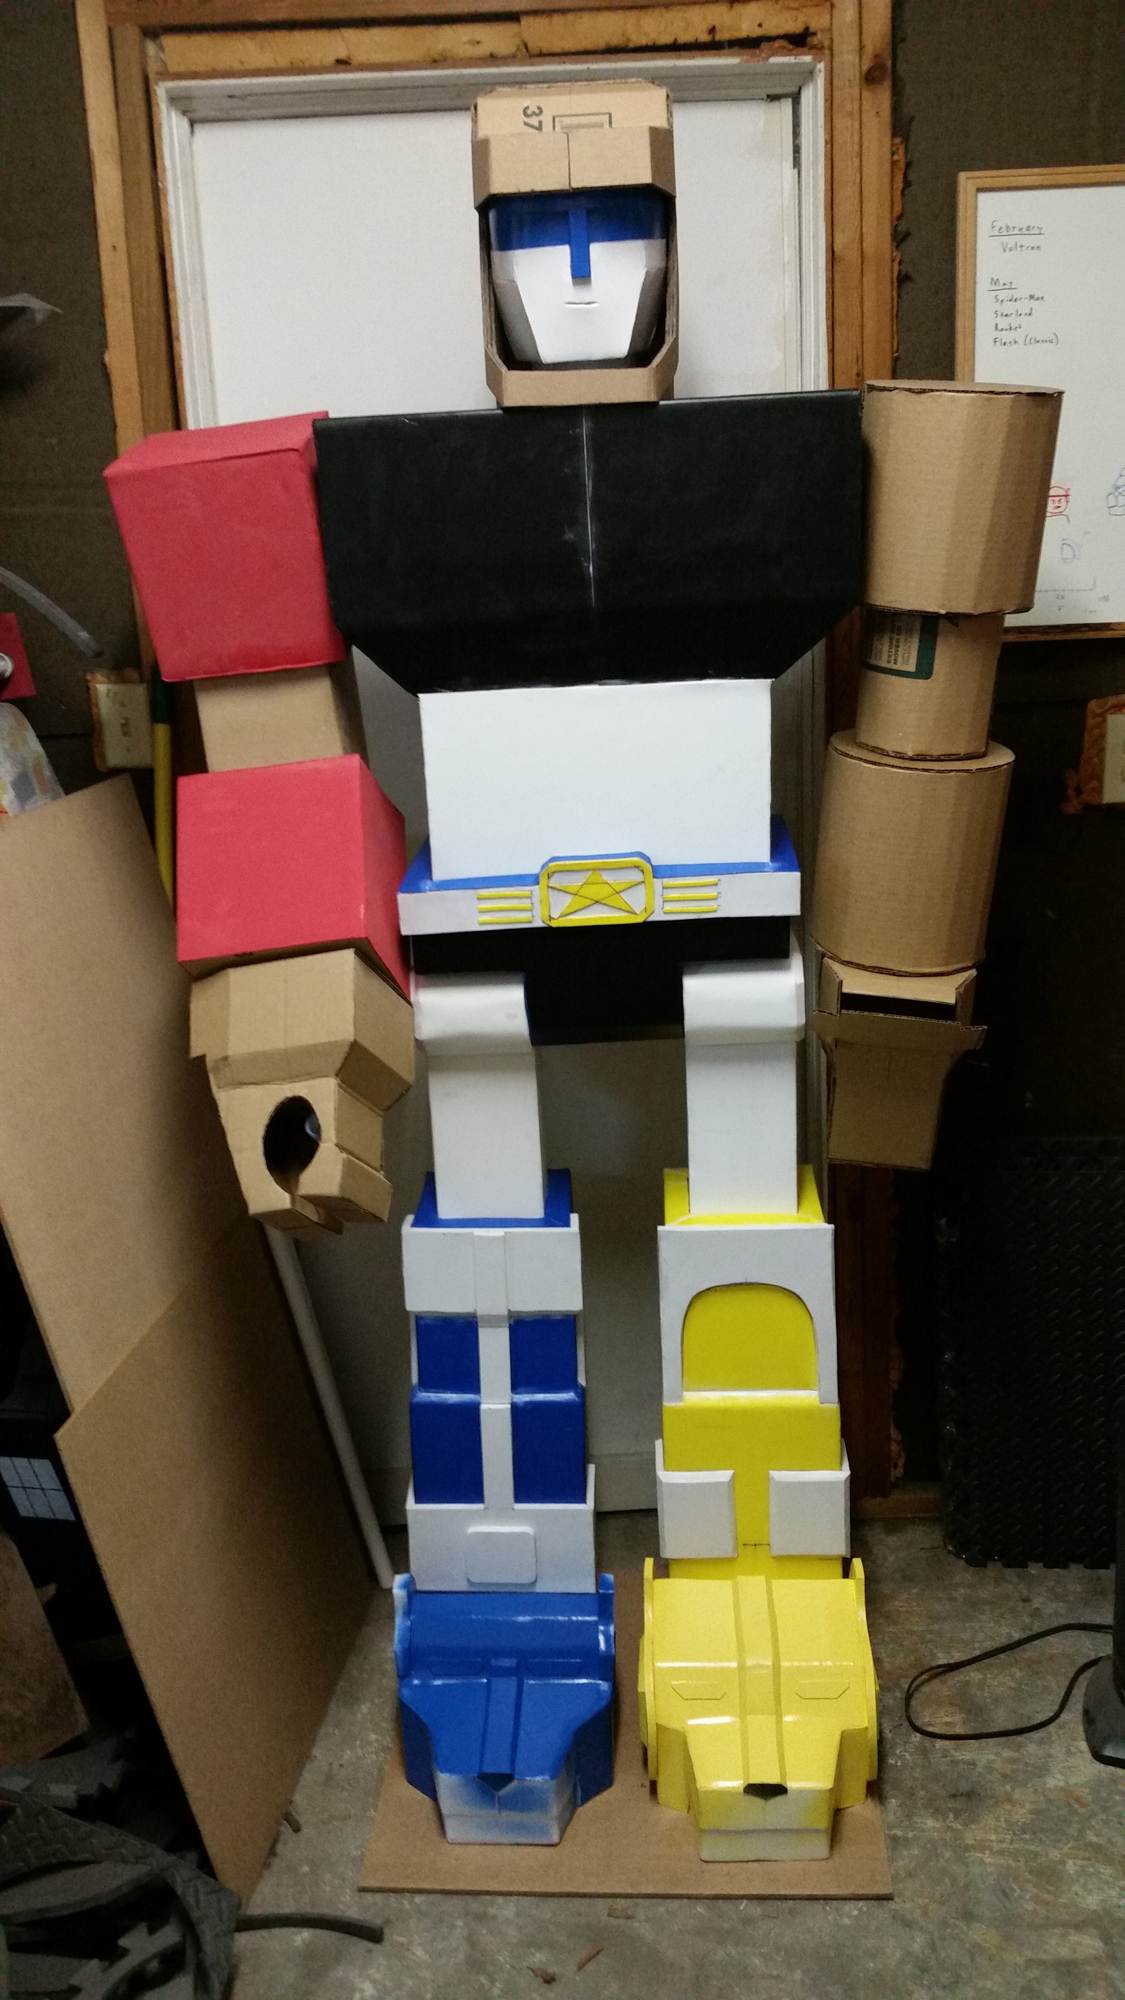
You can see the feet covered in foam and the basic shape of the statue in the first picture. The boxes are holding themselves up but are not straight. In the second picture you can see some of the details have been added to the legs and some parts are spray painted. At this point, the statue is now resting on a frame bolted to a wooden board and the legs are now straight. I’ve also added the basic arms.
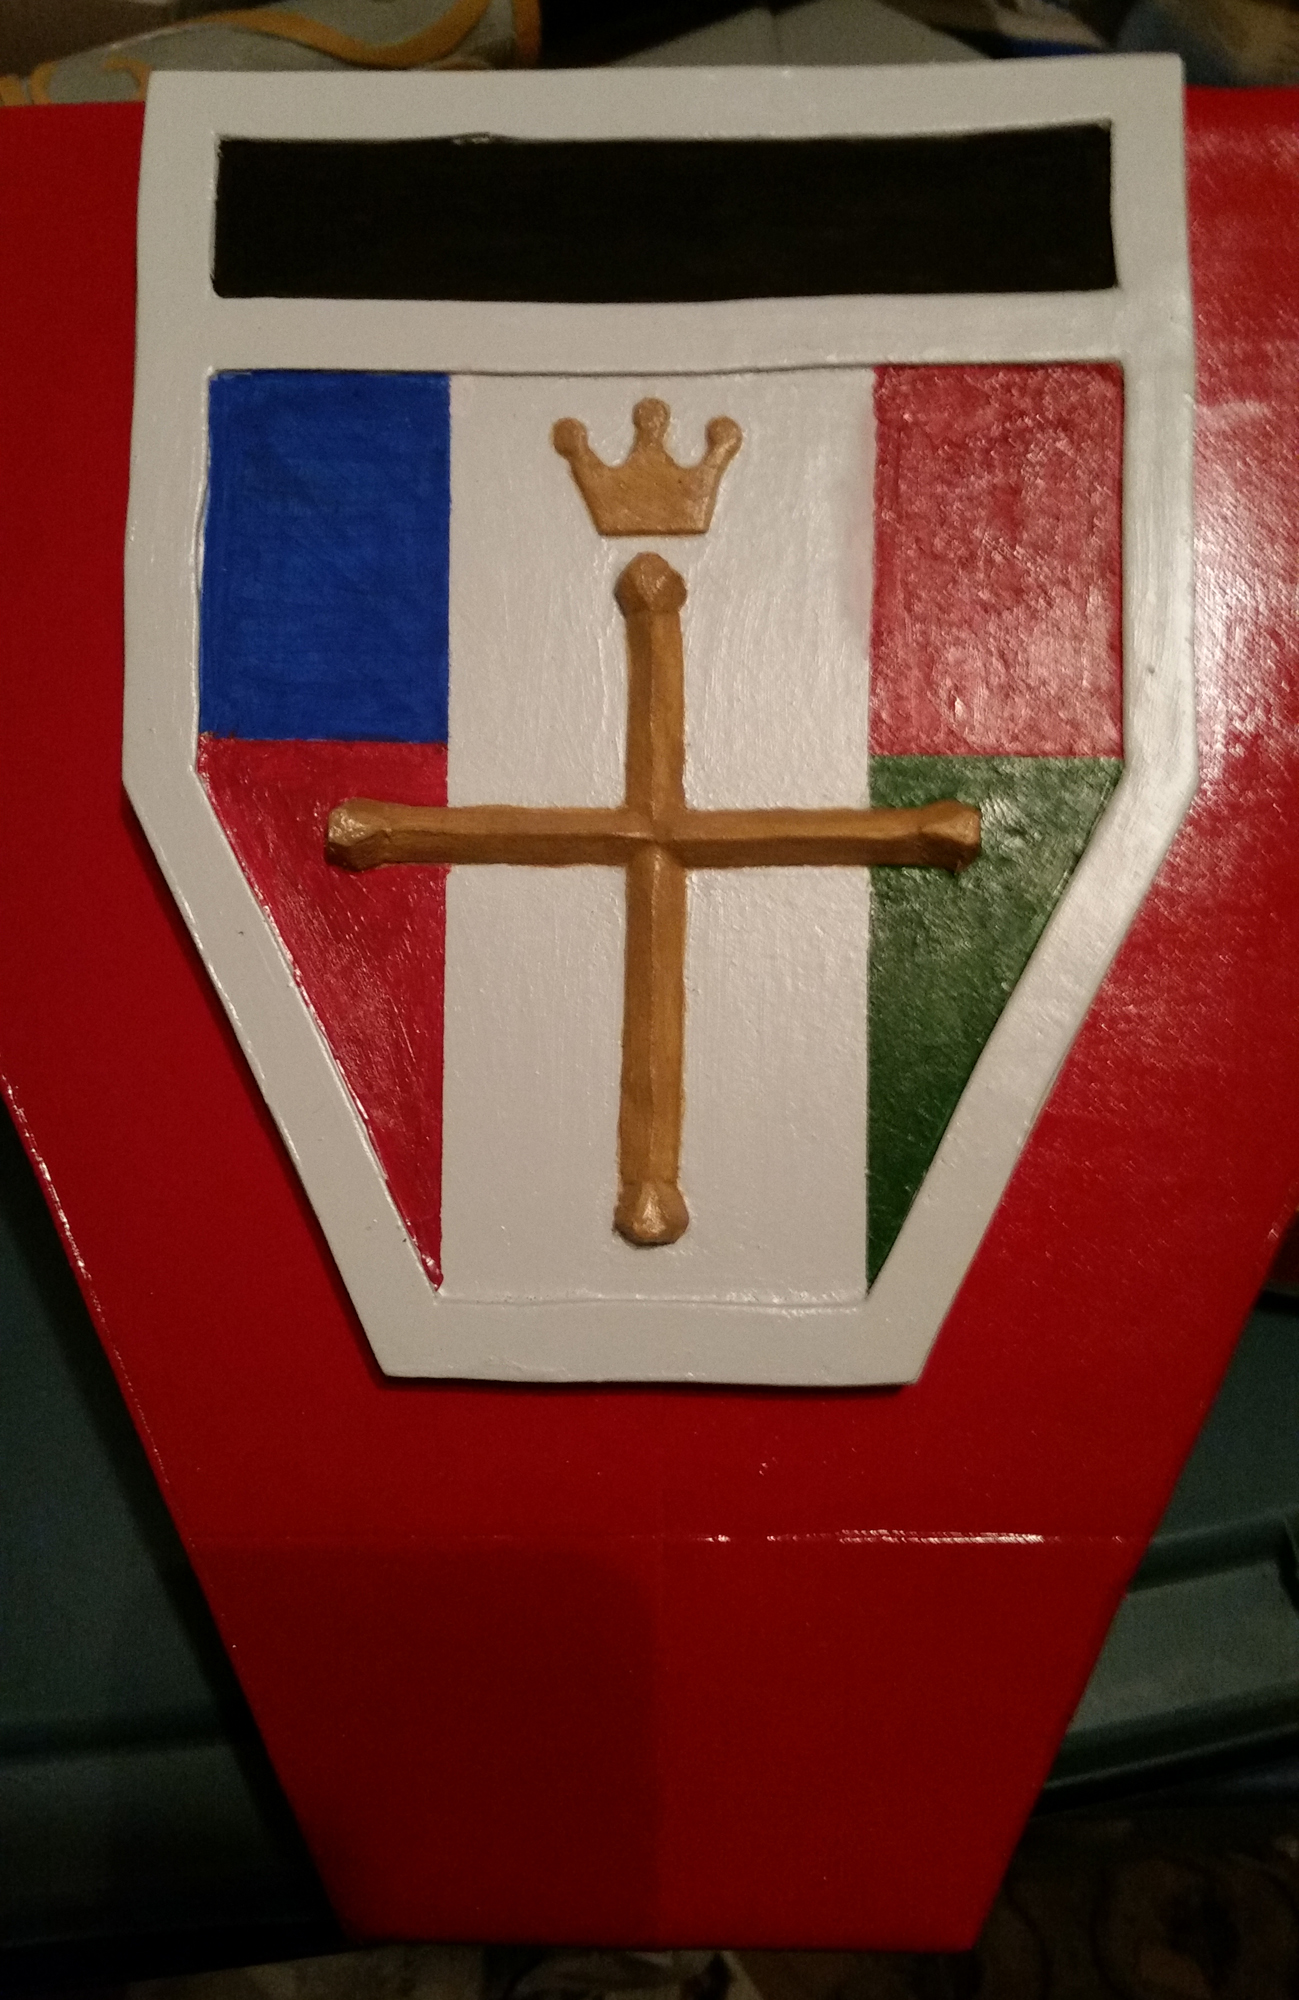
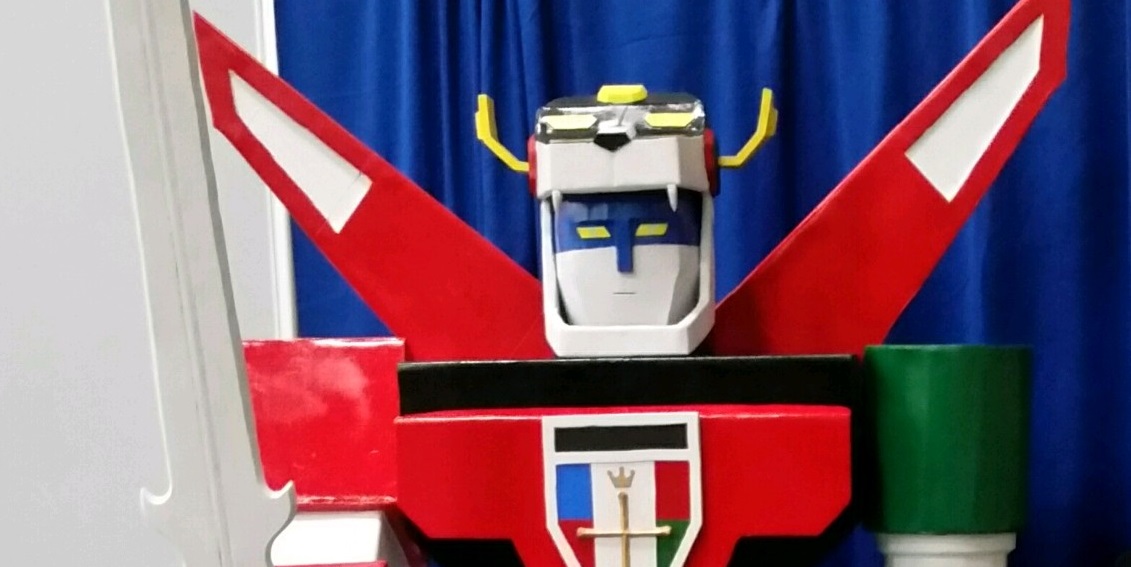
You can see a close-up view of the crest on the chest piece. I had to paint this by hand with acrylic paints because masking it off and spray painting would have taken too long.
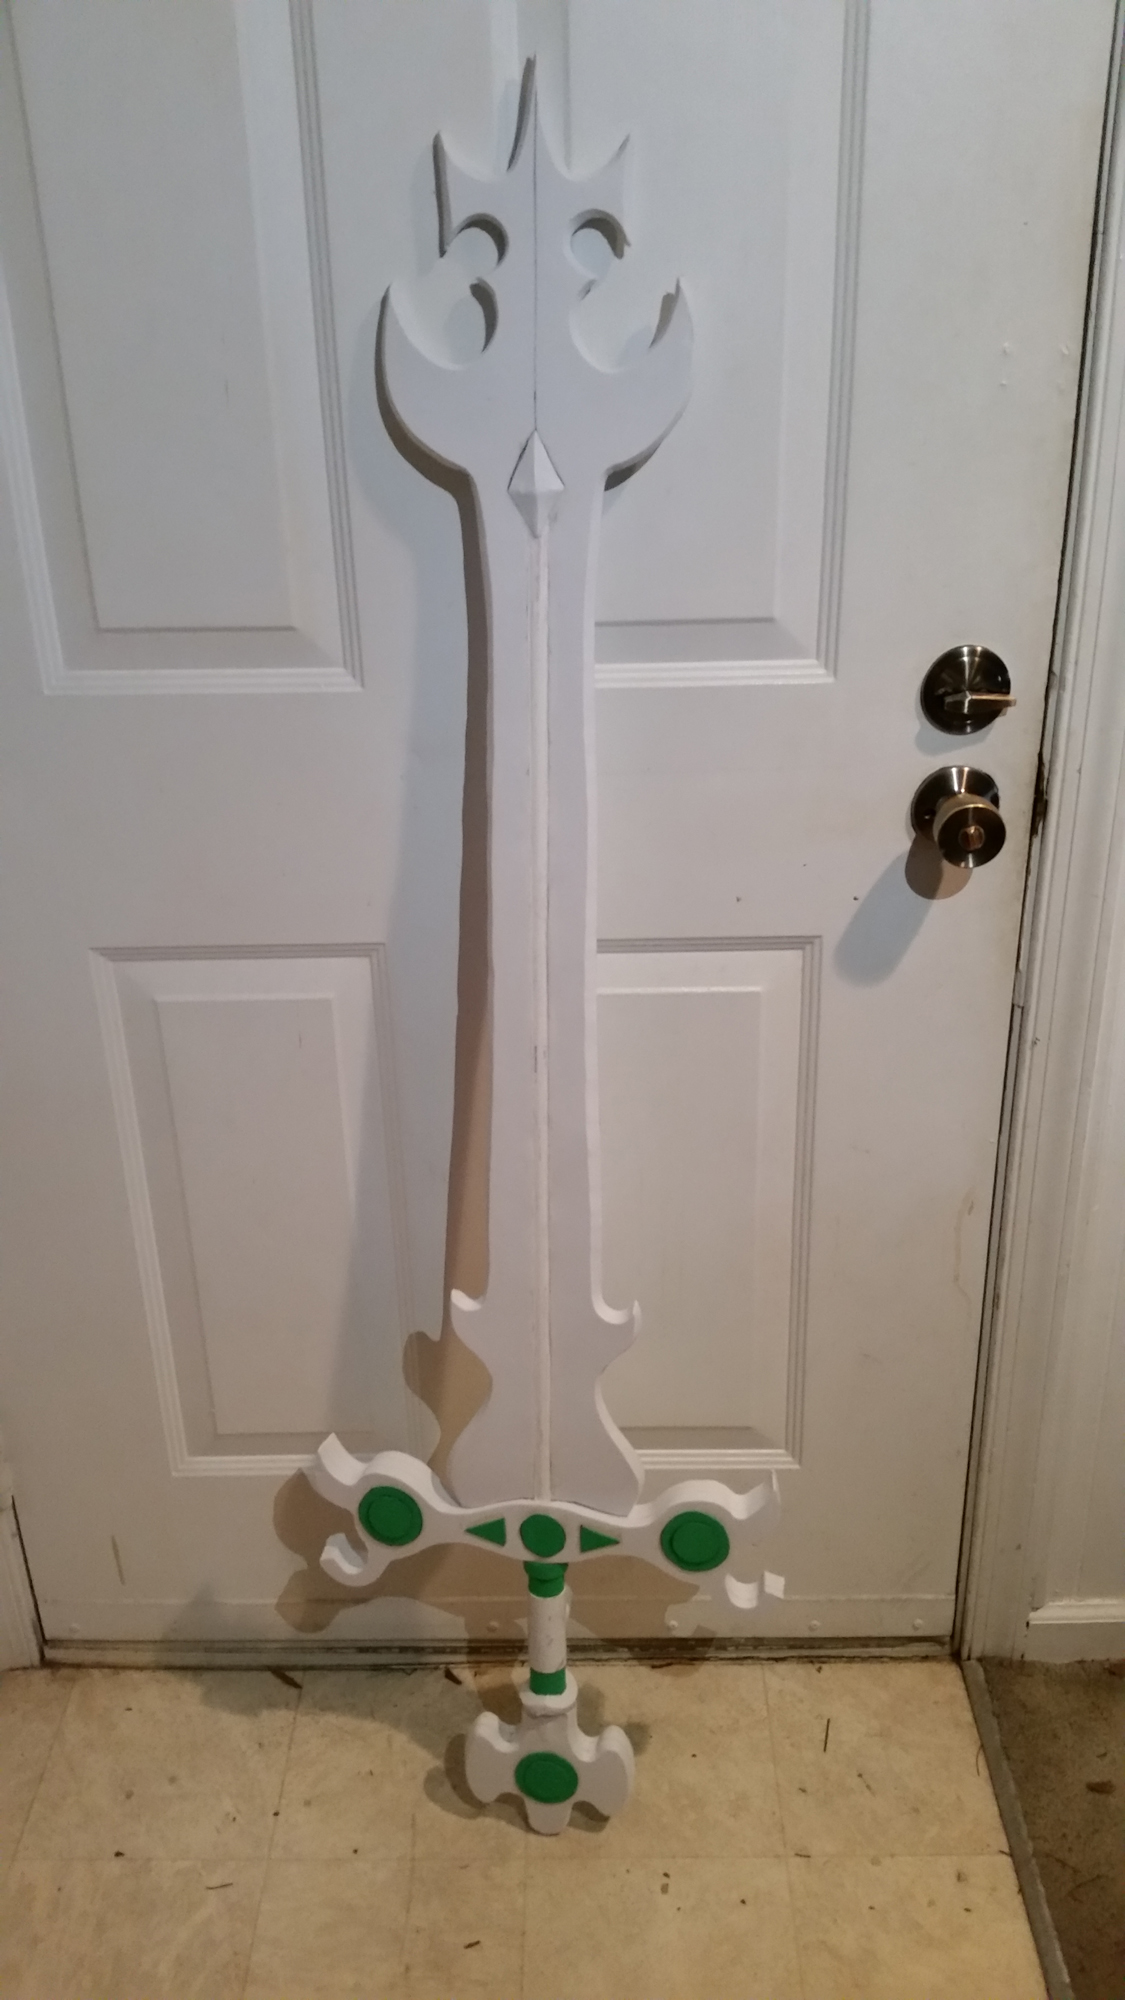
The sword was made in three pieces held together with a PVC pipe in the handle. The blade separates from the handle. Because the bottom of the handle (pommel) is wider than the mouth of the lion’s head holding the sword, I had to make the pommel removable. To attach the sword, the handle slides into the mouth from the top and attaches to a PVC pipe in the mouth. The pommel slides in from the bottom. The blade then slides into a connector at the top of the handle. The line running up the center is actually a wooden dowel rod used to add support for the blade.
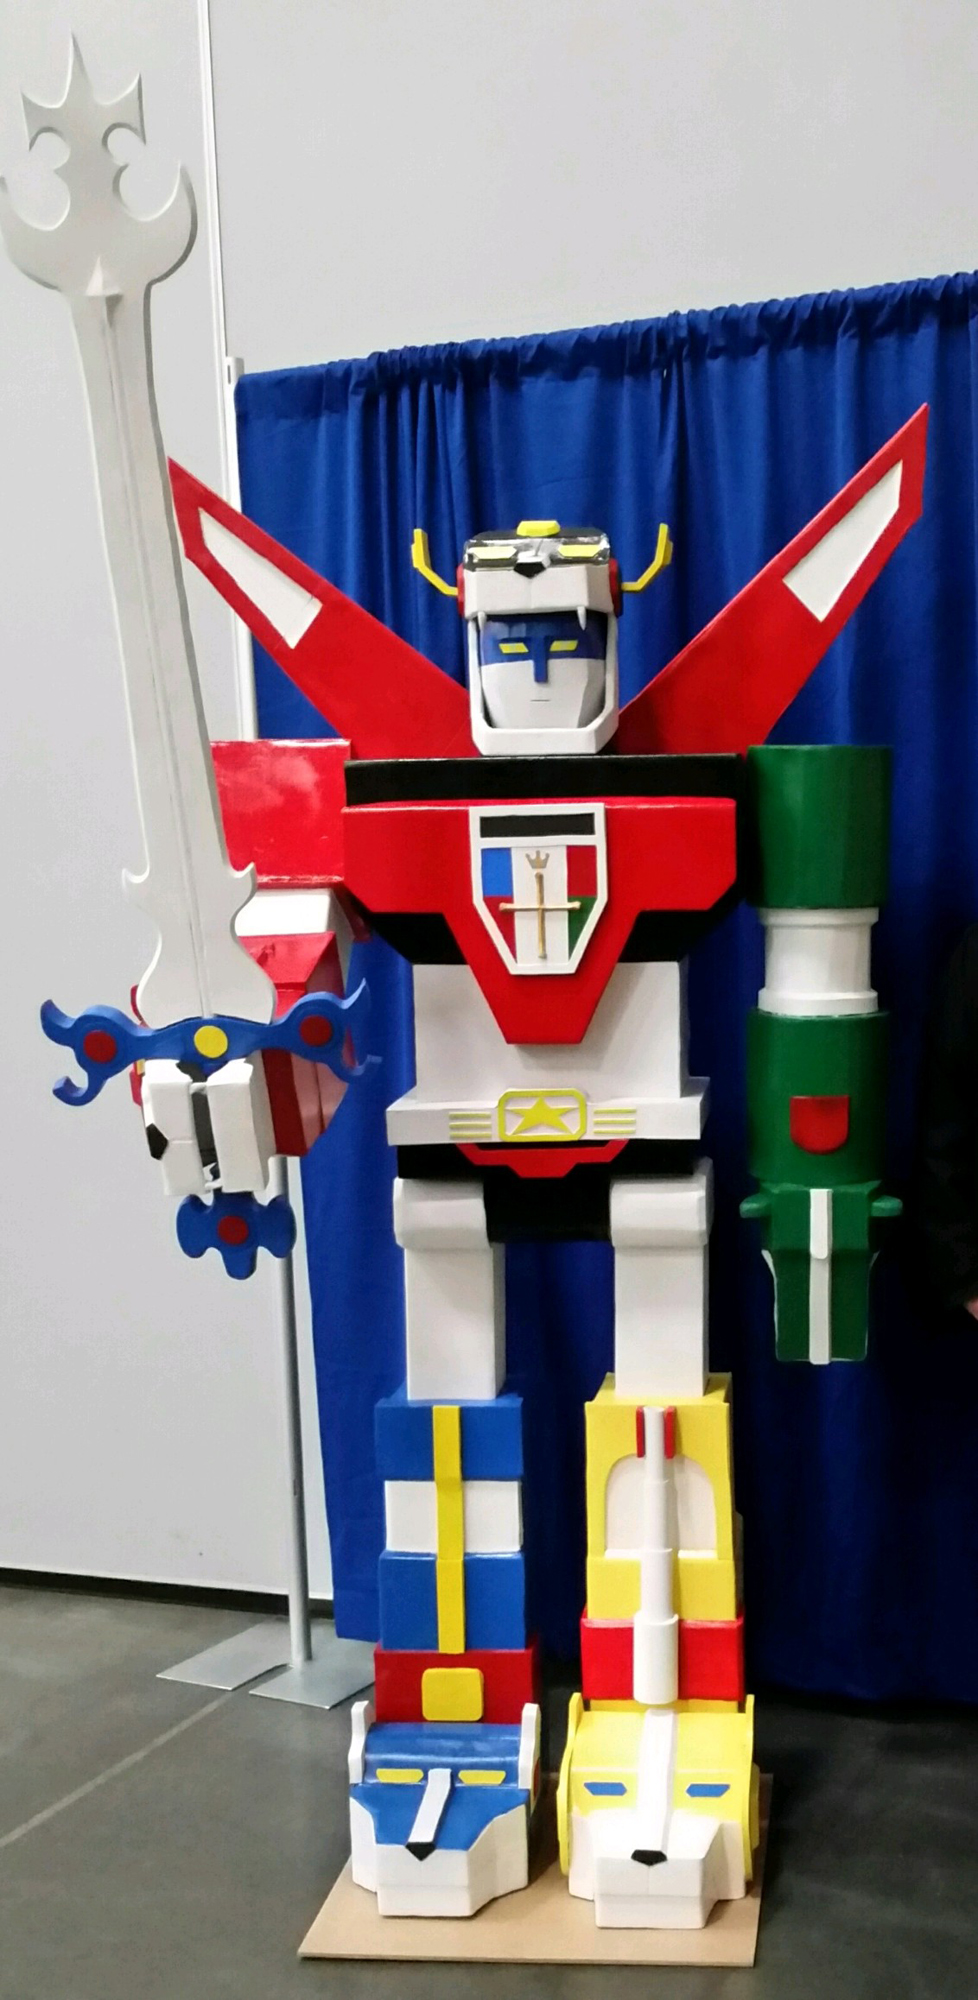
In the last couple of nights of this build, it was a race to get as many details added. If I had started a little earlier, I might have added more details like the curled up grey/silver lion legs. The wings on the back slide off to reveal a hole in the back where I can easily access the PVC frame for sliding the arms into place. This was the first statue I used a nail in a hole drilled through the Tee connector and the pipe to lock the arms in place. This keeps the sword up in the air and prevents people from pulling the arms off.