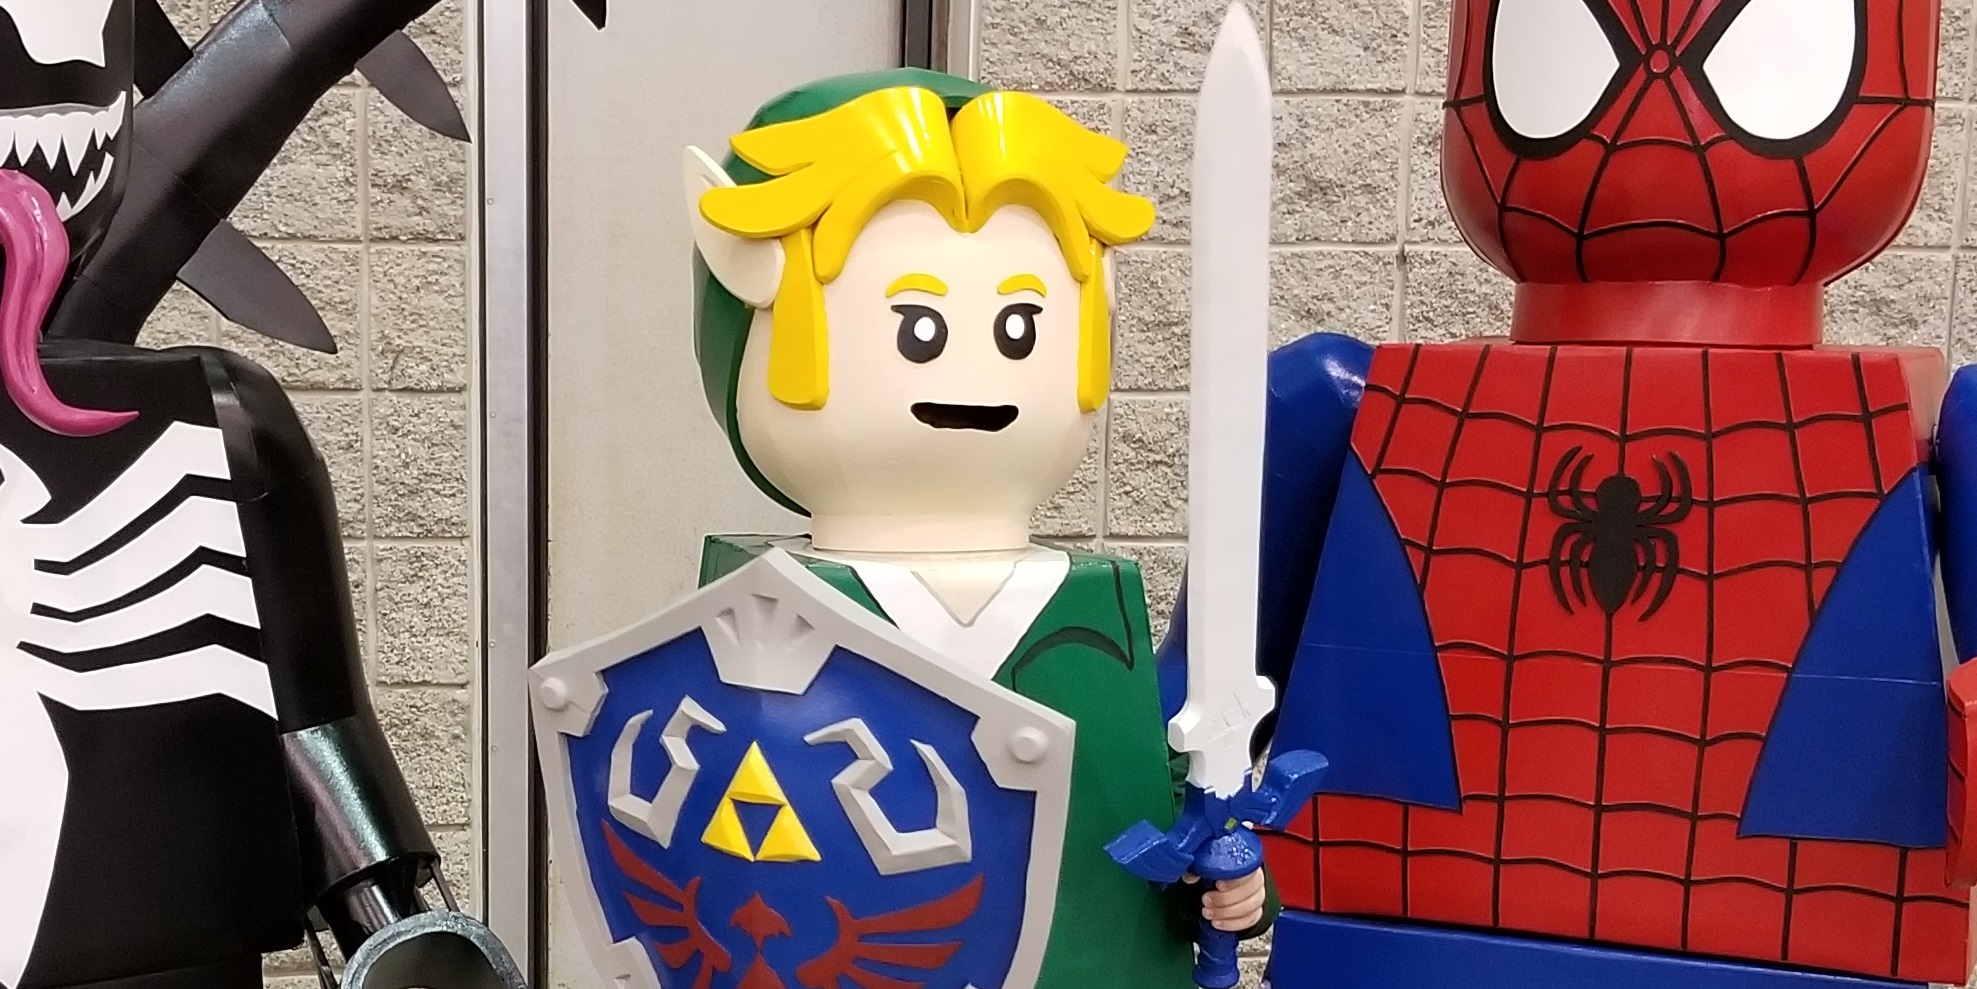
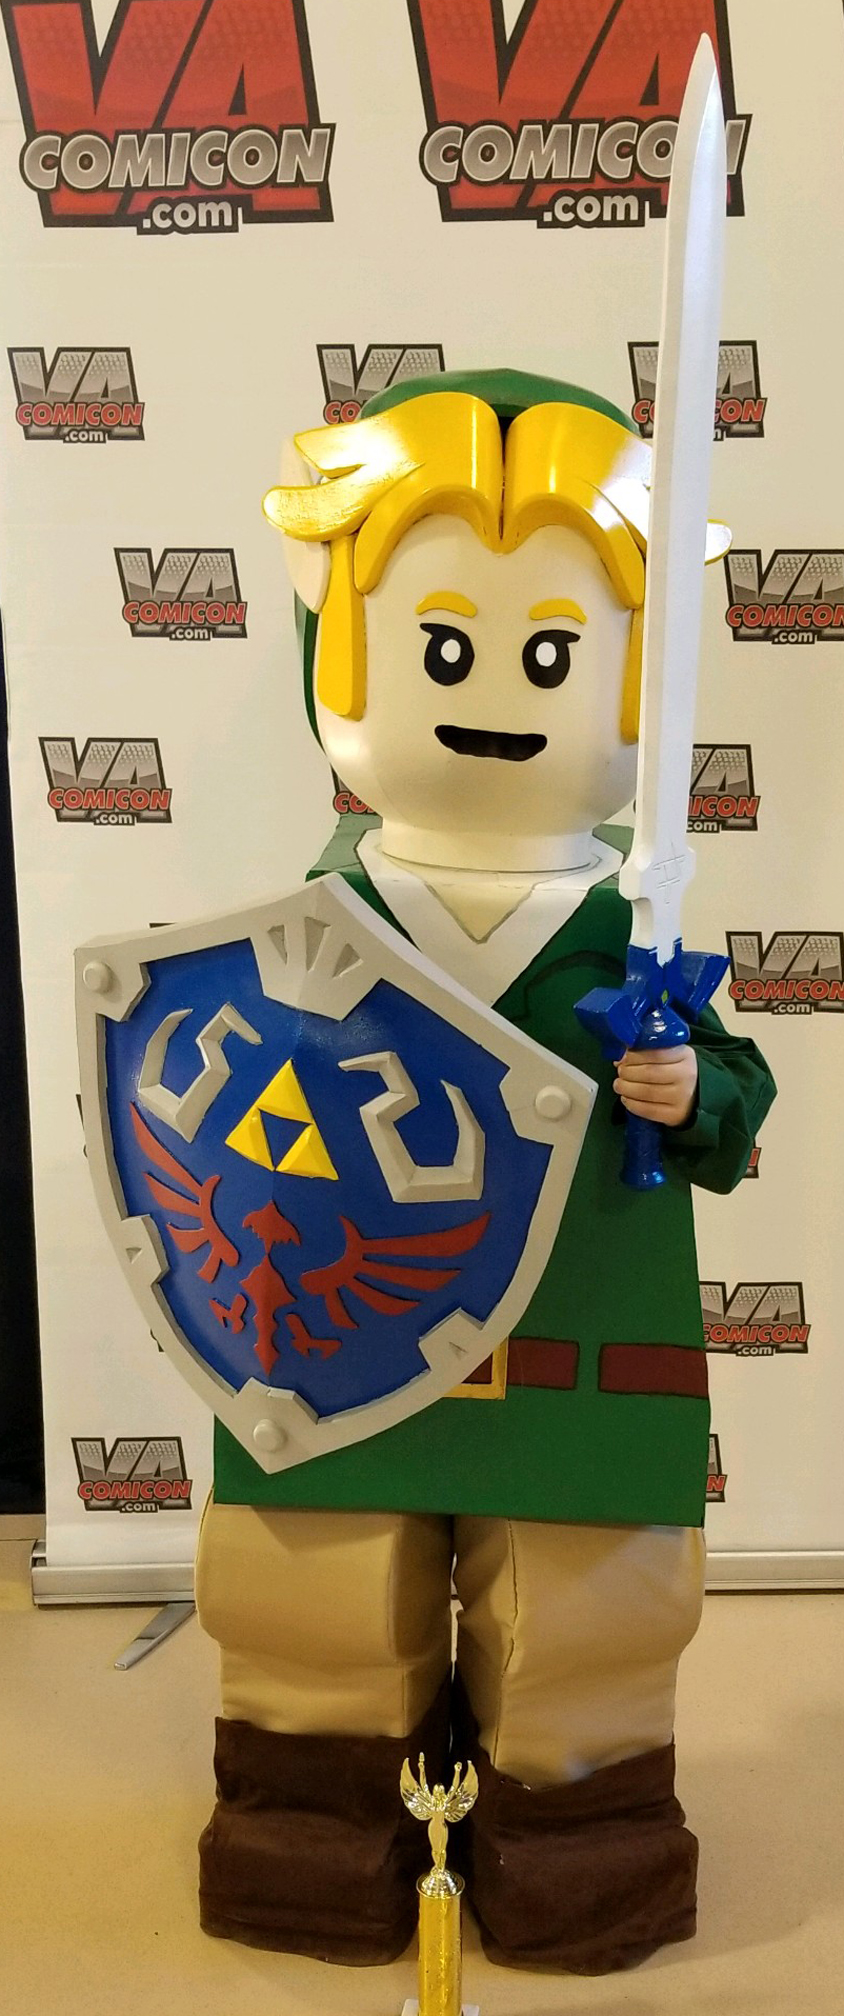
| The Legend of Zelda series is one of my top 5 favorite video game series of all time. Having spent a lot of last year playing Breath of the Wild, I decided I wanted to do a Legend of Zelda costume. Really this was an excuse to make the shield and master sword to hang on my wall. |
 |
 |
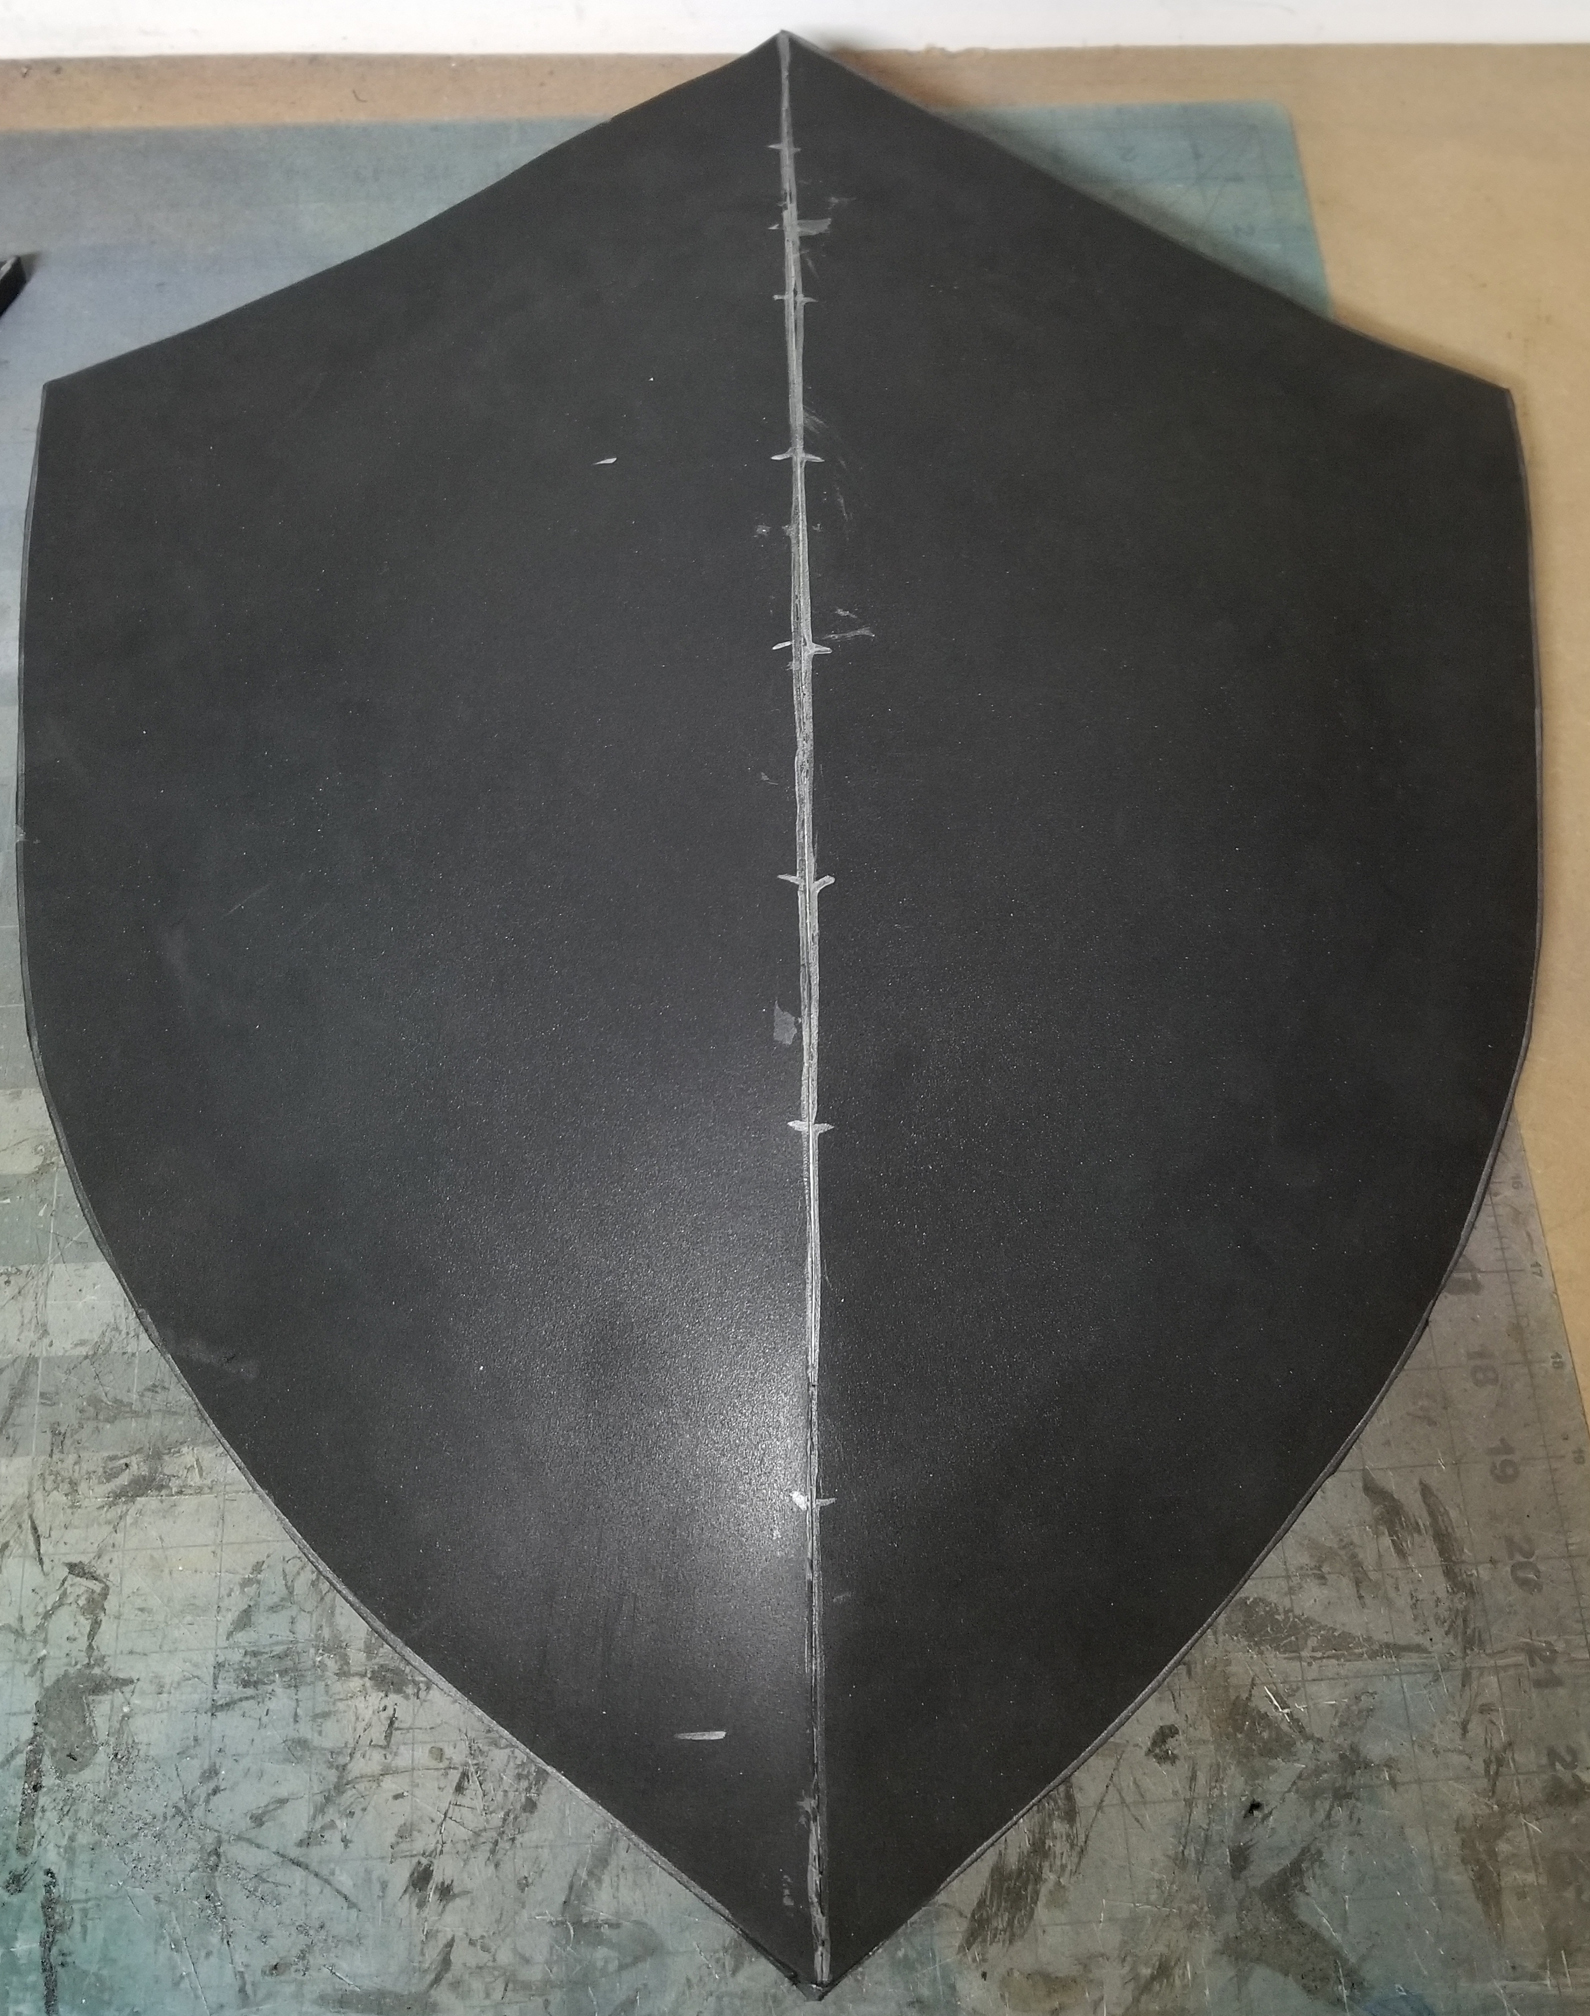 |
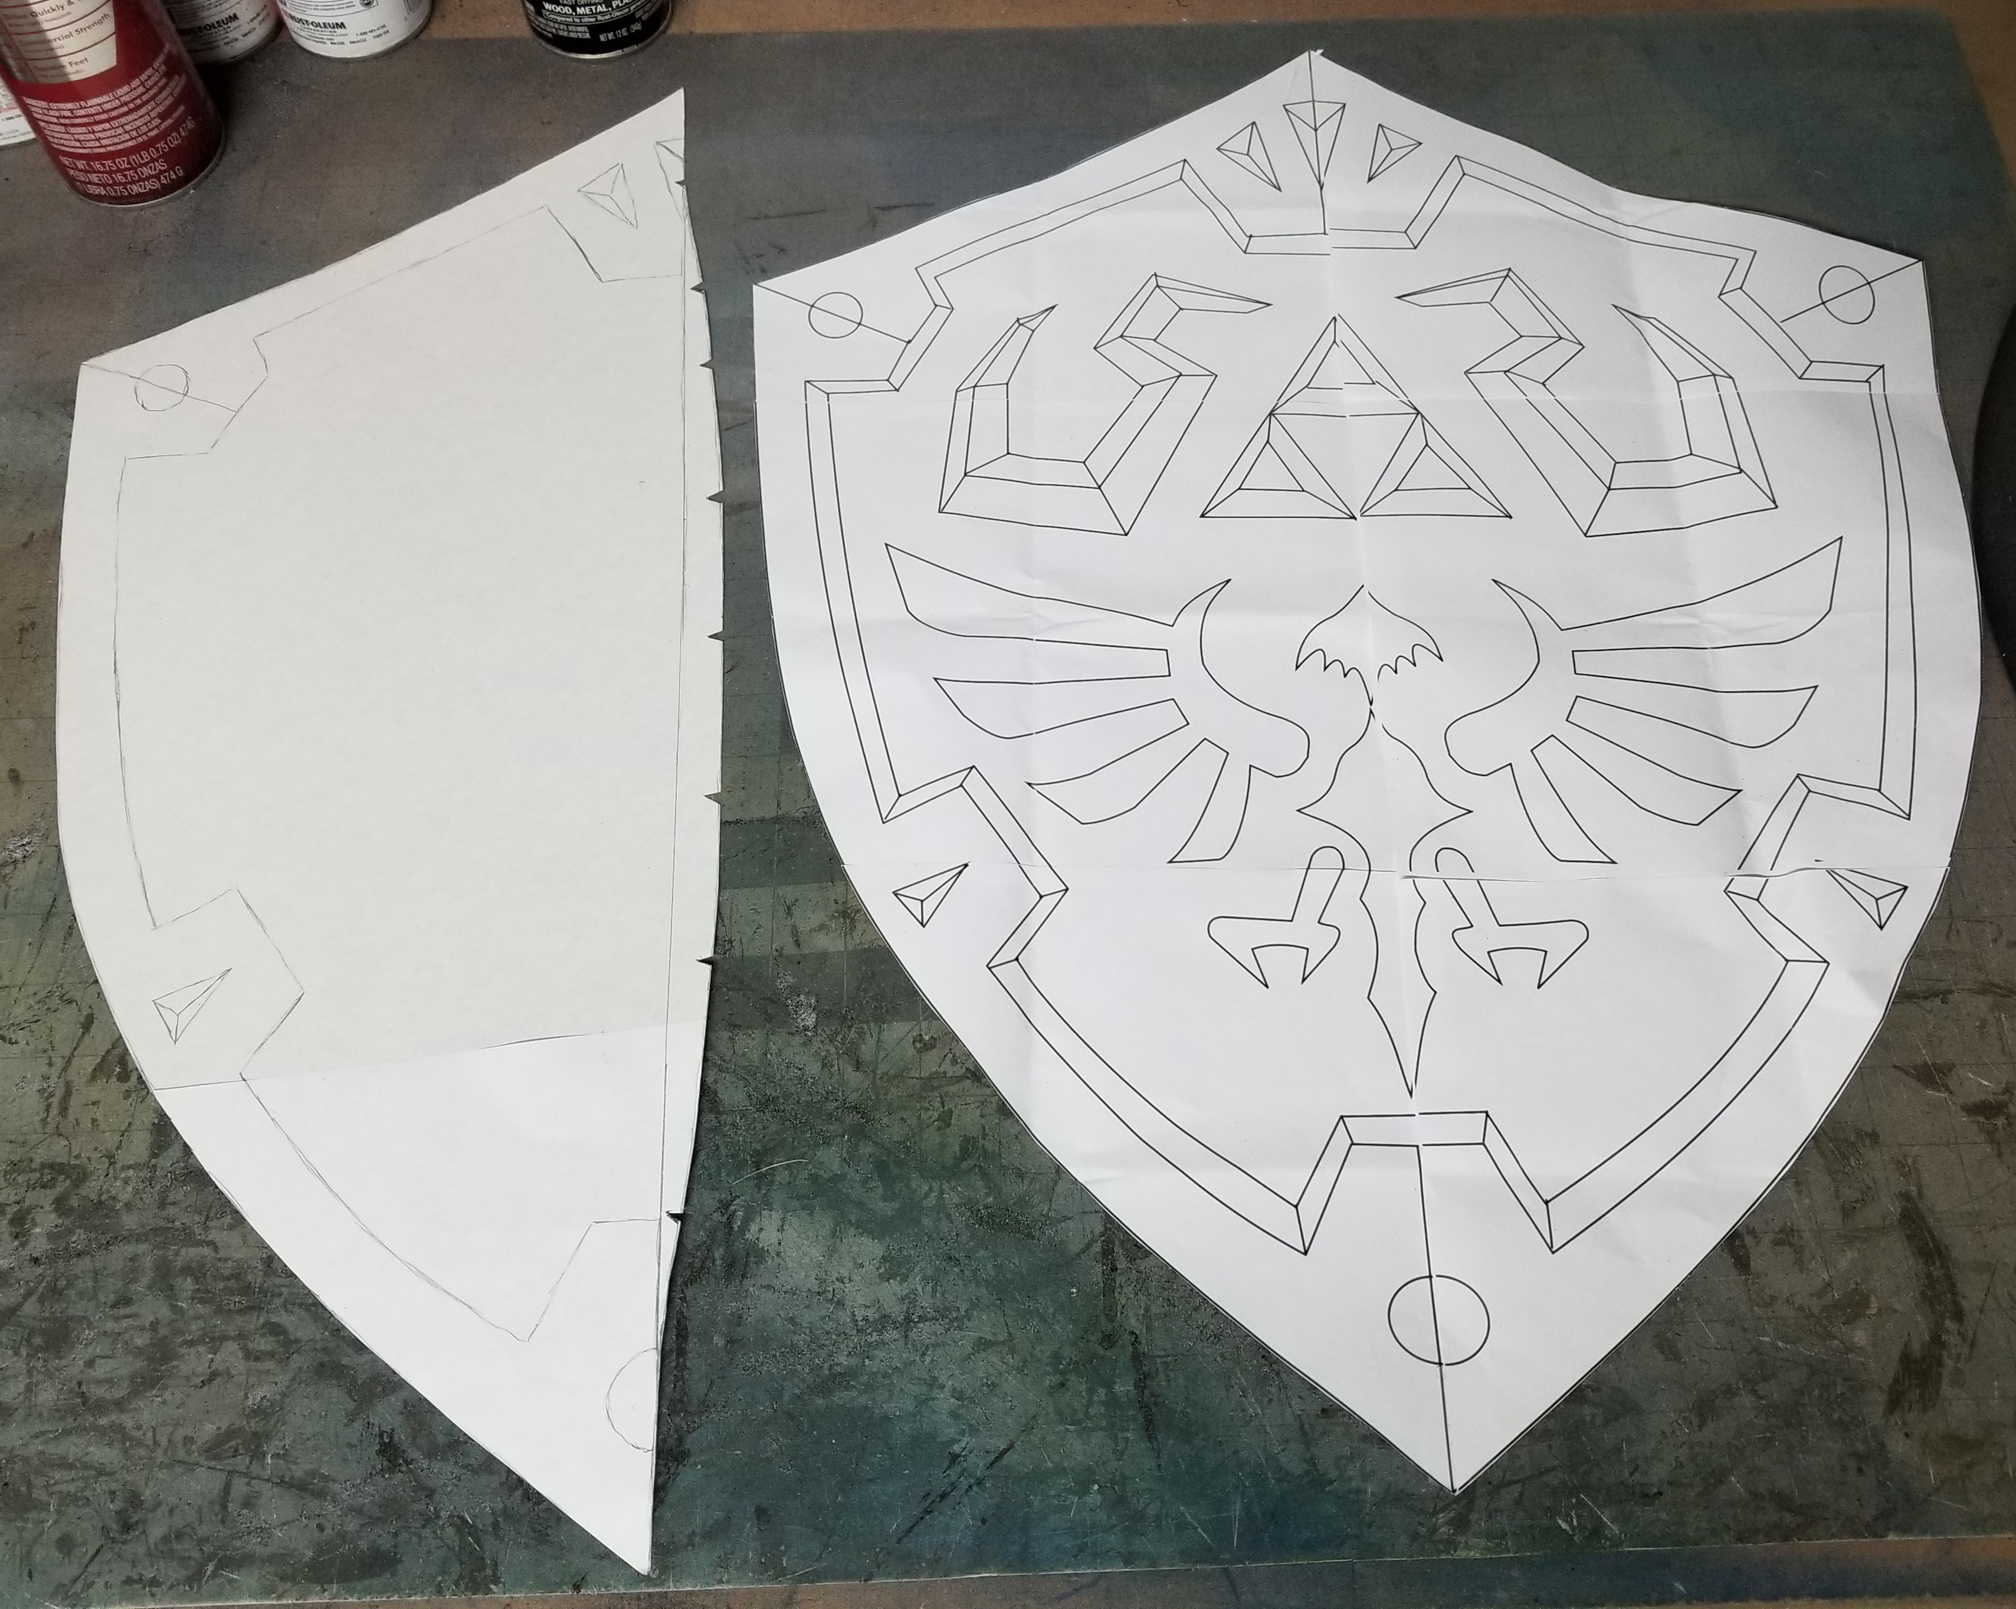
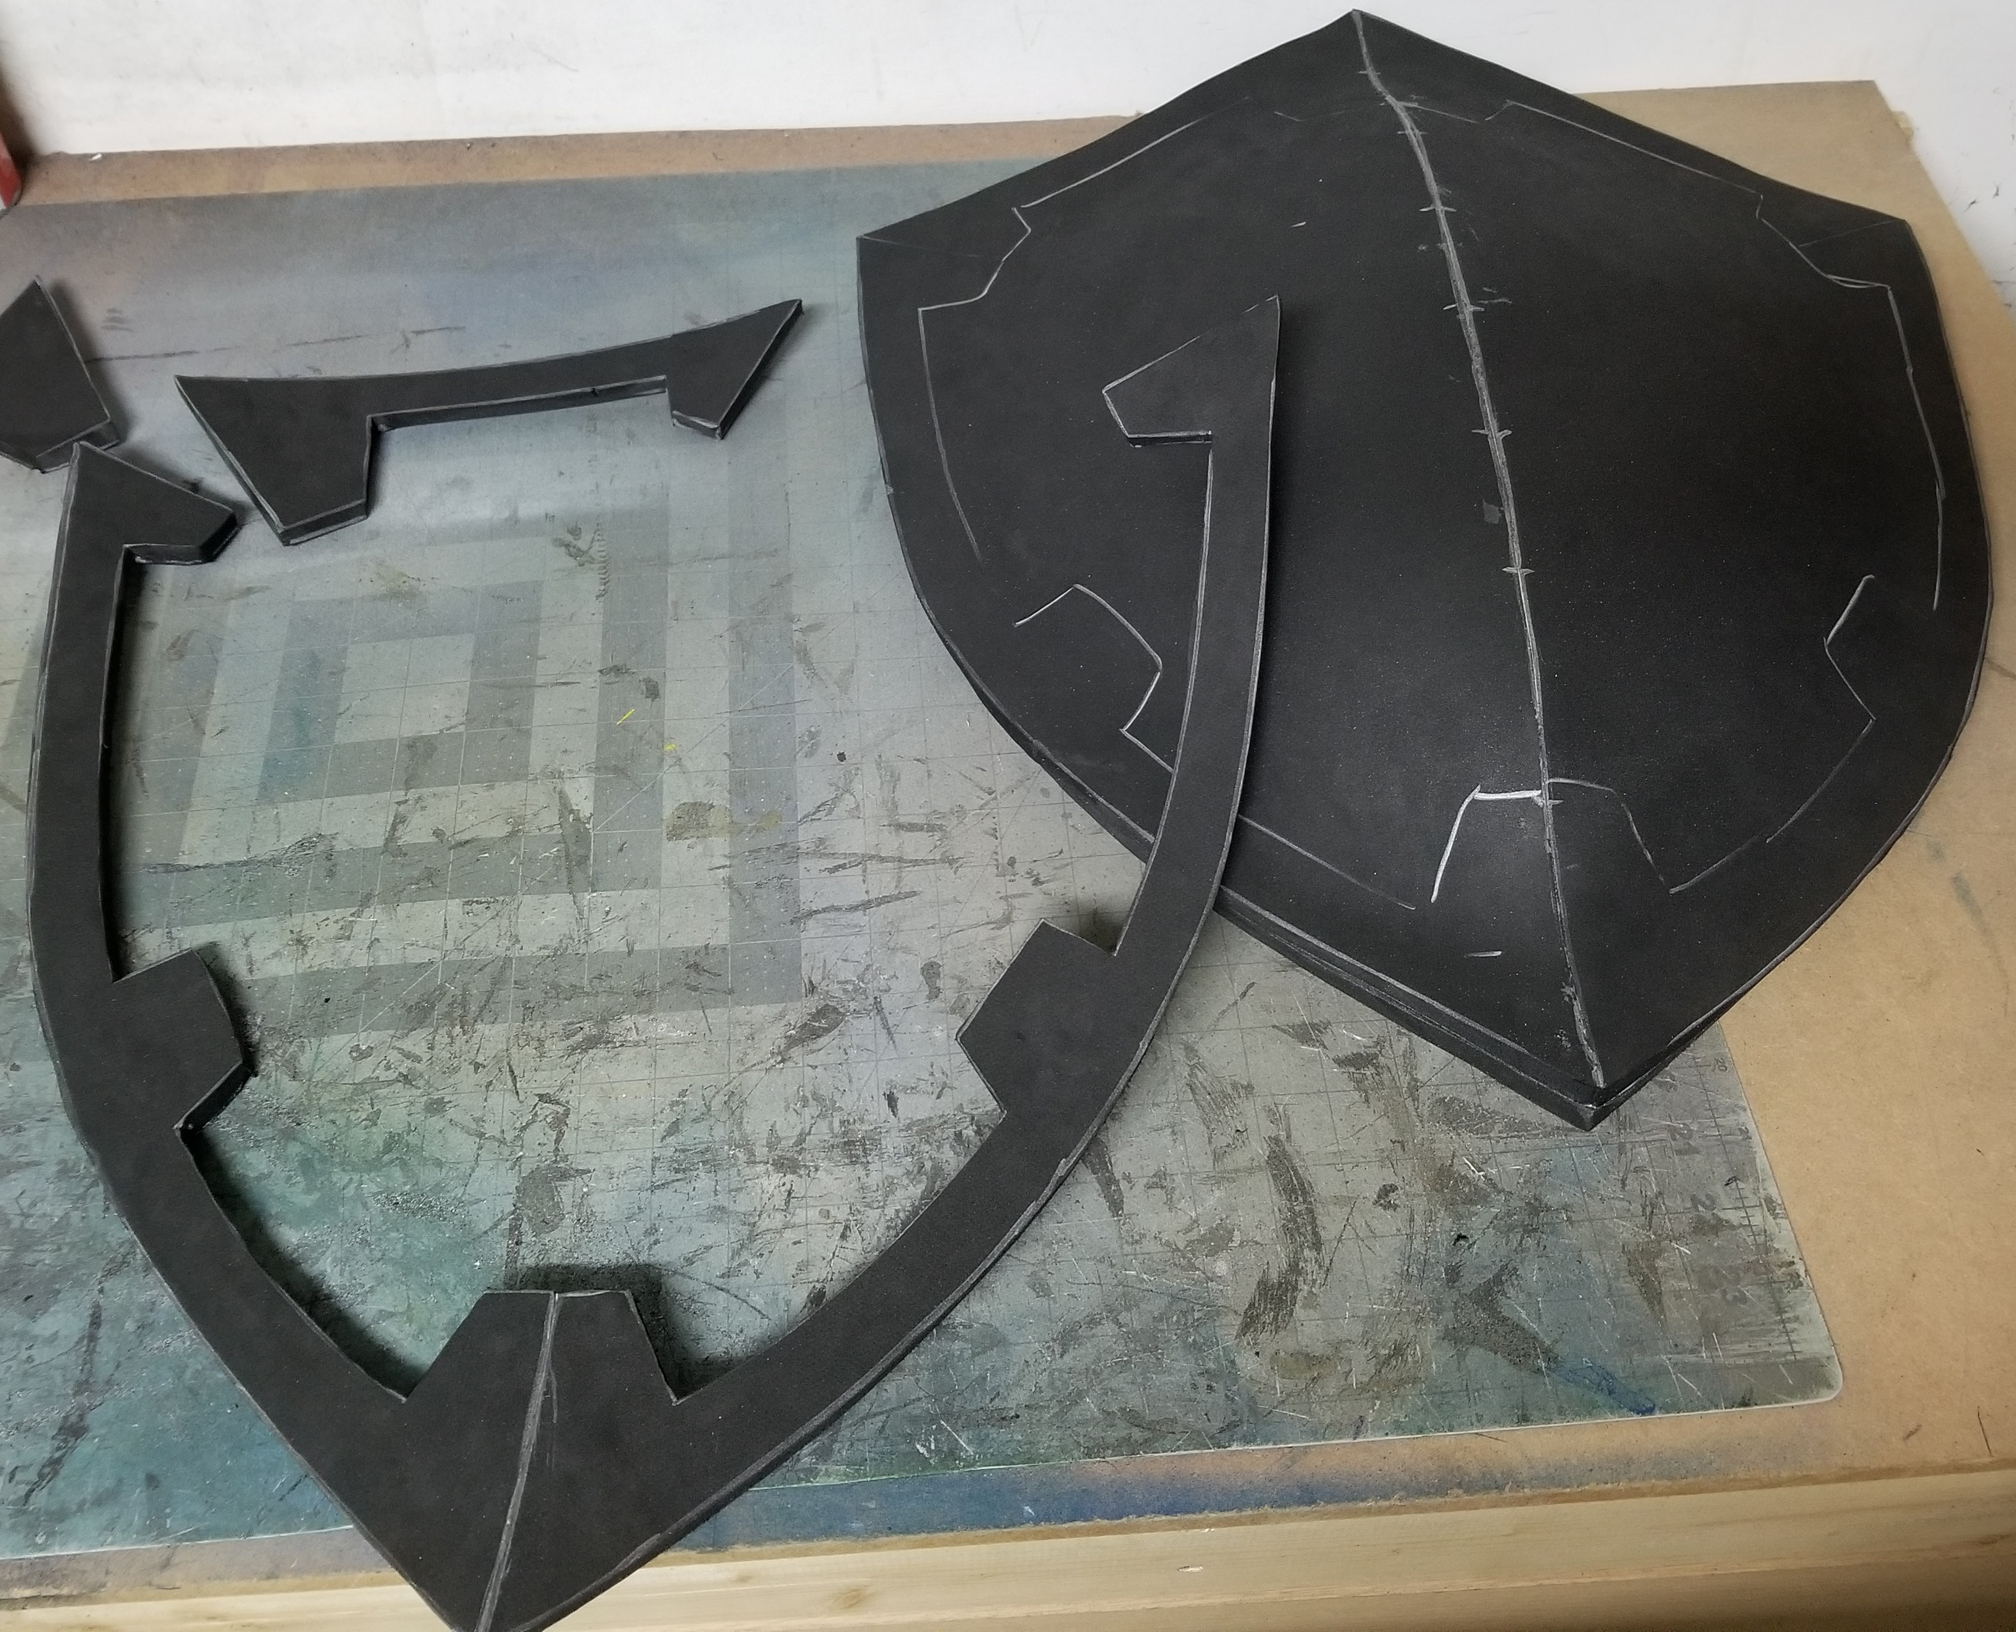
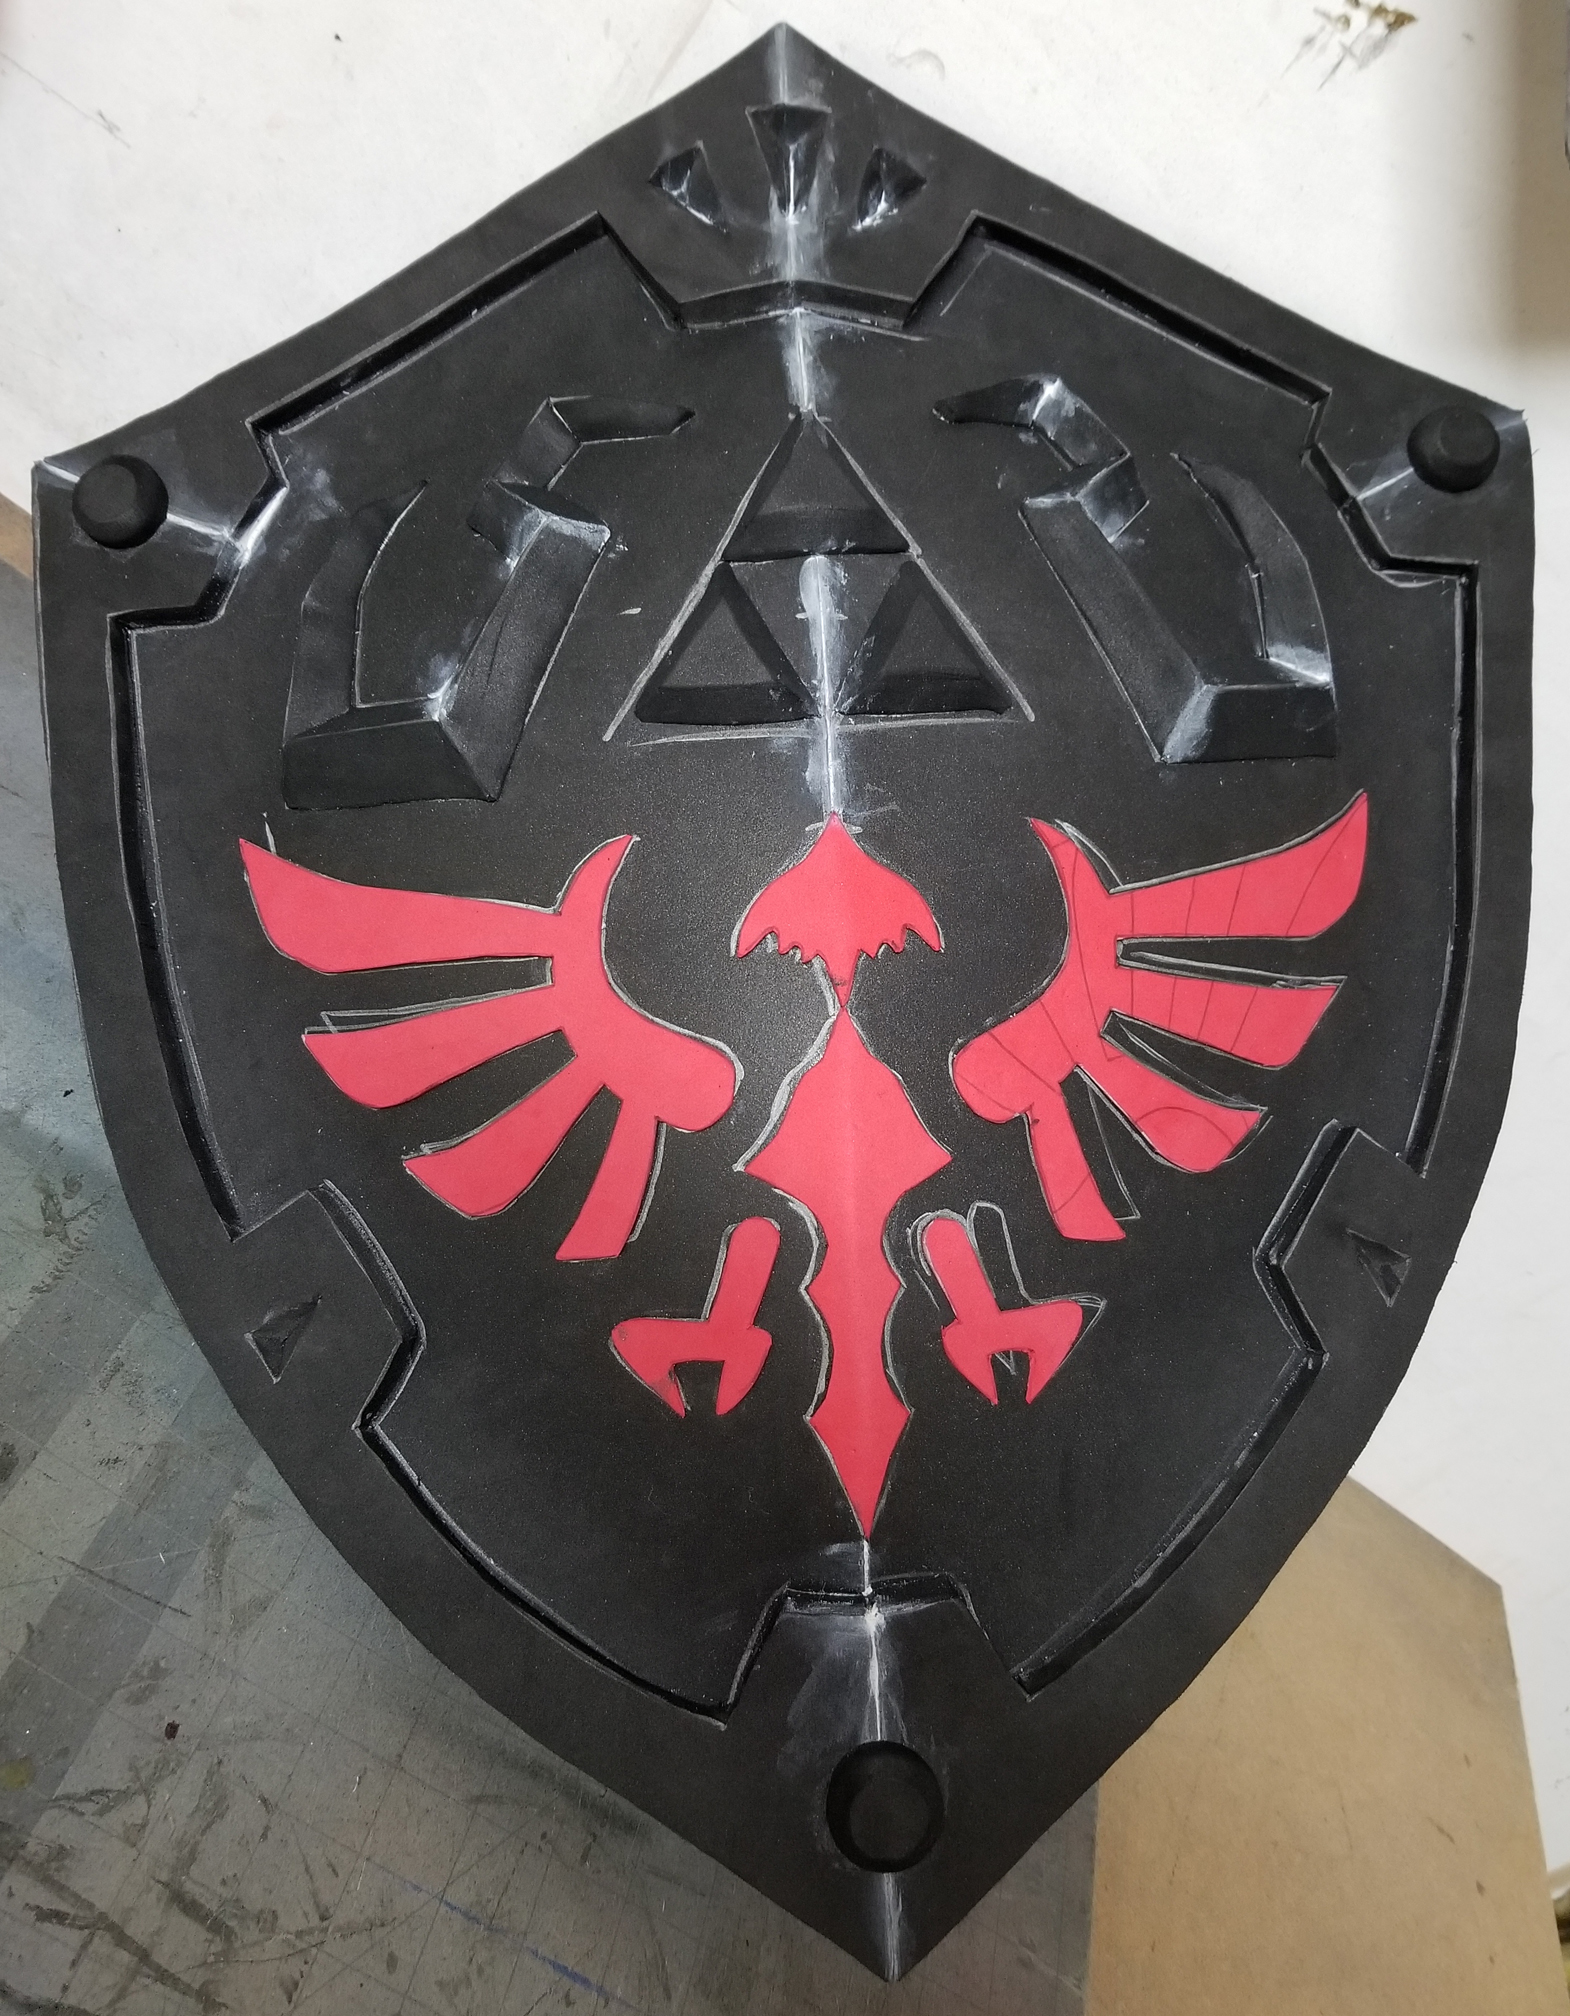
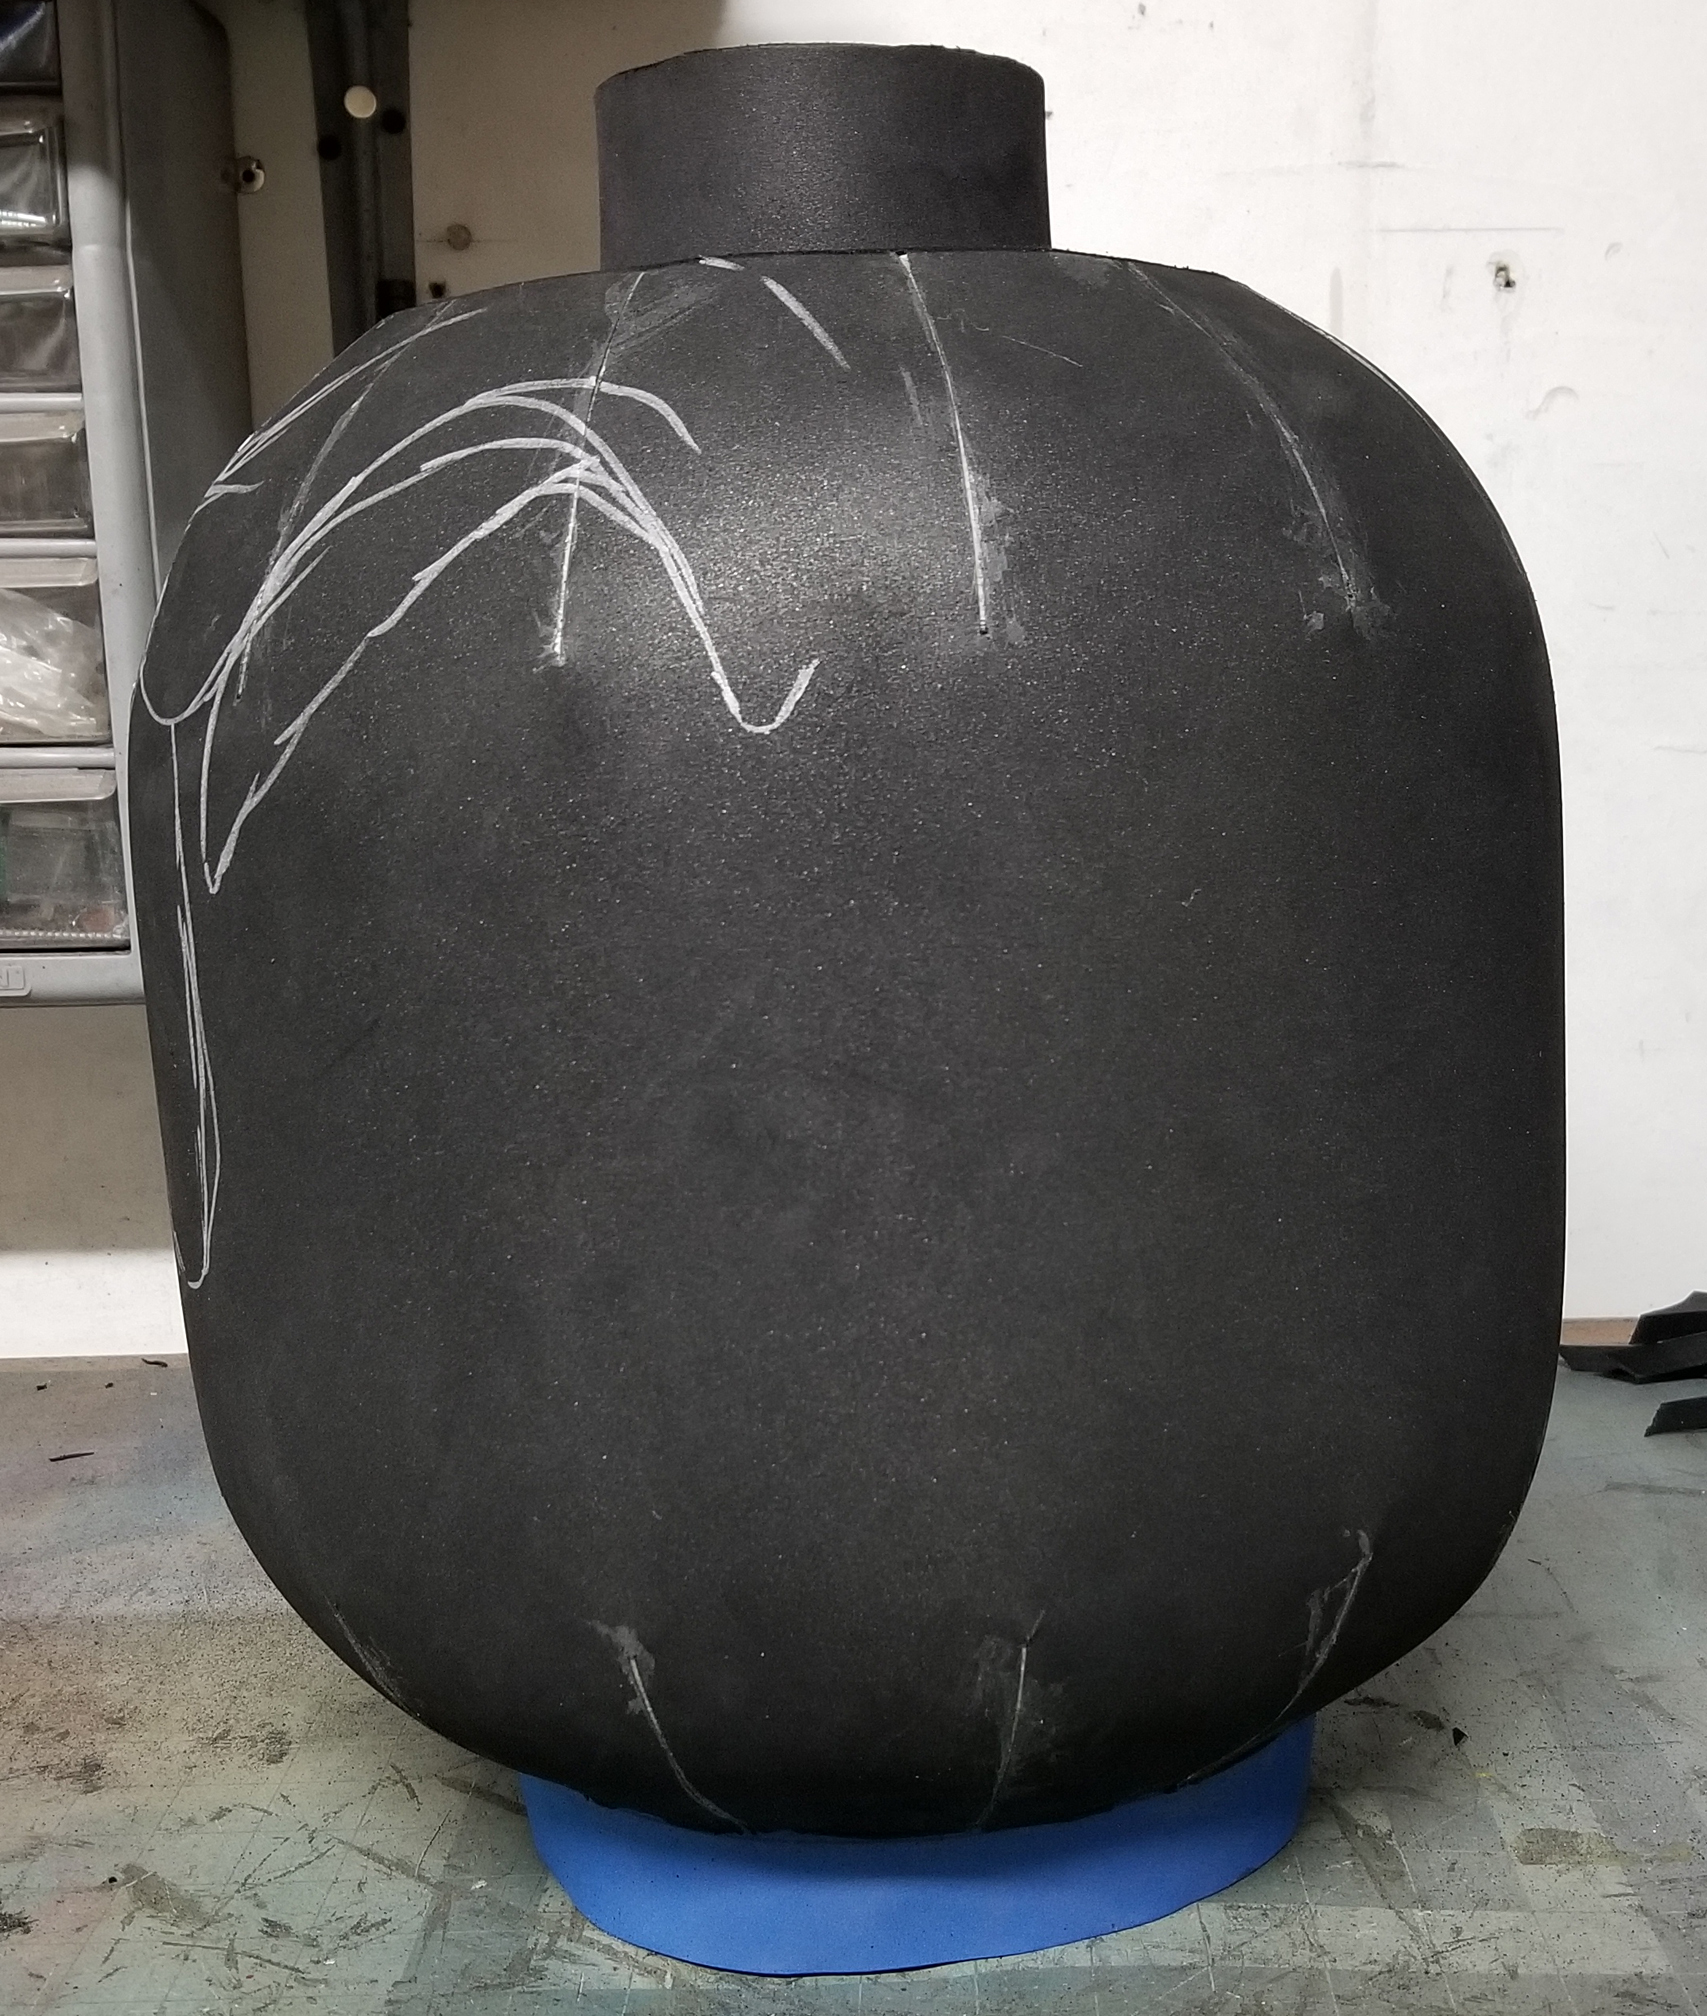
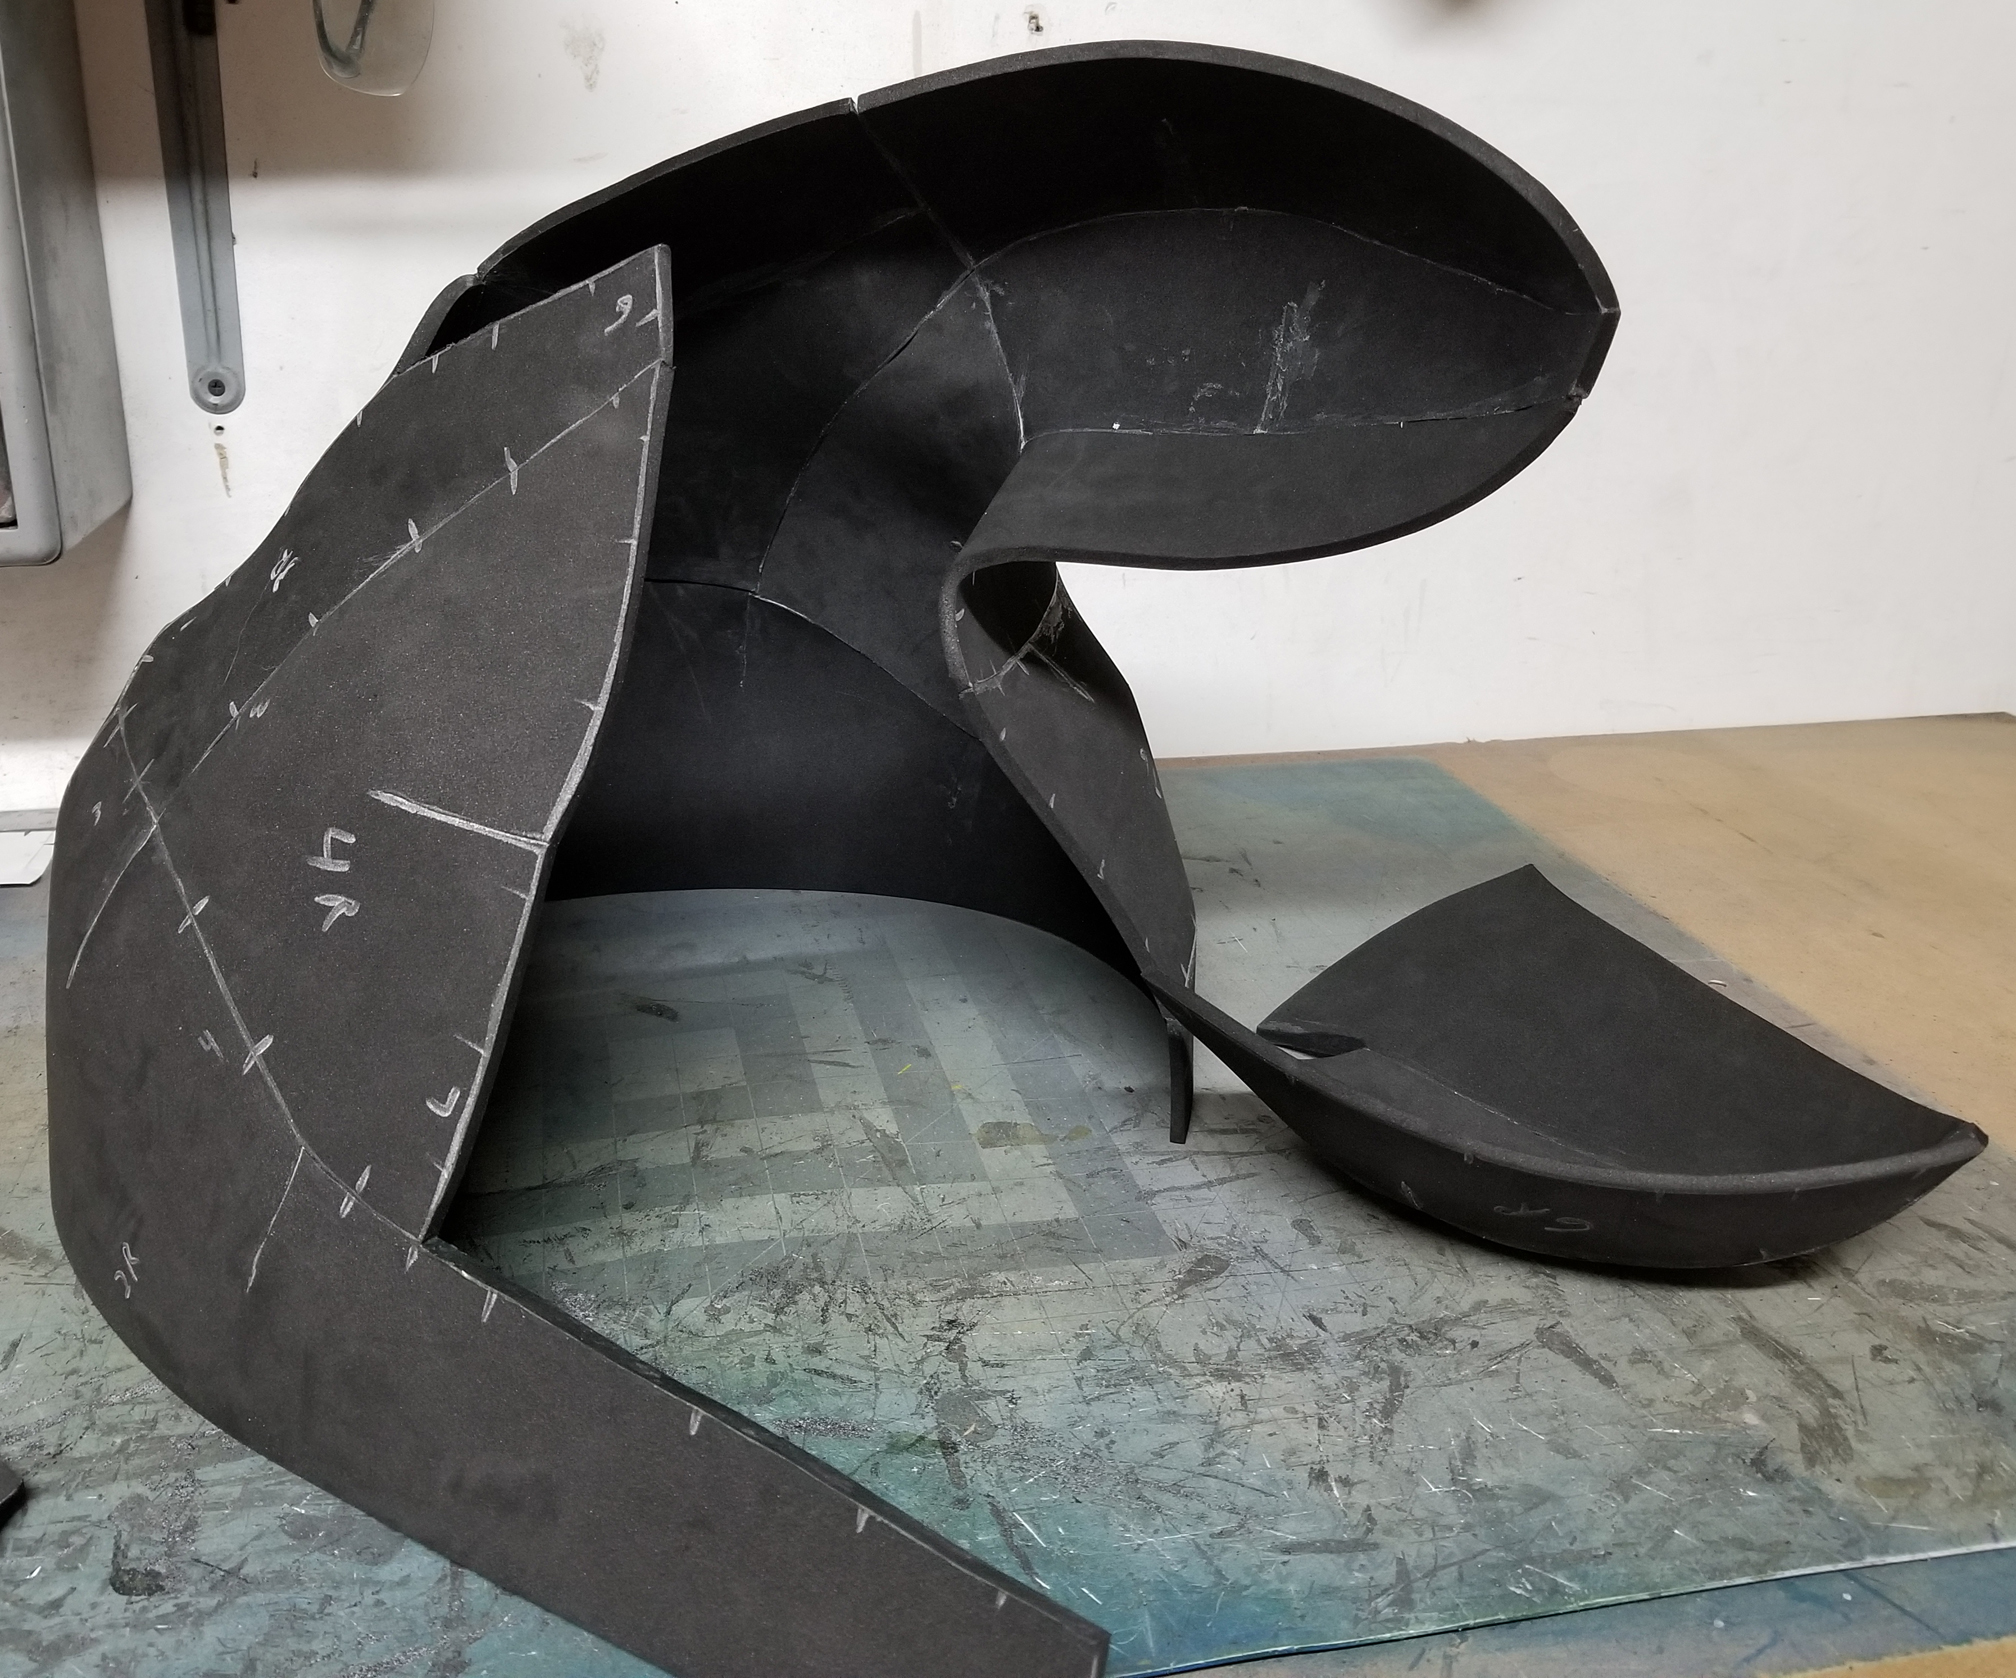
| The shield was the first part of the costume I made. There are several variants of the Hyrule shield online from the various games. I picked a picture that I liked the best and traced out the pattern. When creating the base of the shield, I cut the template in half and curved the center line a little to give the shield a little bulge. |
 |
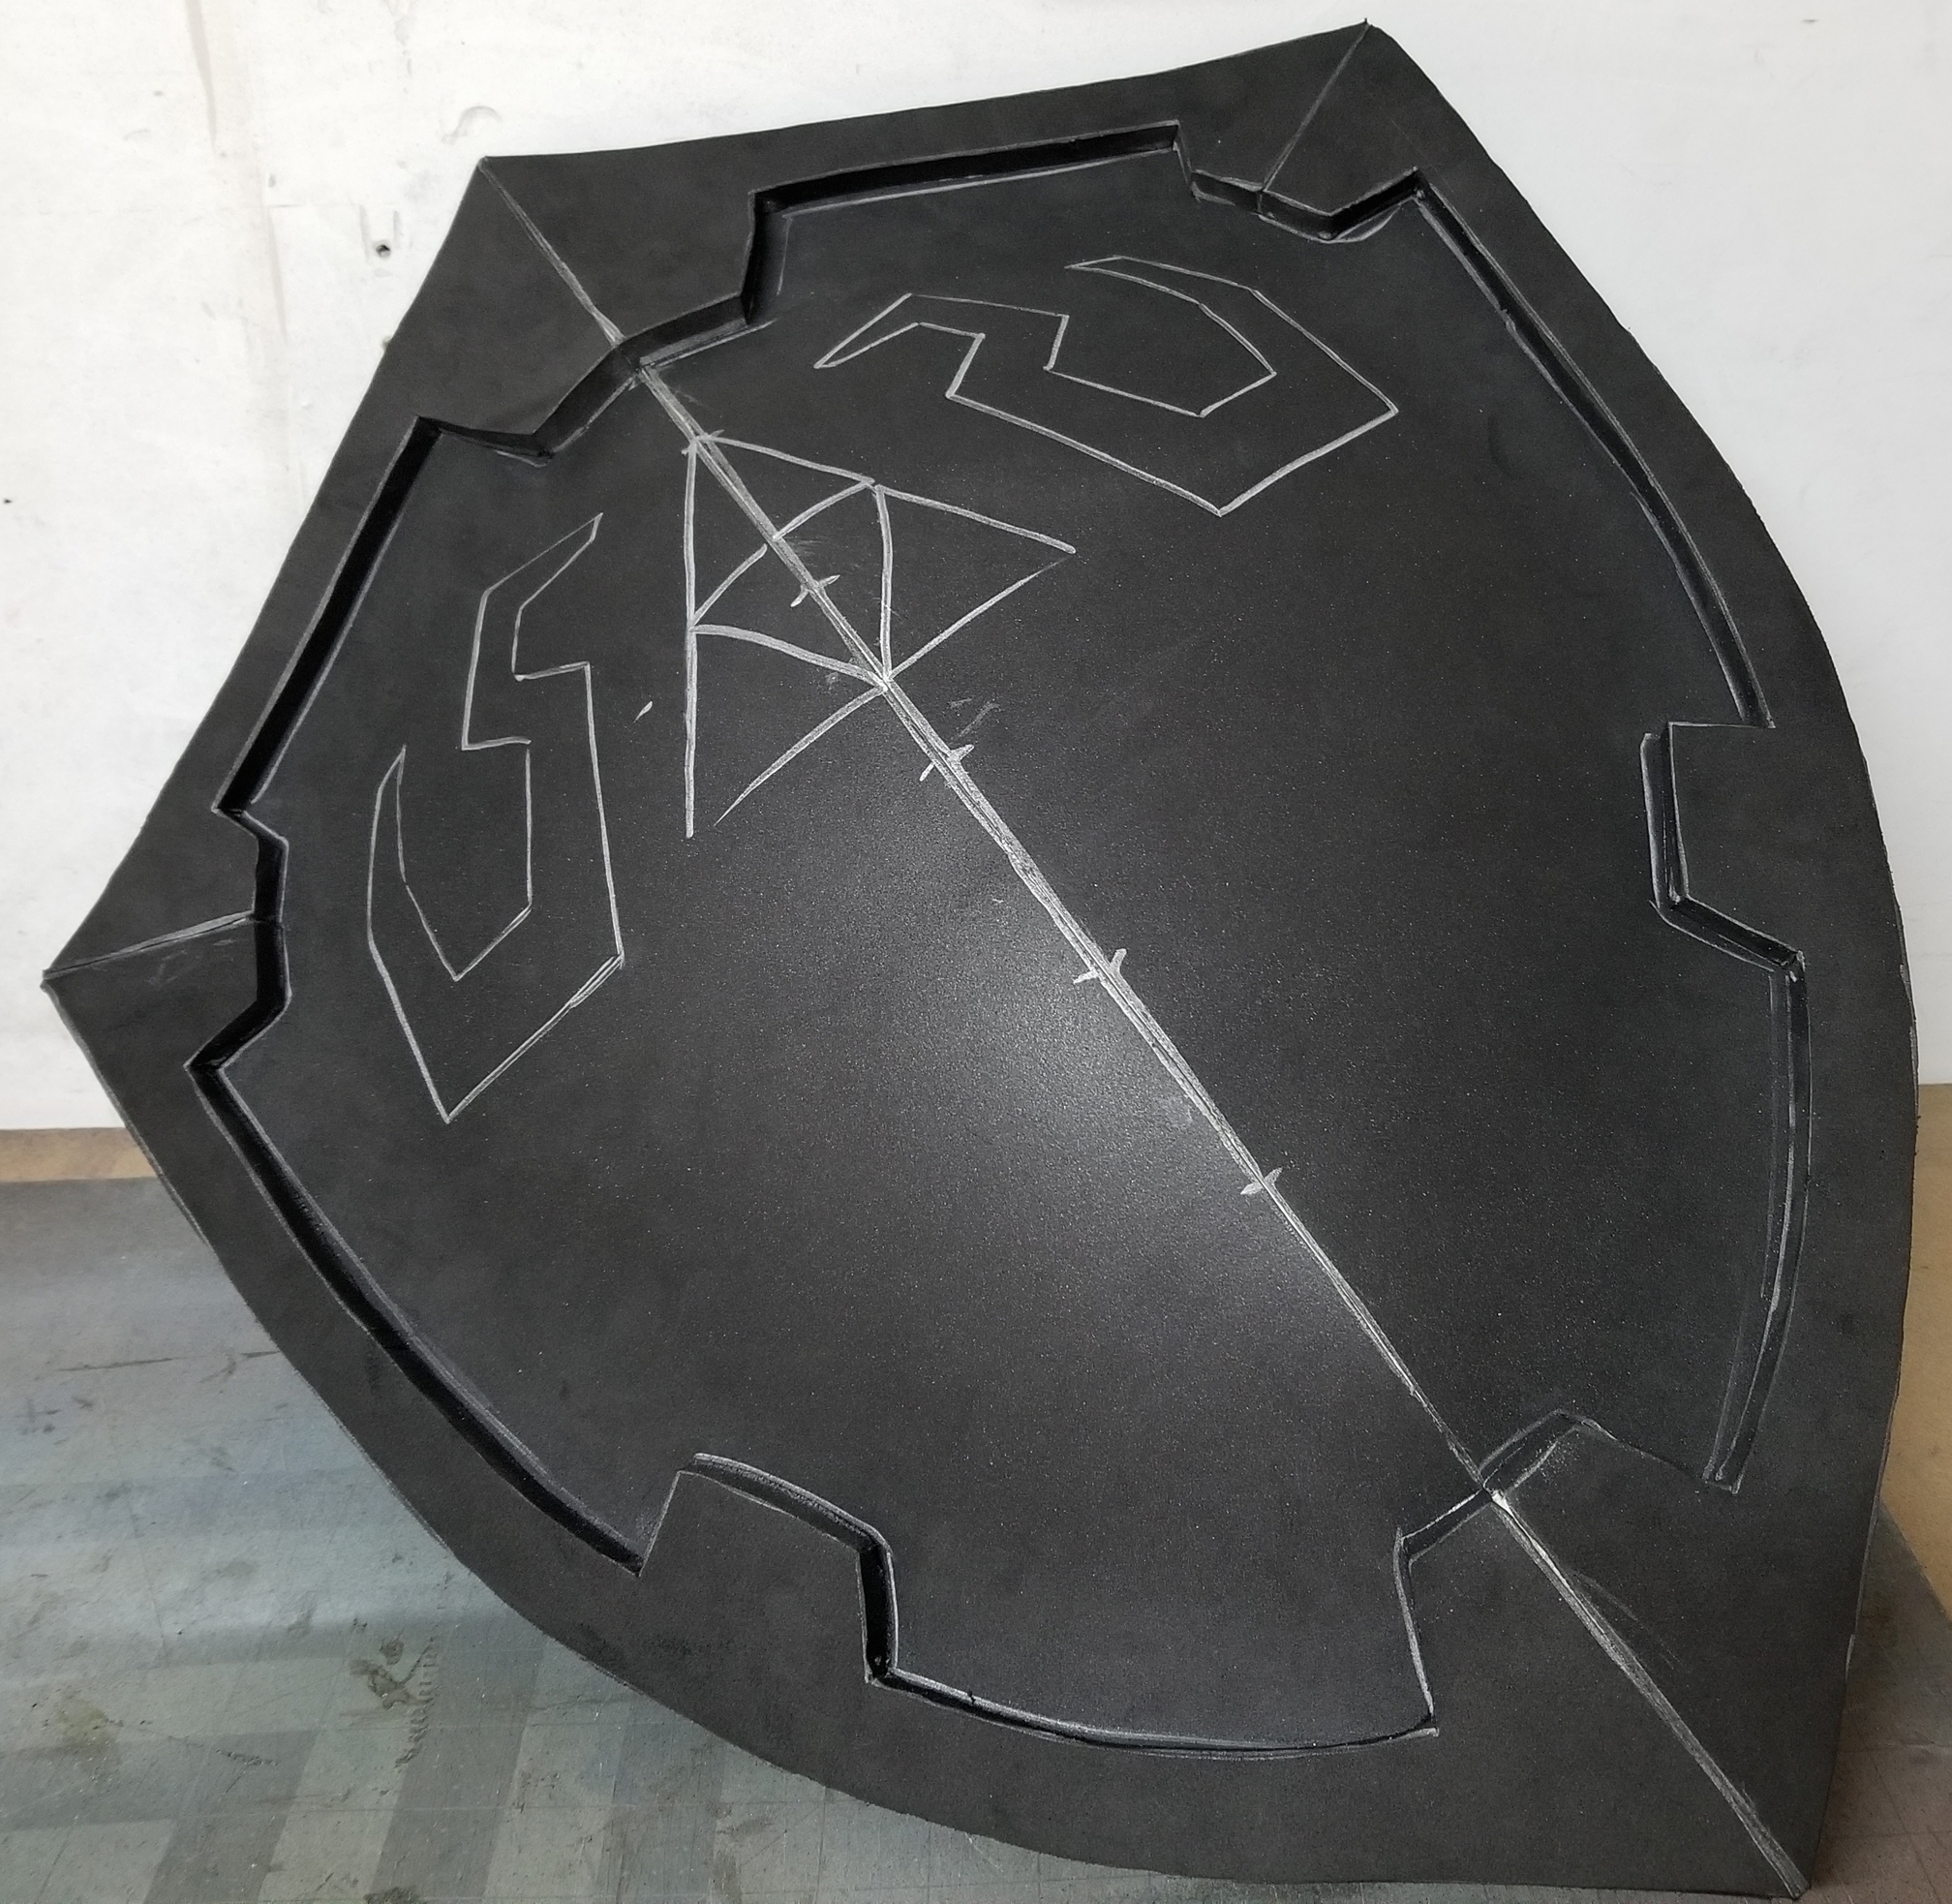 |
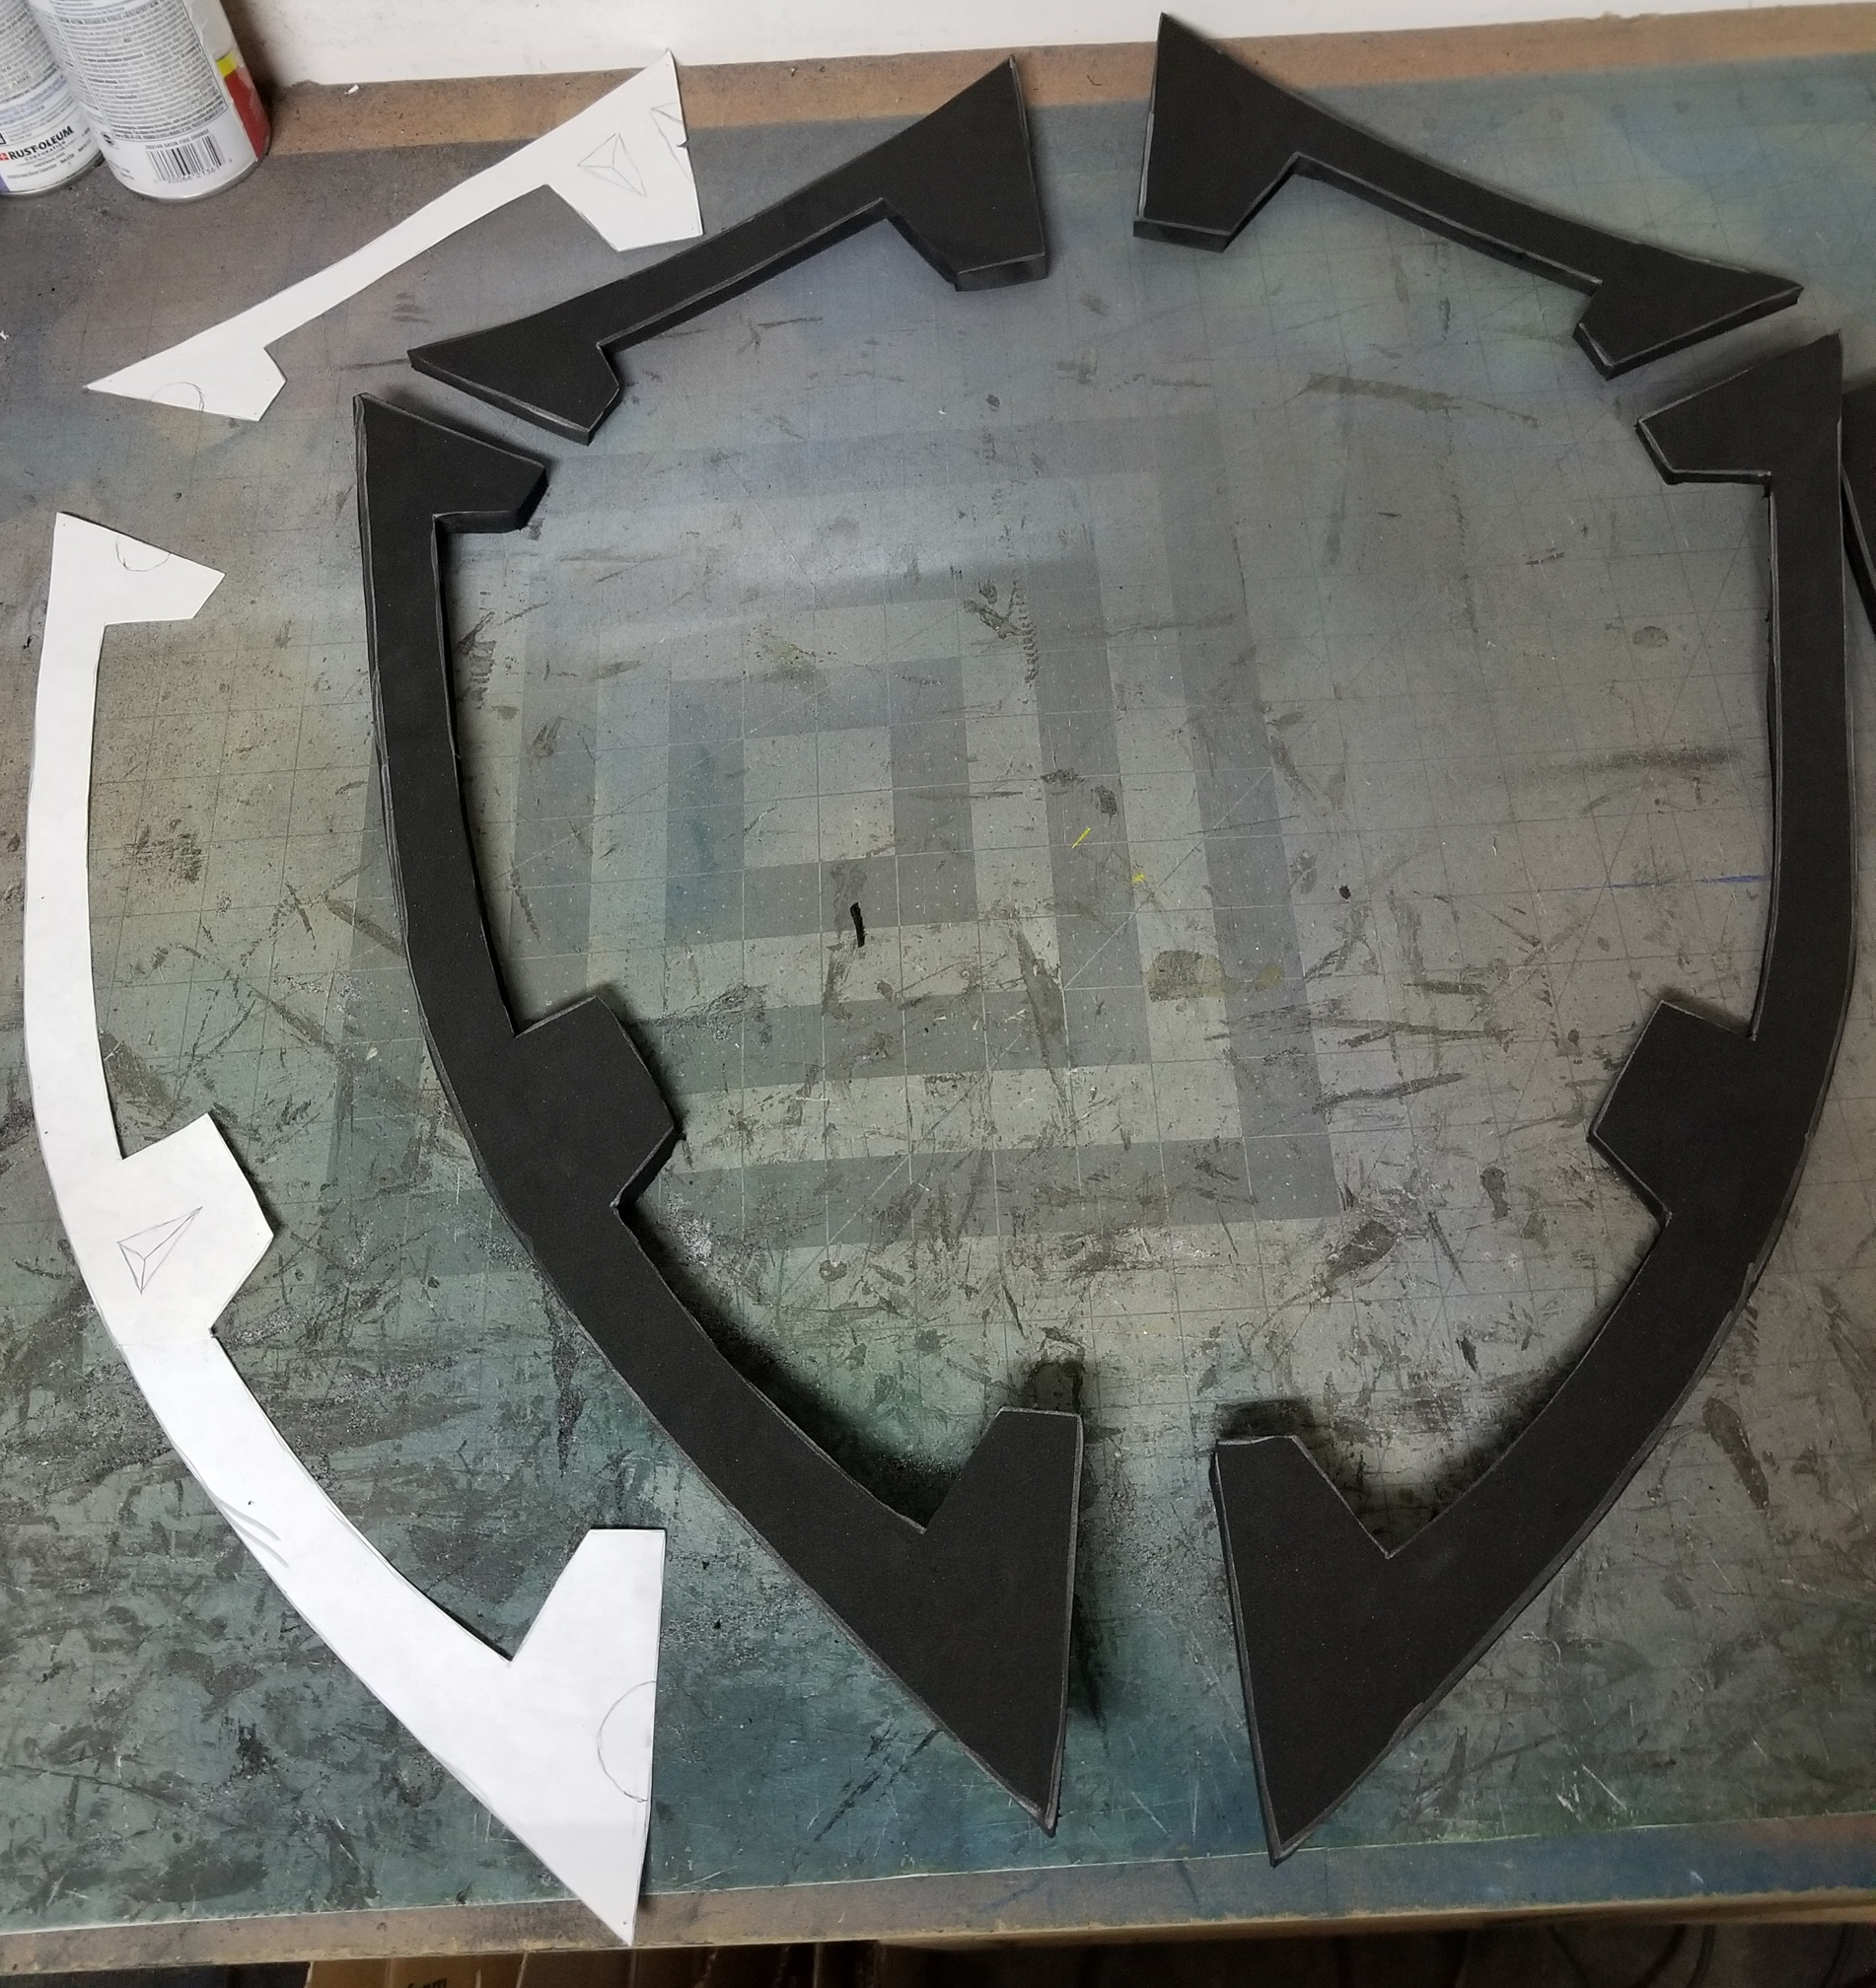
| The Tri-Force and Hyrulian symbols were added with additional foam pieces. |
 |
 |
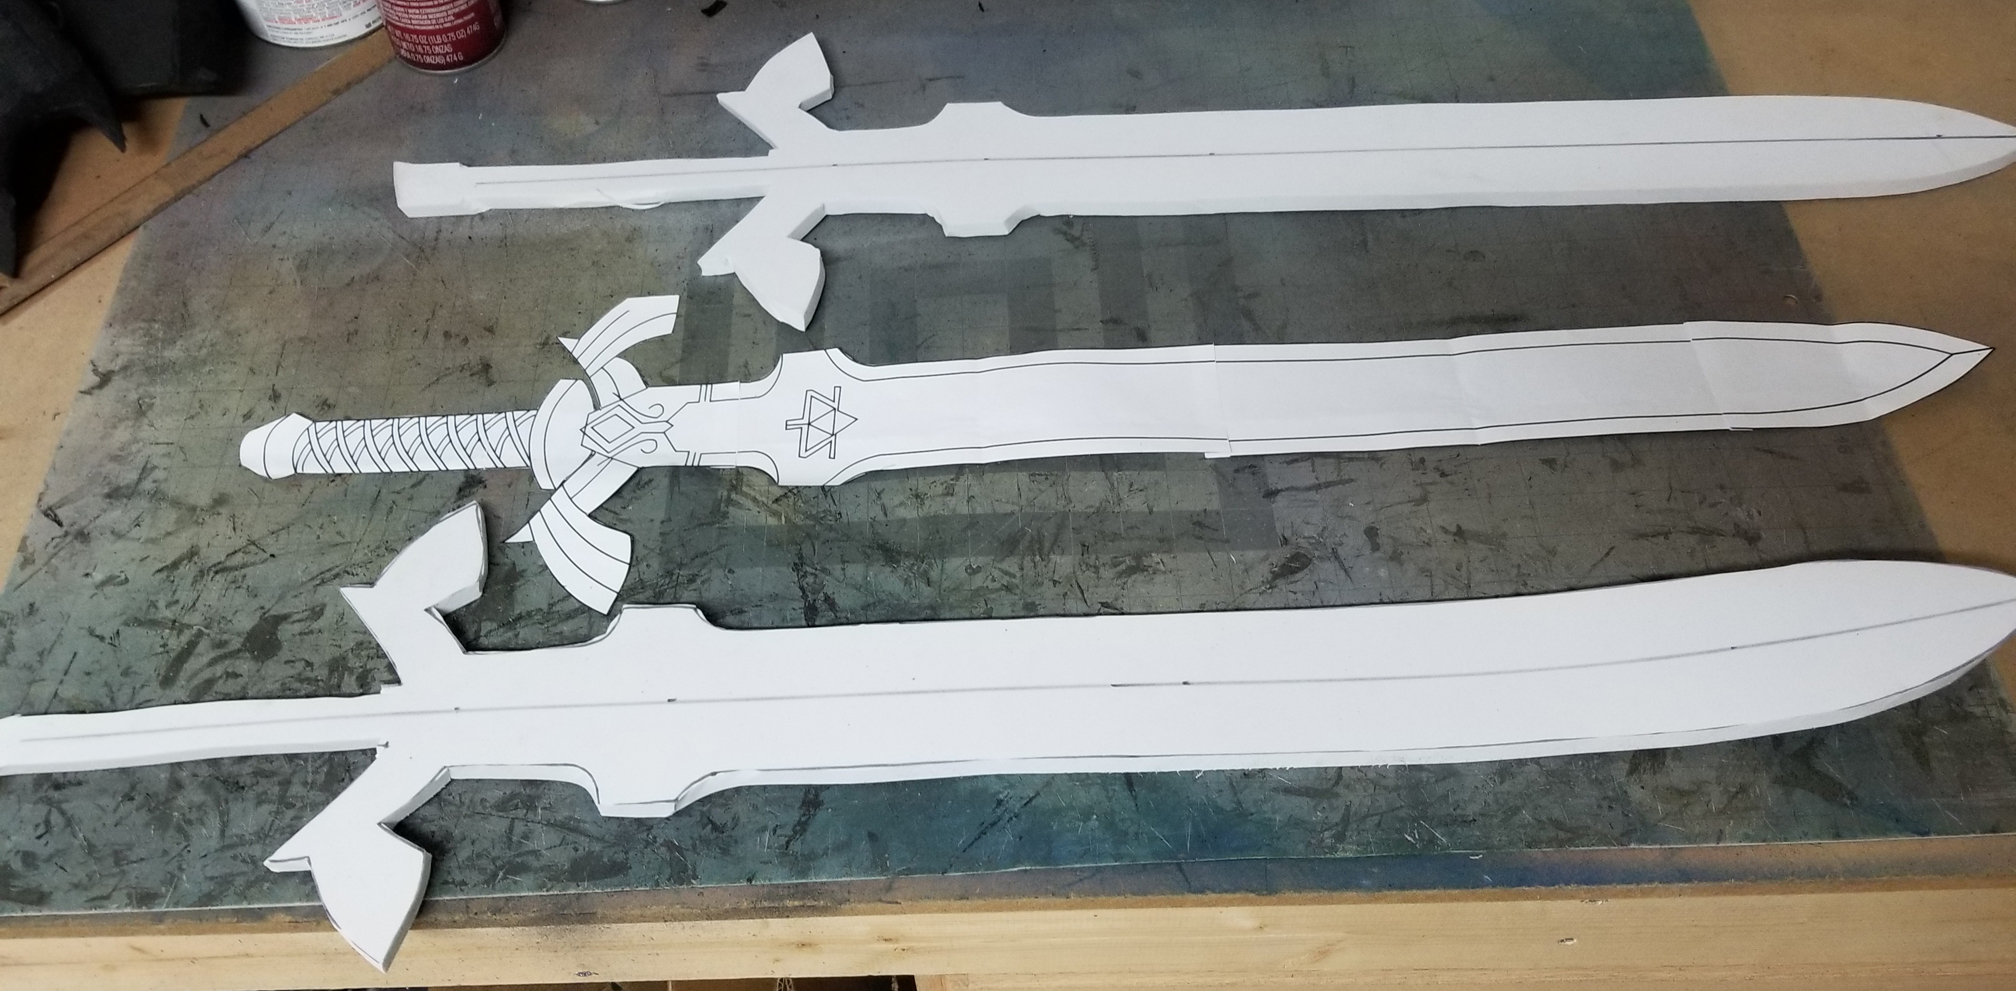
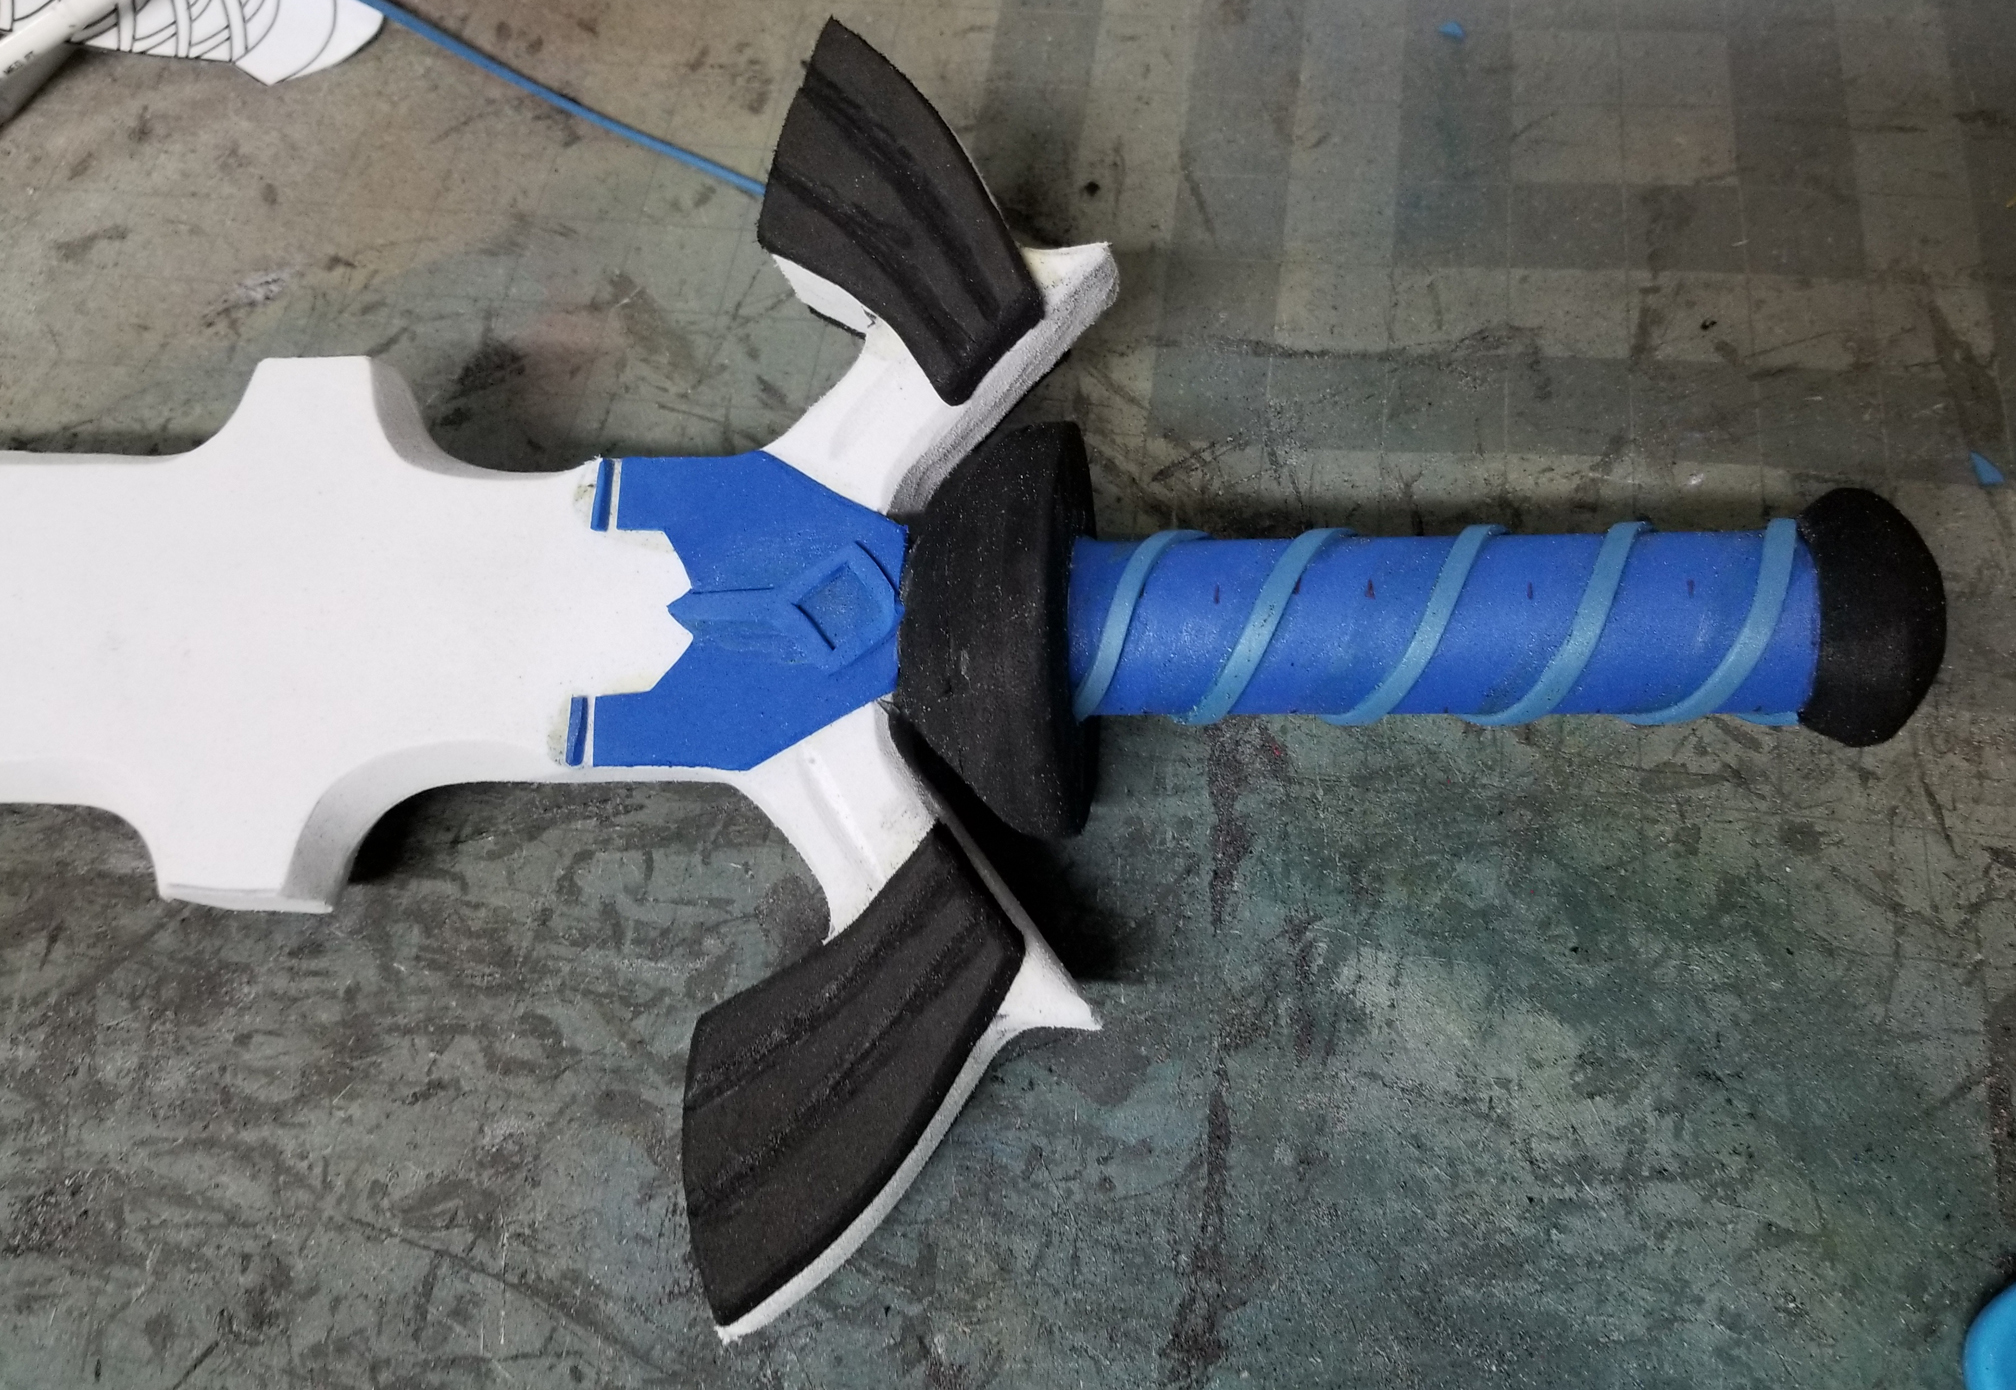
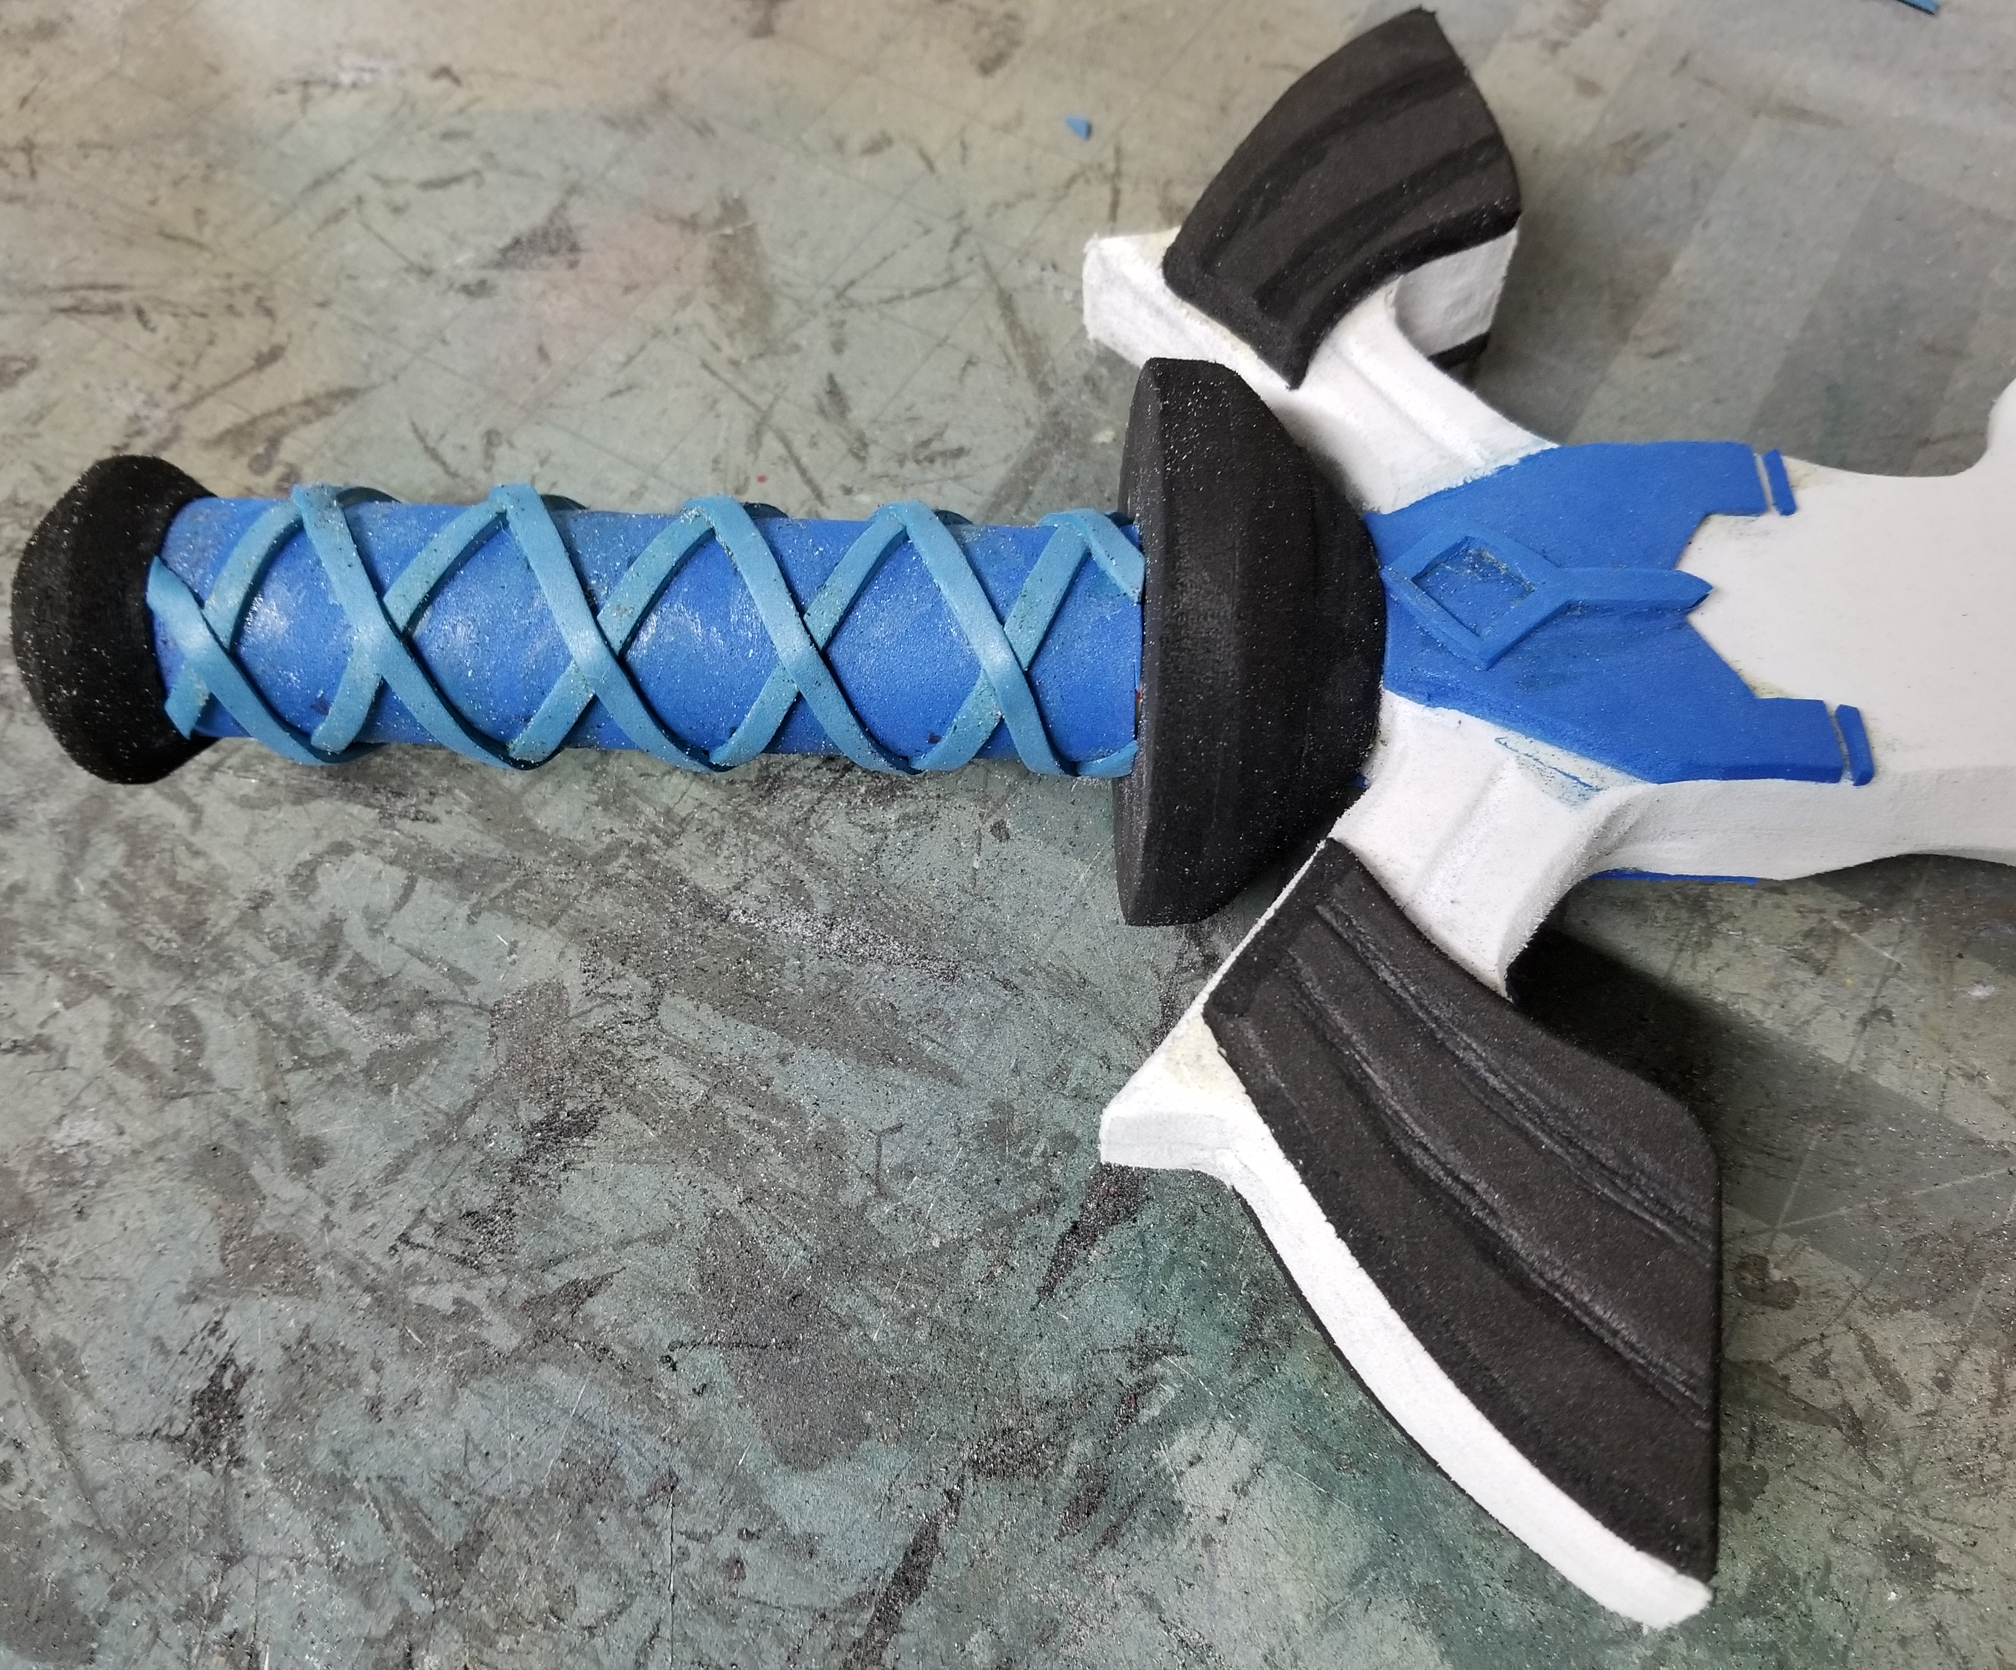
| The Master Sword was the next step in the process. |
 |
 |
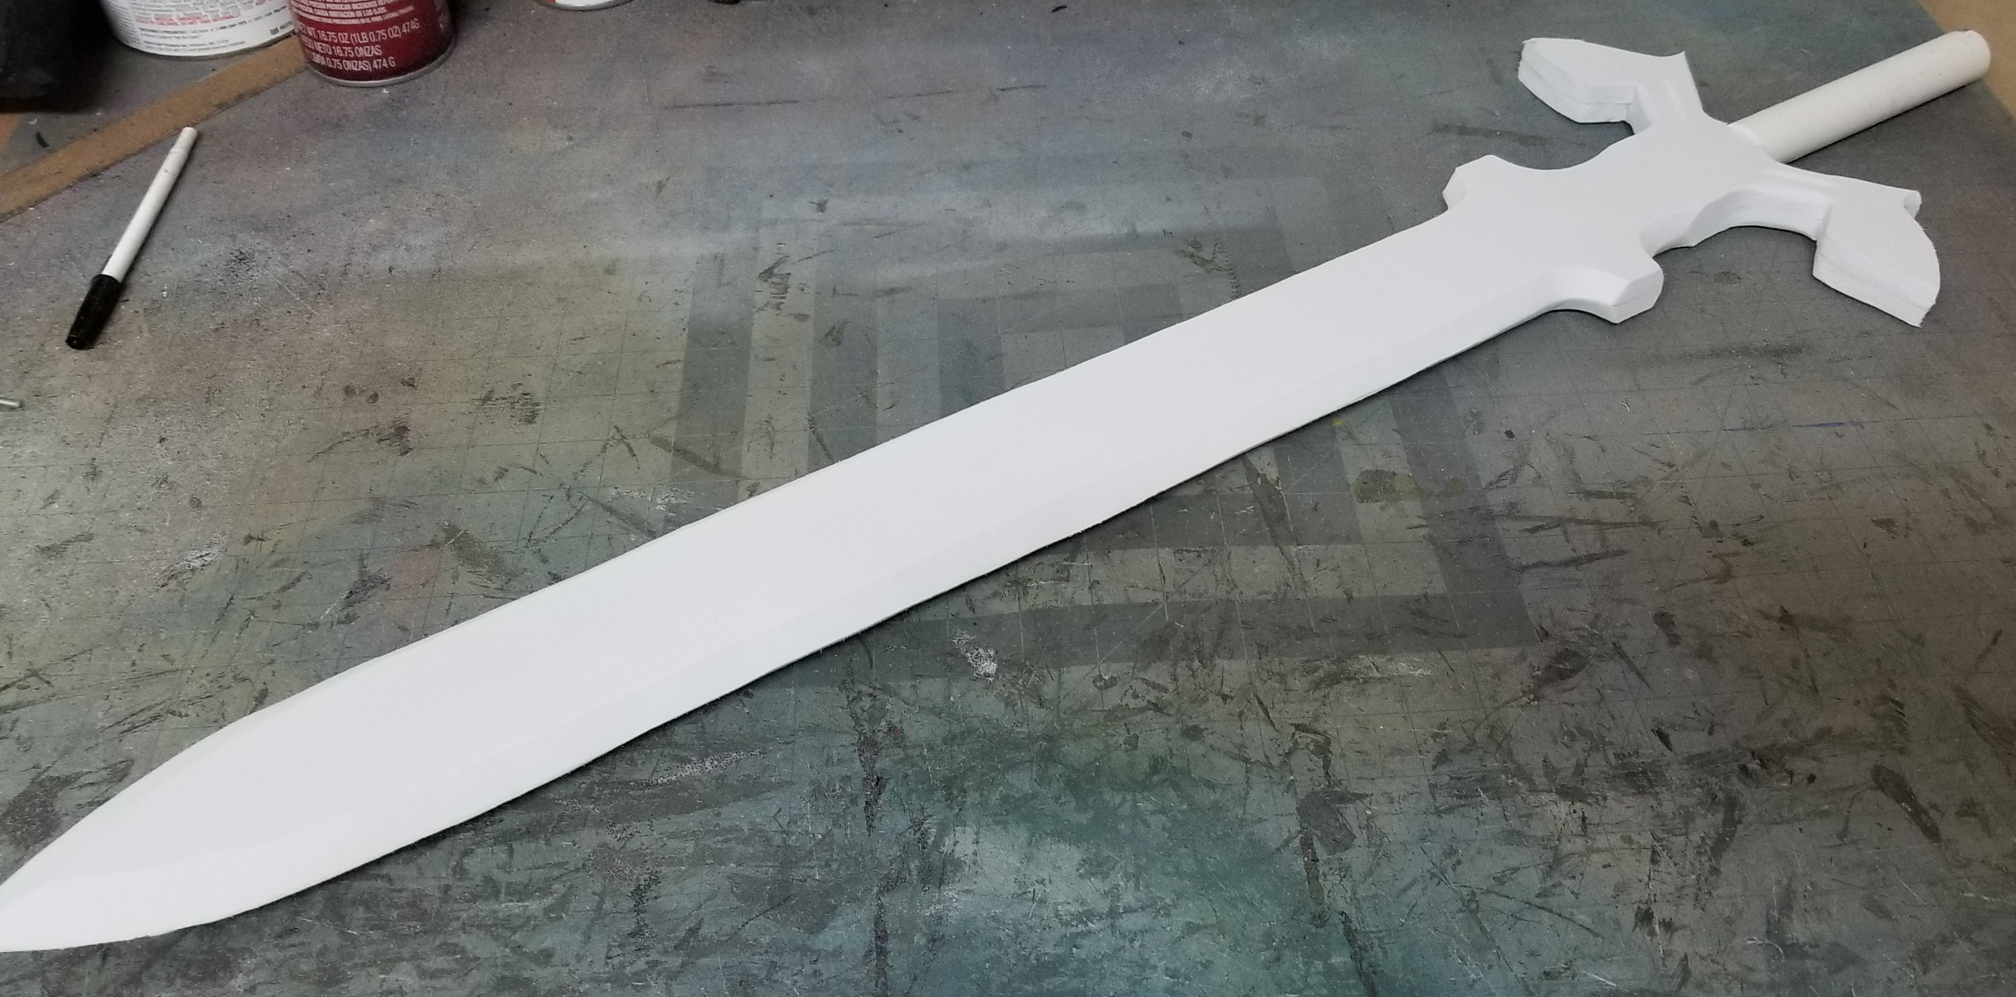 |
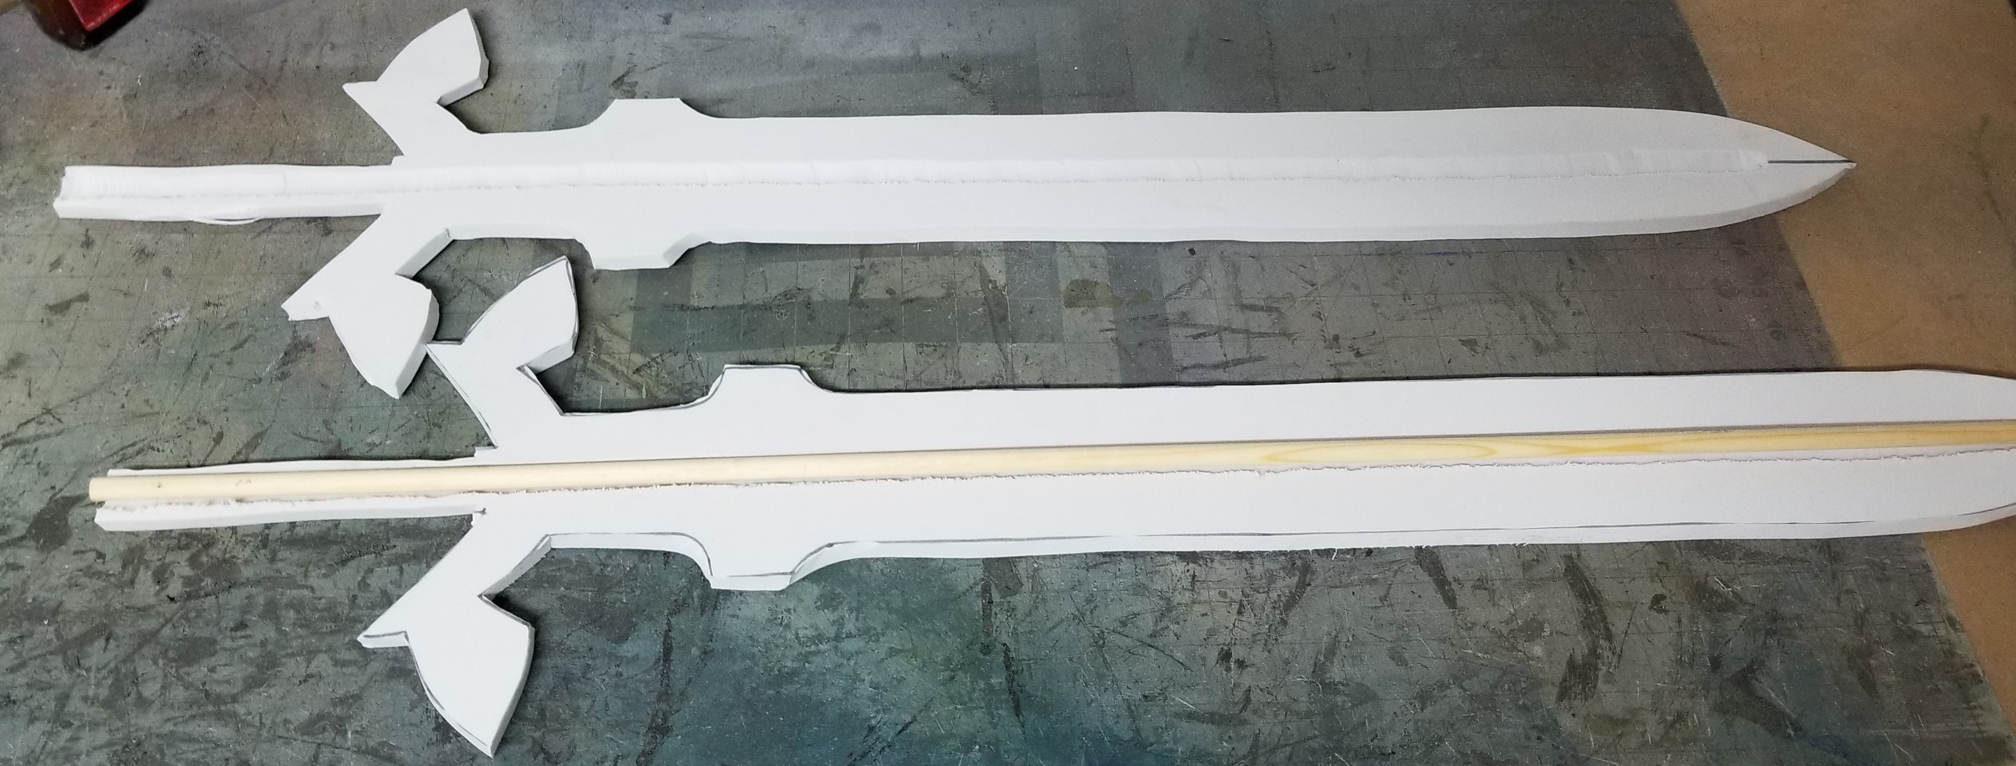
| I cut out two 10mm foam layers in the shape of the sword blade and sandwiched a wooden dowel in between for support. Using a rotary tool, I shaped the blades edge. |
 |
 |
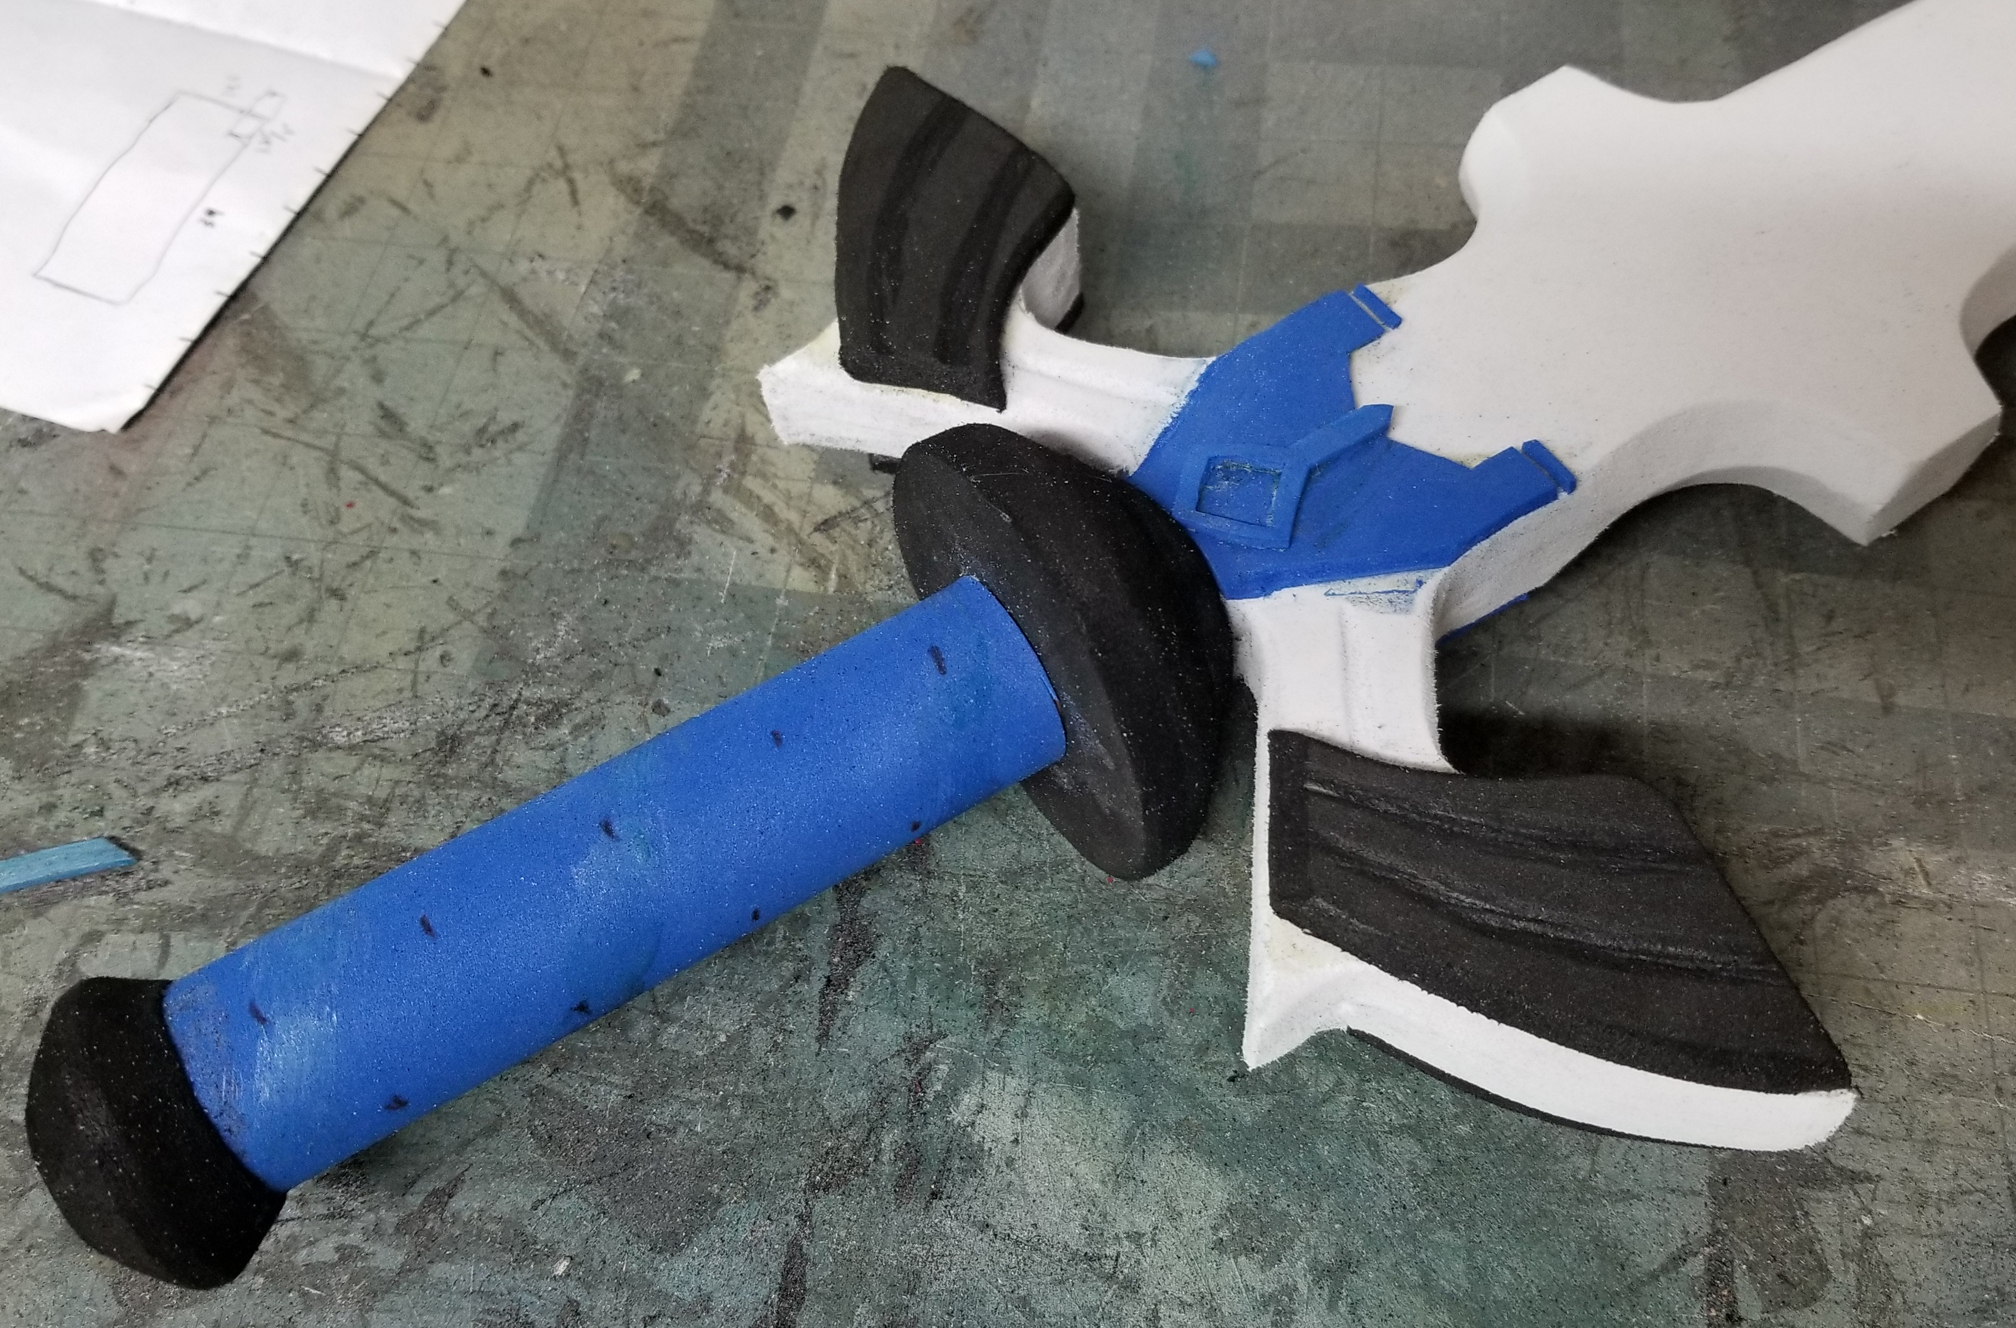 |
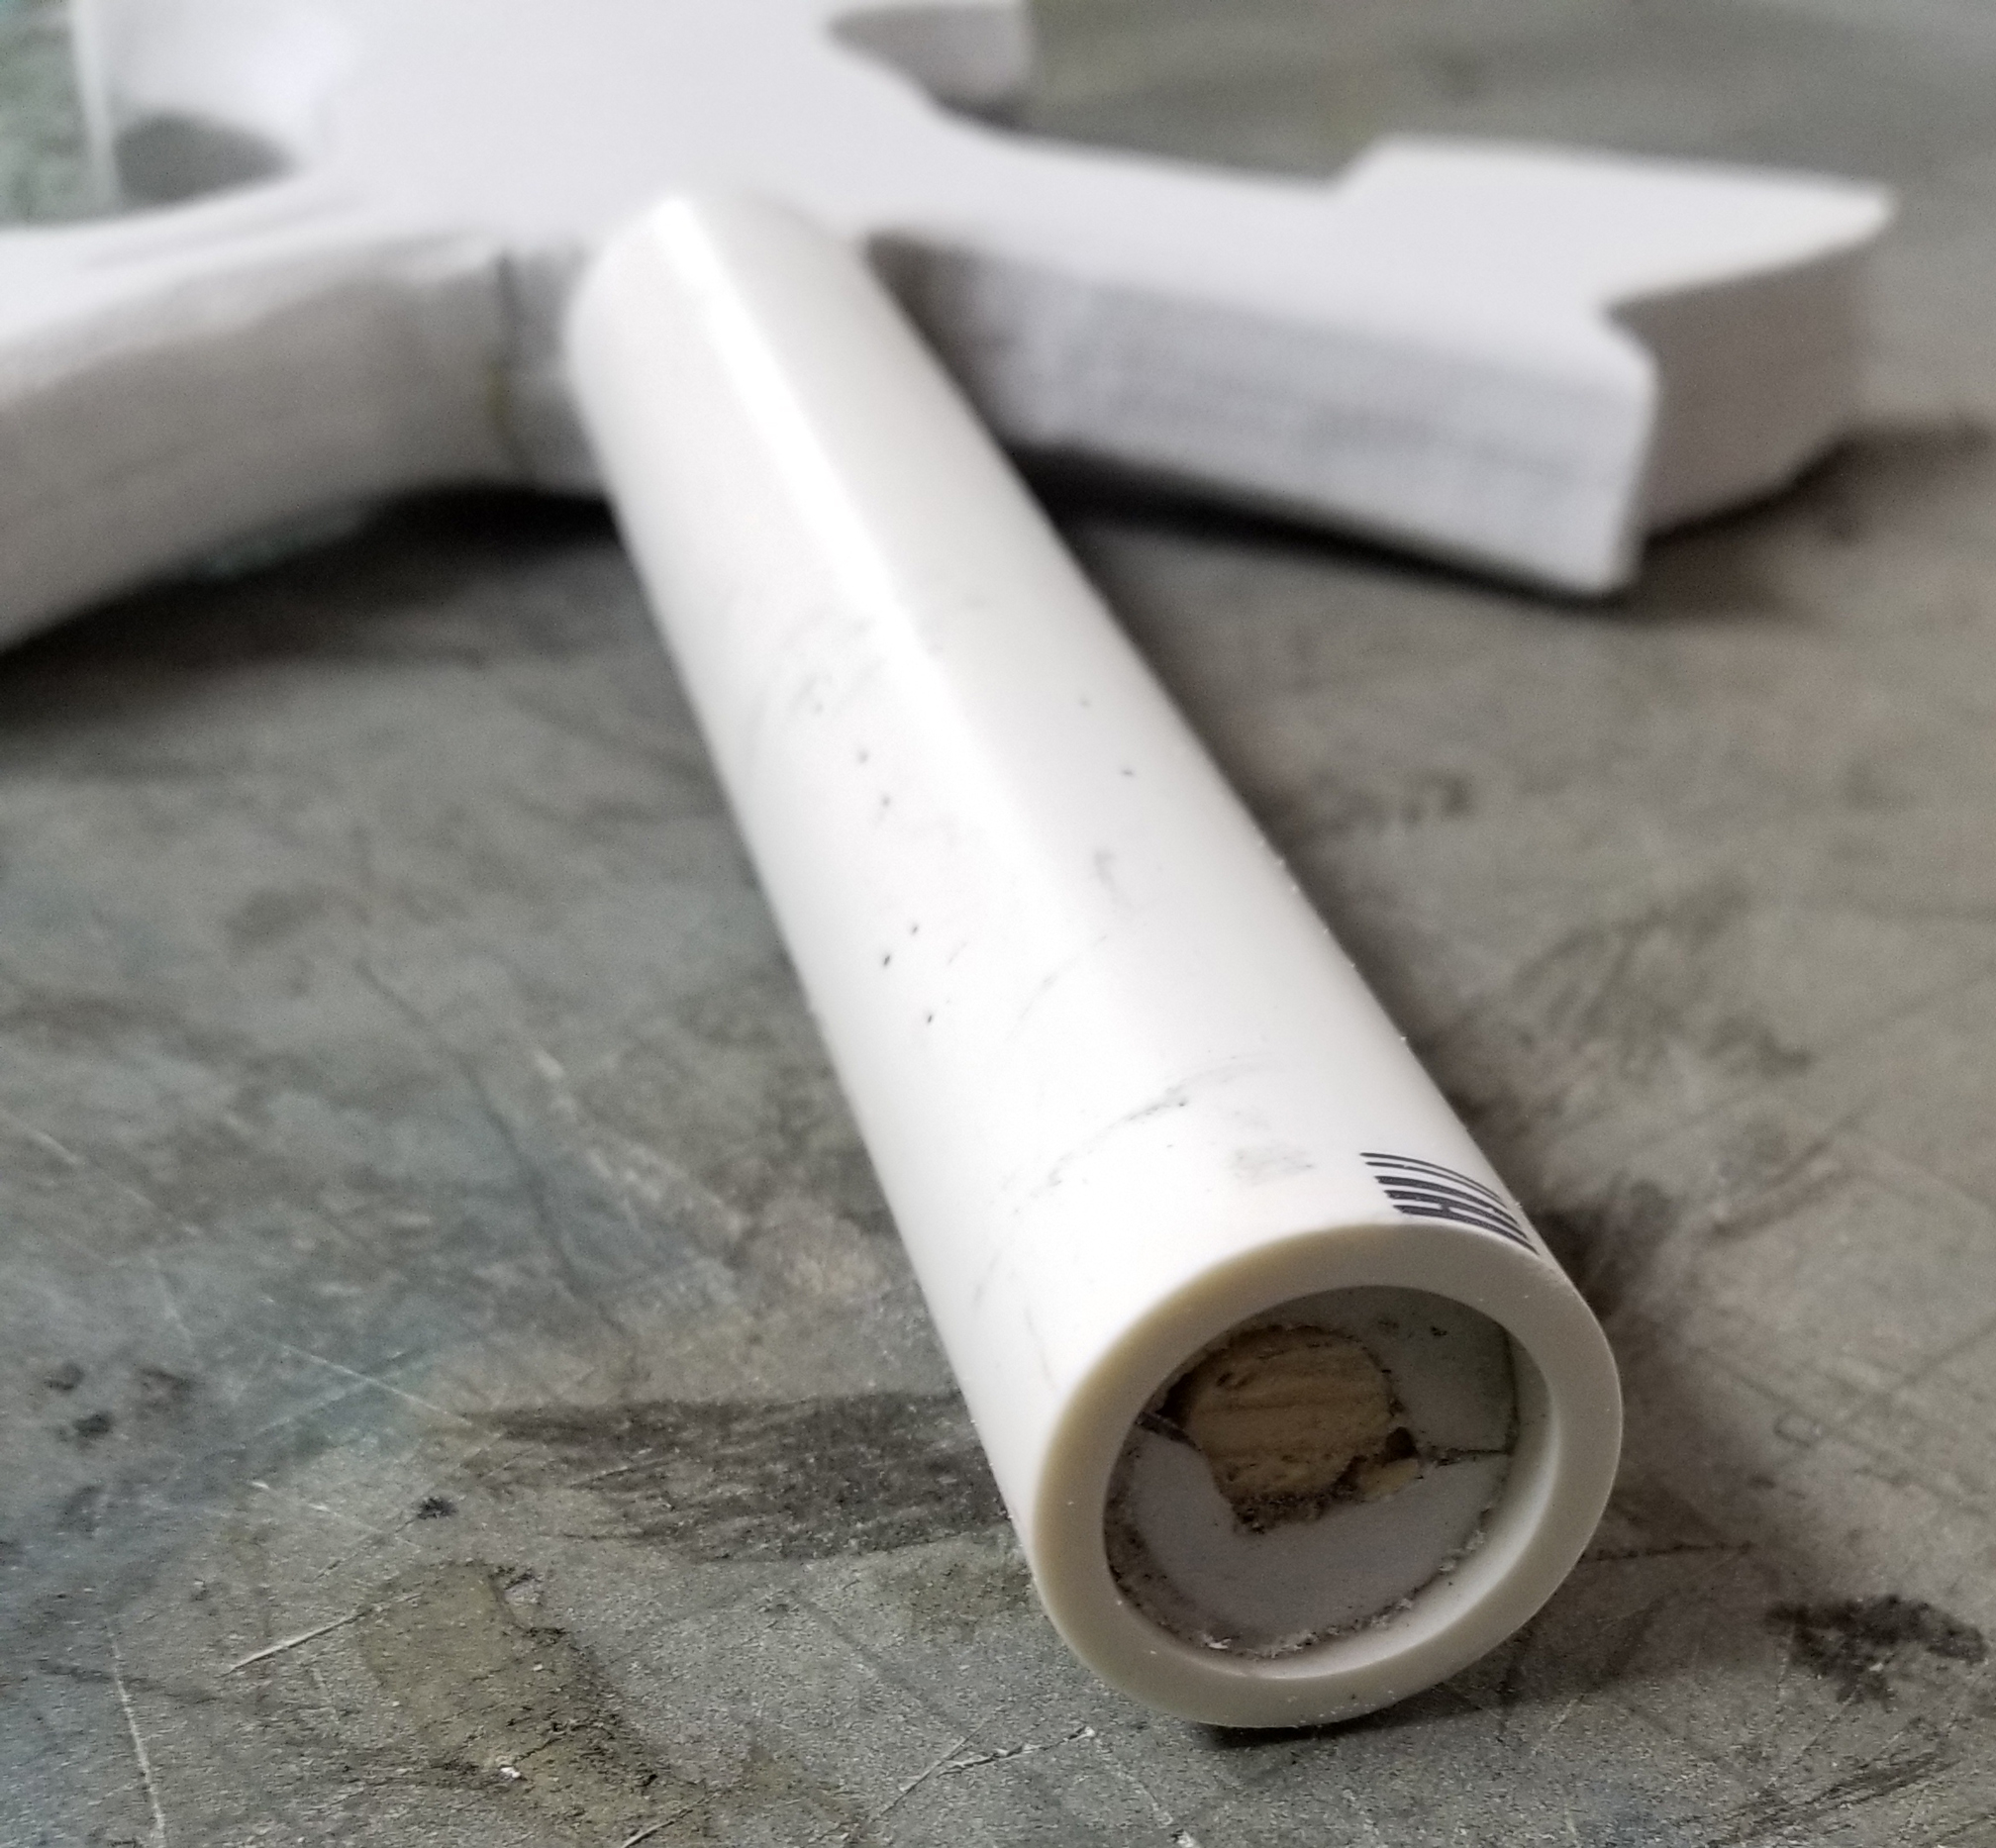
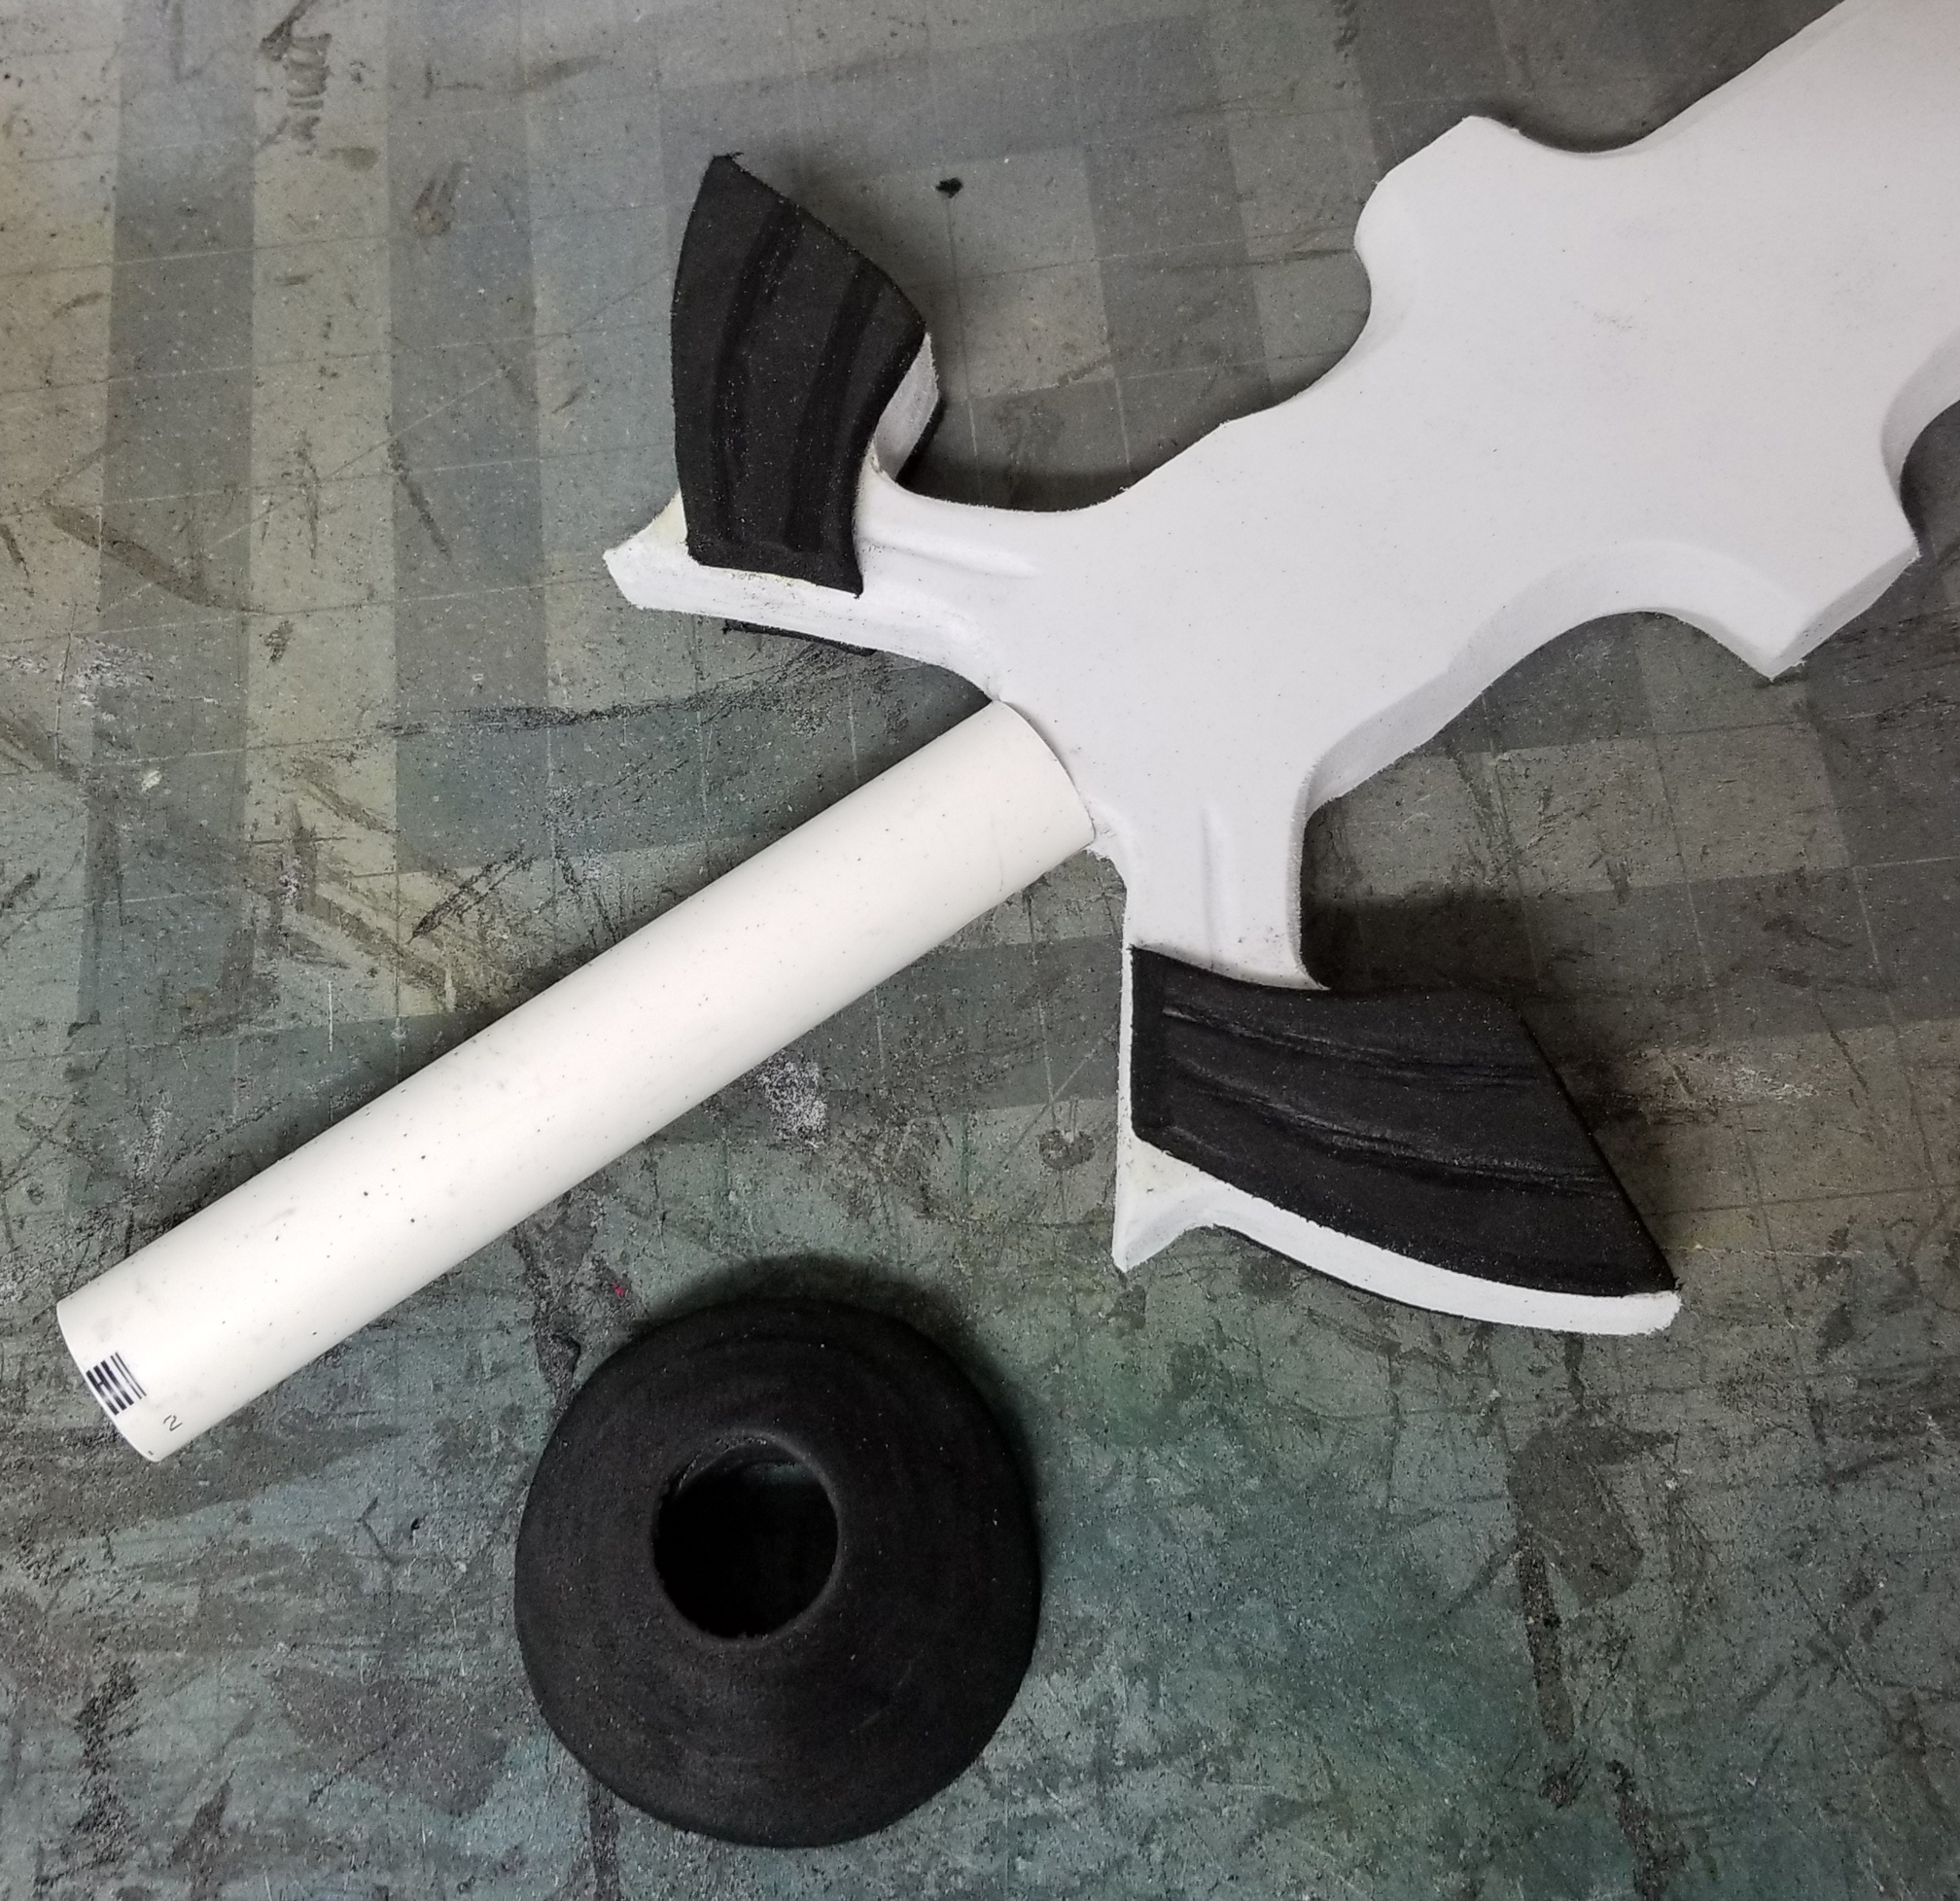
| The foam and dowel rod sandwich is shoved into a PVC pipe to format the base of the handle. Details were then glued onto the PVC pipe. |
 |
 |
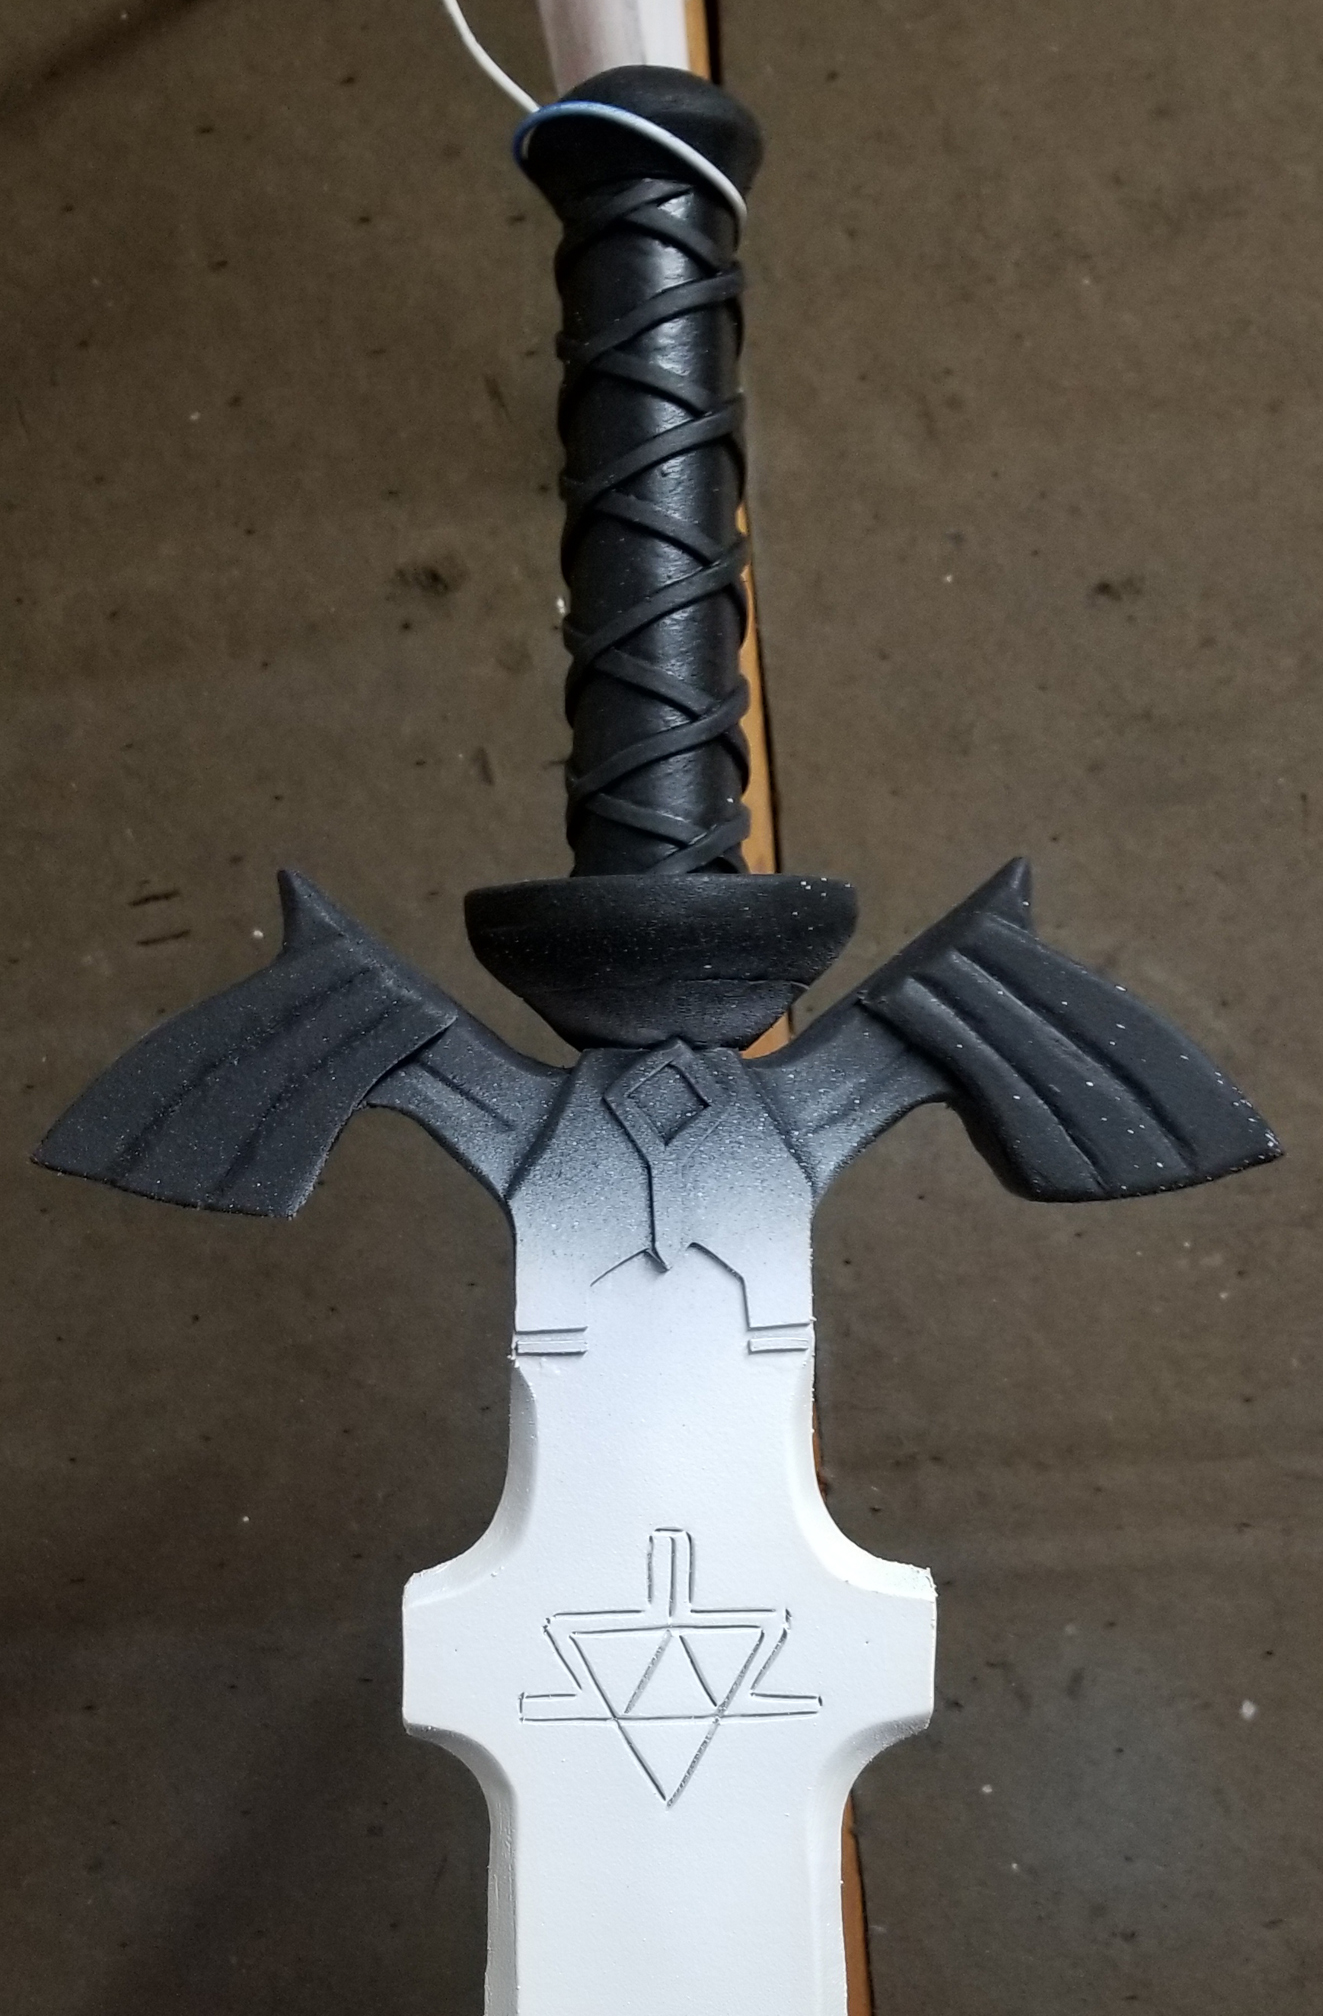 |
| For the Tri-Force design on the blade, I used a knife to cut the lines of the pattern and then hit the area with a heat gun. The heat spreads open open the cut to give an etched appearance. |
 |
 |
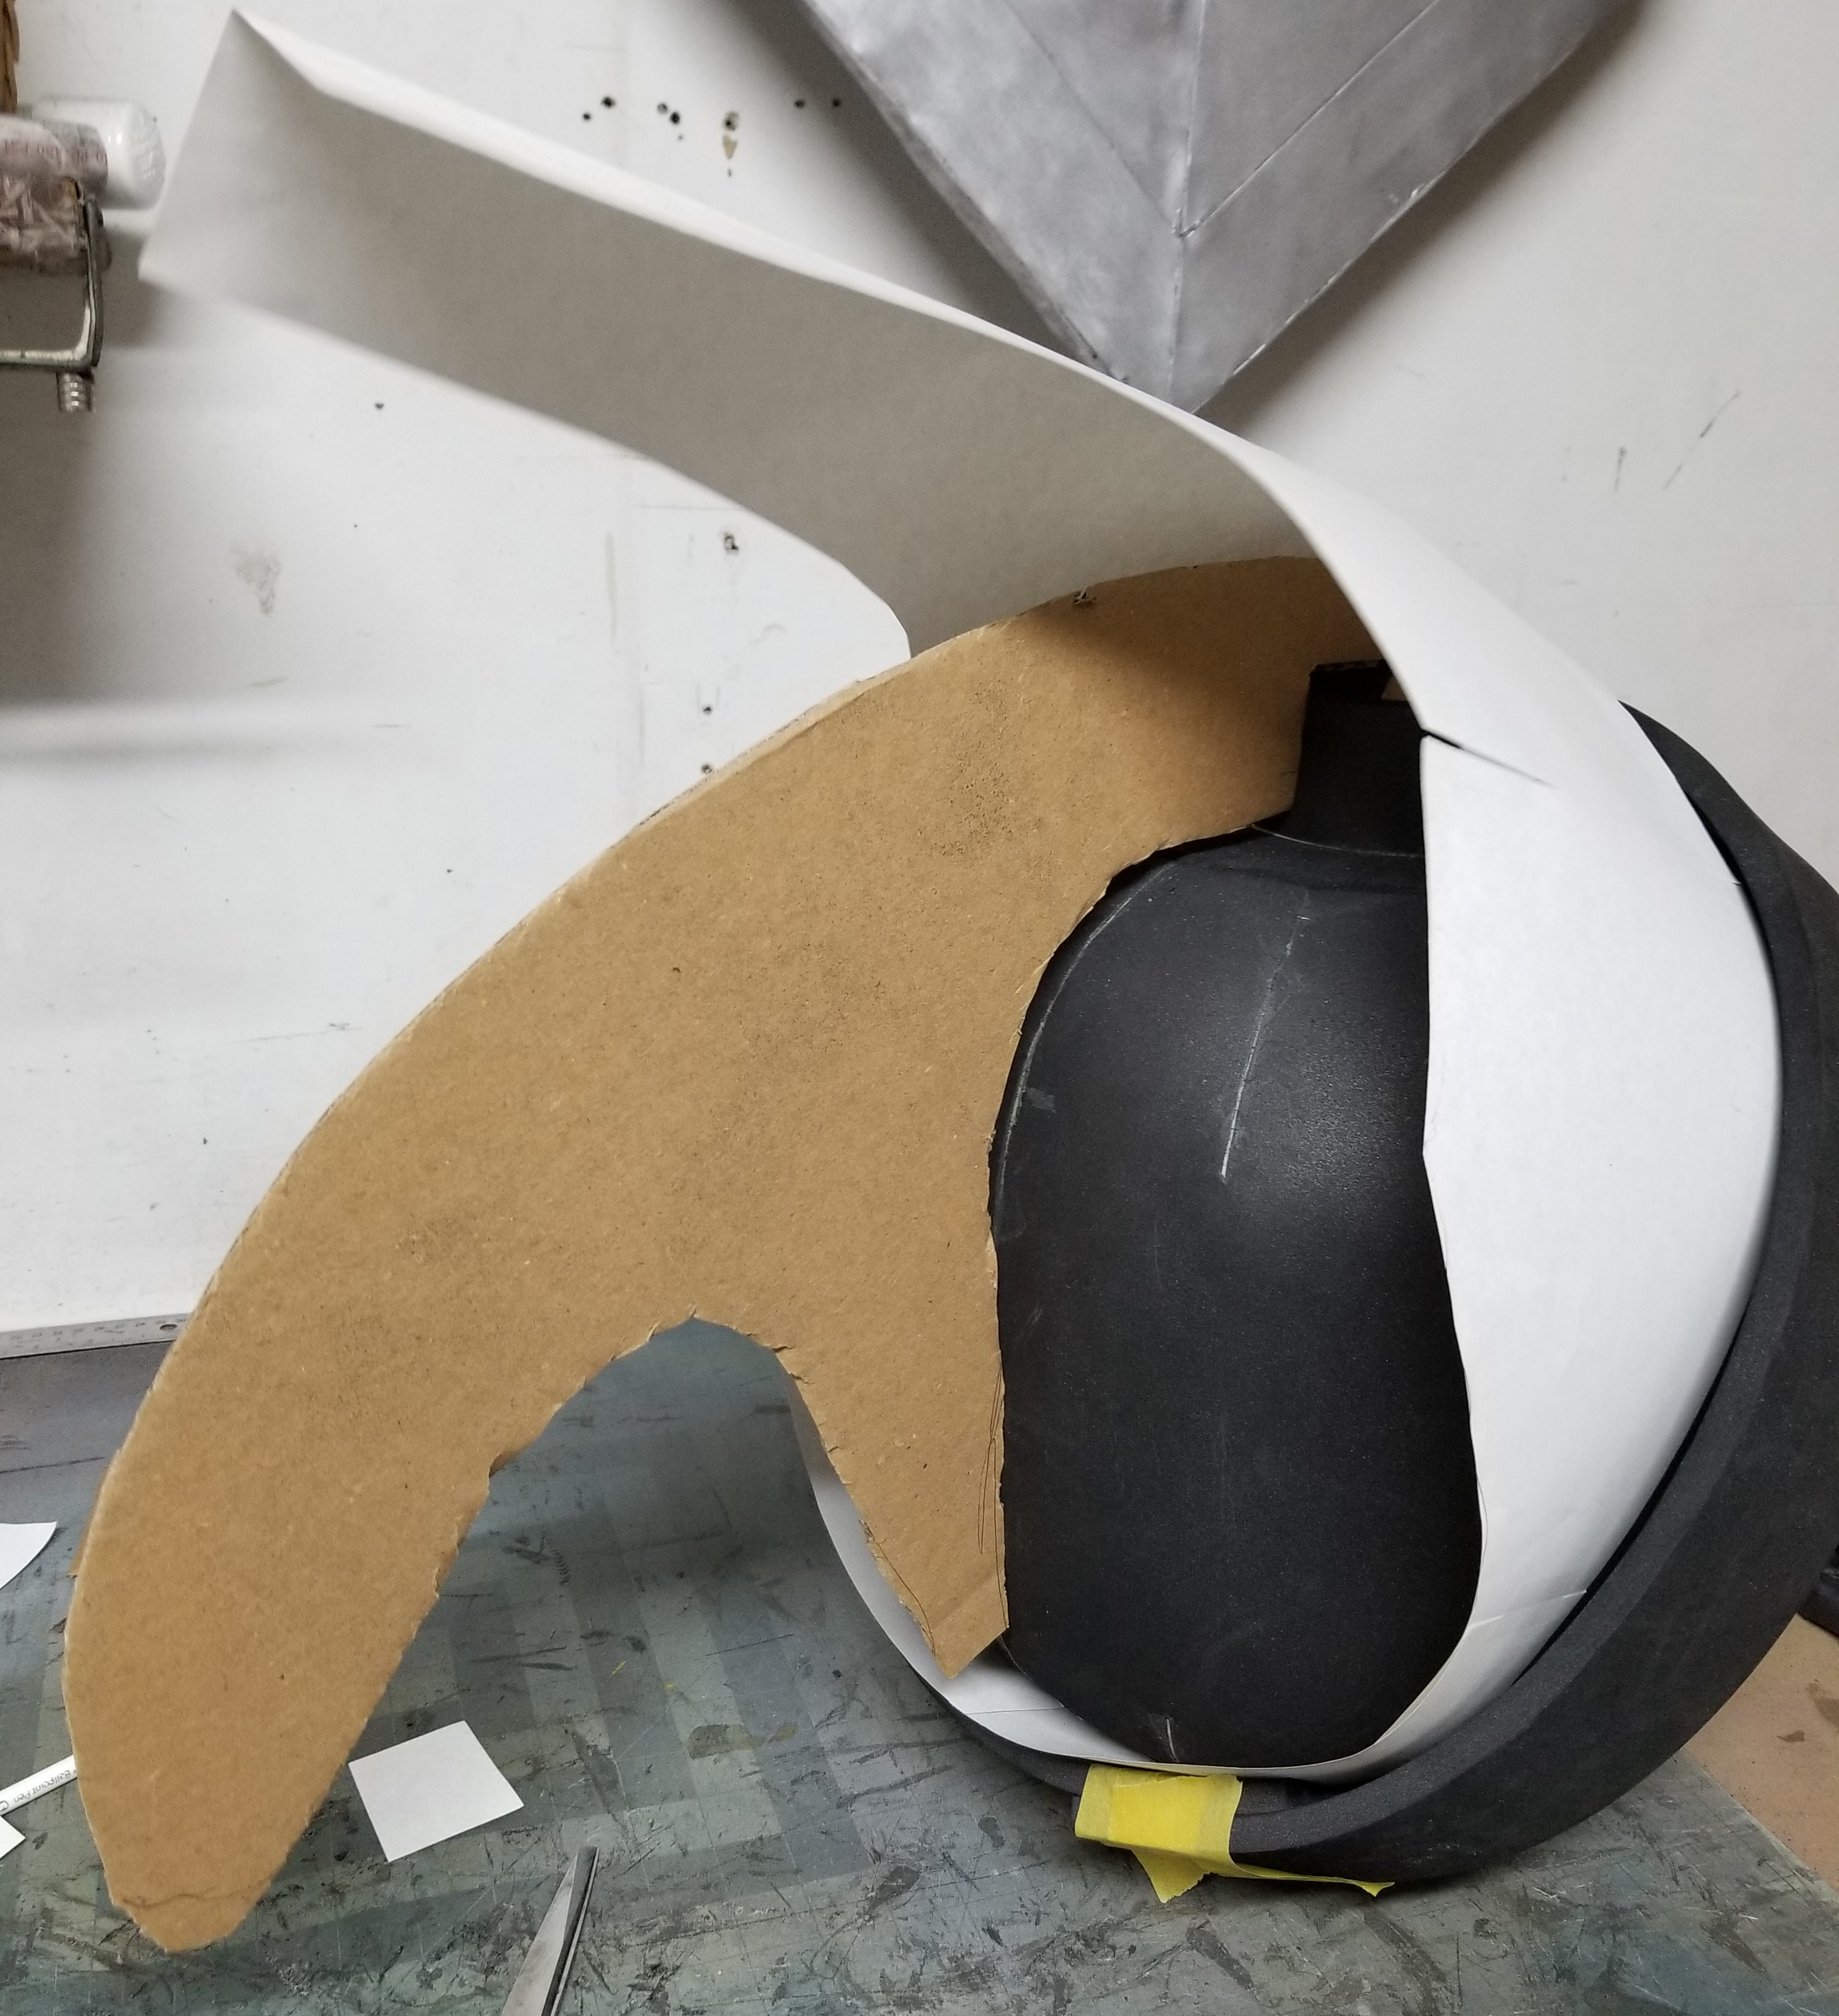 |
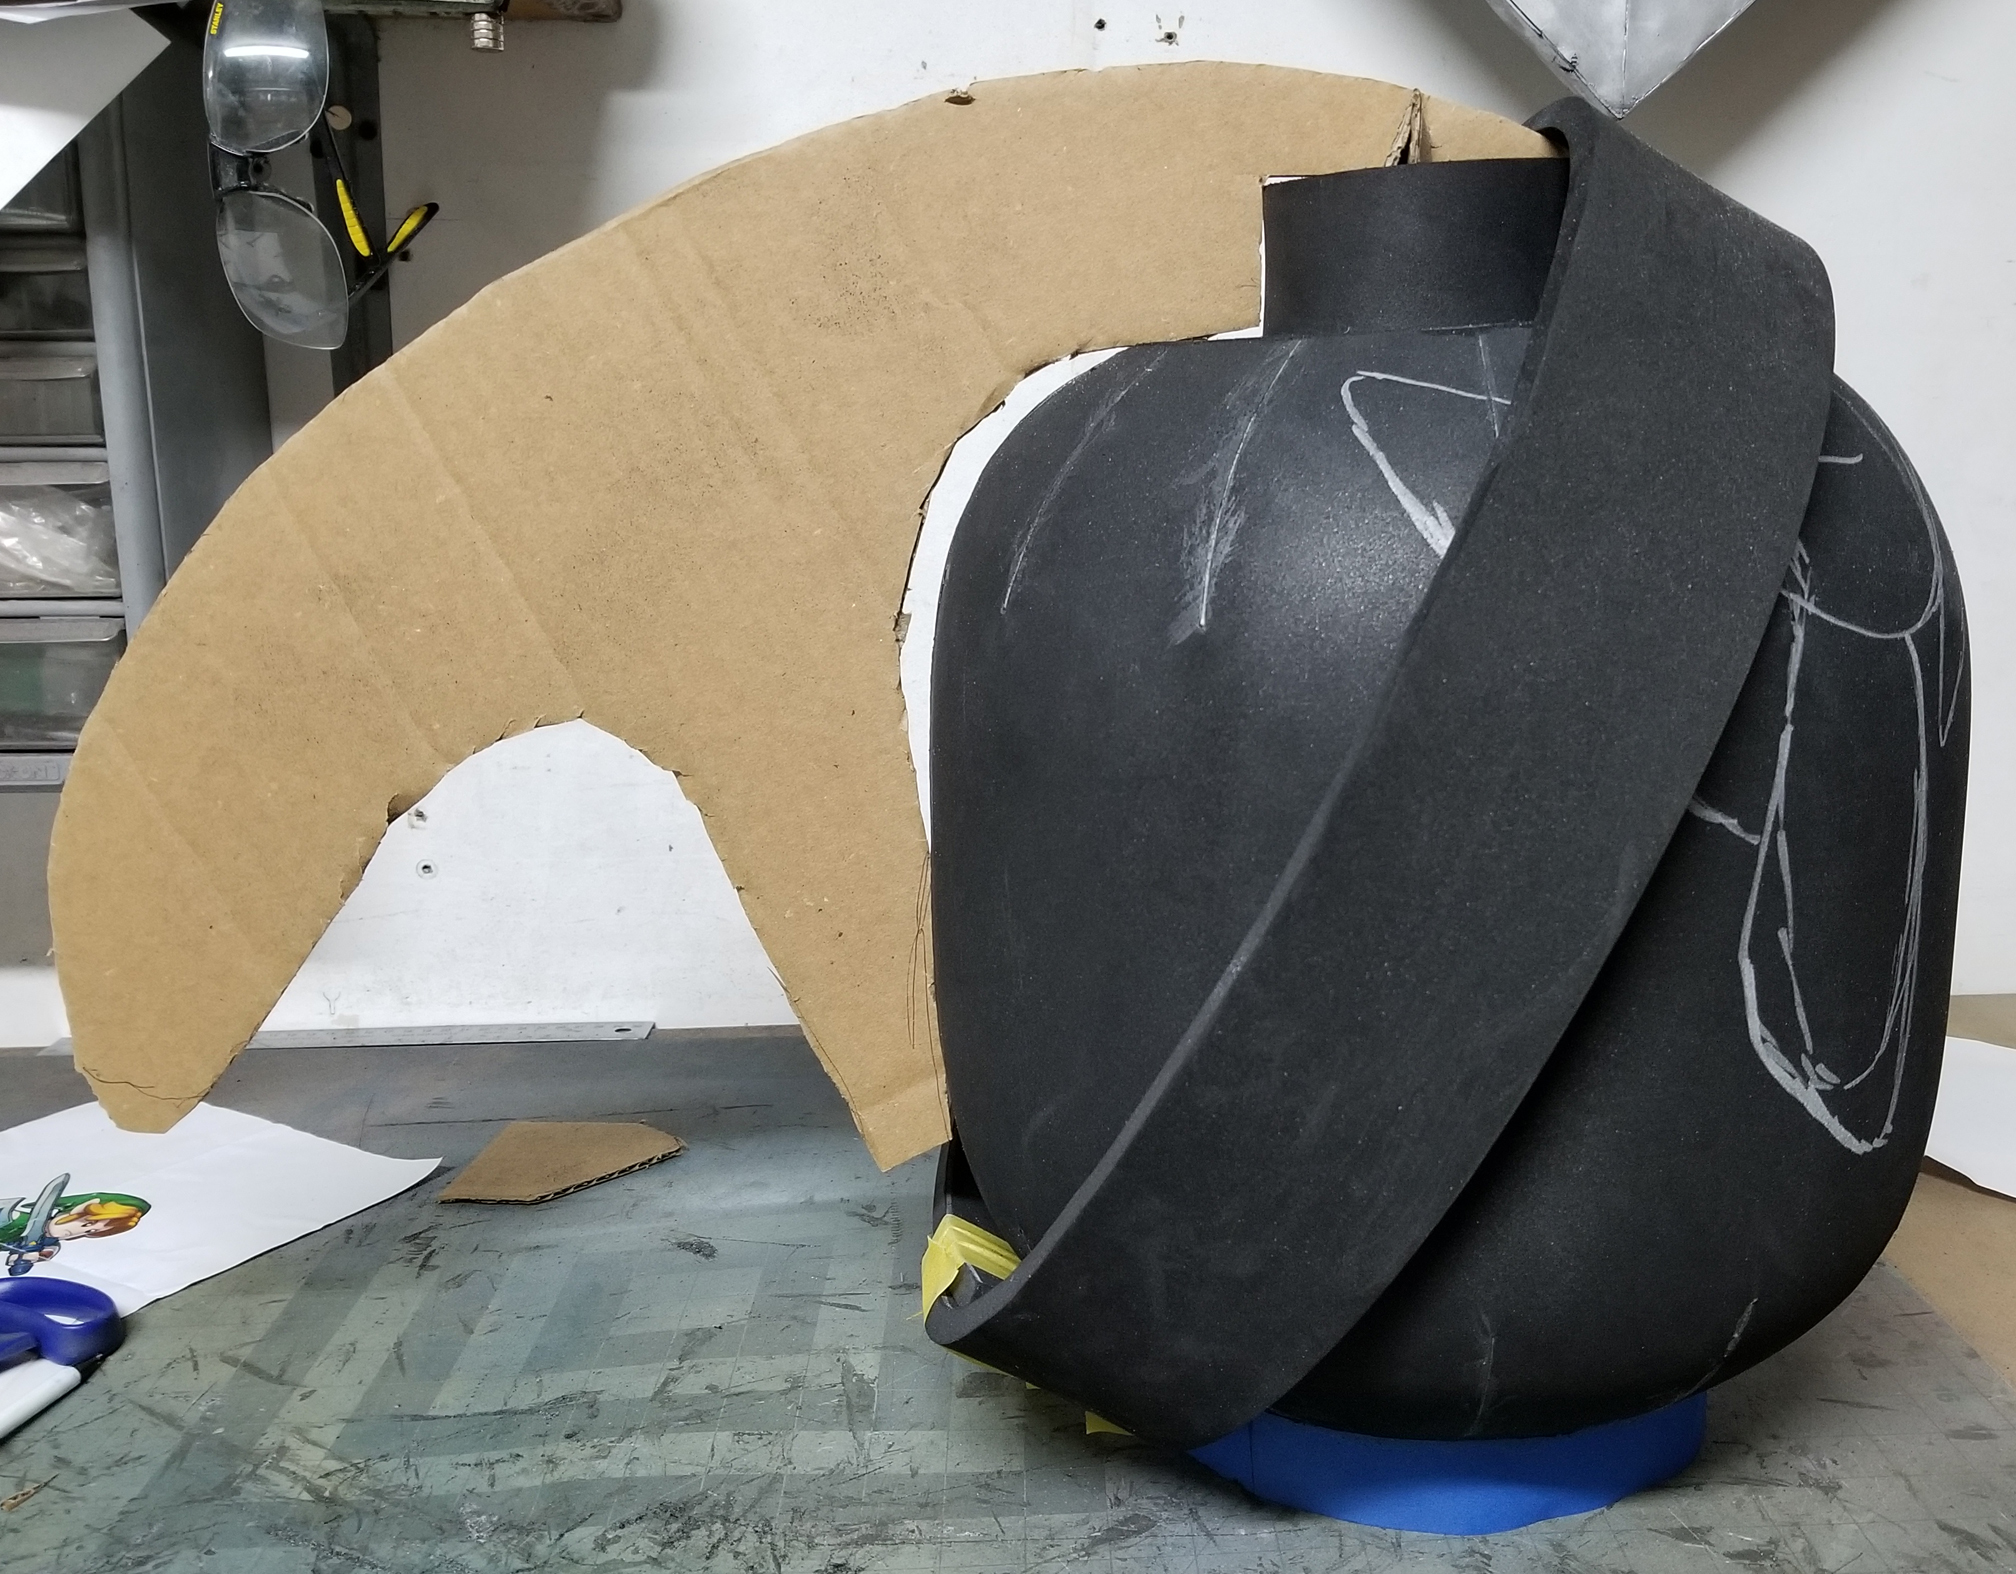
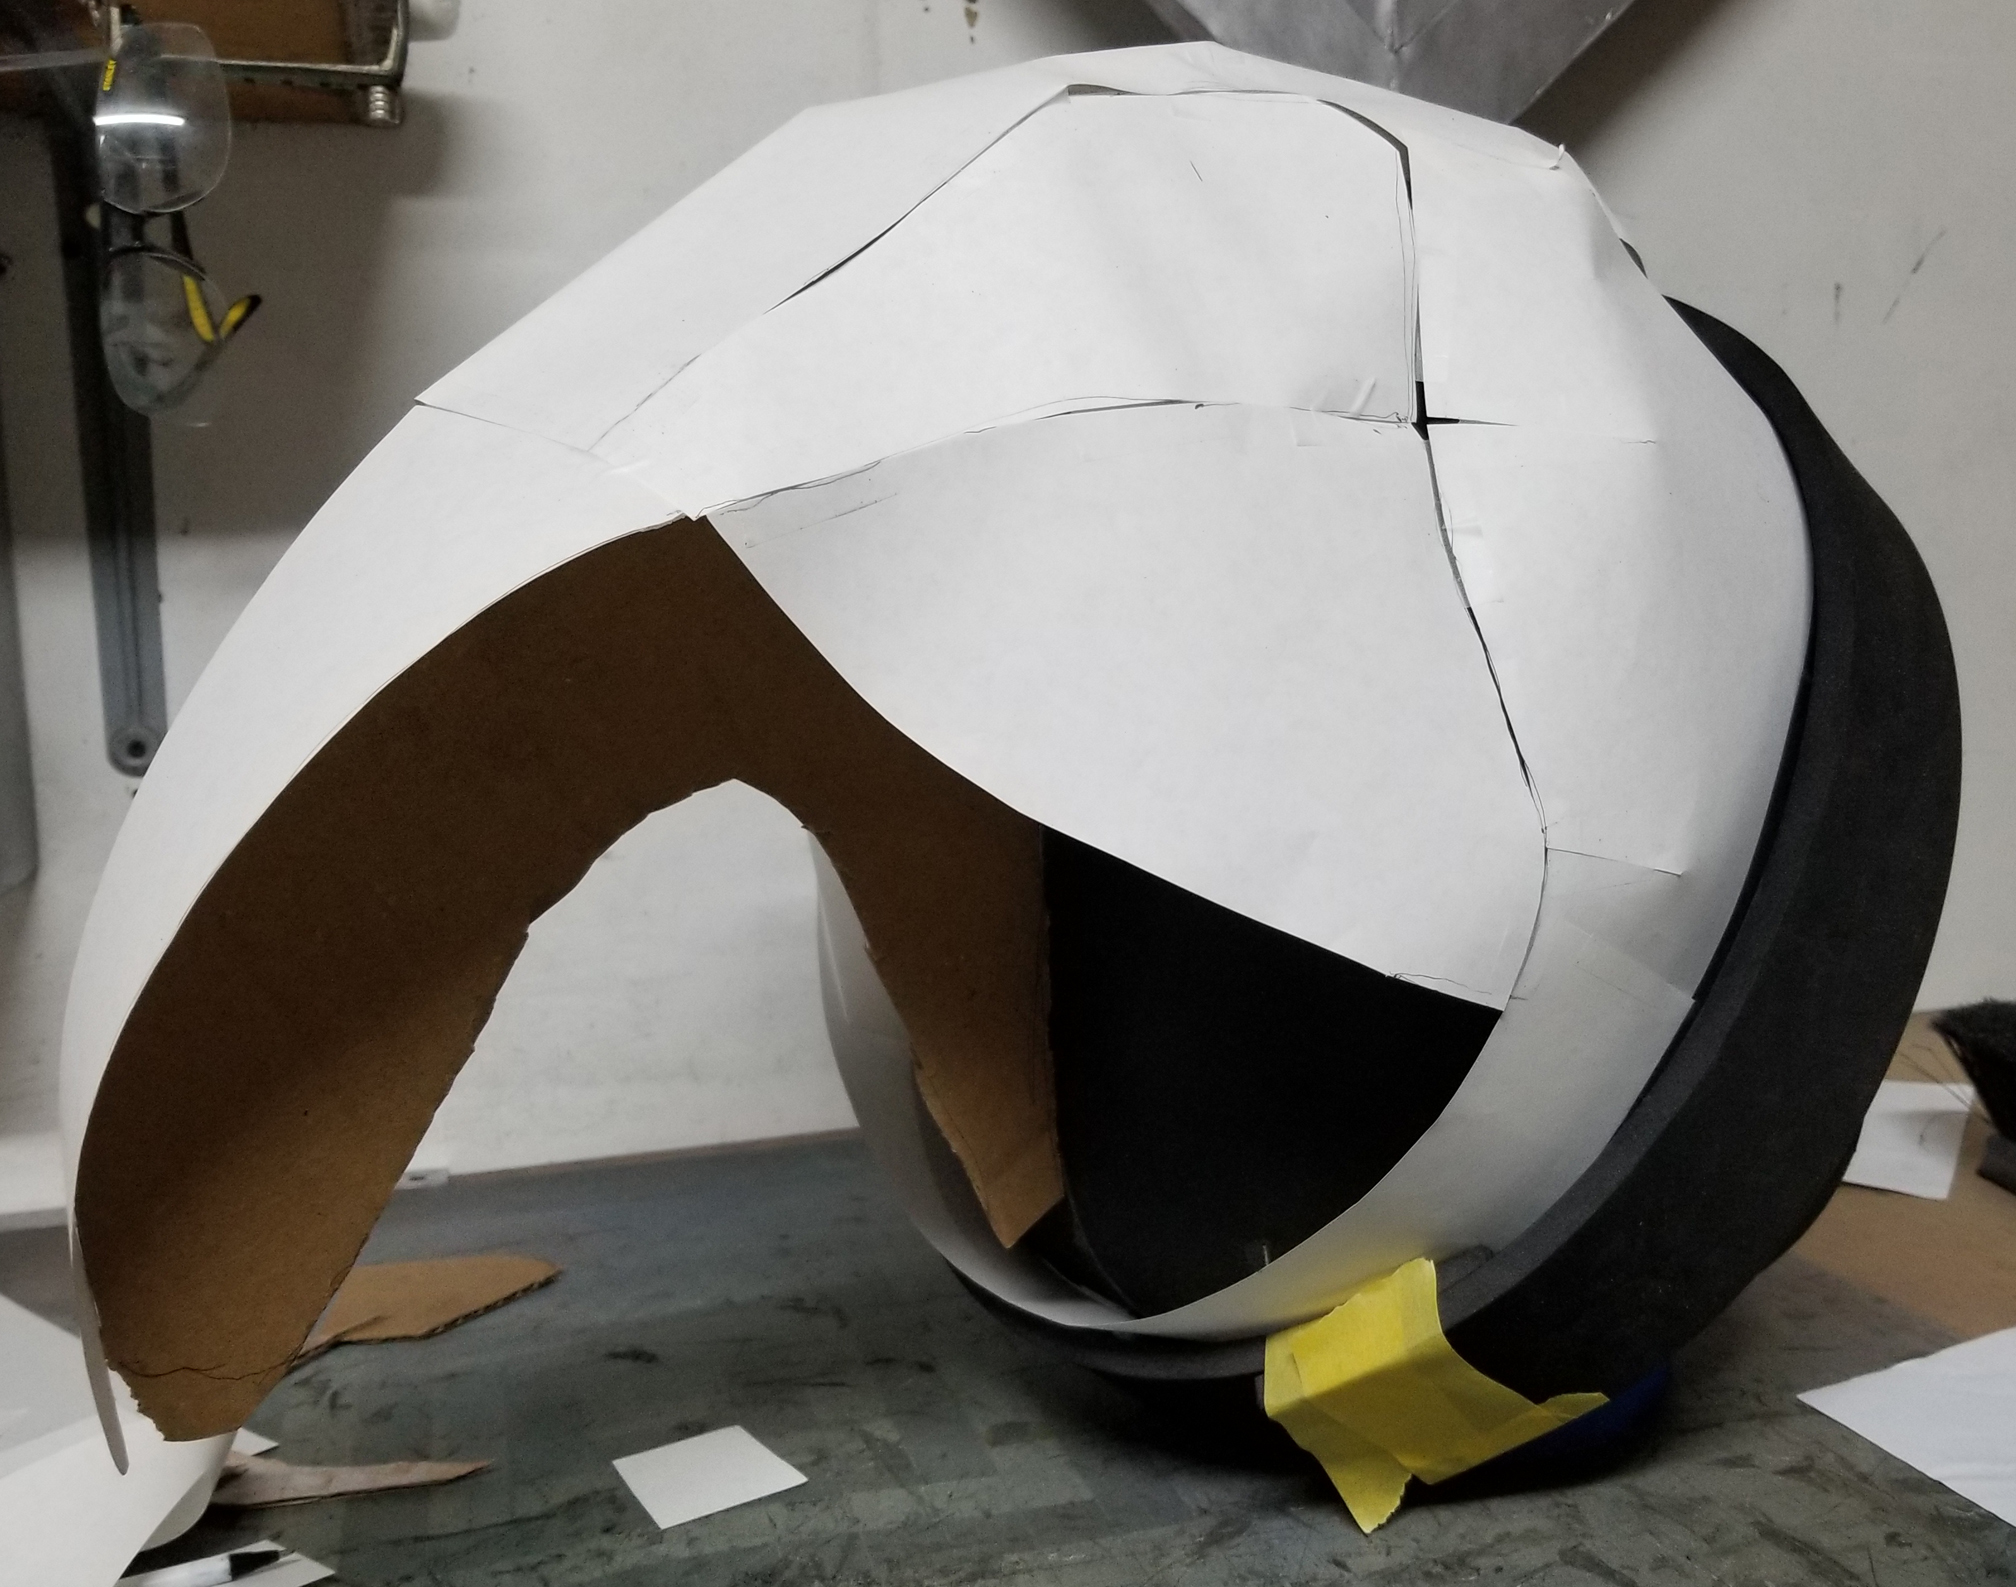
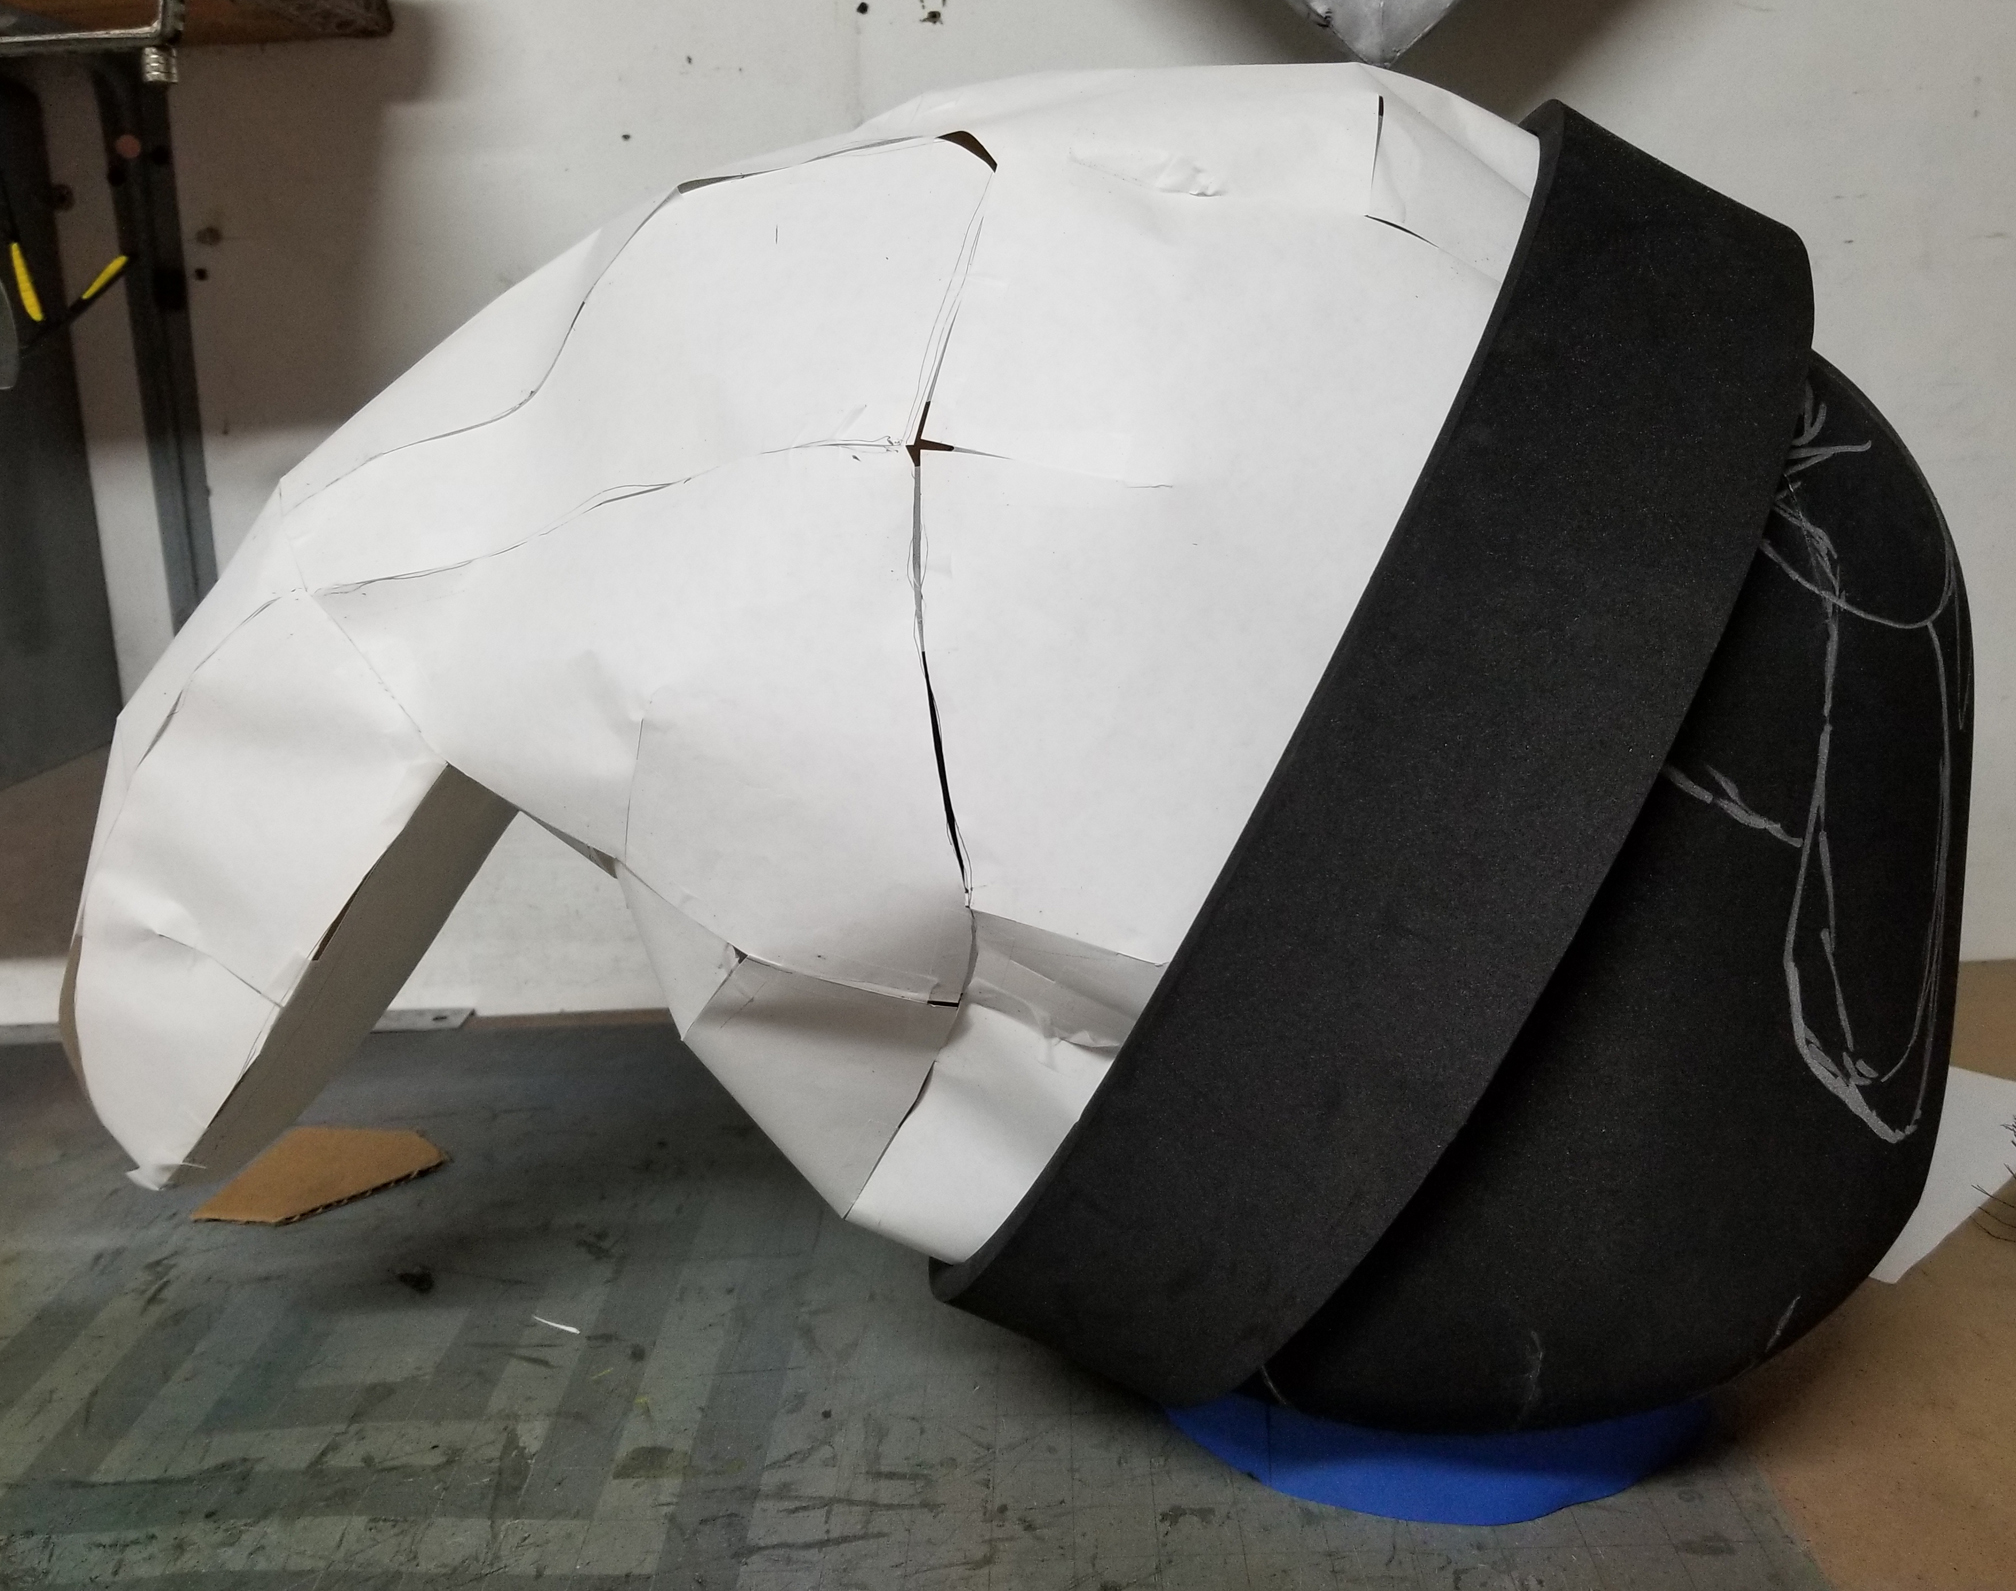
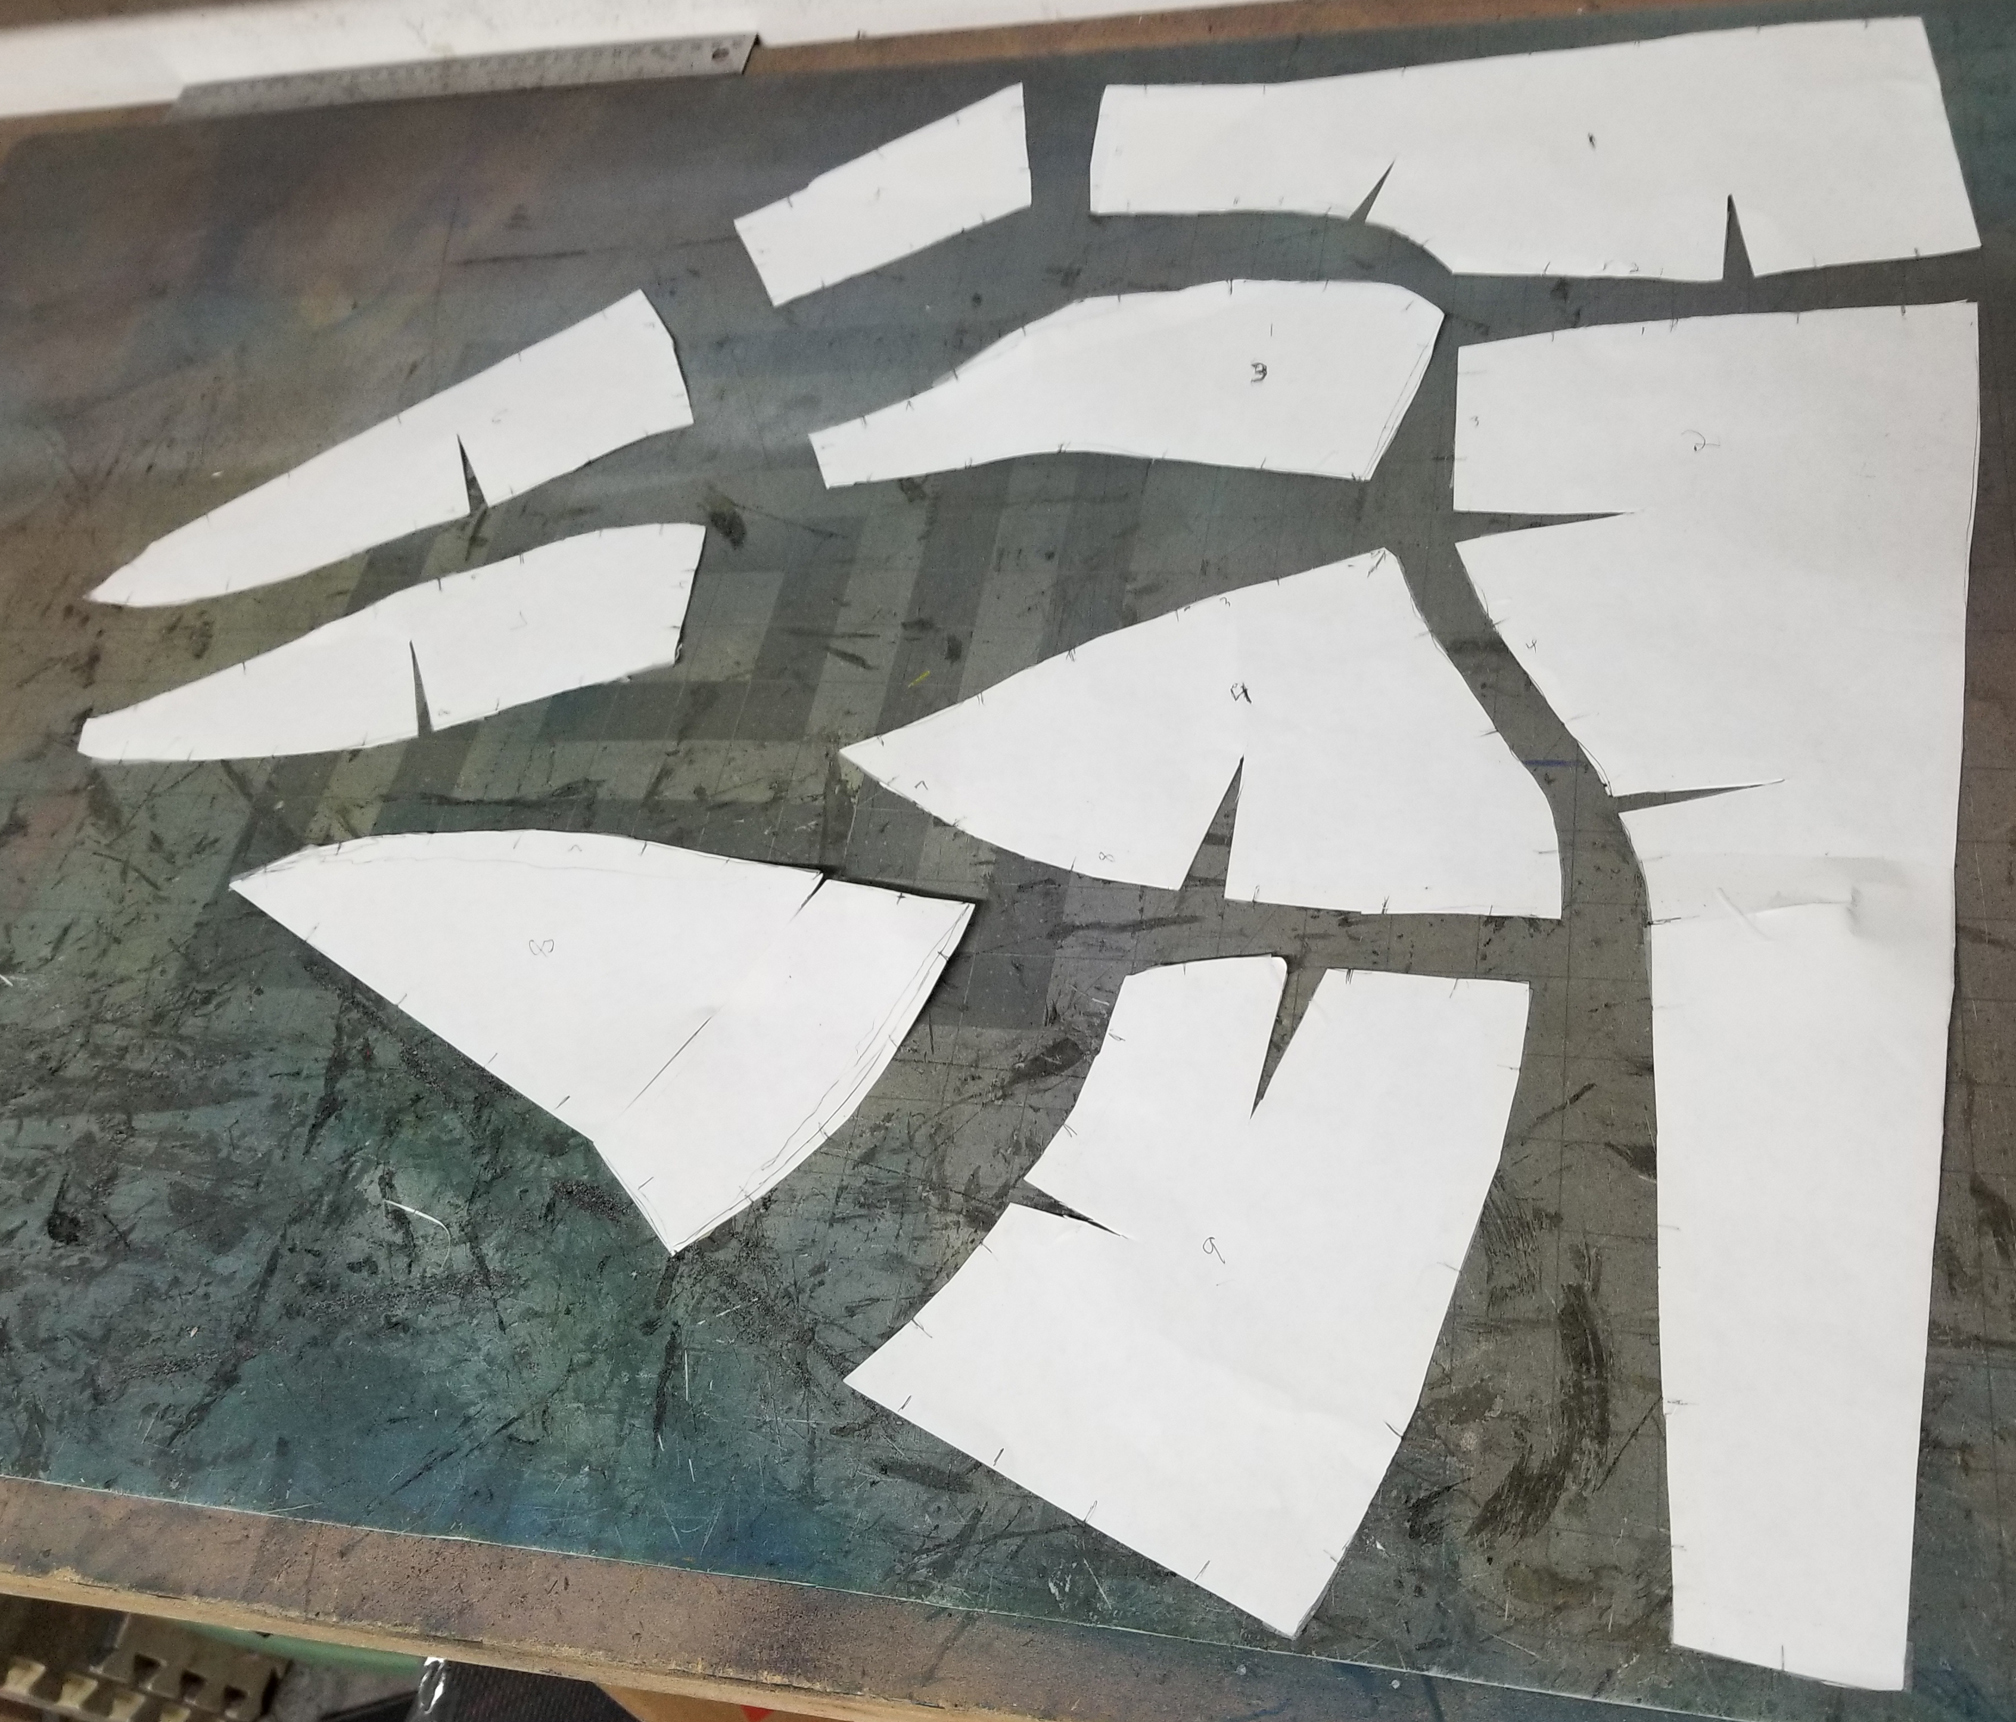
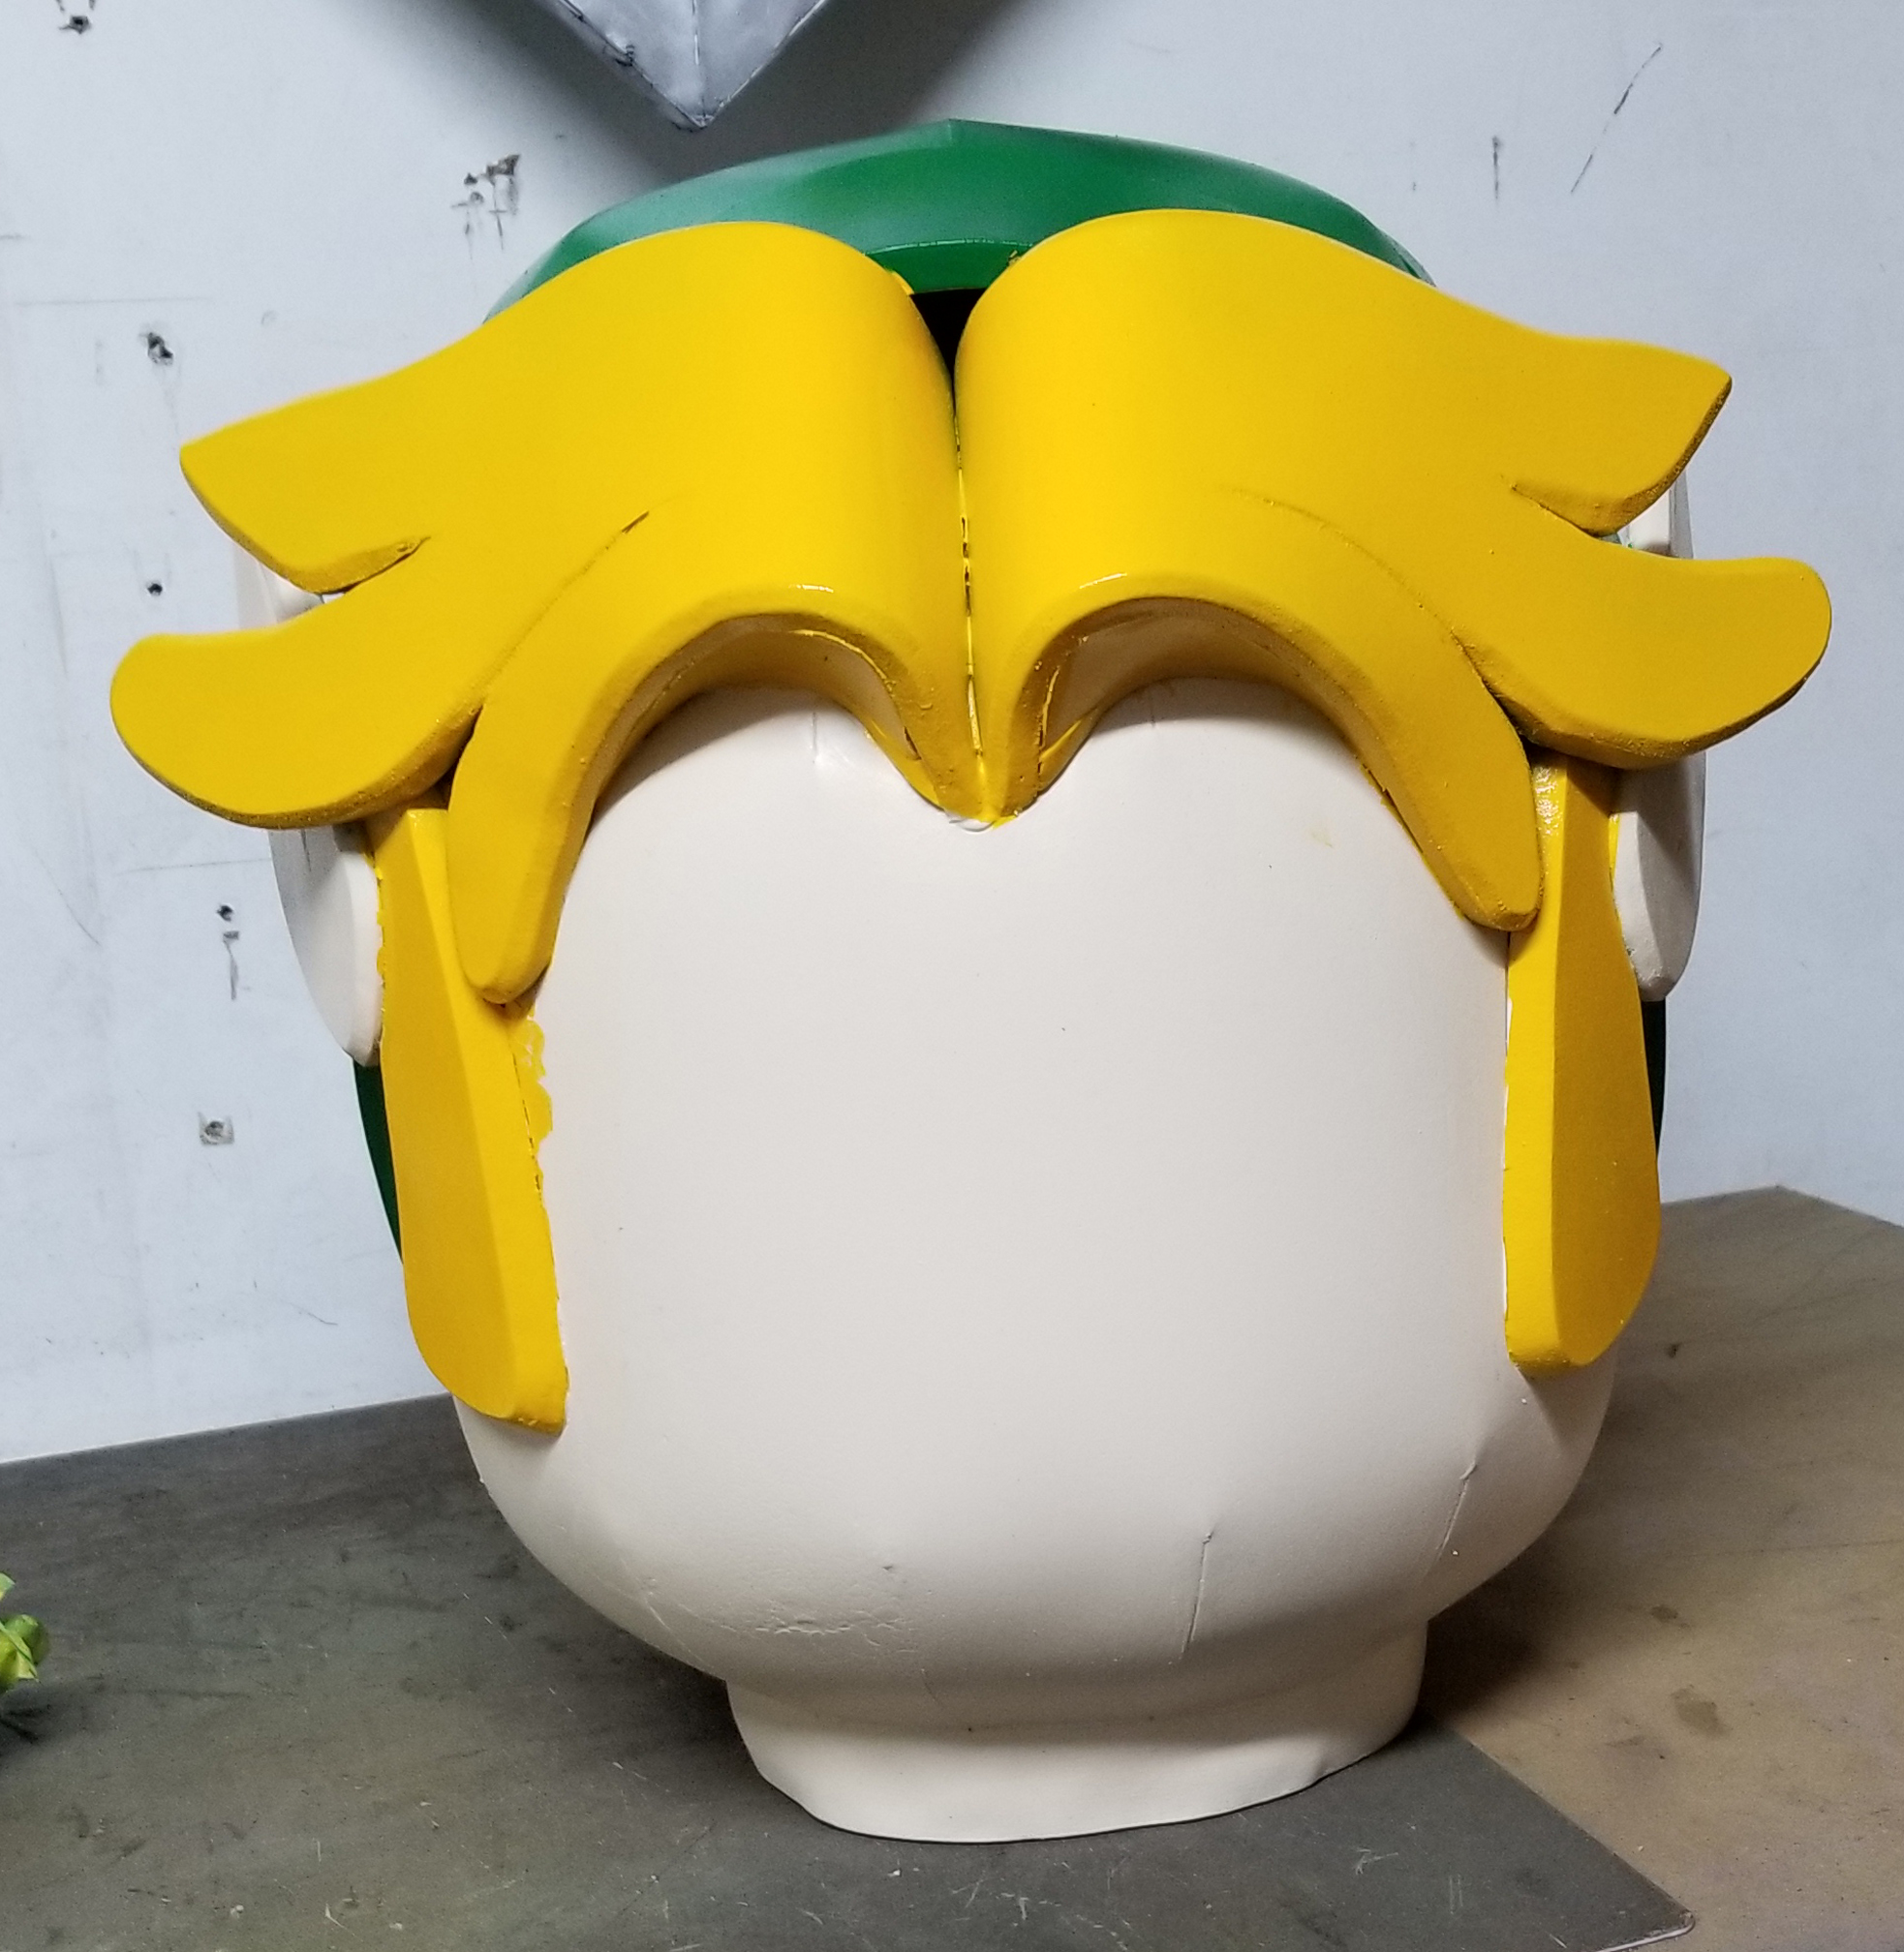
| For the head, I started with the basic LEGO head shape and traced where I wanted the hair line. Using 10mm thick foam I created the a loop to go around the head where the edge of the hat meets the head. Using cardboard and paper, I started adding pieces of the hat to form a template on one side of the head. |
 |
 |
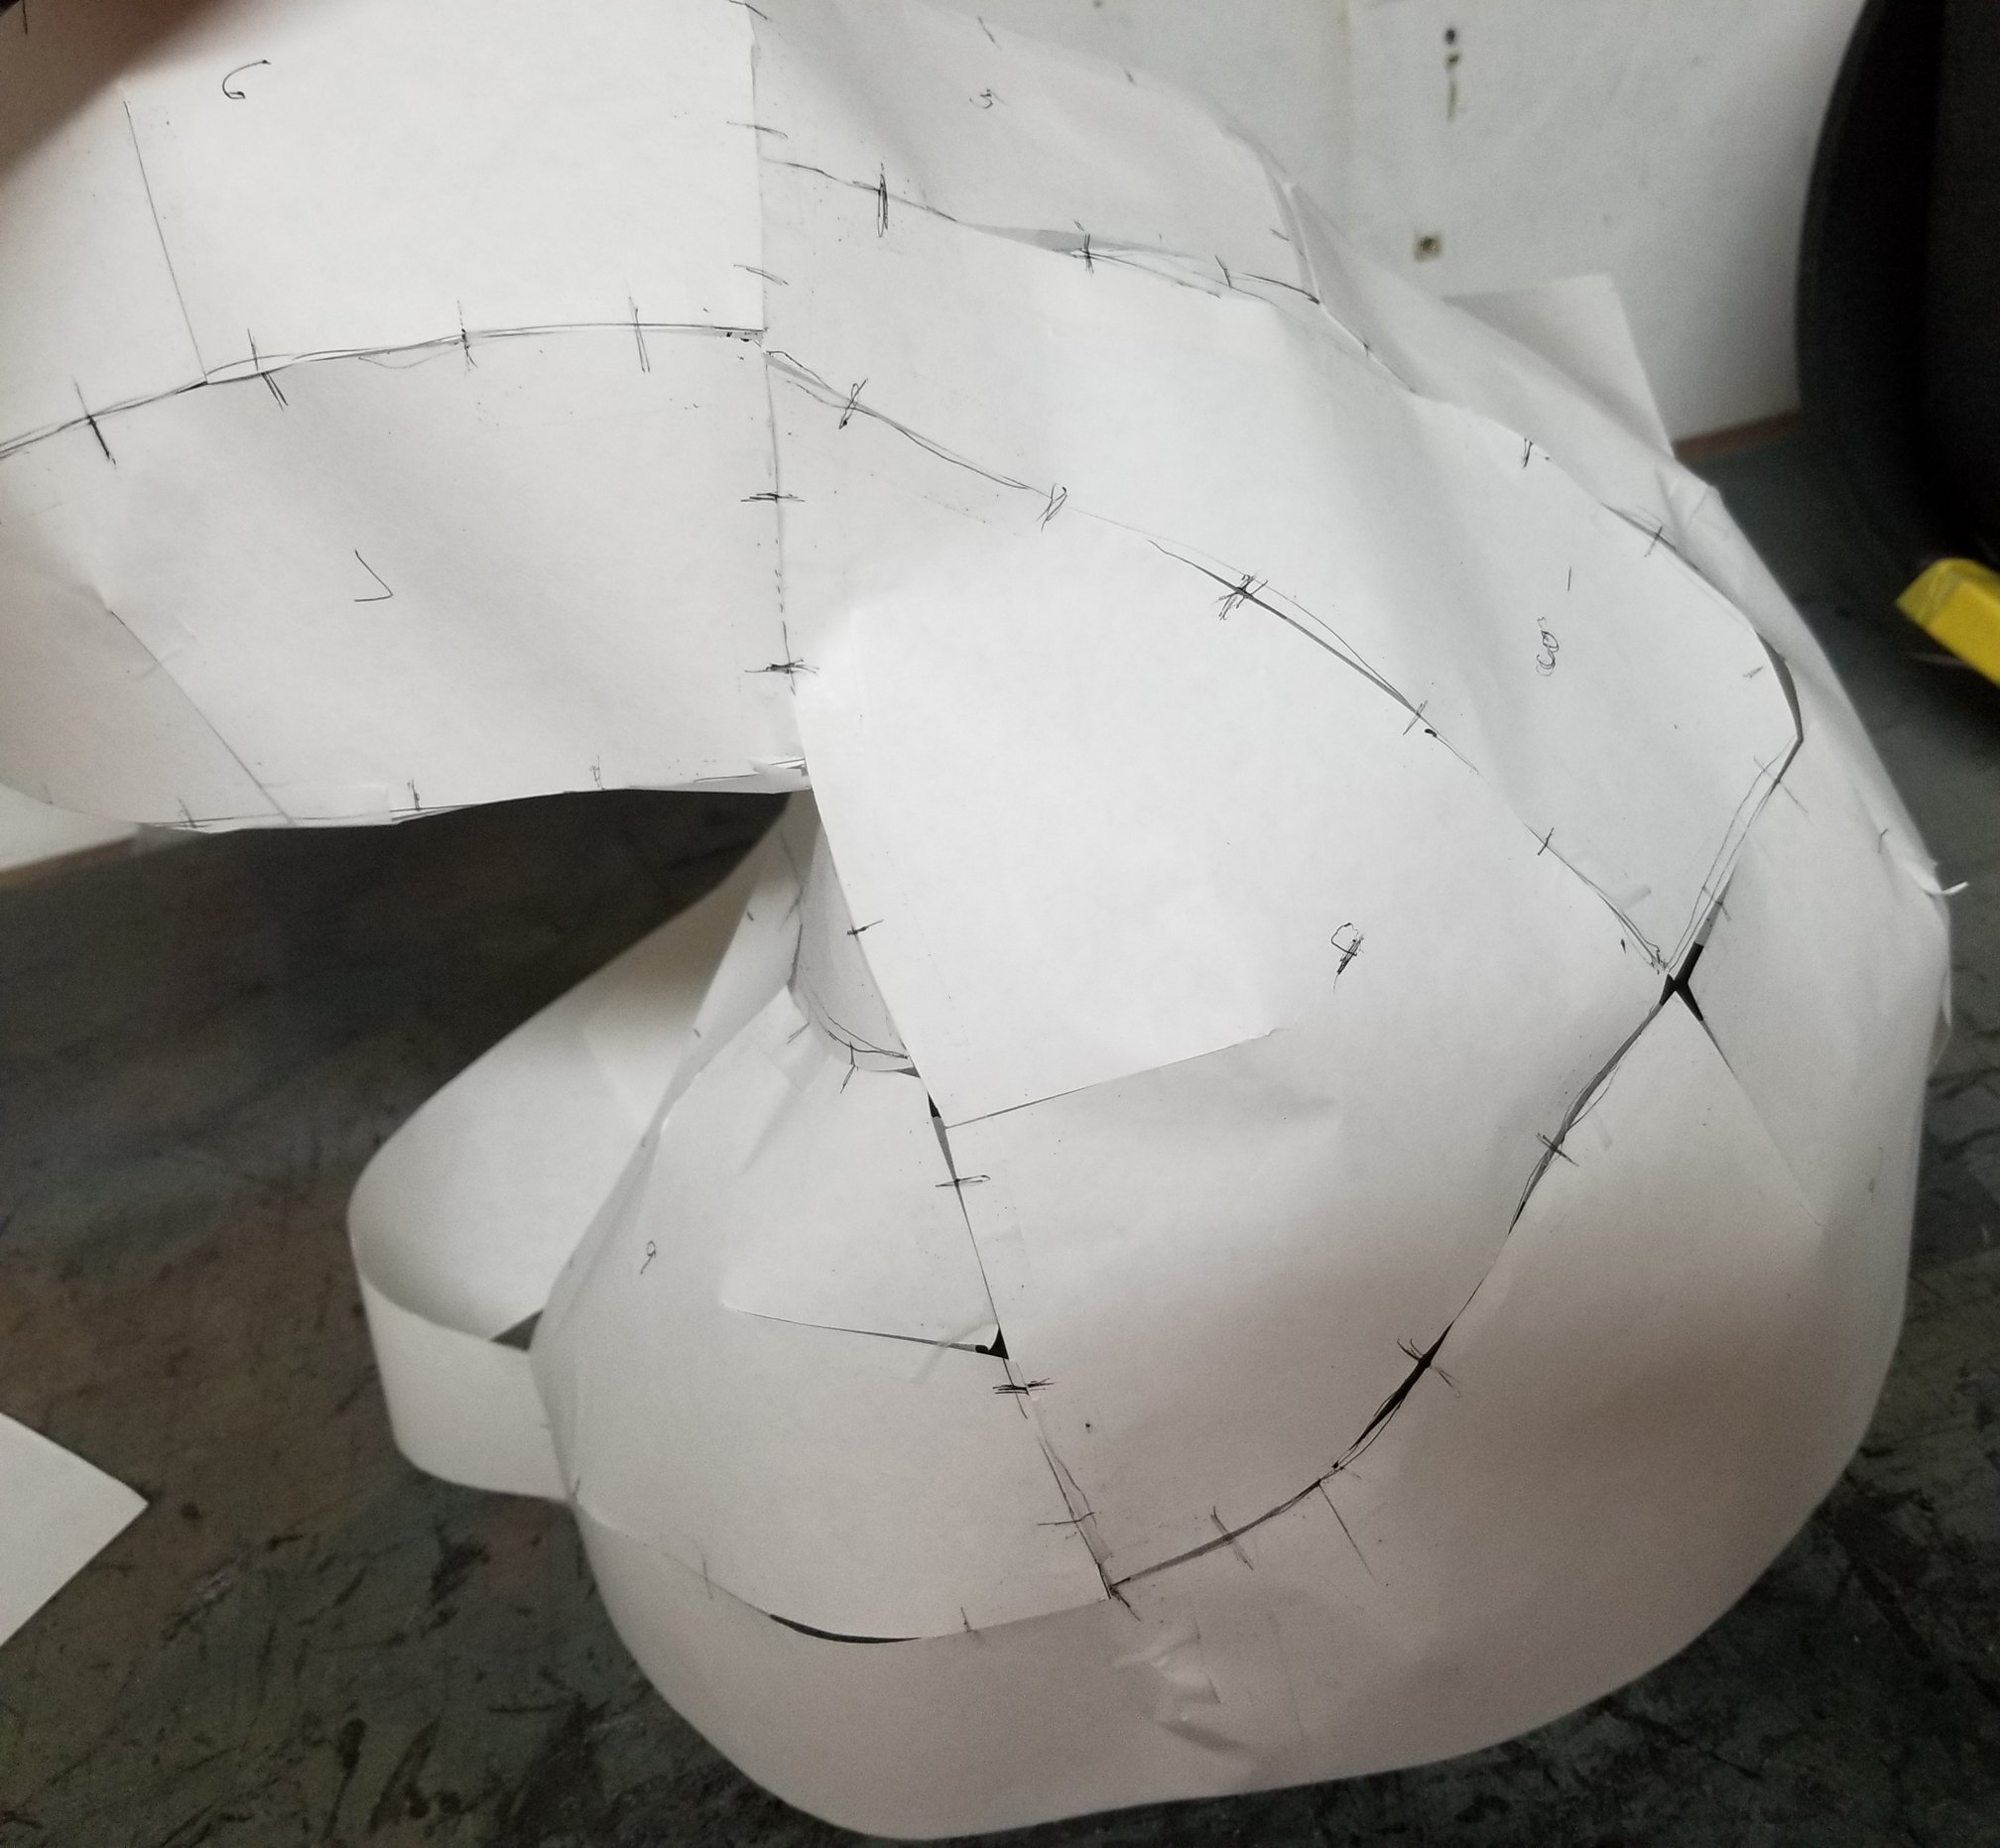 |
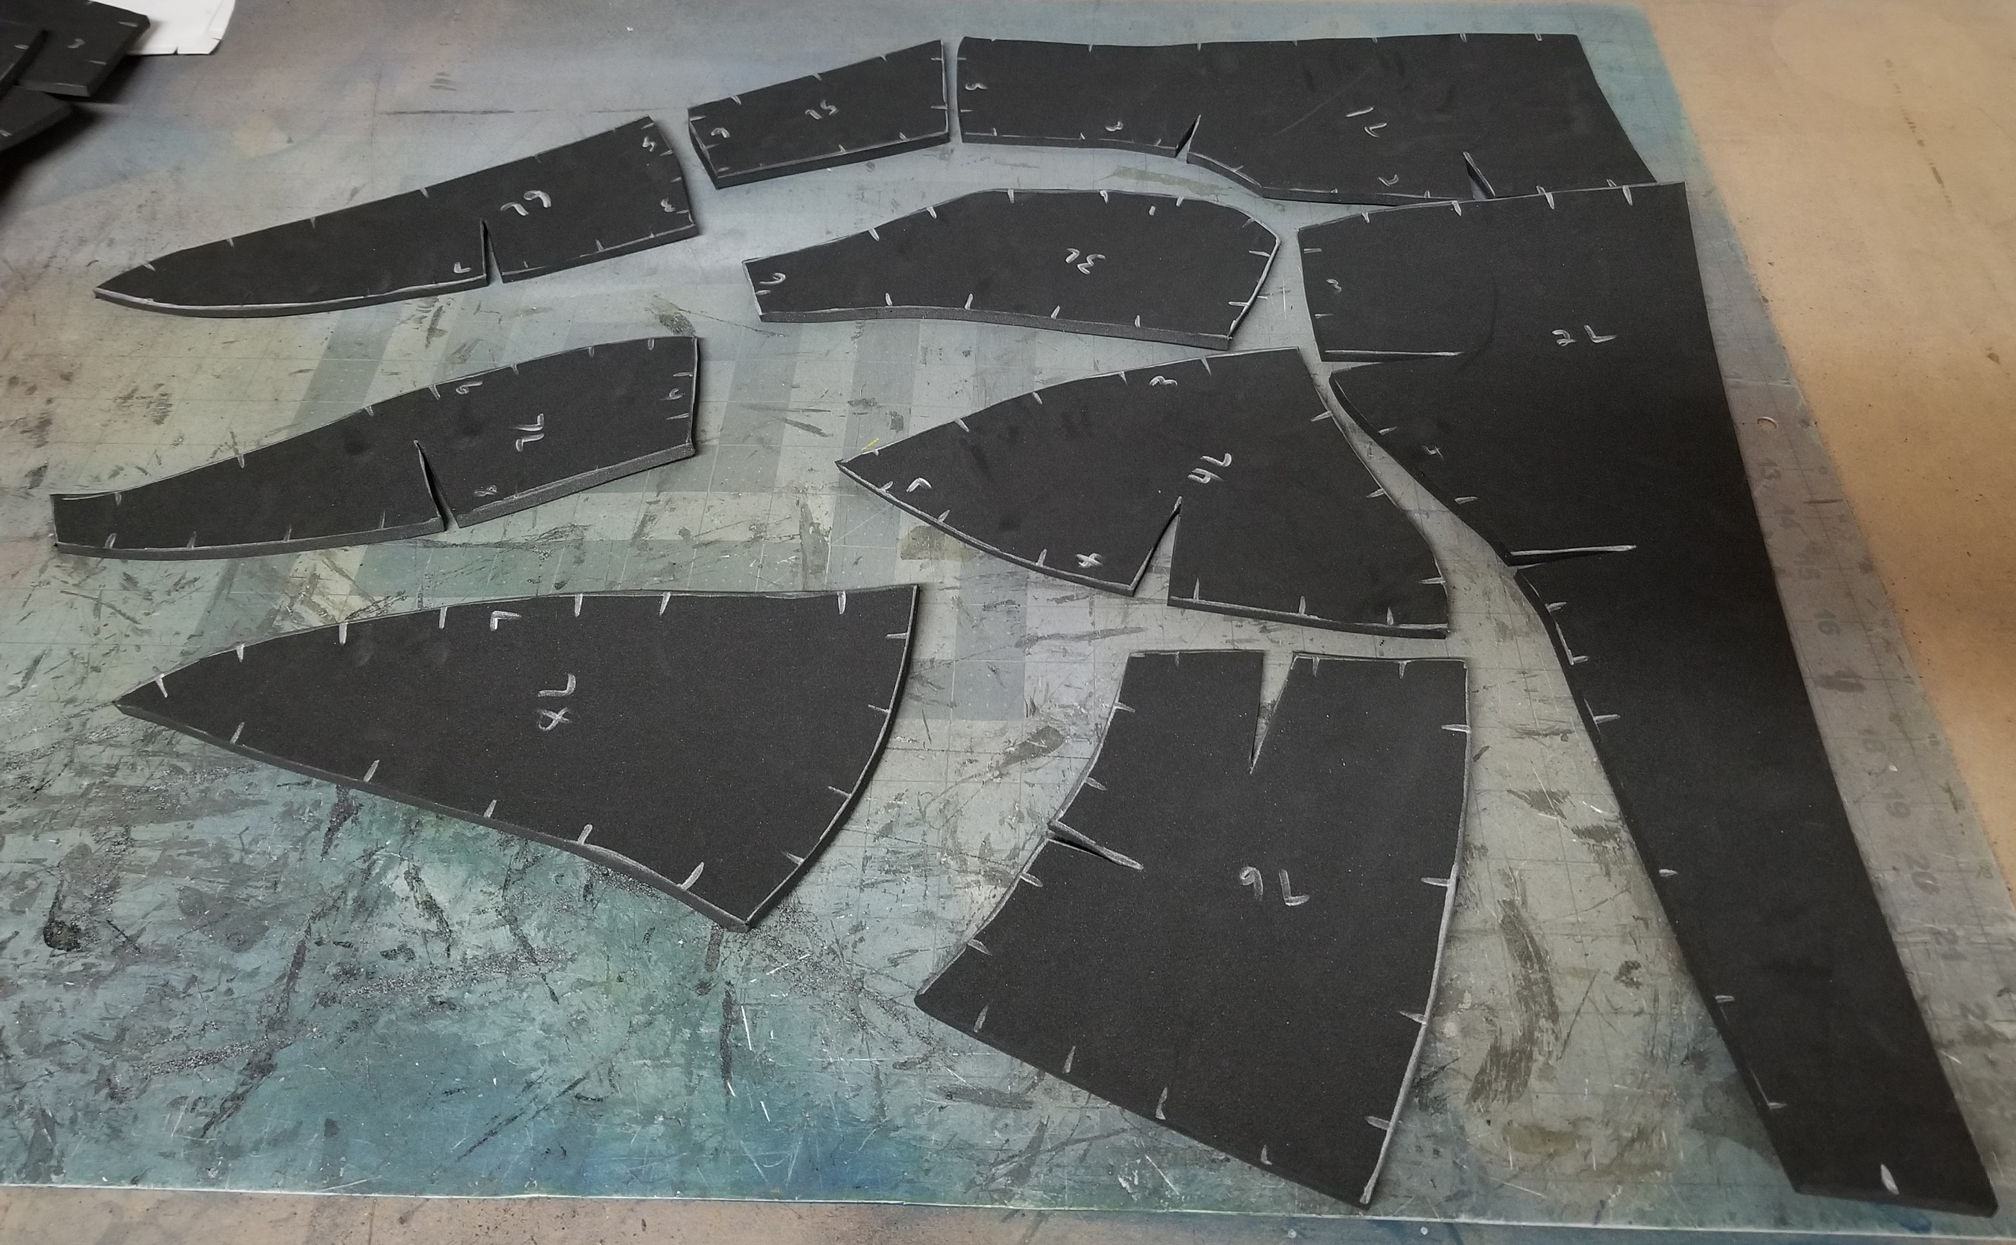
| Once the paper template was made, I transferred it to foam and glued all the pieces together. |
 |
 |
 |
| I was concerned about the weight of the hat causing the head to be too heavy in the back. This would cause the head to wobble when my son walked. I used 4mm foam to keep the hat light but this didn’t provide much support for the hat. Knowing someone might hold the head by the hat, I decided to reinforce the back cone of the hat with quick fill expanding foam. Unfortunately I used too much and sections of the tip of the cone did not fully cure. I spent a few hours trying to hollow out the expanding foam out of the hat. This still left a shell ofof firm expanding foam on the inside of the hat and allowed it to hold it’s shape when holding the head by the hat. |
 |
 |
 |
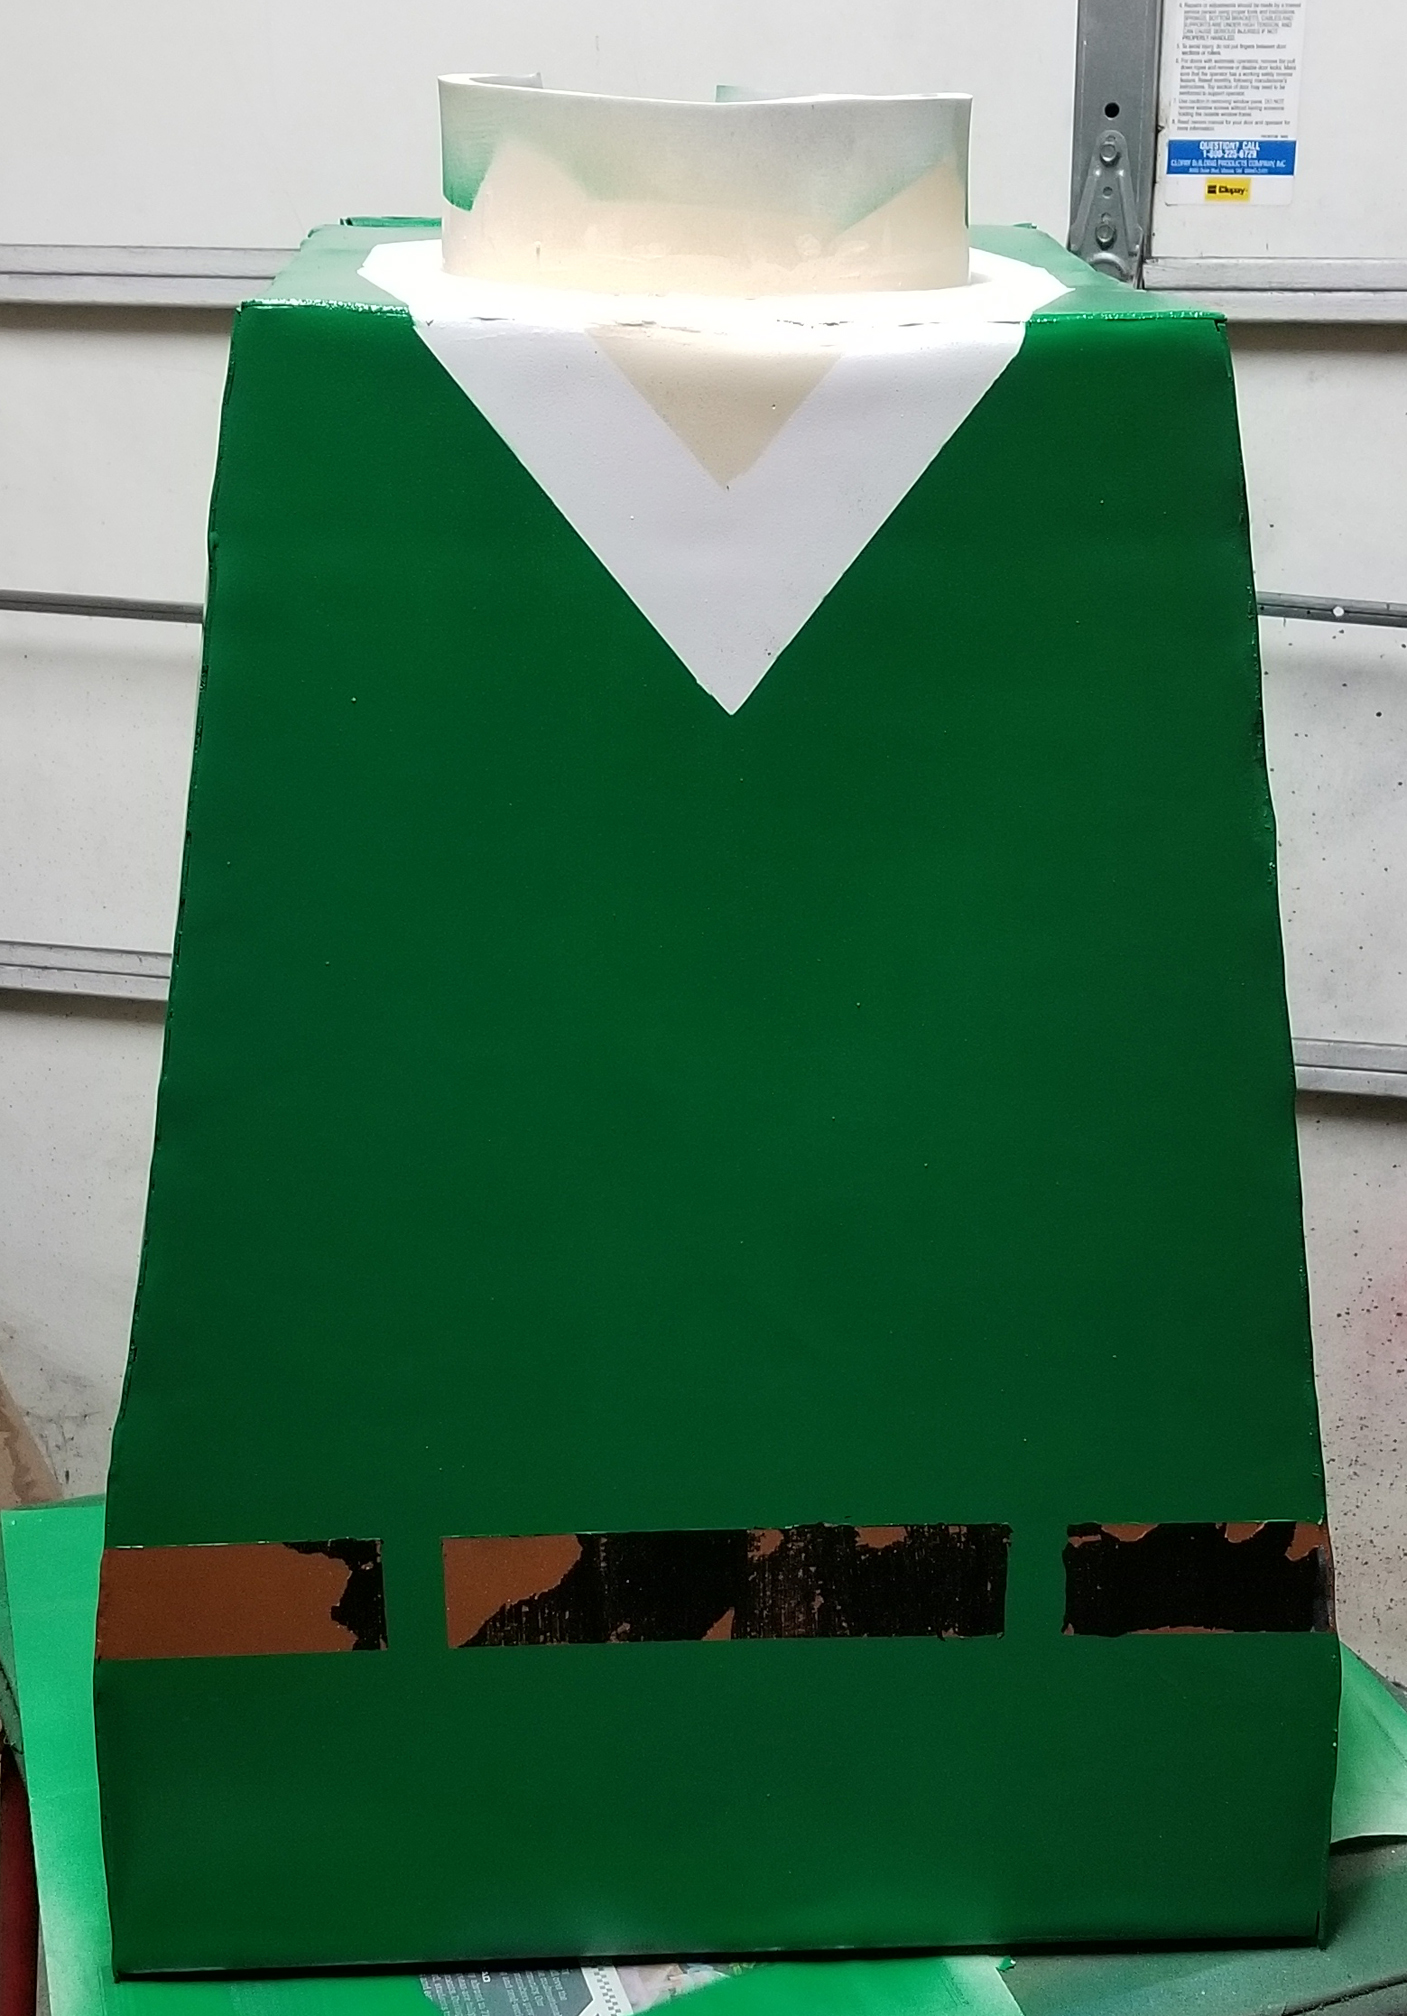
| Once the hat was done, I added hair and ears to the head. The torso didn’t have many details. I did rush the paint on the belt and you can see the masking tape pulled most of the brown off the torso. |
 |
 |
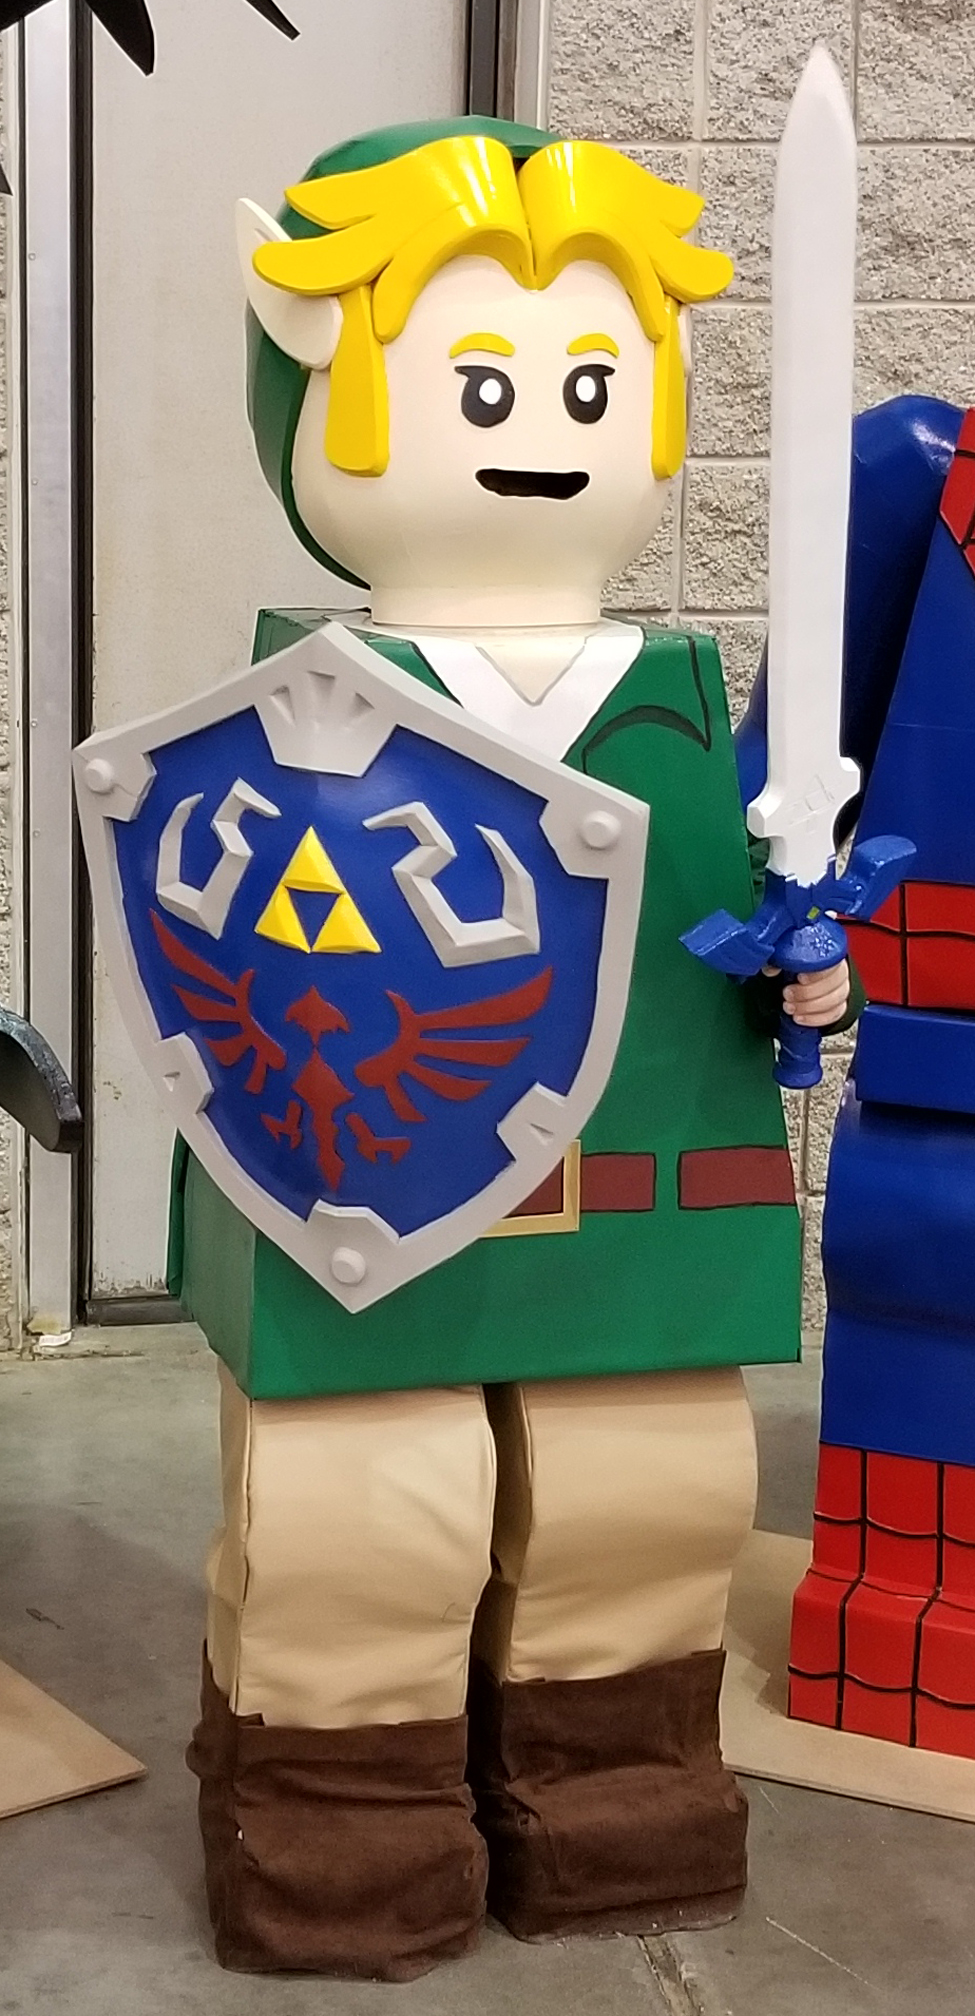 |
| The costume was finished the Saturday night of Hampton Comicon and was unveiled on Sunday. My son wore the LEGO Indiana Jones costume on Saturday. A few weeks later we took the costume to VA Comicon and my son won Best in Show on Sunday. |